OK so I got the inspiration for this from
http://ecomodder.com/forum/showthrea...vex-14958.html. And while I posted this there, I figured it warranted it's own post here as well. Hopefully this is step by step enough that anyone can follow and do this.
Parts:
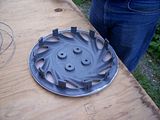
Wheel Covers
Fiberglass resin
T-shirts x 4
Mixing Bucket
Acetone
Tools:
Mixing Stick
Paintbrush
Razor knife
Dikes
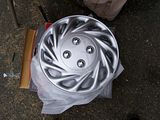
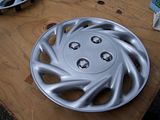
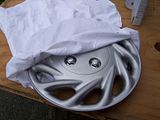
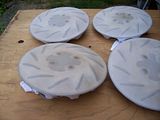
Ok, so I bought my wheel covers on ebay for a total of $15.
I went to Lowes and my local auto parts store for the needed Supplies. I got the Fiberglass Resin at the auto parts store for about $12. It was about $12 for the bucket, paintbrush, and acetone at Lowes.

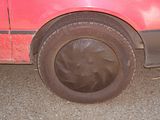
Something I didn't take a picture of was the actual sanding of the wheel covers, but I took a 150 grit foam sanding block to rough up the surface a bit to help make sure the resin would stick. Here's a pic of the after. Also make sure to clean off the dust with a damp rag.
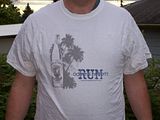
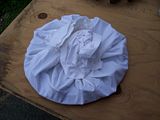
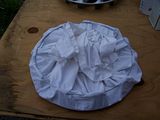
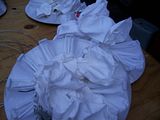
Instead of using t-shirts I had, I went to goodwill and bought 4 from their $.99 rack. Here is one of the ones that I got.
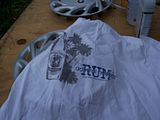
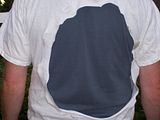
Make sure to not use shirts that you like because this is how they will end up
Ok, start by putting the wheel covers in the t-shirt facing the side with no printing on it. ( I say this because I don't think the resin will soak through the screen printing.)
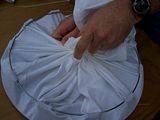
Make sure to position it so that all the holes can be gathered easily into the center.
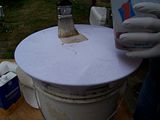
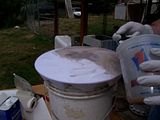
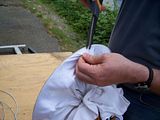
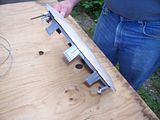
Ok, now install the tension ring
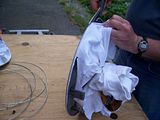
The next step is to carefully pull the shirt as tight as you can. Gotta be careful that you don't either tear the shirt or break the cover.

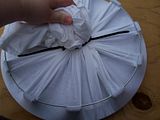
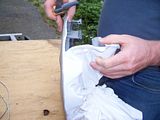
This next part is kinda difficult at first. Take all the loose t-shirt gather it up nice and tight and put either 1 or 2 zip ties around it depending on the length of your zip ties.
You want to get this pulled around the wheel cover as tight as you can this is what will help you get a nice smooth surface on the other side. I set it on a bucket to make it easier to work on at this point.
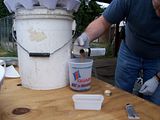
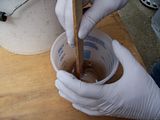
Ok, Now for the smelly part. Mix the resin according to the instructions on the can. My instructions were to mix approx 1/4 of the hardner with approx 1/4 of the can. Just make sure to follow your instructions and mix well. Also remember to work quickly.
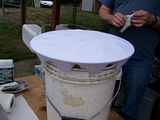
Now time to apply. I started in the center and worked my way out. just keep going and spreading until the shirt is saturated and you can kind of see the wheel cover through it. Make sure to get the edges well.
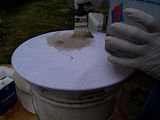
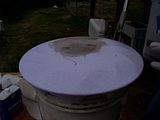
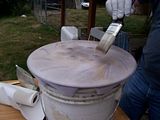
When you finish with the one, set it aside and move on, keep doing this until you have finished all 4.
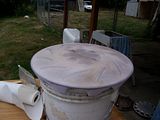
Allow the resin to set and cure for however long it says on the container. Mine said 2 hours, but due to lack of lighting working outside I let mine sit until the next day. Once it has cured remove the tension rings.
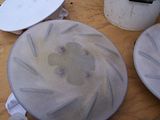
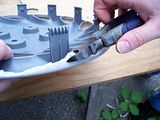
Next take a pair of scissors and work your way around the edge cutting off the shirt.
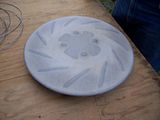
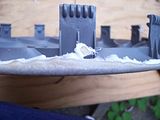
This is what you end up with after removing the shirt.
Now go around the edge with a razor knife and trim off anything that you couldn't cut through with the scissors.

For especially thick drips you may need to use a pair of dikes.

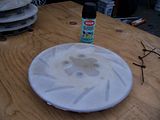
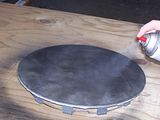
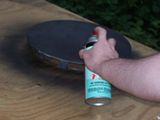
So the kinda muddy brown of the hardened resin is kinda ugly so I grabbed a can of black spray paint I had lying around.
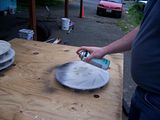
This is probably a good project for practicing your spray paint technique if you need too. I just did multiple passes until it was solid black then moved on. Don't forget to get the edges otherwise you'll have black covers with white (brownish) edges.
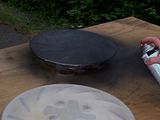
All four of them painted and waiting to dry.
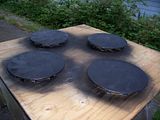
Ok, that's it. you are now the proud owner of (mostly) smooth hubcaps.
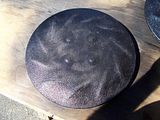
If you want them absolutely smooth you could do multiple layers so you can have enough to be sanded. I don't mind the bit of texture.
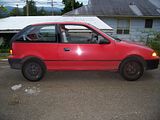
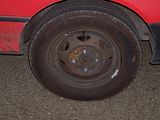
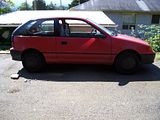
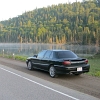
And here are the before and after pics of my car.


 Today
Today


 . Correct tension to the cloth is the key to the smoothest covers.


