Here's the latest update.
I grabbed a couple of scrap LEDs and starting experimenting to see what would work to attach them to another piece of plastic. How about laser-cutting a hole and poking them in there!
This is two LEDs, a 5mm and a 3mm
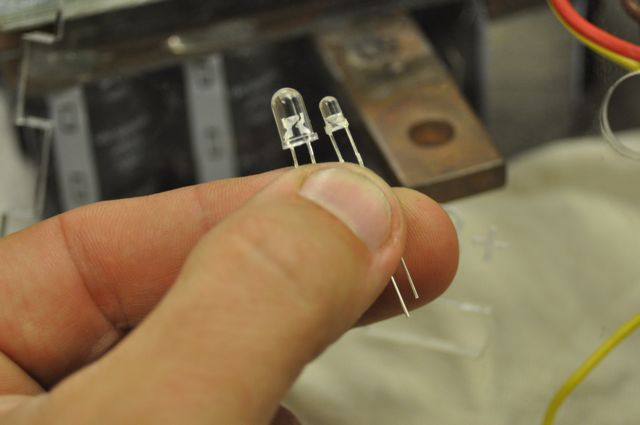
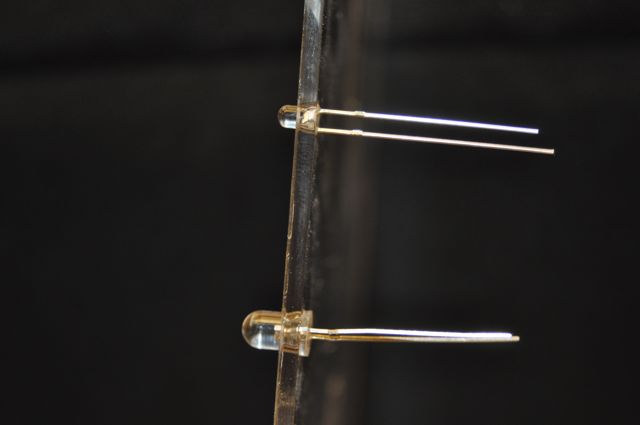
Here you can see them against the .22" plexiglass that I used to make the controller case. The 5mm LED is just a little too long to fit inside the thickness of the plexiglass, but the 3mm will embed itself in there just fine.
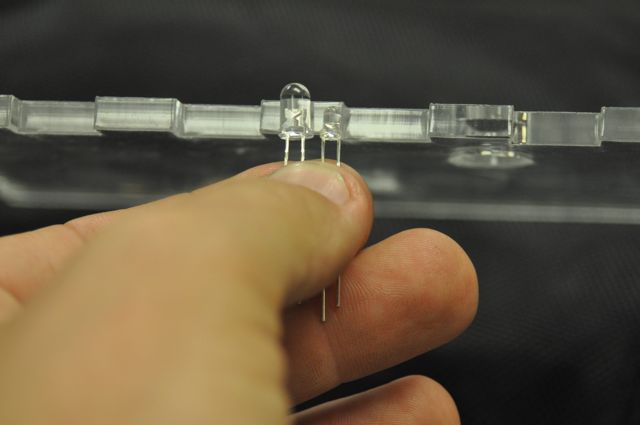
I used the laser-cutter at the
Milwaukee Makerspace to make a new end piece to experiment with. Although this is a piece of scrap material, which IS NOT the right thickness, it still let me check the hole size and see how LEDs would fit through.
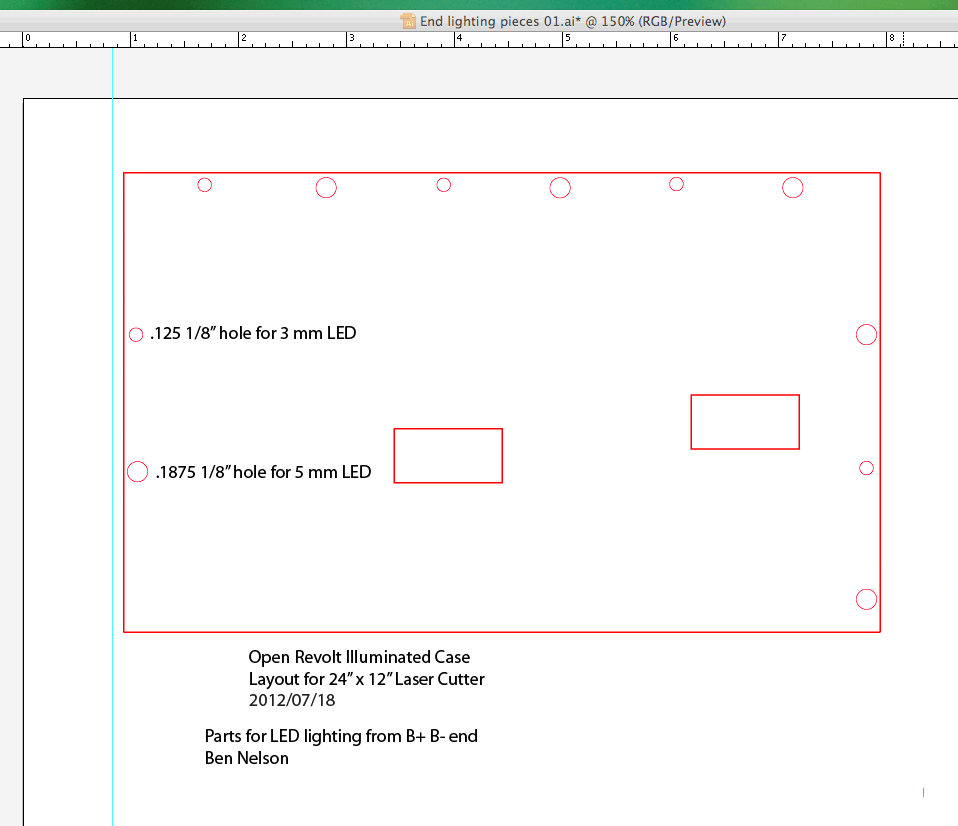
Here's a screen grab of the cutting layout on the laser cutter. I used my existing pattern of end cap to make a new one (without the castled edge) so that I could add LED holes to a new piece.
Here's the new "test" piece just leaned up against the end cap of the controller. I wanted the LEDs to line up to shine sideways through the top material to illuminate the Open Revolt Logo.
After cutting this piece, I realized that I put the holes to line up with the male notches on the end cap. I should have put them over the female notches, as that puts the LEDs more in direct contact with the top piece, so the light transmission should be better.
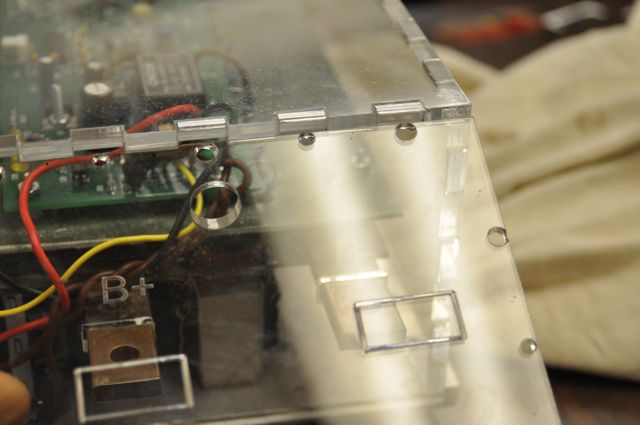
I still need to get the actual LEDs I'll be using. The 3mm were nice in how they fit right into the plexiglass. Also, their smaller diameter brought them in from the edge a bit.
I also want to make several layers of plexiglass, so that the LEDs, their associated resistors, and wires are all covered and contained in a way that looks nice.