08-15-2012, 12:13 AM
|
#11 (permalink)
|
|
Master EcoModder
Join Date: Jul 2008
Location: Langley, BC
Posts: 1,228
Fusion - '16 Ford Fusion Hybrid SE
Thanks: 190
Thanked 275 Times in 168 Posts
|
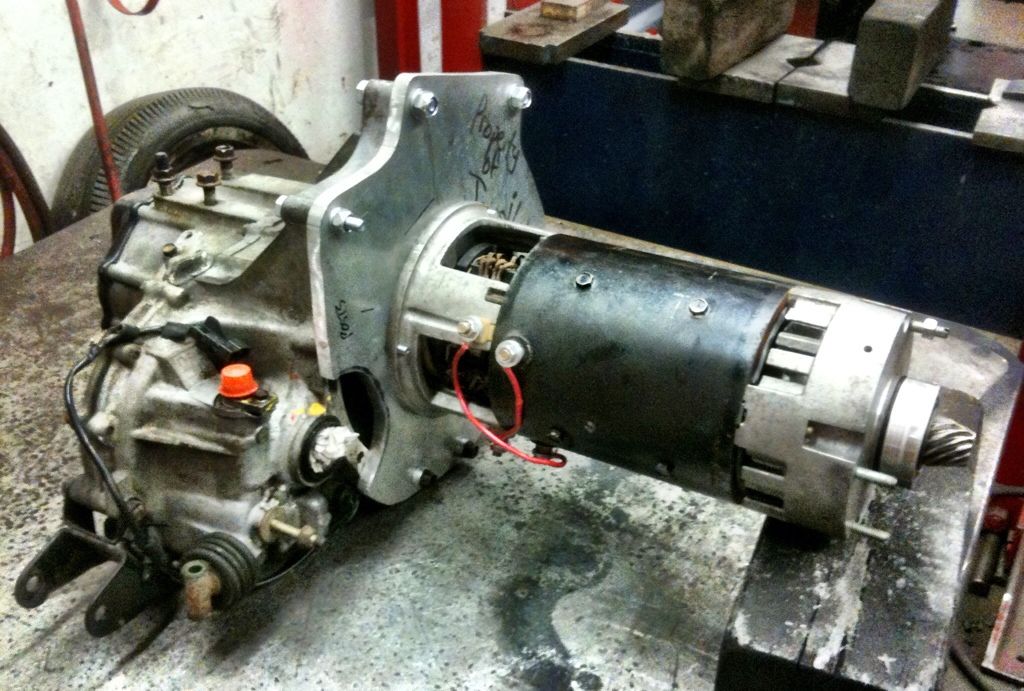
I have been messing around with the adapter plate the last few days. The motor is mounted up to the plate.
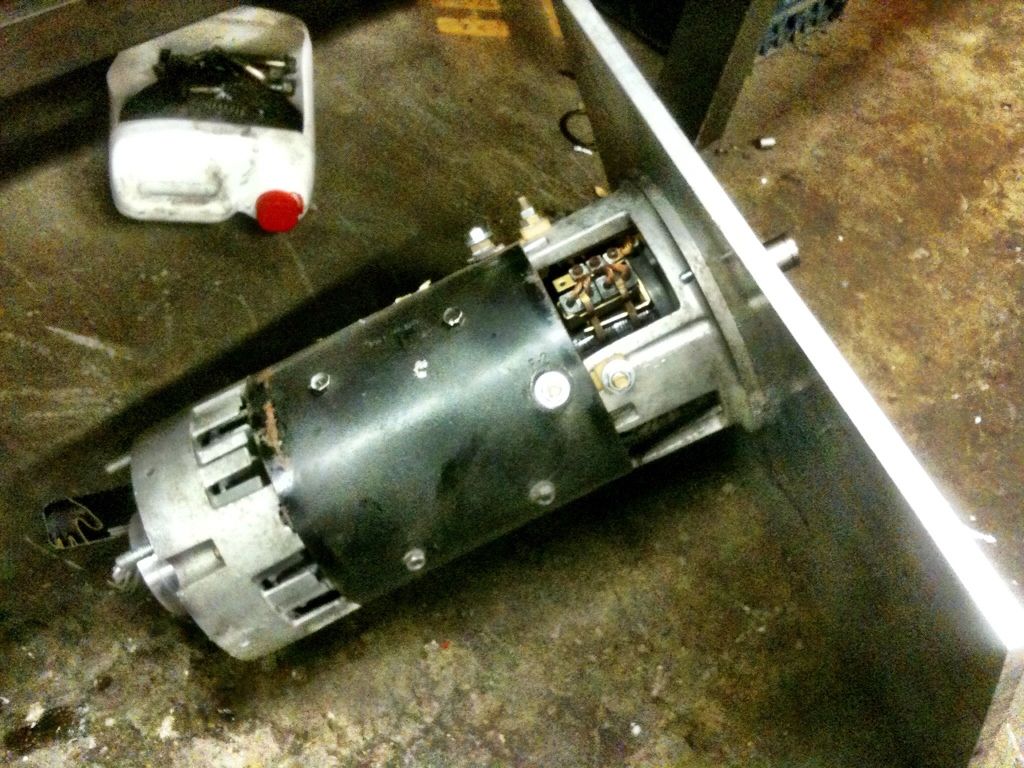
All it took was a 2-1/2" hole saw and a few drill bits in the drill press.
The adapter plate is huge. Way too big. I will eventually saw it down for sure and maybe use a chunk of it for a heat sink for the motor controller.
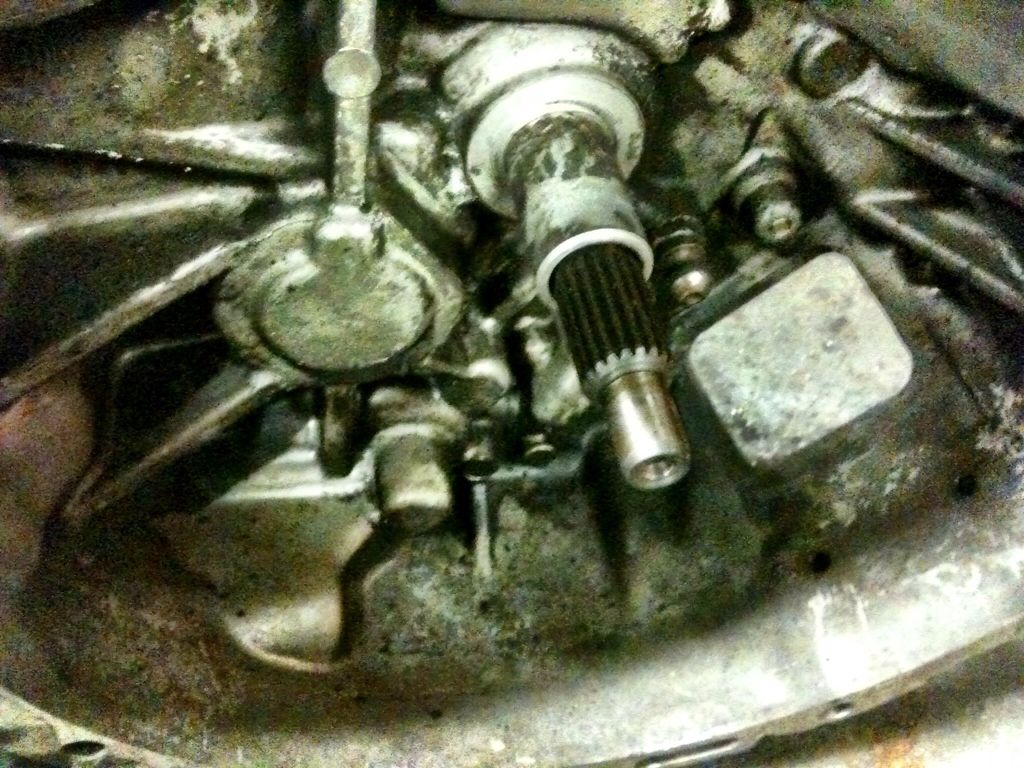
Here is the transmission input shaft with pilot bearing stub:
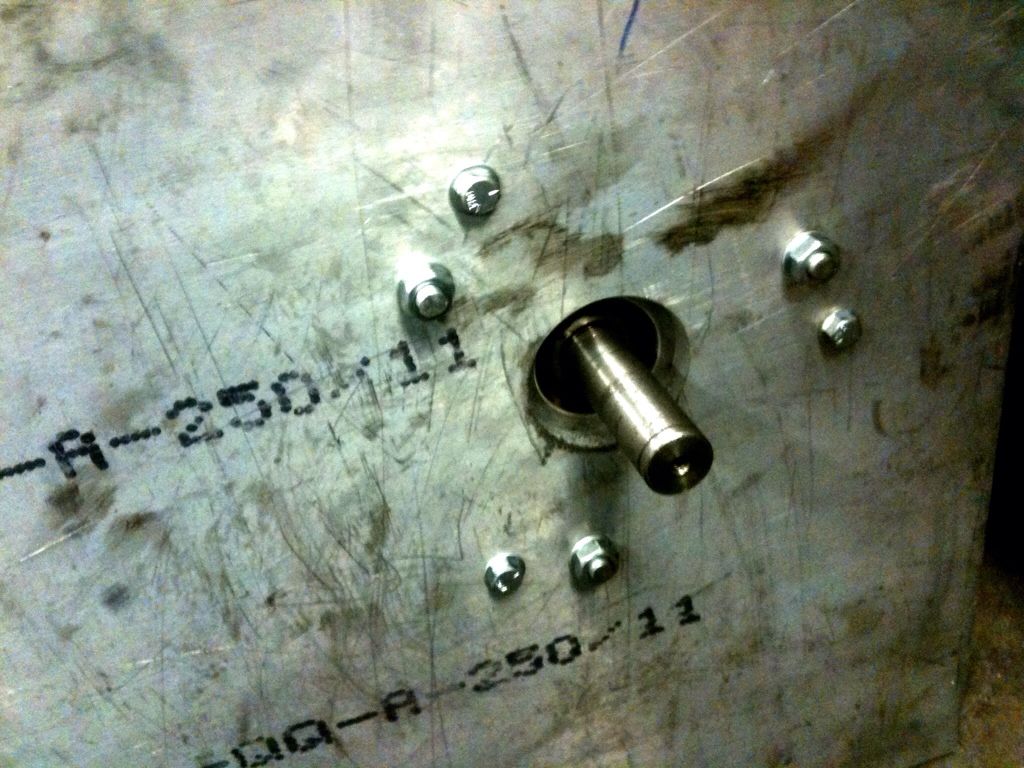
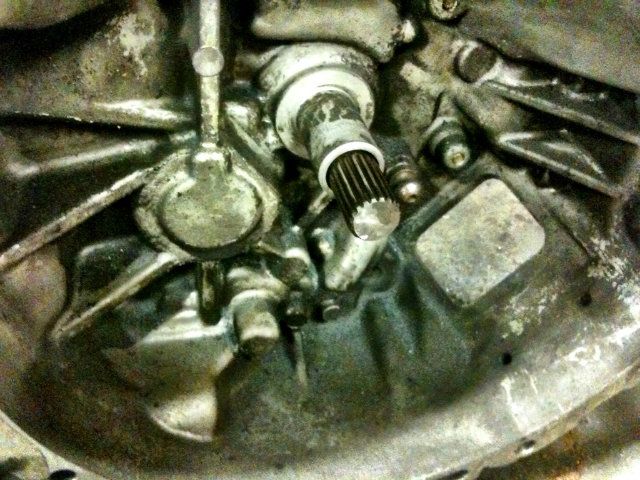
And here it is after the pilot-bearing-stubectomy, thanks to the cutoff wheel on my die grinder. It took all of about two minutes to complete:
Last edited by mechman600; 08-15-2012 at 10:41 AM..
|
|
|

|
 Today Today
|
|
|
|
 Other popular topics in this forum...
|
|
|
|
|
08-29-2012, 07:47 PM
|
#12 (permalink)
|
|
Master EcoModder
Join Date: Jul 2008
Location: Langley, BC
Posts: 1,228
Fusion - '16 Ford Fusion Hybrid SE
Thanks: 190
Thanked 275 Times in 168 Posts
|
Coupler
One thing to report: I did in fact receive my 1" keyed hub in the mail:
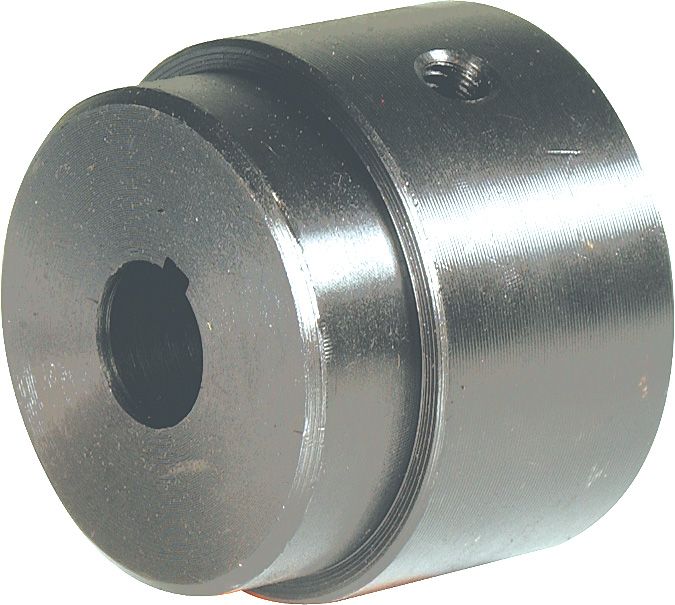
And I did in fact weld it to my splined clutch centre:
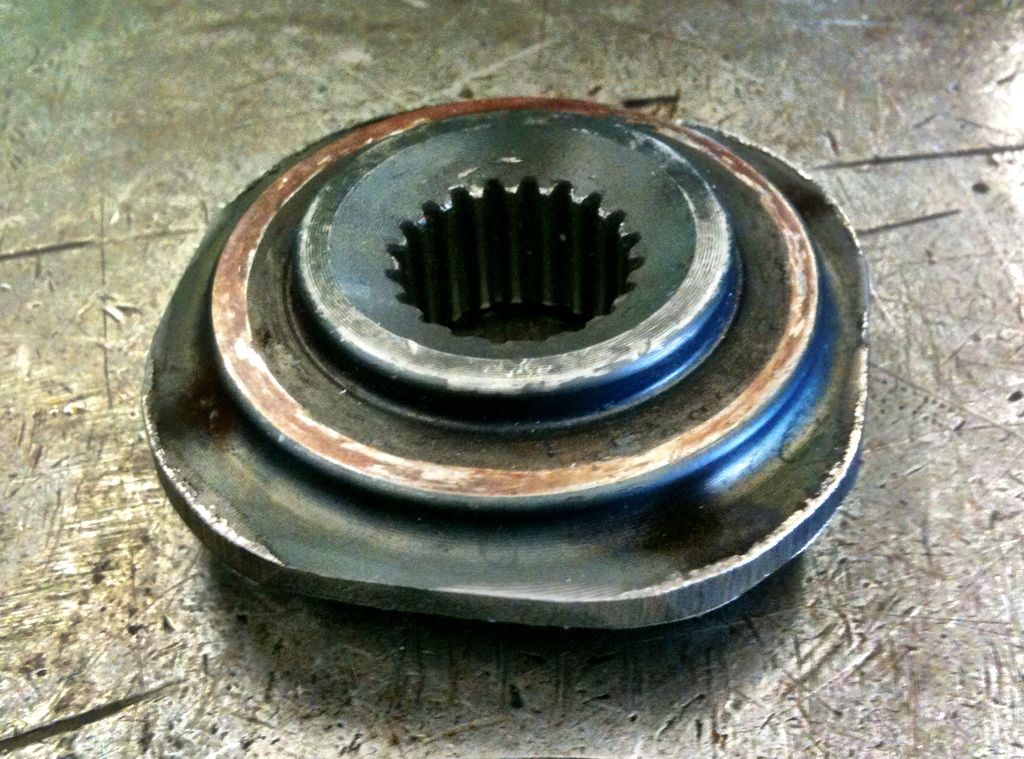
Did I weld it straight? I sure hope so. I fitted my new 1" keyed hub to the motor shaft and much to my dismay, in very "Princess Auto-esque" fashion it fit quite loosely to the motor shaft. No precision here, folks. So when I tighten the set screw, it pulls the coupler to one side of the shaft so that it wobbles a tiny bit (0.010"-0.020" or so) when the motor is spinning. Hmm...that's not good.
So here I sit on an 11 day holiday at our Hacienda in Osoyoos, trying to think of what I should do. And here's what I have come up with: I will discard the set screw on the motor shaft portion of the coupler to allow the coupler to float on the motor shaft. The clutch splines of the coupler fit quite snug on the transmission input shaft and there is no radial movement of the coupler there, so the coupler's radial position will be located by the transmission input shaft only and the motor shaft will float in the opposite end (the loose end) of the coupler.
There will not be an issue with the coupler moving fore and aft because I welded a washer between the 1" keyed portion and clutch spline portion inside the coupler to prevent it from moving.
The question is, should I put grease between the coupler and motor shaft to prevent the key from wearing out as the coupler moves around on it? I don't know. It will definitely work, but longevity has now become a giant variable. |
|
|
|
|
08-29-2012, 09:18 PM
|
#13 (permalink)
|
|
Master EcoModder
Join Date: Oct 2009
Location: Red Deer, AB
Posts: 421
Thanks: 39
Thanked 96 Times in 69 Posts
|
Not to be a killjoy, but I don't think your plan to leave out the set screw is a good idea. There is not a lot of surface area to drive on with a key and keystock is not that hard to start with. I have seen a lot of key failures caused from loose set screws, and often times the keyway in the shaft and the coupler are damaged as well. It's your call, but I think you should find a better fitting coupler.
__________________

Almost all my driving is done 1-5 miles at a time.
Best short trip: 2.4 l/100 km, 3.9 km
|
|
|
|
|
08-29-2012, 11:22 PM
|
#14 (permalink)
|
|
Master EcoModder
Join Date: Jul 2008
Location: Langley, BC
Posts: 1,228
Fusion - '16 Ford Fusion Hybrid SE
Thanks: 190
Thanked 275 Times in 168 Posts
|
Thanks for the advise. I am guessing that the most torque going through this coupler will be 40-50 ft/lbs with minimal torsional vibration. I had guessed that a 1/4" key would be able to handle this, but maybe not.
For those non-Ecomodder types, and for a bit of extra EV commentary, I have also started a conversion blog here, for those interested:
Project: Electric Booger |
|
|
|
|
09-04-2012, 12:42 PM
|
#15 (permalink)
|
|
Administrator
Join Date: Dec 2007
Location: Germantown, WI
Posts: 11,203
Thanks: 2,501
Thanked 2,589 Times in 1,555 Posts
|
Its good to see this project progressing!
I would have to agree a solid motor coupling is essential. The more slop the more its going to not only wear out your coupling, but your motor and transmissions bearings.
|
|
|
|
|
09-06-2012, 02:34 AM
|
#16 (permalink)
|
|
Master EcoModder
Join Date: Jul 2008
Location: Langley, BC
Posts: 1,228
Fusion - '16 Ford Fusion Hybrid SE
Thanks: 190
Thanked 275 Times in 168 Posts
|
Thanks for the coupler advise. I agree that a good fit is essential. So today I finally set out to figure out why my one inch keyed hub fits so loosely on the motor shaft. Let me remind you that in a previous post, I blamed Princess Auto (the local surplus store) for what I assumed was a poor quality, mis-machined part.
Out came my 0-1" micrometer and inside bore gauge. It turns out that the Princess auto piece is exactly one inch ID. It also turns out that the motor shaft is .982" OD. What this means, ladies and gentlemen, is that the shaft is not one inch in diameter, but 25mm. I didn't know they came in metric sizes. Weird. Back to the drawing board.
I am going to ship the whole thing to my friend Matt (a machinist) by the weekend - motor, a new 7/8" hub (that he can lathe out to fit the motor shaft. Wait, didn't I return one of those already?!) and clutch center. When he is finished, it will definitely work. So again I wait.
My apologies to Princess Auto. I will never doubt you again.
|
|
|
|
|
09-08-2012, 09:00 PM
|
#17 (permalink)
|
|
Master EcoModder
Join Date: Jul 2008
Location: Langley, BC
Posts: 1,228
Fusion - '16 Ford Fusion Hybrid SE
Thanks: 190
Thanked 275 Times in 168 Posts
|
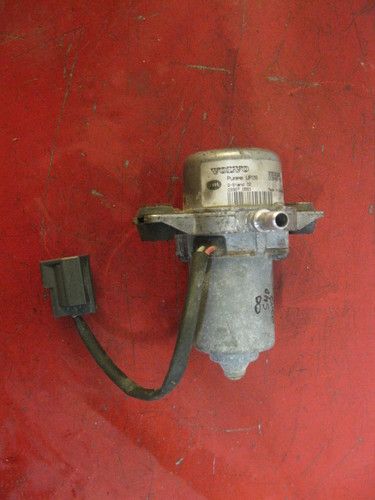
Yesterday I purchased the last of my bits. I finally found a cheap vacuum pump that will work well for my brakes, a Volvo vacuum pump. Turns out that their turbocharged cars (and there are a lot of those) all use a vacuum pump for the brakes. Used - $55.
I also purchased a vacuum switch, PB-6 style potbox (with idle micro-switch), pre-charge resistor and a couple of 400A fuses from Cloud Electric.
Today I did some measuring and chopped the motor shaft shorter so it will be about 1/8" from the transmission input shaft when everything is bolted up.

The new coupler should be ready in a few days. I hope. Then all will bolt together nicely. I hope. |
|
|
|
|
09-11-2012, 09:00 PM
|
#18 (permalink)
|
|
Master EcoModder
Join Date: Jul 2008
Location: Langley, BC
Posts: 1,228
Fusion - '16 Ford Fusion Hybrid SE
Thanks: 190
Thanked 275 Times in 168 Posts
|
Yesterday I took care of my power steering issue. I have converted it to armstrong steering. As in...my strong arms will do all the work. Sorry, bad joke.

The hose is joining the input and return of the steering rack, basically just to keep crap out. |
|
|
|
|
09-15-2012, 09:07 PM
|
#19 (permalink)
|
|
Master EcoModder
Join Date: Jul 2008
Location: Langley, BC
Posts: 1,228
Fusion - '16 Ford Fusion Hybrid SE
Thanks: 190
Thanked 275 Times in 168 Posts
|
The other day my buddy Matt (the machinist) redid my first adapter attempt. Here is a video of the nice true adapter spinning up:
I supported the transmission in a garbage can so the input shaft was pointing up and set the motor (bolted to the adapter plate) onto the transmission to trace the adapter plate out. A few minutes of drill press time and a lot of sawing and here is the result:
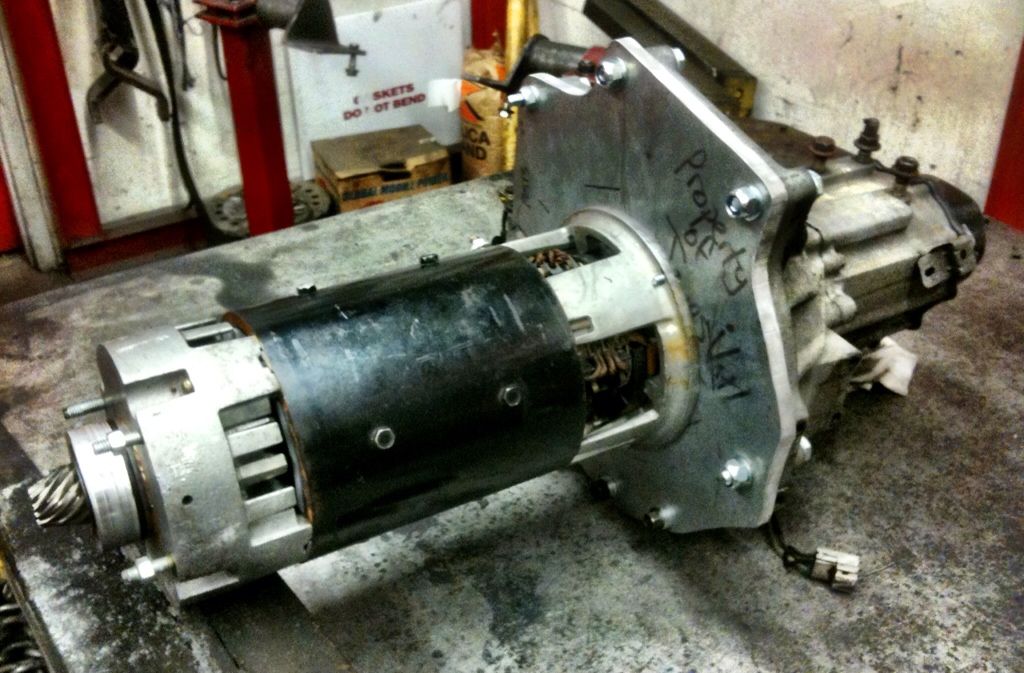
I spun it up to check for strange noises and all is well.
However...much to my dismay, I realized something today. This motor has a gear on the end opposite the transmission, and this end has an exposed bearing. It appears that this end was originally the drive end and was immersed in the oil of some sort of gearset. You can see the o-ring that sealed oil from leaking out. There is probably an oil seal on the motor shaft on the armature side of the bearing.

I have already come up with an end cap to seal it off so it is not exposed to the elements, but I need to figure out how to keep this bearing lubed. One way is to fill it up with grease and every once in a while remove the end cap to put more grease in. The other option is to make a small oil fill plug on the end cap that maintains a level of oil just above the bottom of the bearing.
What to do...what to do... |
|
|
|
|
09-16-2012, 12:26 AM
|
#20 (permalink)
|
|
Master EcoModder
Join Date: Nov 2011
Location: slo county ca.
Posts: 277
Thanks: 24
Thanked 17 Times in 16 Posts
|
have your bud machine a cup that seals on the oring and fill it with some 5-20 motor oil , that option sounds the best . in the future you may find a use for that extended gear.
|
|
|
|
|