05-04-2020, 10:03 PM
|
#41 (permalink)
|
|
Master EcoModder
Join Date: Dec 2016
Location: Florida
Posts: 385
Thanks: 64
Thanked 161 Times in 136 Posts
|
Quote:
Originally Posted by JulianEdgar

The strakes I trialed are 410mm apart. I've seen production cars with strakes as far apart as the full diffuser width, all the way to being only about 75mm apart. In my book, page 95 and pages 183 - 185 have some good views of strakes in diffusers of production cars.
The plywood (both strakes and base) is 3mm thick. I didn't bother describing the assembly because it's shown in the third post in this thread - https://ecomodder.com/forum/showthre...tml#post622797
When it was in position, it was taped around all edges. The sheet was sized to be the same as the rear diffuser, which in this part is flat (ie not curved). I would guess the boundary layer as being something like 10mm thick at this point, so I can't see small discontinuities making much difference to anything. At their maximum, the strakes are 90mm deep. |
So 410mm is a little over 16", wider then "norm" by my definition IMO, I also suspect many strakes on today's road cars/SUV's are often more cosmetic , kinda like the wings mounted an inch above the "boot". I also believe strakes more then two, are mainly to enhance DF goals, rather then reduce drag (when used for a performance goal not cosmetics), I don't know precisely.
Would a curved piece of PW been a more proper fit? I get that almost all testing accepts some compromises.
I totally agree 3mm would be hard to image as great impediment on this application, but also remember in aircraft wing tests, bug splatter is even detectable. The tape was visible in posted pics, so it was apparent you were likely trying to minimize any "discontinuities".
Regardless, something caused the increase in measured air pressure, and I can't still conclude it was only caused by the three strakes.
|
|
|

|
 Today Today
|
|
|
|
 Other popular topics in this forum...
|
|
|
|
|
05-05-2020, 01:00 AM
|
#42 (permalink)
|
|
Master EcoModder
Join Date: Aug 2012
Location: northwest of normal
Posts: 27,649
Thanks: 7,764
Thanked 8,575 Times in 7,061 Posts
|
Off topic, but I really appreciate Structural technology at its finest. I've never seen an up-close examination of the truss work in the classic airships.
The 'flanged' holes are created by dimple dies.
__________________
.
.Without freedom of speech we wouldn't know who all the idiots are. -- anonymous poster
____________________
.
."We're deeply sorry." -- Pfizer
|
|
|
|
|
05-05-2020, 02:38 AM
|
#43 (permalink)
|
|
Banned
Join Date: Nov 2017
Location: Australia
Posts: 2,060
Thanks: 107
Thanked 1,605 Times in 1,136 Posts
|
Quote:
Originally Posted by freebeard
|
Yes, the 1930s airships are just stupendous. If postage didn't cost me an arm and leg, I'd send you a gratis copy of my Discovering Engineering that Changed the World book. I think you'd love it. Lots of really cool stuff - the chapter on airships also covers hovercraft, another incredible technology. |
|
|
|
|
The Following User Says Thank You to JulianEdgar For This Useful Post:
|
|
|
05-05-2020, 03:01 AM
|
#44 (permalink)
|
|
Banned
Join Date: Nov 2017
Location: Australia
Posts: 2,060
Thanks: 107
Thanked 1,605 Times in 1,136 Posts
|
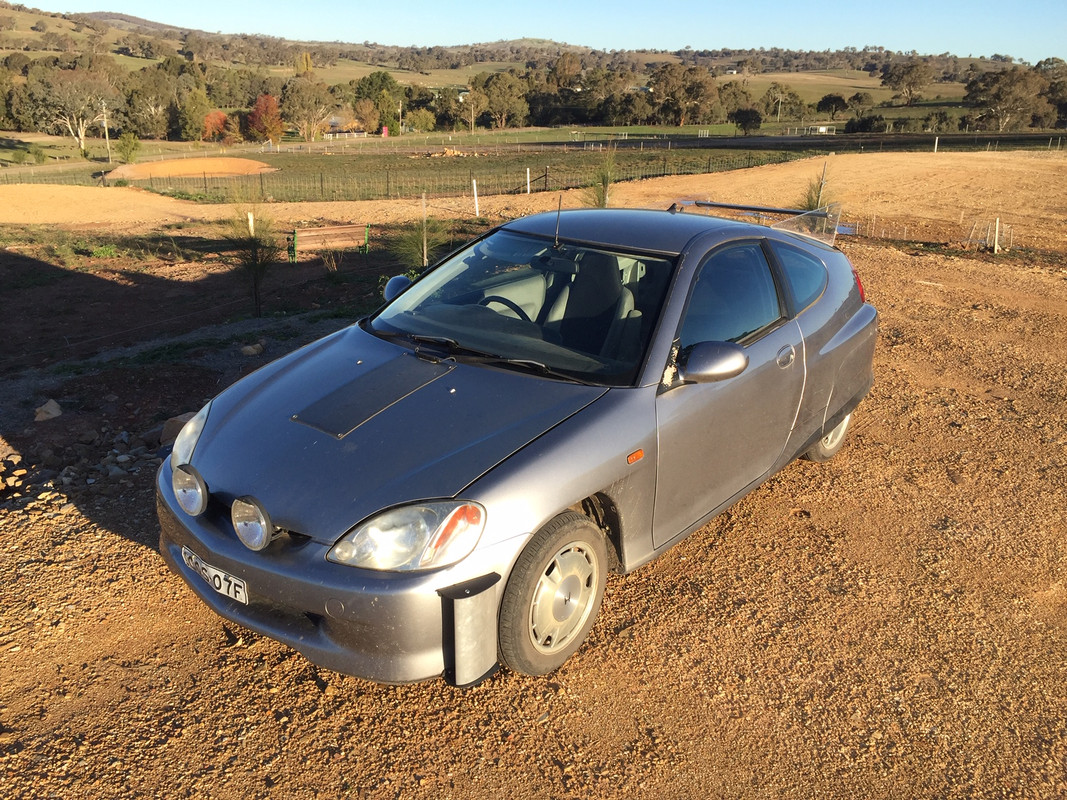
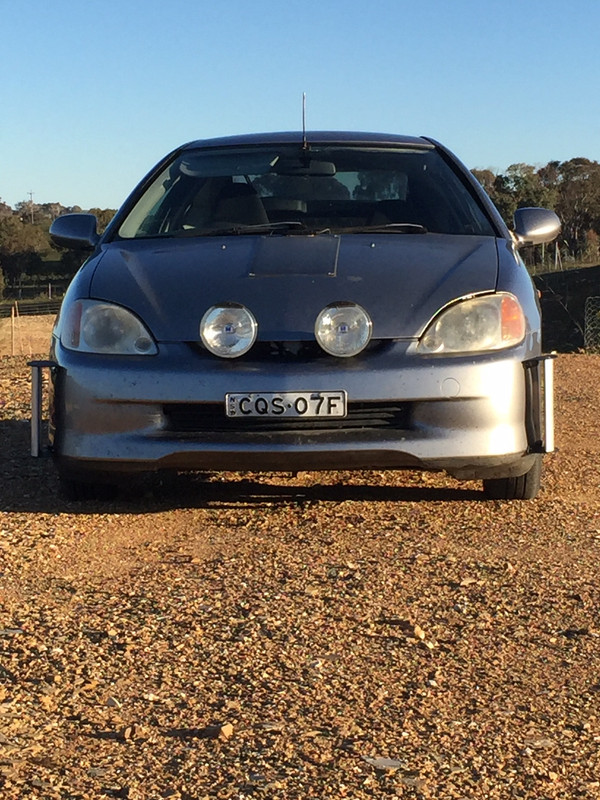
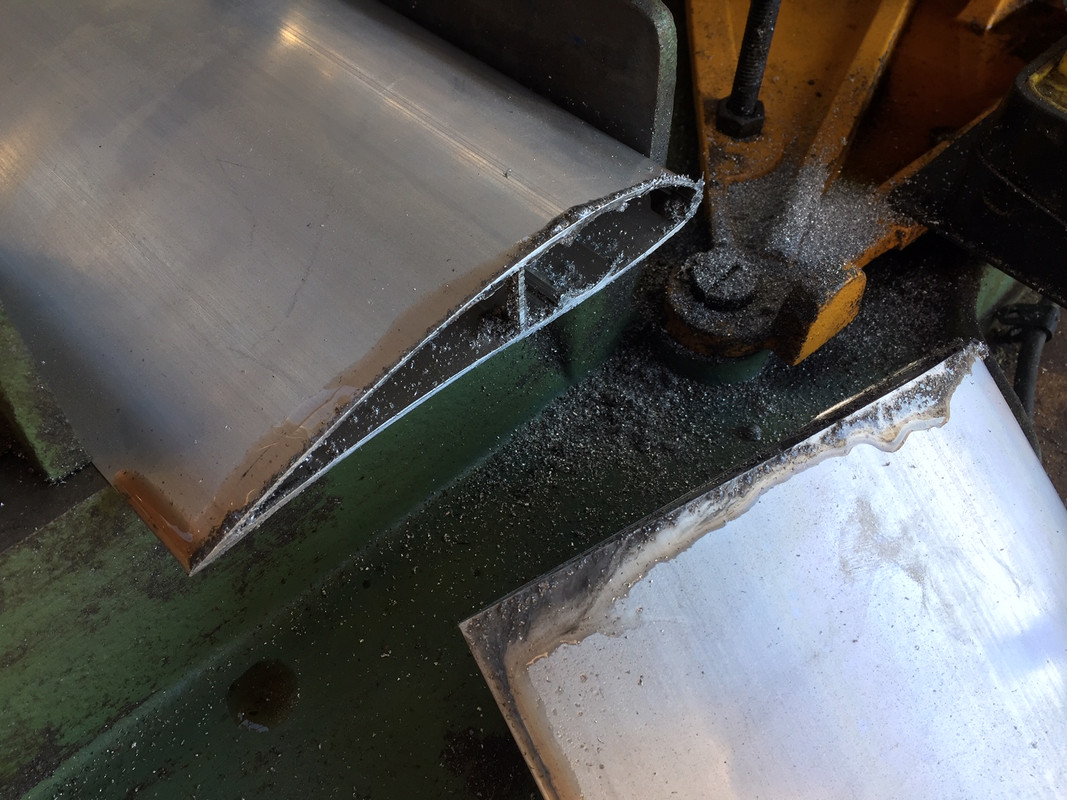
I built the proper versions of the Edgarwits aerofoil air curtains today.
Cutting the GOE222 aluminum extrusion to length. If you were careful you could use just a hacksaw.

Note the proper aerofoil profile.
The drilled and tapped aluminum spuds that fit into the 25mm openings in the extrusion. Buying 25mm (1 inch) bar would make this easier.
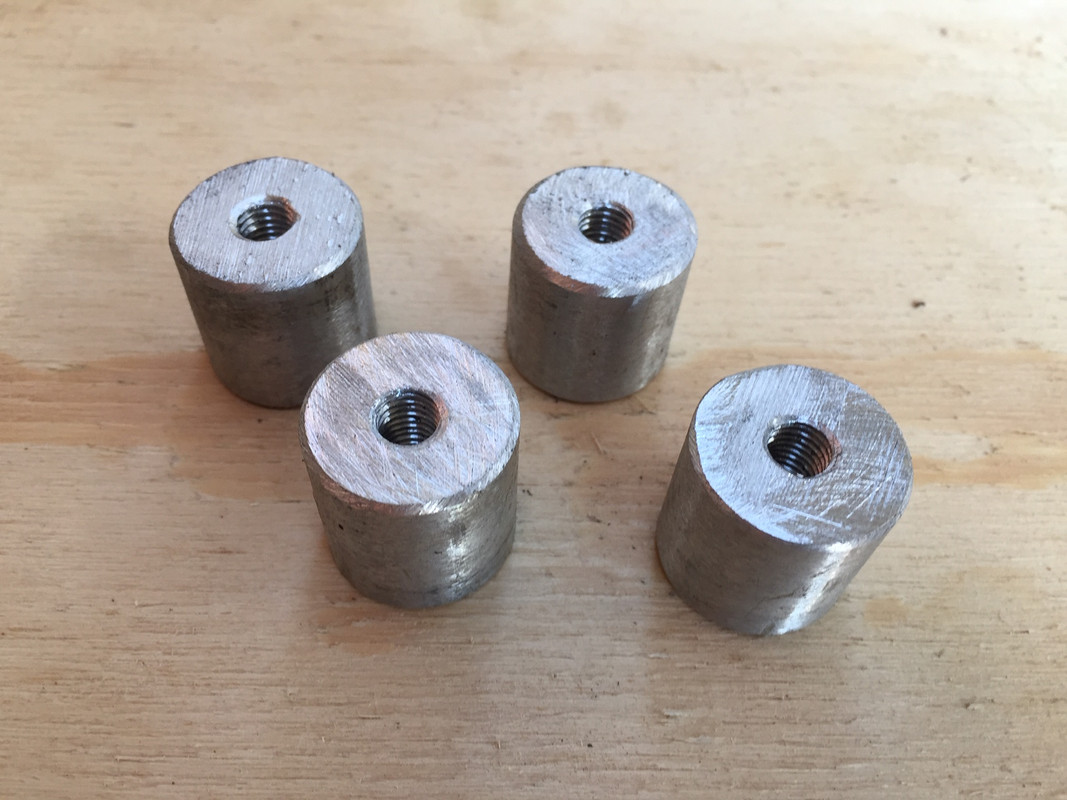
The spuds glued into place. I used threadlock - ie an anaerobic adhesive.

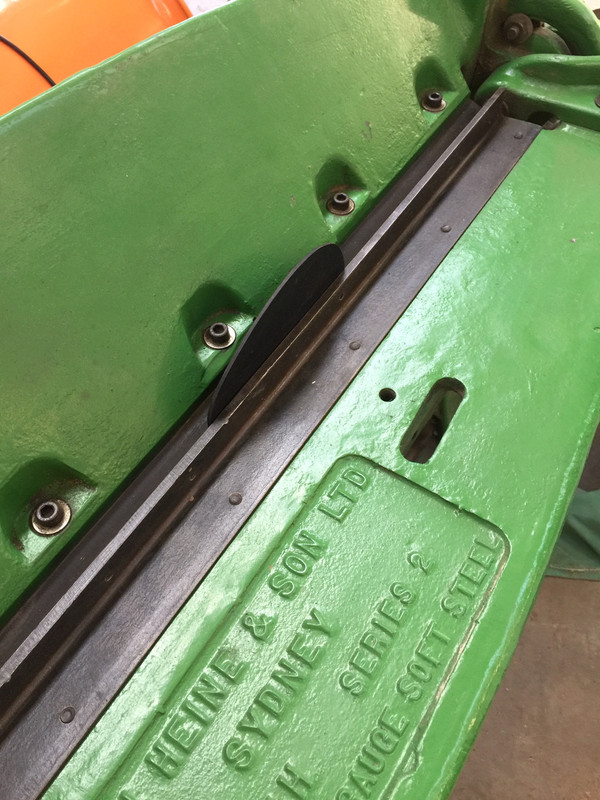
Marking out and then cutting the 3mm ABS end plates (same material as my front undertray). This material is easy to 'work' with normal tools.

Folding a flange on the heated ABS. (Could have just used blocks of wood.)
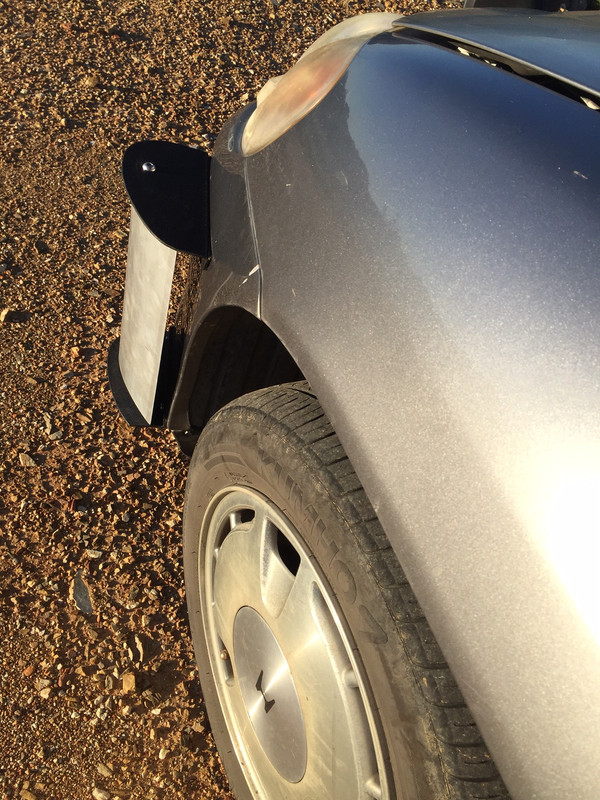
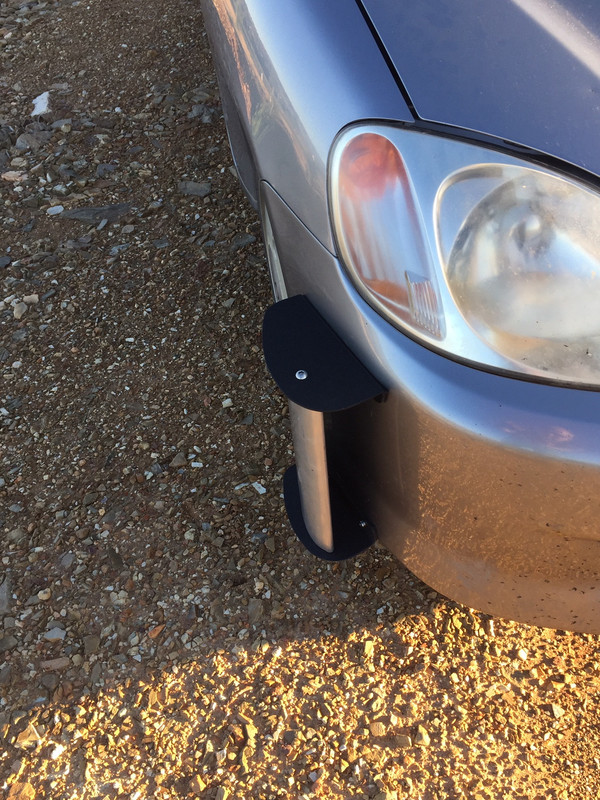
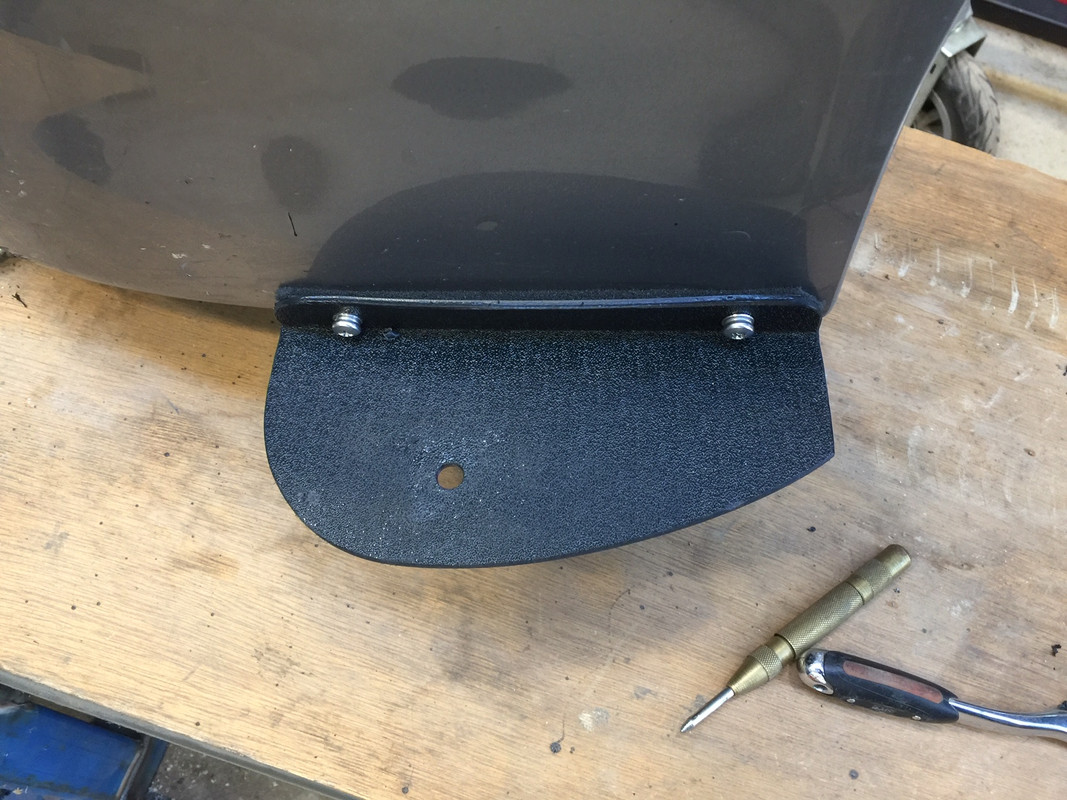
The two finished Edgarwits. Each end plate is different so they all needed to be labelled.
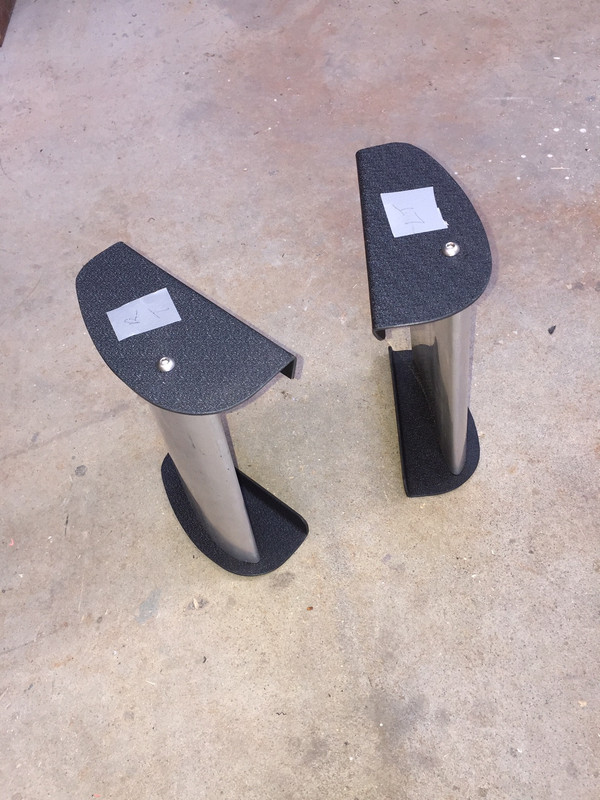
Attaching the bottom end plate of the LH side. Note the rubber seal that fills the gap between the straight flange and the slightly curved bumper.
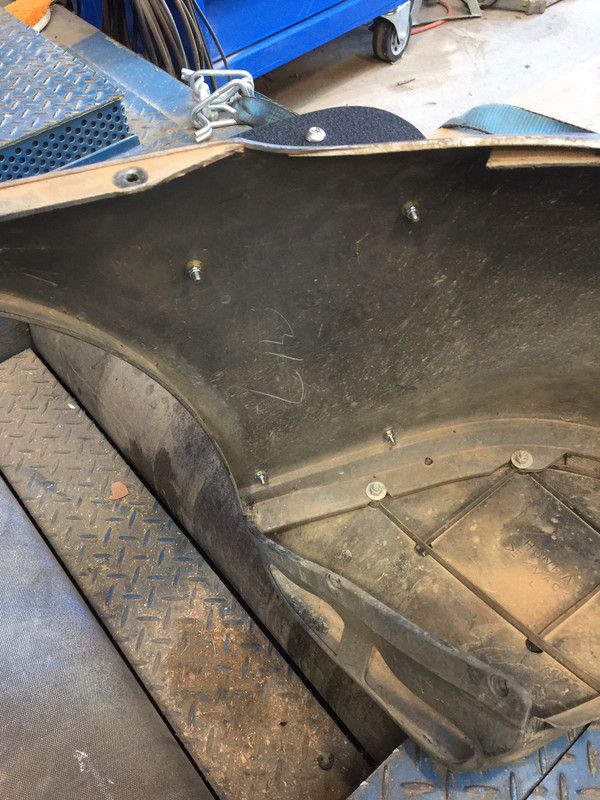
Inside view of bumper. Washers and Nyloc nuts. Don't want to lose a second pair!
 |
|
|
|
|
The Following User Says Thank You to JulianEdgar For This Useful Post:
|
|
|
05-05-2020, 03:06 AM
|
#45 (permalink)
|
|
Banned
Join Date: Nov 2017
Location: Australia
Posts: 2,060
Thanks: 107
Thanked 1,605 Times in 1,136 Posts
|
|
|
|
|
|
The Following User Says Thank You to JulianEdgar For This Useful Post:
|
|
|
05-05-2020, 03:57 AM
|
#46 (permalink)
|
|
Master EcoModder
Join Date: Aug 2012
Location: northwest of normal
Posts: 27,649
Thanks: 7,764
Thanked 8,575 Times in 7,061 Posts
|
Thanks. I don't know that I have the ability to read a whole book anymore. 
 Ron Covell: Beading Machine Basics
__________________
.
.Without freedom of speech we wouldn't know who all the idiots are. -- anonymous poster
____________________
.
."We're deeply sorry." -- Pfizer
|
|
|
|
|
05-05-2020, 05:04 AM
|
#47 (permalink)
|
|
Banned
Join Date: Nov 2017
Location: Australia
Posts: 2,060
Thanks: 107
Thanked 1,605 Times in 1,136 Posts
|
Quote:
Originally Posted by freebeard
|
You must have read my mind - I am looking at beading machines online just tonight! I just don't know; I seldom use my small rollers. In sheet metal, I use my guillotines a lot, and my folder a lot. But would I use a beader often enough to make it worthwhile? No one can answer that, I know...
|
|
|
|
|
The Following User Says Thank You to JulianEdgar For This Useful Post:
|
|
|
05-05-2020, 10:23 AM
|
#48 (permalink)
|
|
Somewhat crazed
Join Date: Sep 2013
Location: 1826 miles WSW of Normal
Posts: 4,061
Thanks: 467
Thanked 1,111 Times in 980 Posts
|
Quote:
Originally Posted by JulianEdgar
But would I use a beader often enough to make it worthwhile? No one can answer that, I know...
|
It's a learned mindset. To a carpenter, everything needs to be nailed together. To a louver freak..................
It will allow a material strength that approaches maximum stiffness the material allows without added stick on structure |
|
|
|
|
The Following User Says Thank You to Piotrsko For This Useful Post:
|
|
|
05-05-2020, 10:35 AM
|
#49 (permalink)
|
|
マット
Join Date: Nov 2015
Location: Indiana
Posts: 718
Thanks: 131
Thanked 258 Times in 188 Posts
|
In "Throttle stop drag testing - including new design front air curtains" (a few posts above) you said a 8% decrease in drag with the edgarwit air curtain. What was the math behind that calculation? Is it only based on the speed change or did you need other factors to calculate that?
__________________
1973 Fiat 124 Special
1975 Honda Civic CVCC 4spd
1981 Kawasaki KZ750E
1981 Kawasaki KZ650 CSR
1983 Kawasaki KZ1100-A3
1986 Nissan 300zx Turbo 5 spd
1995 Chevy Astro RWD (current project)
1995 Mercury Tracer
2017 Kawasaki VersysX 300
2022 Corolla Hatchback 6MT
 https://www.youtube.com/channel/UC6s...LulDUQ8HMj5VKA
|
|
|
|
|
05-05-2020, 10:57 AM
|
#50 (permalink)
|
|
Cyborg ECU
Join Date: Mar 2011
Location: Coastal Southern California
Posts: 6,299
Thanks: 2,373
Thanked 2,172 Times in 1,469 Posts
|
Those are great design and build standards in those arifoils, hey. Much respect. Enviable. Good luck testing.
__________________
See my car's mod & maintenance thread and my electric bicycle's thread for ongoing projects. I will rebuild Black and Green over decades as parts die, until it becomes a different car of roughly the same shape and color. My minimum fuel economy goal is 55 mpg while averaging posted speed limits. I generally top 60 mpg. See also my Honda manual transmission specs thread.


|
|
|
|
|