Here's everything I've done in the past month. I apologize for not being able to take in-progress shots, but my camera took an accidental vacation in China because my boss mistook it for his.
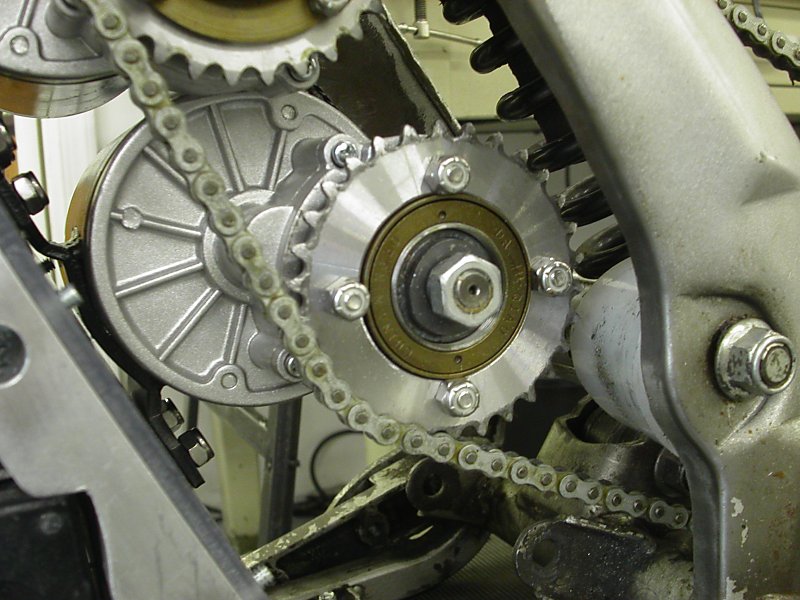
+ I bought a 5/8" ID steel freewheel adapter from
Staton Inc.,
+ I used the lathe to bore the ID out to match the motor axle size.
+ The #40 double-D-bore sprocket included with the motor was ground down to make a washer.
+ Washer was then TIG welded onto the freewheel adapter.
+ I drilled the hole pattern into the #35 sprockets, then used a bolt to chuck in the lathe so I could cut out the large center hole.
+ I made a motor-mount plate out of 1/4" polycarbonate, and end brackets out of 1" aluminum square tube.
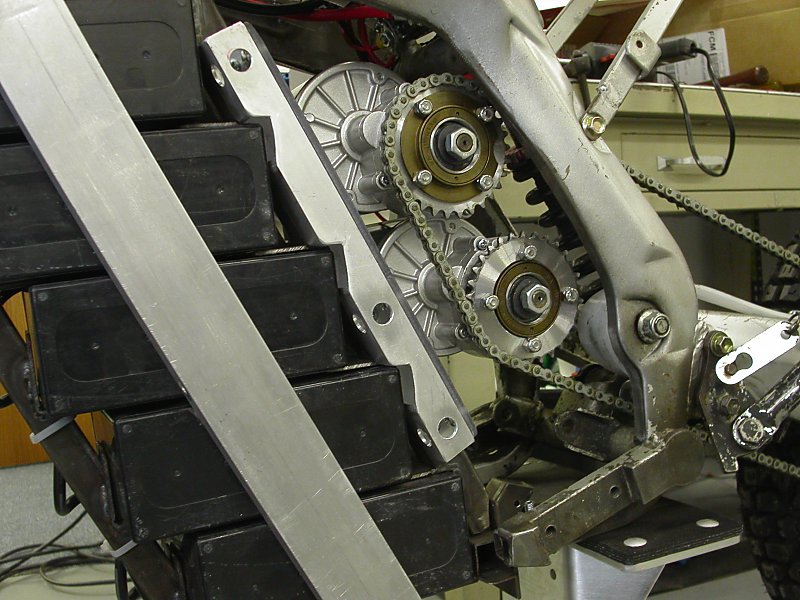
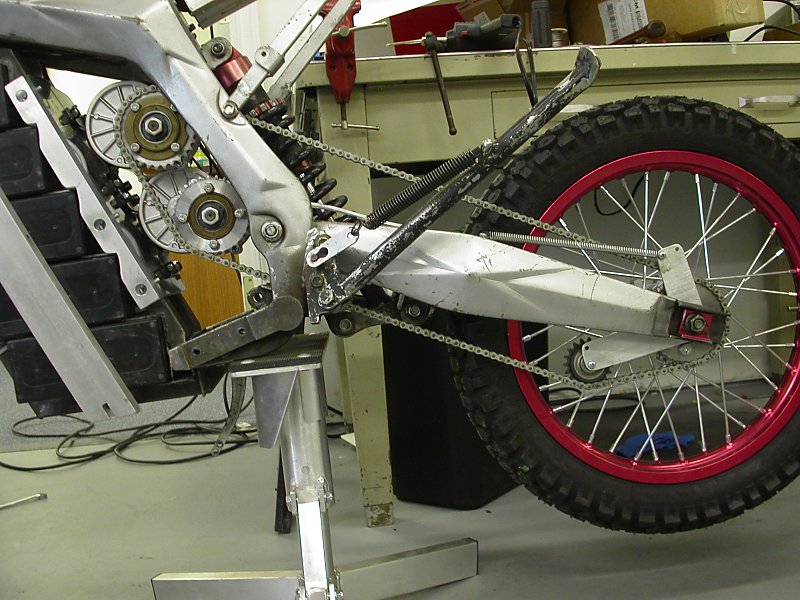
The sprockets are bolted onto the opposite sides freewheels so I could attach the motors to the motor mount plate at an offset. This allowed me to overlap the gear case of the top motor over the cover of the lower motor.
See below image showing where I had to grind both.
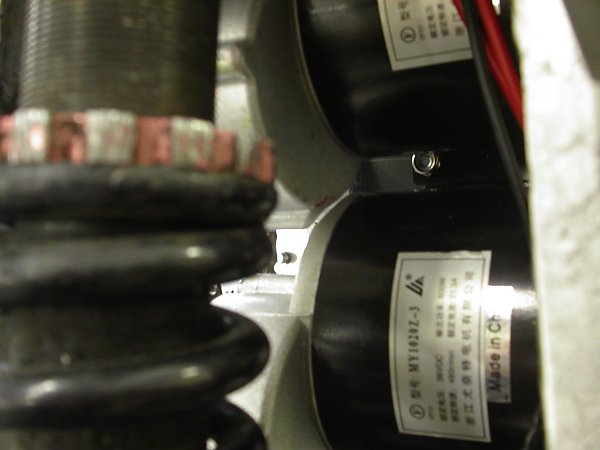
Doing this save me just enough space so that I had more than enough clearance between the frame and the top side of the chain.
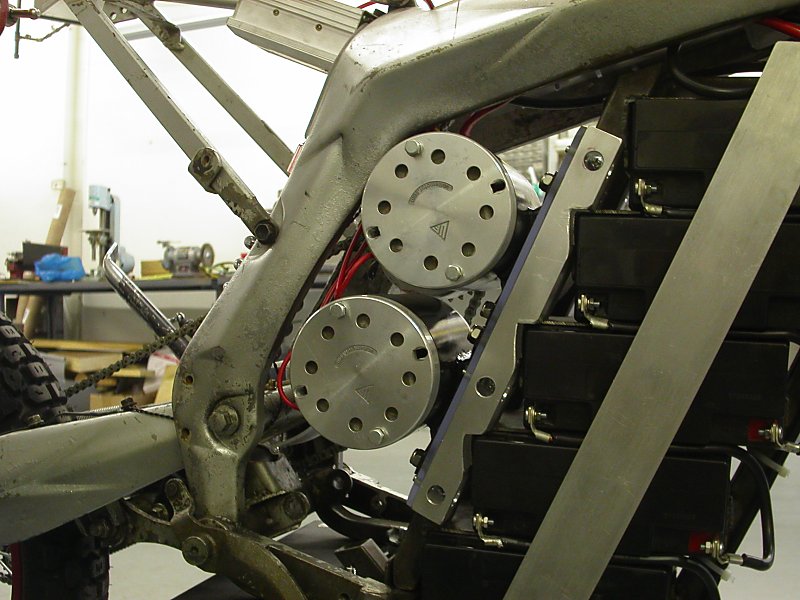
I also drilled out and cut square notches in the mounting holes.
I thought I was going to have to offset the brushes 90 degrees to reverse the motors, but it turns out the motors spin the right way around when stock.
Wasted effort on my part, but at least I had the option of reversing them later on.
The problem I have now is that the sprocket on the lower motor isn't engaging enough teeth and slips on the chain. I may have to move the upper motor to the swing arm, or remount the lower motor after rotating the gear box position.
Left to do
1. Fix chain slip
2. Make new brake light
3. Make new turn signals (front and back)
4. Record a video for everyone that has been nagging me to