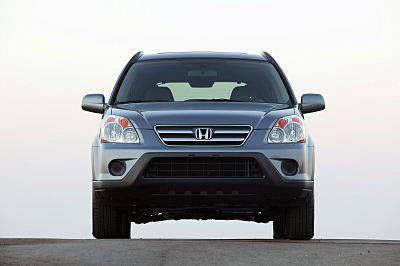
I'm thinking about putting a belly pan/side skirts on my CR-V. It doesn't look like a good candidate for an airdam, based on the shape of the existing front end.
Anyway, in the front, the suspension components are the lowest thing, and then in the back, the rear suspension components are the lowest thing. In between the front and rear, there is a lot of ground clearance under the car, with the notable exceptions of the exhaust system and the fuel tank. The car is not 4wd.
If you look at this photo, you can see how the exhaust hangs down, and then toward the rear, behind the shiny muffler, you can see the black gas tank hanging down.

Here is what I am thinking of doing.
I am planning to use the bolt holes along the side body seams (originally intended for side step attachment) to attach a rectangular plastic gutter downspout, extending from the front jack point to the rear jack point. I hope to find downspout material about 3 or 4 inches in the larger dimension of the rectangle.
Then I would attach a coroplast belly pan. In the front it would attach to the stabilizer bar. Along the sides it would attach to the gutter downspout side rails. And in the back, it would attach to the rear stabilizer bar or the leading edge of the rear suspension. It would also be attached to the fuel tank protector bar, since it is easy to access and would provide a lot of stability.
I would cut holes in the coroplast to keep it from bumping the exhaust system pieces that poke downward. Not sure how much distance I need between the exhaust and the coroplast to prevent melting. Anyone have an idea? I am not in the mood to use flashing in that area and enclose the whole exhaust for fear of something overheating.
Eventually I will also add a front undertray to smooth out that section.
In the rear the slope up from the rear suspension to the rear bumper is steep enough to install a diffuser and get some downforce, but that's not what I want.

So I need to think of a way that cleans that up without making it worse than the original. That is the lowest priority.
My hope is that after this mod I could regularly see 30mpg on the highway.
If anyone has any wisdom or experience that they would like to share, or any questions to ask, I would certainly appreciate it.
Bill


 Today
Today