Quote:
Originally Posted by mechman600

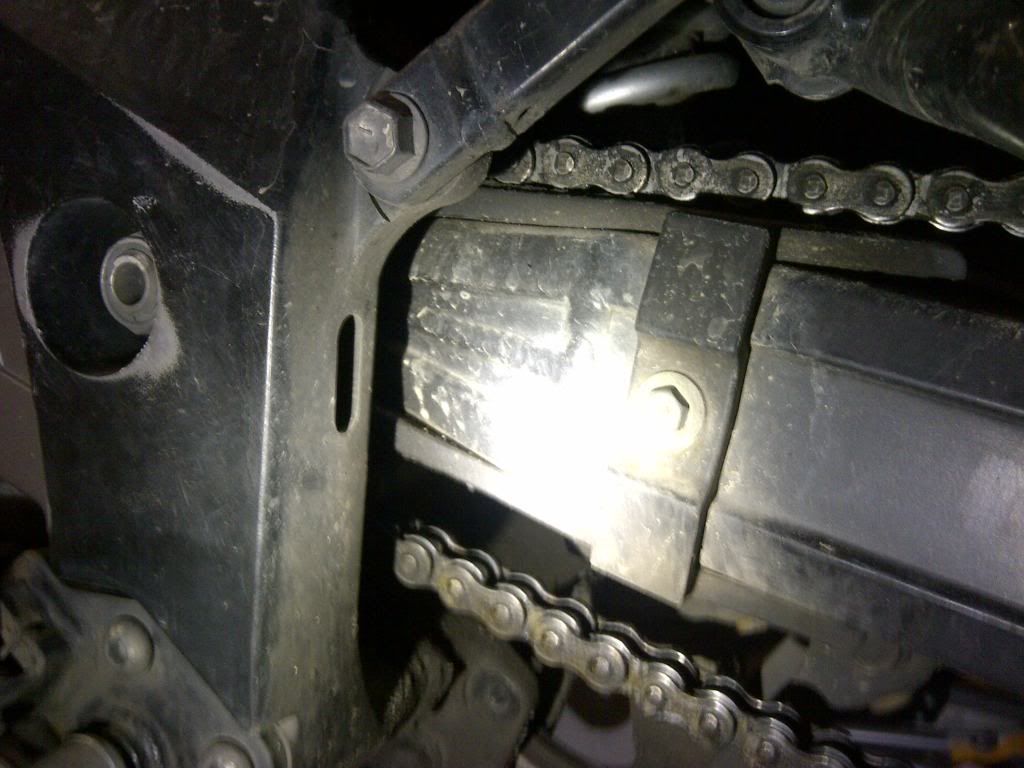
I just took this photo. My bike has 50K miles on it and the rubber/plasticky chain guides (top and bottom) are like new.
 |
Hmmm. in my head here at work I remember mine being uncomfortably relaxed with too much slack. I'll have to check again when I get home and reconsider. I could also test it for a while and see how comfortable I am with a custom chain guide.
I plan to get some lead acid batteries (two) and break it in while I wire up everything. I'll see how the guides hold up then. If I need to re-position the motor mount I can do that easily.
The original bike and chain also had a rubber guard that I mutilated getting off, but this chain now is dropping way too low from what I remember. But like I said, I'll have to double check it when I get home.


 Today
Today