Well this week I cough the modding bug again. there is so little left to mod that I am only left with hard projects. I came up with two ideas, a nose cone for my car of a belly pan from the back axle to my boat tail.
I decided today that I would work on the belly pan as that has been a project I have tried several times and not gotten to work. I also had the car up on a lift this weekend when I got tires (the store was not busy so I had some time to look and think though how I wanted to attach the belly pan). Hurray for car hoists.
This time I decided that I would not try to do the project so cheep that it failed. So I stopped by my local steel store today and bought some 3/4: square tube for a frame and a sheet of 24ga steel for the smooth sections.
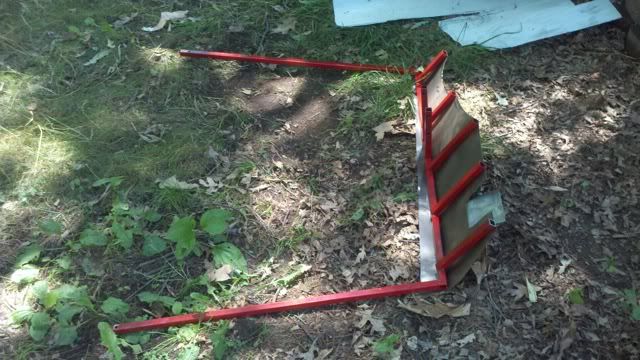
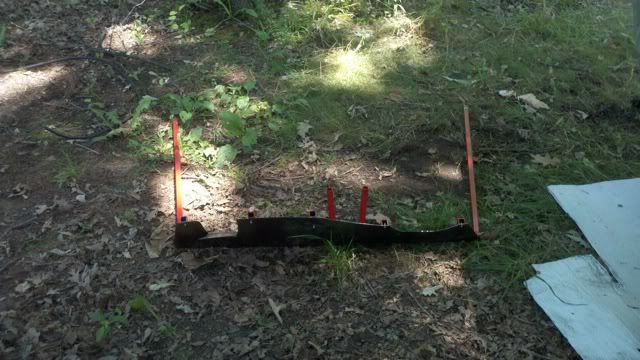
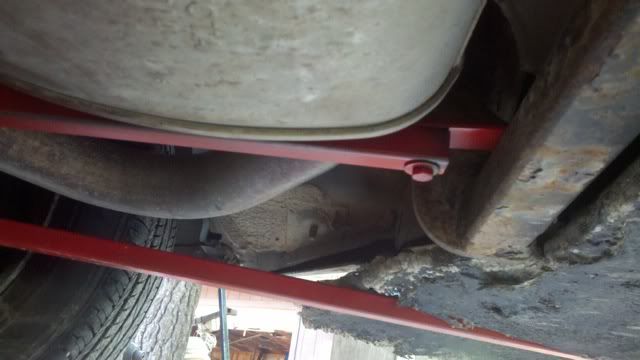
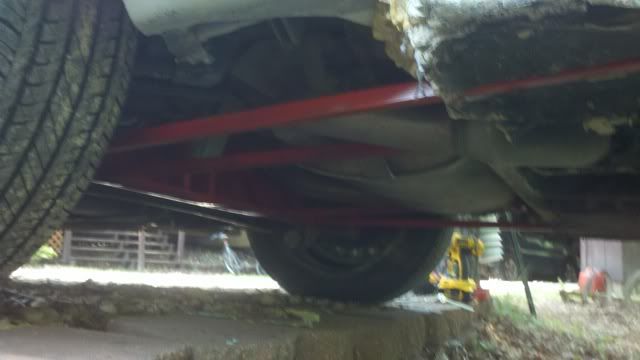
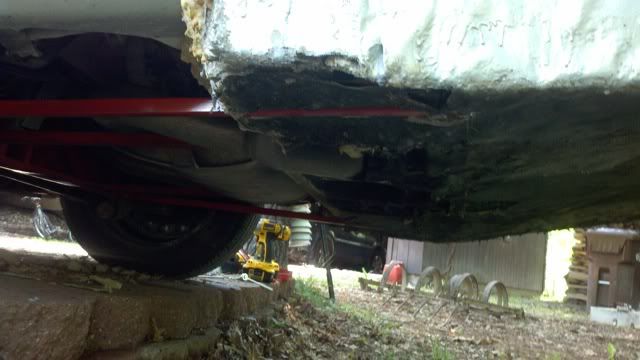
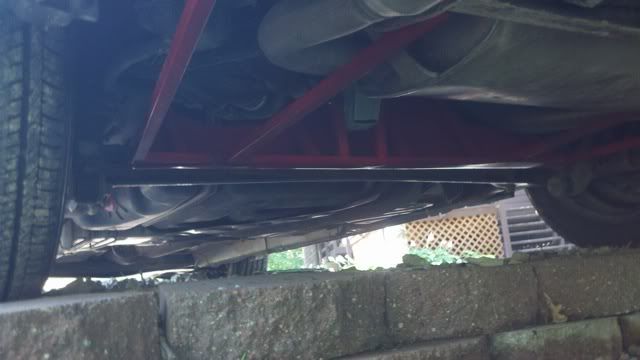
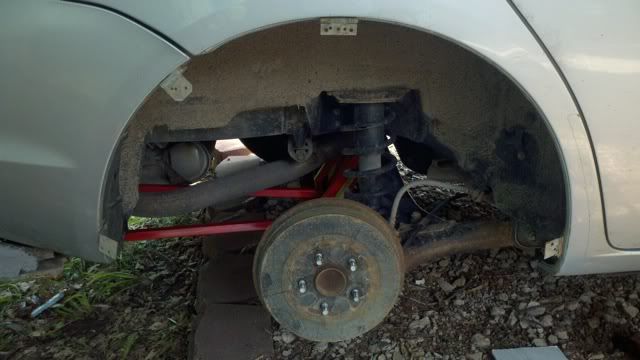
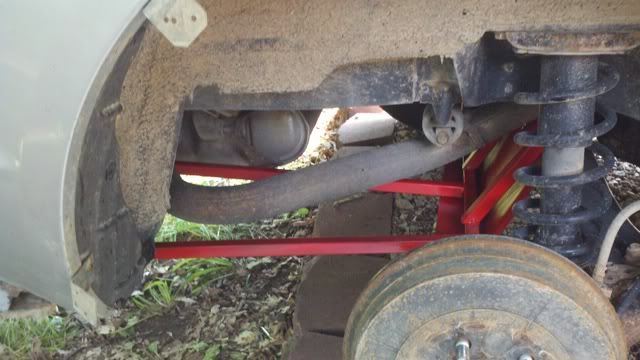
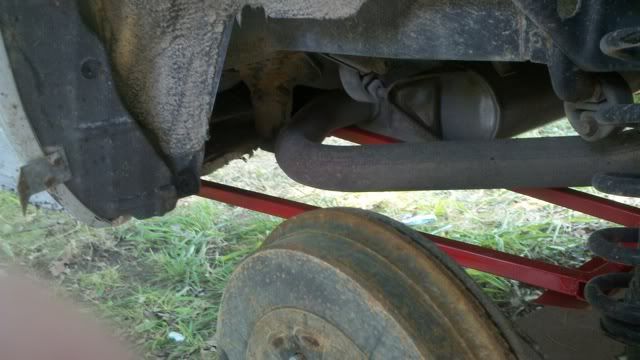
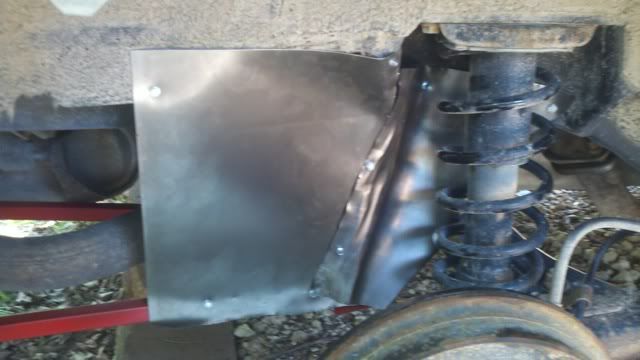
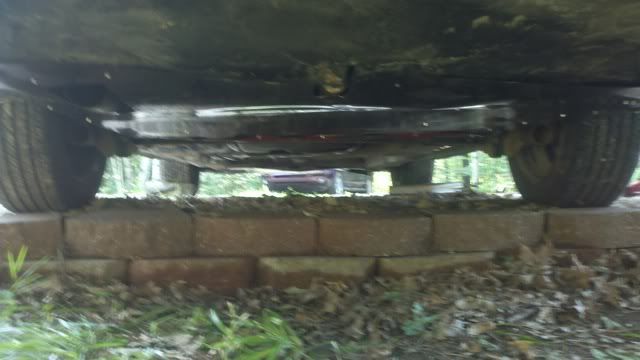
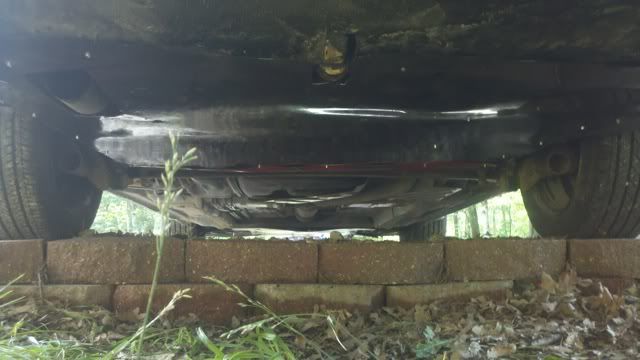
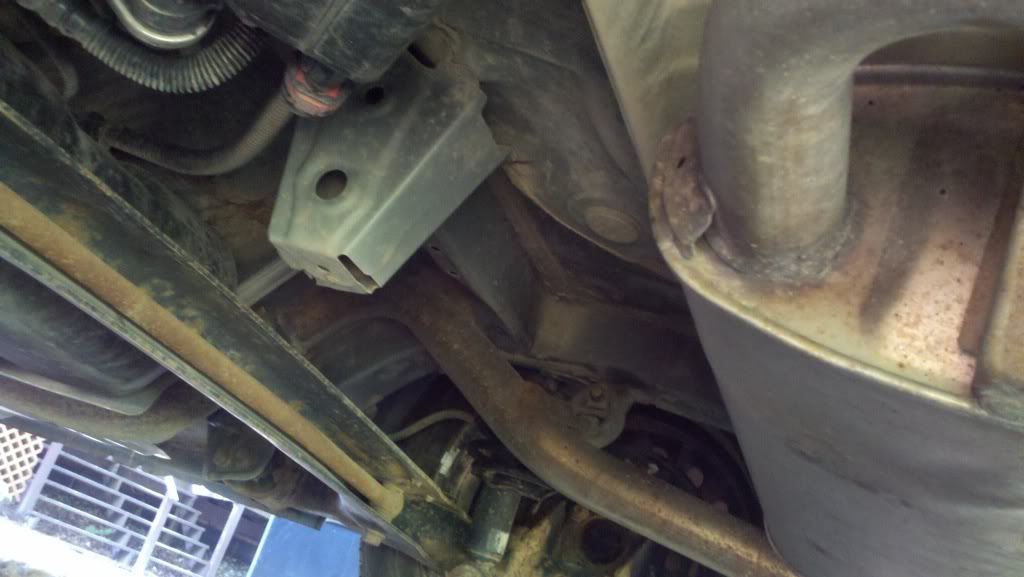
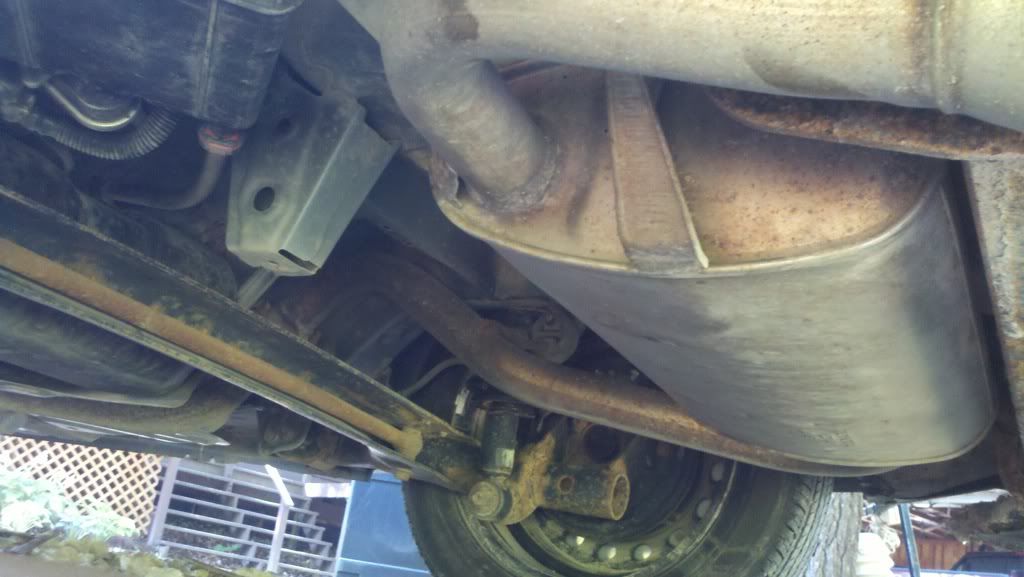
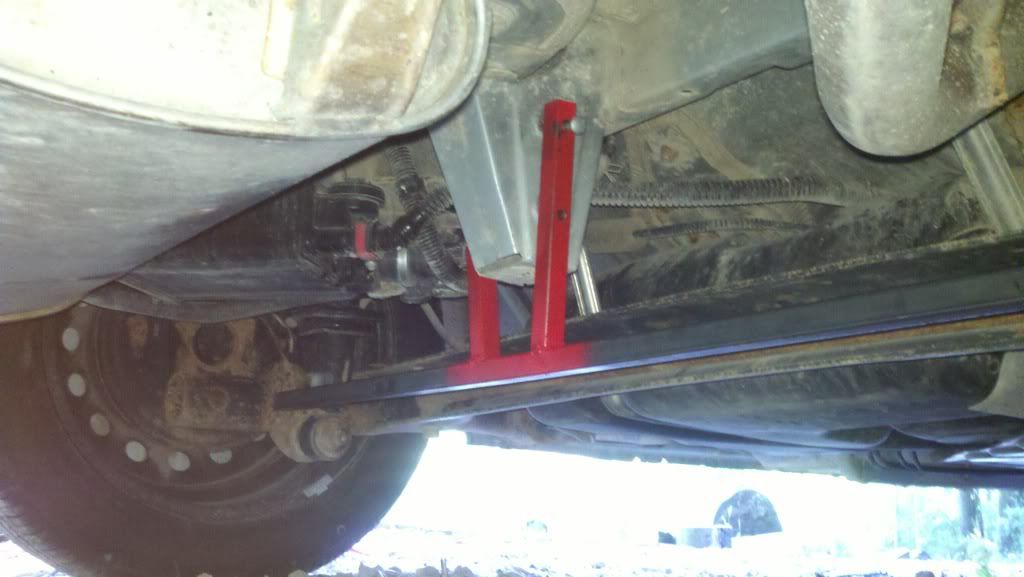
Tonight I started cutting and welding the frame together. I am designing it so that it attaches by two bolts in the front (pictures 1-4) and then to the tail in the back.
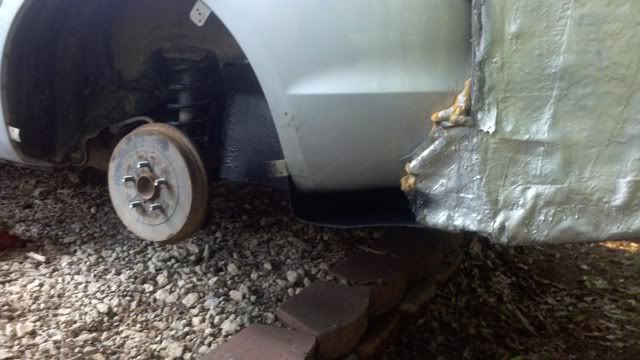
For the front edge I am planning on angling it up 6-8 inches so that it forces all the air down and under. I would go right over the axle but I saw when it was on the lift that it comes down 3-4 inches below the rest of the car :
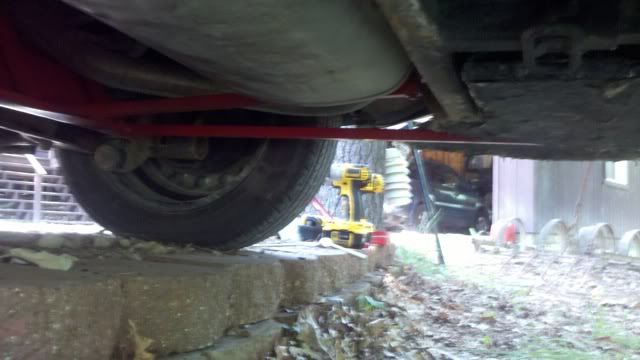
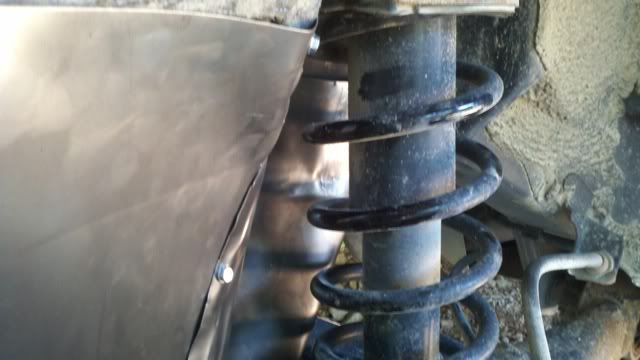
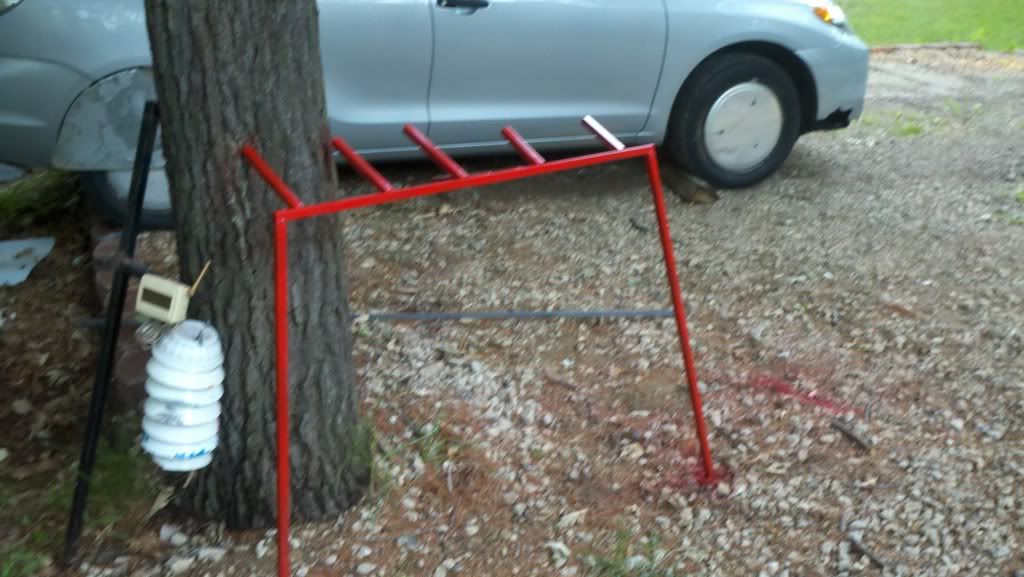
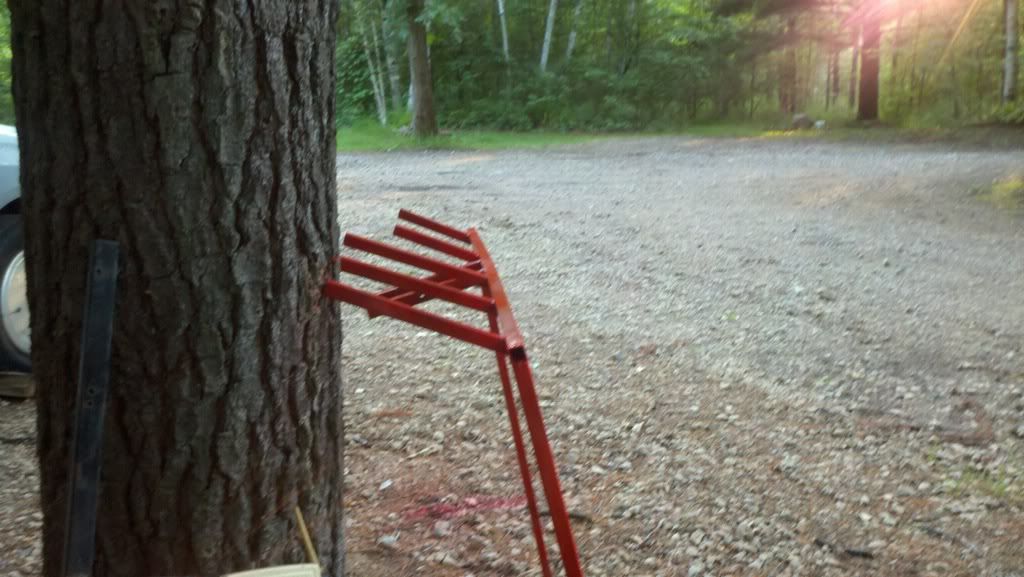
(. The rest of the underside is relatively smooth and the level of the new pan will match this height. This will leave the axle in the way only when going over bumps. the last 2 pics have the angled support pieces up on top.
Here are some pictures of what I got done tonight:
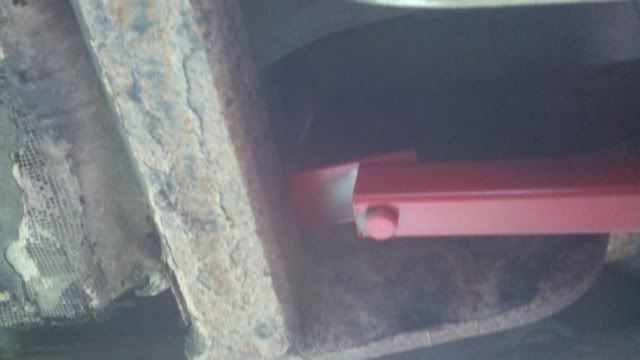
My main mounting point:
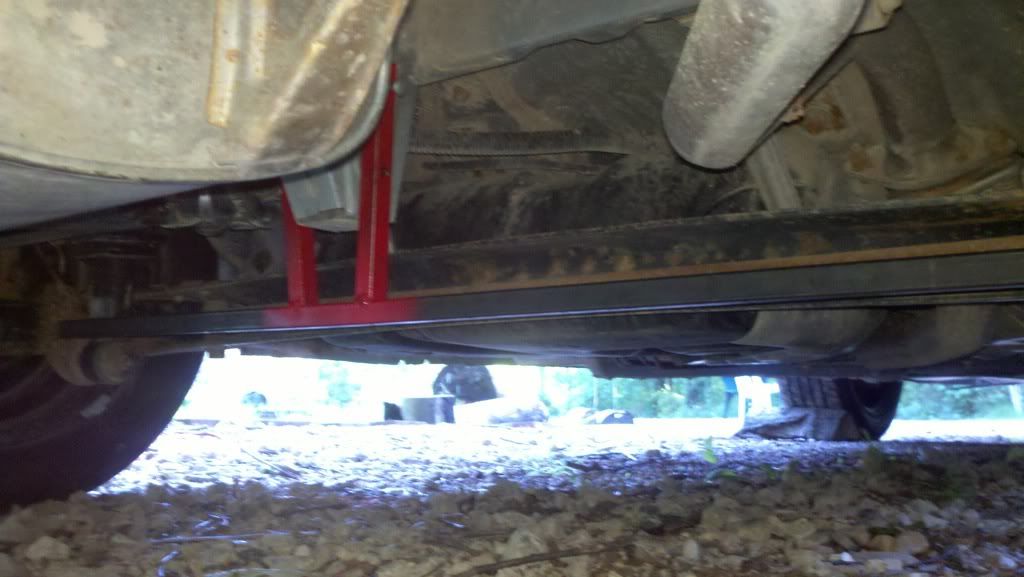
With first piece in place (temp bolted until I get the right ones)
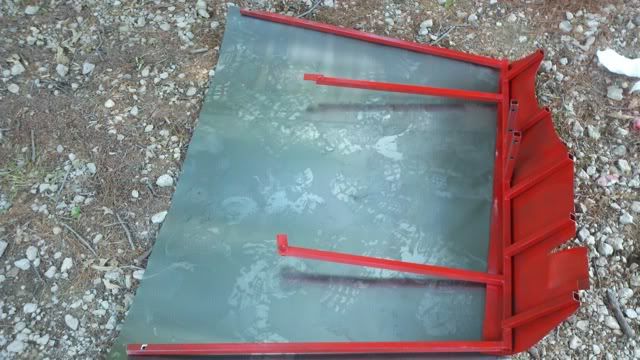
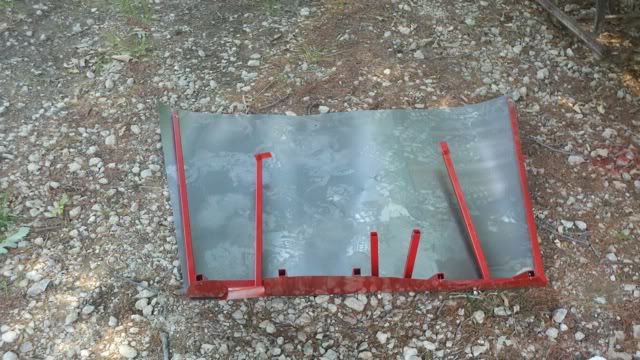
With front edge pieces and side arms welded and painted:
To attach the sheet metal to the frame I am thinking of pre drilling and using sheet metal screws. ideas?
I am thinking that the sides will need to be brought up so that water and snow do not build up on top of the belly pan.
__________________
The Following 3 Users Say Thank You to Weather Spotter For This Useful Post:
I used hex flange head self drilling screws too. They are not flush, but I never stripped one. I have a magnetic drive that holds them on to the hand drill. I didn't make a bar like you have , but just twist wired the coroplast sheet to the suspension beam. This covered the back 8 feet of the underbody. If screws get stuck on removal, they just break off. Remember that the suspension needs to extend.
You can tell when the belly pan is working right, the leaves you drive over are blown out the back and not dragged along in the wake.
Well I have the frame installed, pics taken but not uploaded yet.
The sheet metal is currently drying after I painted one side. Next step will be to install the smooth pan and test it. Then I will take off the back tires and make side walls to reduce snow and water getting on top of the belly pan.
Arcosine : I am using that exact type of screws, got a box of 100 today
I am building my pan to avoid the suspension all together.
with the center supports added (note the bolted on tabs on the left ends)
Tabs in place just resting on the towing hitch cross bar.
Frame all bolted on before adding sheet metal:
For the ends of the frame that are on the tail I lag screwed them into the main support 2x4 of the tail.
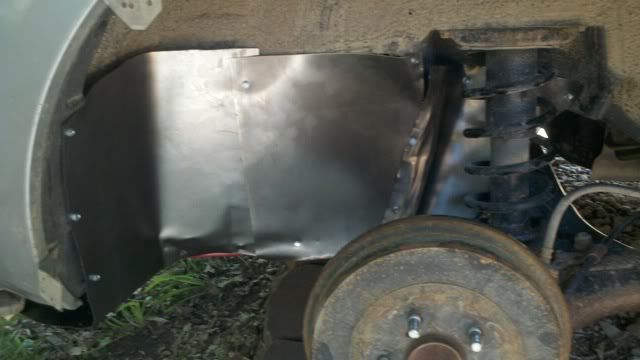
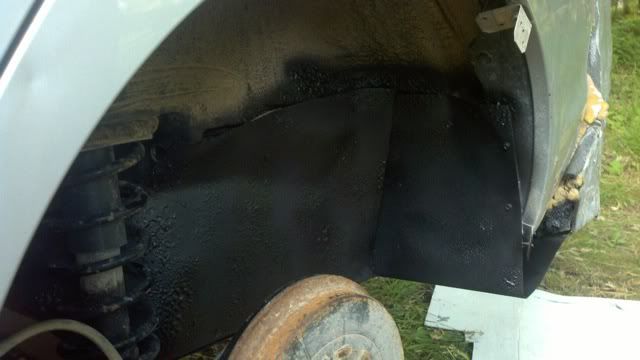
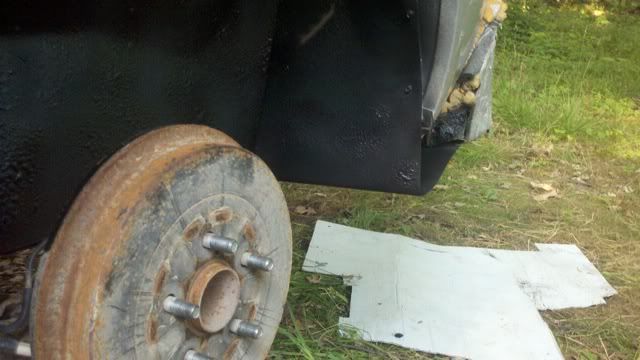
While the paint on the sheet metal dried in the 95F and sunny day I took off the tire to work on the transition from wheel well to belly pan. this area was where my last attempt failed. I did nothing and snow built up and made the pan drag on the ground.
[here is the sheet metal coated with under body coat (what was oem in the wheel wells to start with
IMG]http://i835.photobucket.com/albums/zz279/miweatherspotter/Car%20picts/file-136.jpg[/IMG]
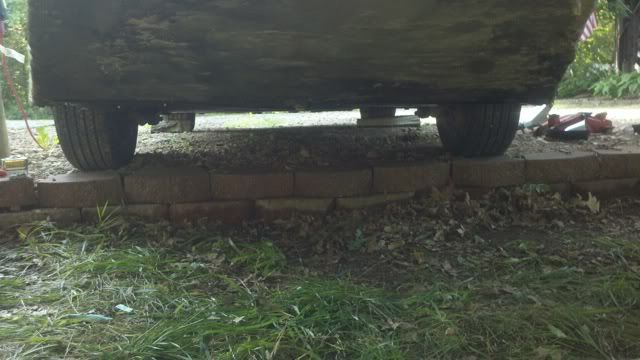
under side view from the back:
shinny areas are the paint reflecting the flash
Drivers side wheel well is a bit bigger on the inside to gain access to the fuel pump and stuff. it was easier to bend the metal into the needed shape as I had more open space to work with:
Opening that I need to close up to finish up my tail to car transition, this area was lacking when I built the tail so I fixed it right this time
I will try to get some more pics tomorrow, but I got some foam in the gaps on both sides and got a coat of fiberglass on them.
I think my first test drive will be my commute to work tomorrow. Unless there is a big improvement I will not be able to separate the LRR tires from the belly pan.
Questions?
__________________
The Following 3 Users Say Thank You to Weather Spotter For This Useful Post:
what good is a build thread without picts? I am a hands on and visual learner, you cannot learn what i did by a 2 paragraph description but you can by pictures also it allows others to see and be inspired/ get the creative juices flowing.
Almost all of my projected are thought though abut halted before starting until all the mental "how will I do this ___" are answered. Many of these road blocks are answered by looking though similar build threads and going "aha, that's how I can do that"
So I try to provide ample pictures of most of my steps so many details are shown. many are not important to this build but will give reference to others when they try to duplicate my build.
So if a picture is worth a 1000 words my last post would have been at least 23,000 words. Would any one have read that book?
__________________
The Following User Says Thank You to Weather Spotter For This Useful Post:
also it allows others to see and be inspired/ get the creative juices flowing.
[...] give reference to others when they try to duplicate my build.
I subscribed to this thread when you started it because a belly pan for the rear of my Yaris is definitely in my near future.
Thank you for your pictures!
__________________
Current Car: 2023 Chevy Bolt EV
Retired Car: White Lightning ----------------------------------------------


 Today
Today