 09-06-2014, 06:46 AM
|
#41 (permalink)
|
|
JDM hypeR mileR
Join Date: Aug 2014
Location: Mooresville, NC
Posts: 418
Thanks: 475
Thanked 418 Times in 198 Posts
|
Last edited by OG VX; 09-06-2014 at 09:27 AM..
|
|
|

|
|
The Following User Says Thank You to OG VX For This Useful Post:
|
|
 Today Today
|
|
|
|
 Other popular topics in this forum...
|
|
|
|
 09-06-2014, 06:59 AM
|
#42 (permalink)
|
|
JDM hypeR mileR
Join Date: Aug 2014
Location: Mooresville, NC
Posts: 418
Thanks: 475
Thanked 418 Times in 198 Posts
|
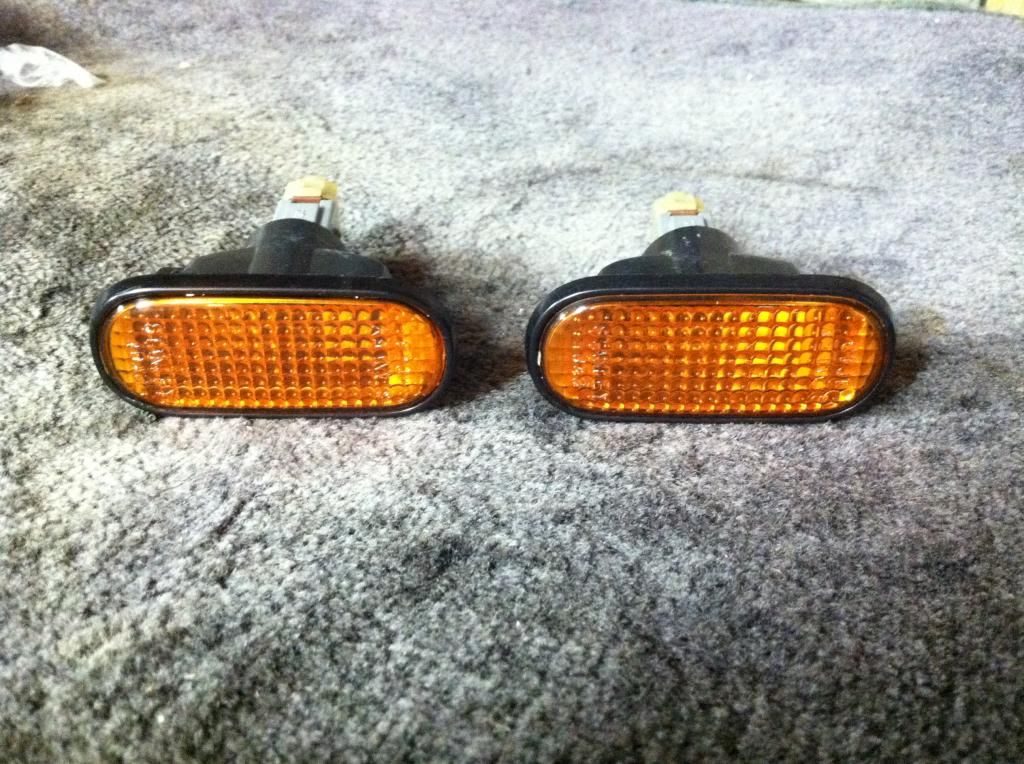
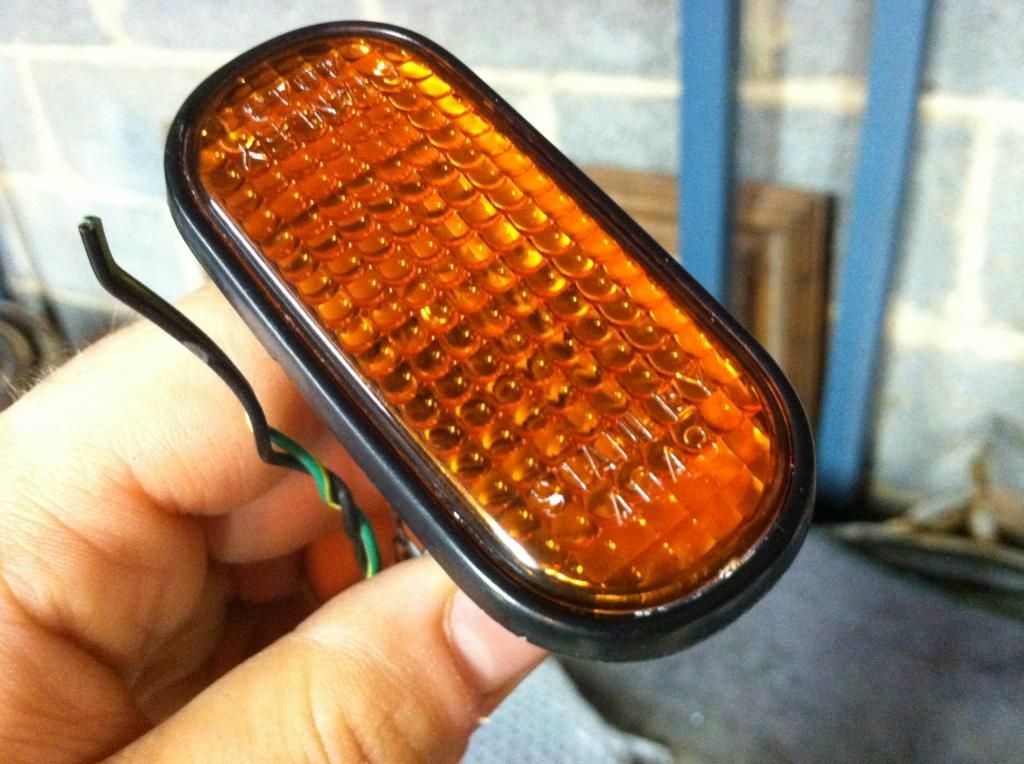
Stanley side-markers. Not looking forward to cutting the holes out. Never fun!
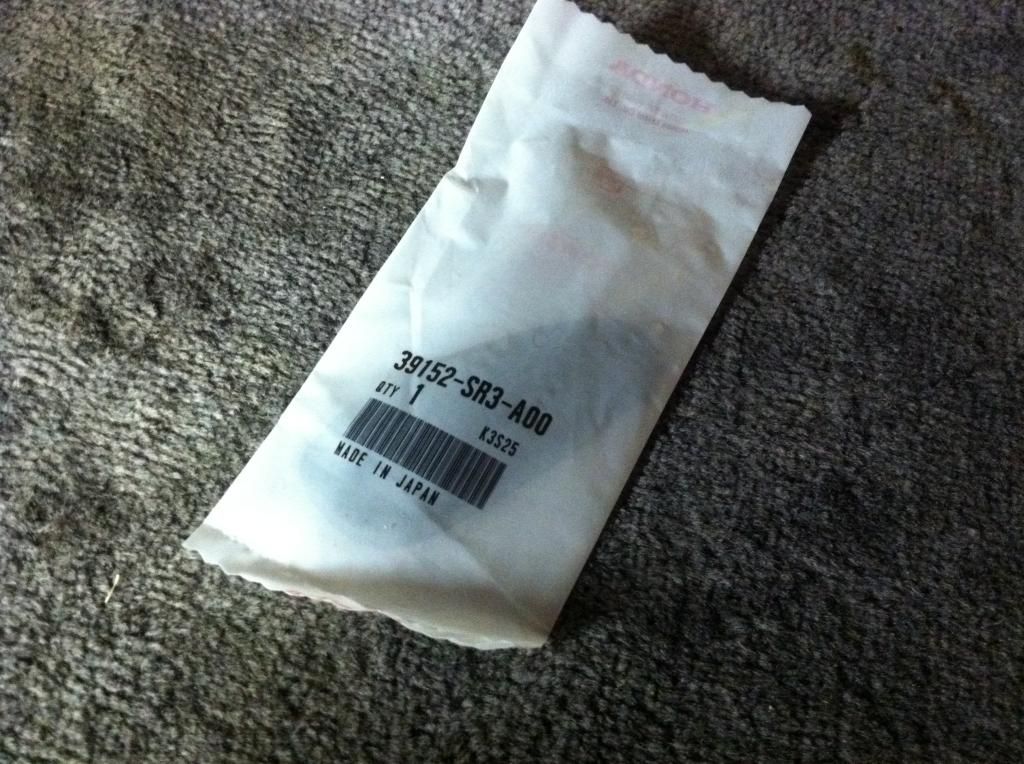
OEM radio delete:
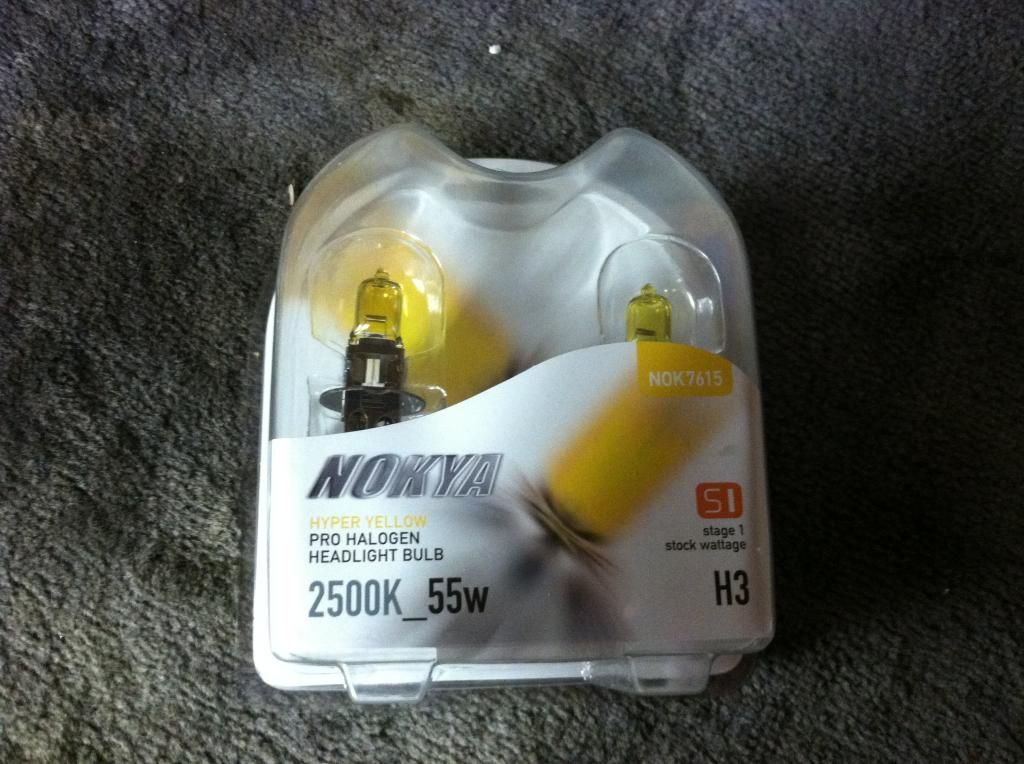
Nokya bulbs replacements for my OEM fogs:
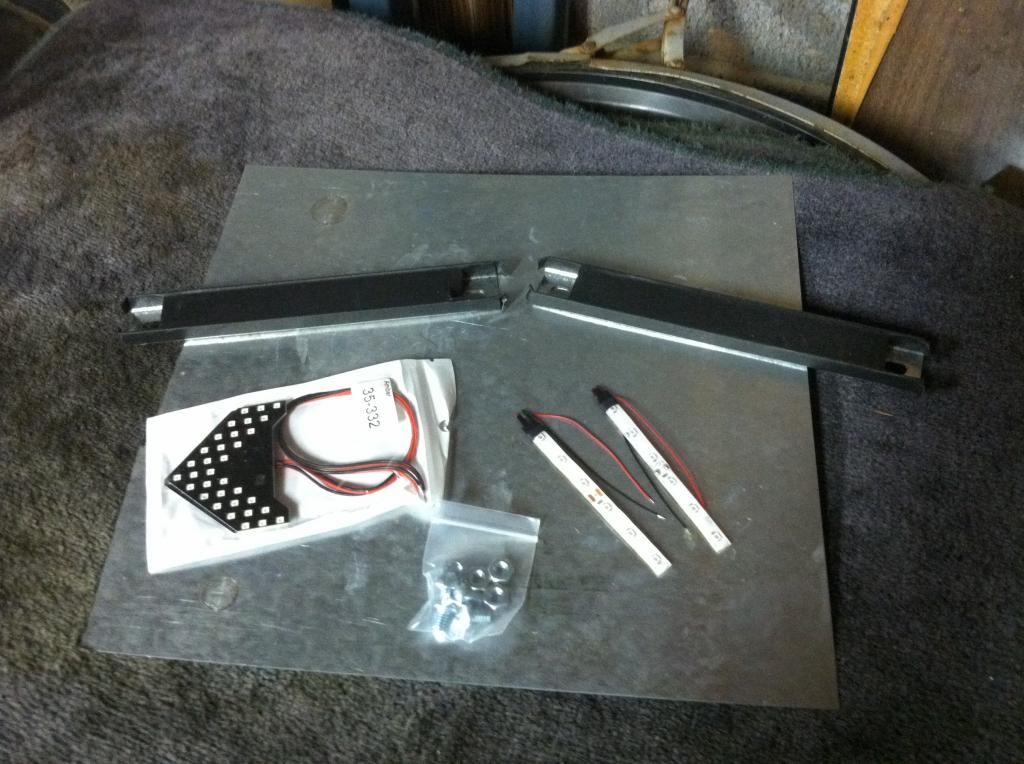
Here's all the collected parts for my "special project" for the rear hatch area 
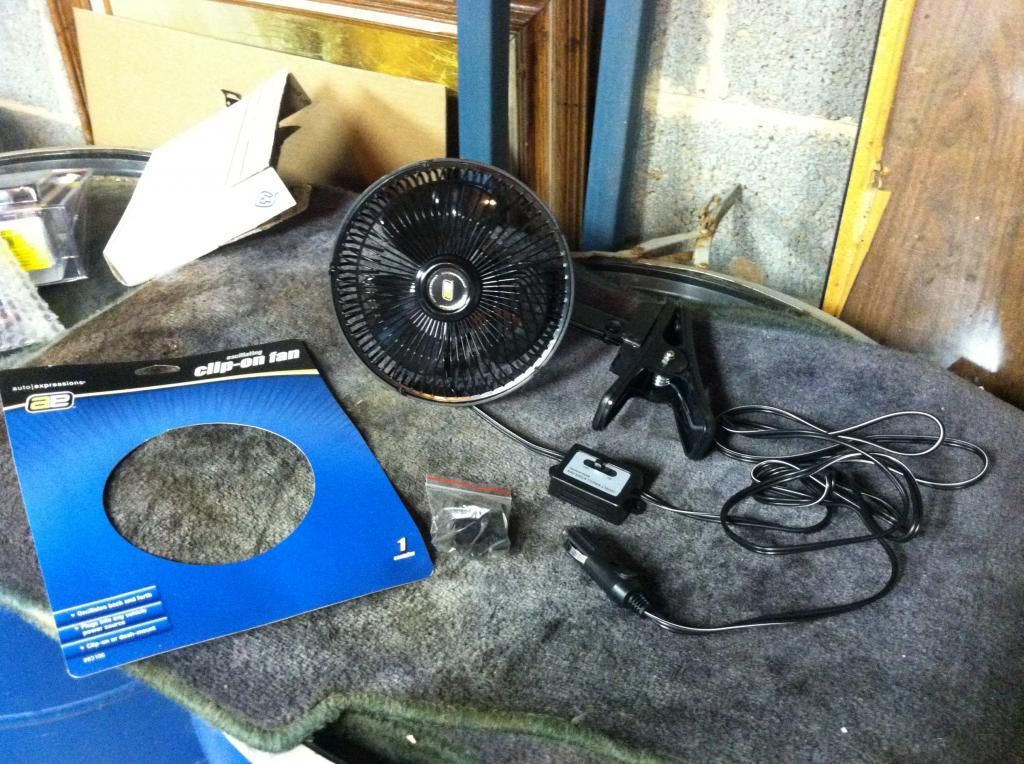
Here's a clip-on fan that I sourced at WalMart for about $12. I tested it out last week, and it works great! Love that it has an integrated switch and that it is screw-mountable (large clip assembly can be removed). I plan to fab up a custom mount for it, mounting it to a metal bar, and using some metal spacers and screws to mount the bar off of the existing mount holes for the passenger sun visor. The switch will get screwed into the same bar, and the cord will run (hidden) down the passenger A-pillar and underneath the dash to the cigarette lighter. Result (I hope) will be a clean OEM-like look, as well as a functional fan mounted right by my face.
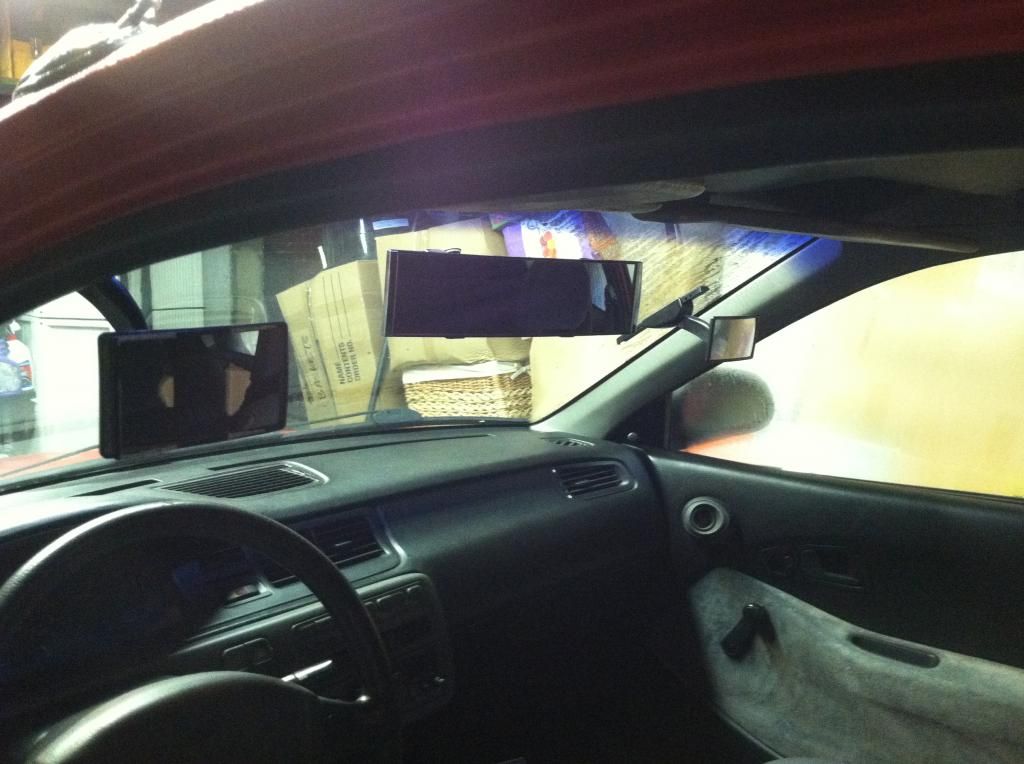
Last, but not least, here's my mirror set-up. Panoramic rear-view mirror is GREAT and was sourced from Walmart for about $11. I love it, and think it's a nice alternative to the popular Wink mirrors, which are a bit of an overkill to install, and often mean removal of the sun visors. The side guys are from Autozone, and run about $13 each. Suprisingly, the double-sided tape mounts are VERY strong, holding up through 90 degree days very well this past week.
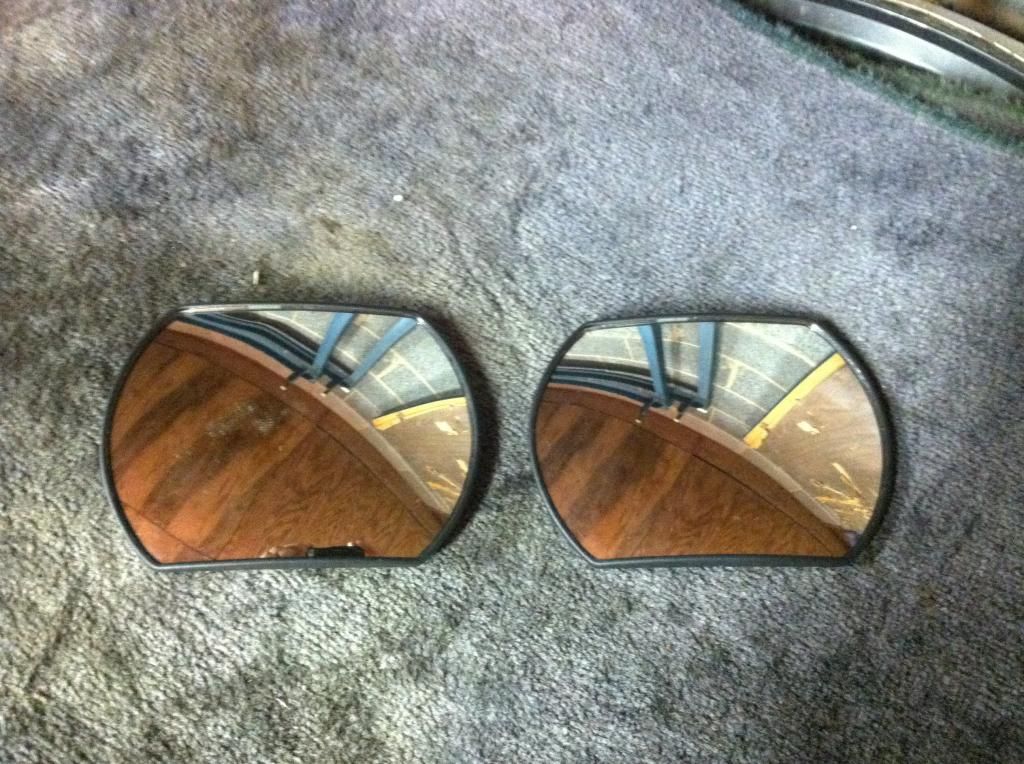
Now, as you may notice, there is a bunch of crud on the little side mirror faces. That's b/c I thought it would be a good idea to tape a larger mirror to the (fairly small) side mirrors. We'll, that didn't work out to well, unfortunately, b/c the added weight was too much for the design of the little side mirrors to support. Just need to use some goo-gone to get off the tape residue. Now that I've removed the larger mirrors (pictured below), I've found that the drivers side is great as-is (as a small mirror) . However, the passenger side is lacking in visibility. I may need to find a way to re-add the larger mirror to the passenger side, maybe using some tape to hold the mirror joint in place/strong on the back side of the mirror.
We'll, that's all I have for now. I'm sorry if some may find my posts to be a bit verbose at times. I just like to share the info. that I have acquired, in the hopes of helping others along the way. That's one of the core reasons I come to these forums in the first place. Besides the feedback/encouragement and comradery, it's great for me to acquire knowledge from others that are sharing from their own experiences and knowledge base.
I'll be back soon with some exterior progress and pics.
Thanks for eco-tuning in!
Last edited by OG VX; 09-06-2014 at 07:30 AM..
|
|
|

|
|
The Following 5 Users Say Thank You to OG VX For This Useful Post:
|
|
 09-06-2014, 09:26 PM
|
#43 (permalink)
|
|
Cyborg ECU
Join Date: Mar 2011
Location: Coastal Southern California
Posts: 6,302
Thanks: 2,374
Thanked 2,176 Times in 1,471 Posts
|
The bar you're talking about for the fan could also be a mount for the mirror. I have this exact mirror mounted on the inside holes for the passenger sunvisor (deleted). That means it is close to the stock inside rear view mirror. I get great visibility behind and to the side, seeing over the passenger's head out the back and passenger side windows.
__________________
See my car's mod & maintenance thread and my electric bicycle's thread for ongoing projects. I will rebuild Black and Green over decades as parts die, until it becomes a different car of roughly the same shape and color. My minimum fuel economy goal is 55 mpg while averaging posted speed limits. I generally top 60 mpg. See also my Honda manual transmission specs thread.


|
|
|

|
|
The Following User Says Thank You to California98Civic For This Useful Post:
|
|
 09-06-2014, 09:55 PM
|
#44 (permalink)
|
|
JDM hypeR mileR
Join Date: Aug 2014
Location: Mooresville, NC
Posts: 418
Thanks: 475
Thanked 418 Times in 198 Posts
|
Update: Exterior Restoration Part 1A- Pinstripe Removal + General Cleaning
Well, the post subject says it all. Been a lot of fun today. Here's some pics.
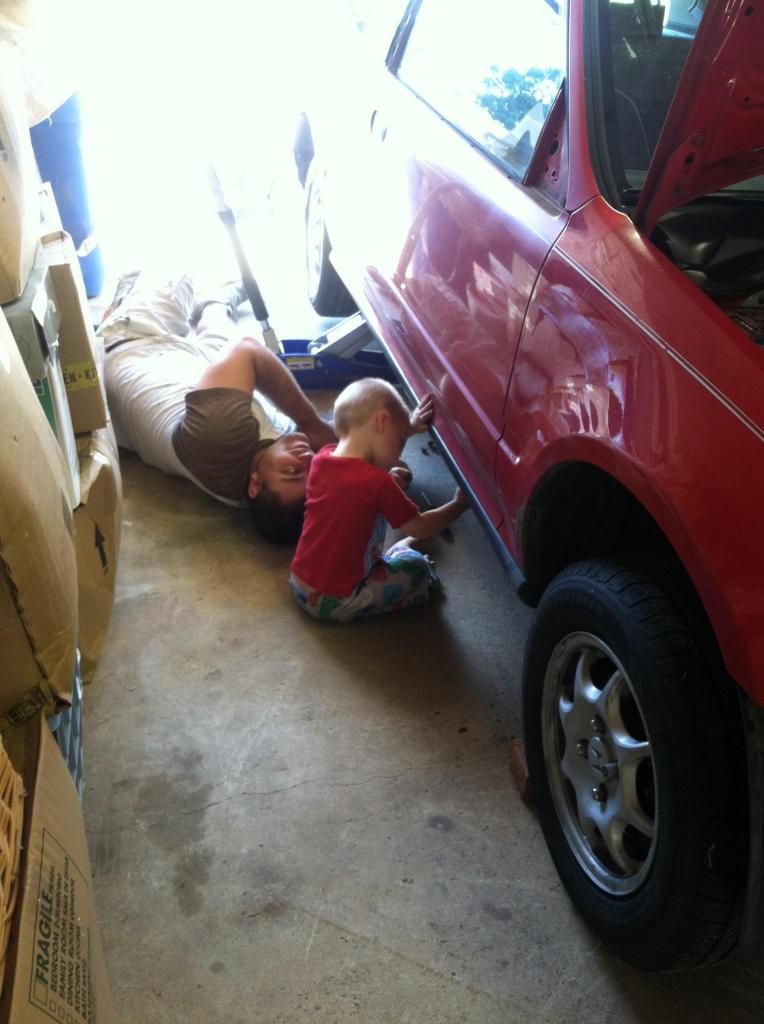
My 2-year old putting in work! Helping remove the side-skirts...
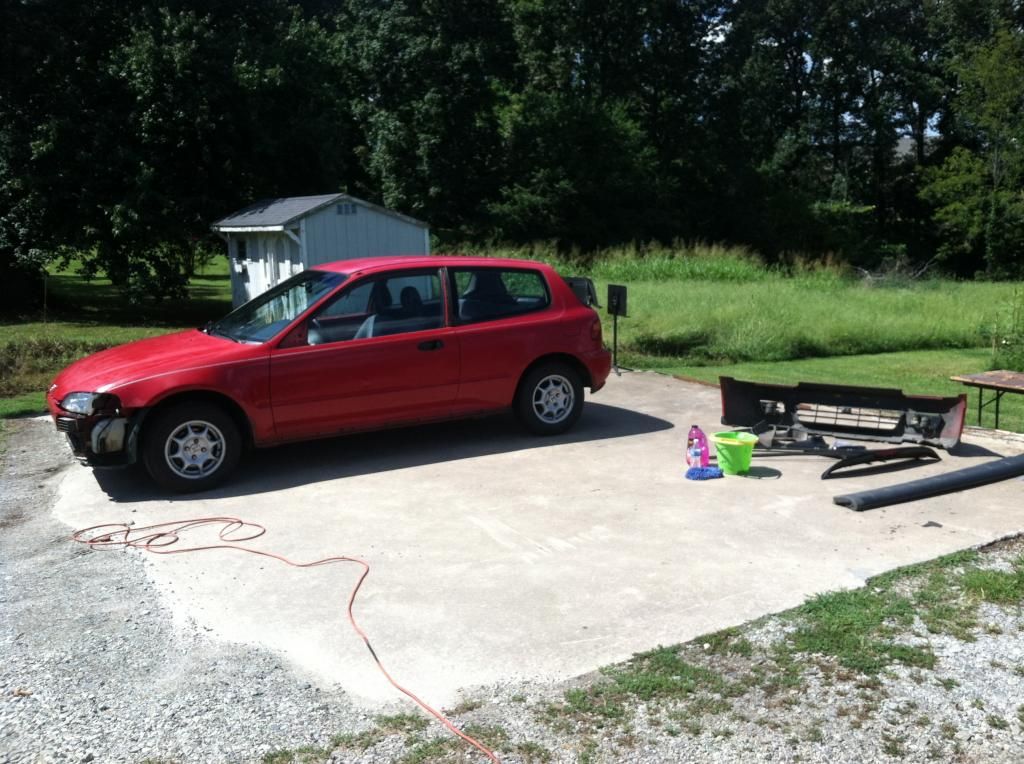
Here's a last "before". Everything removed, antenna hole taped up. Time to do a good general wash/degrease.
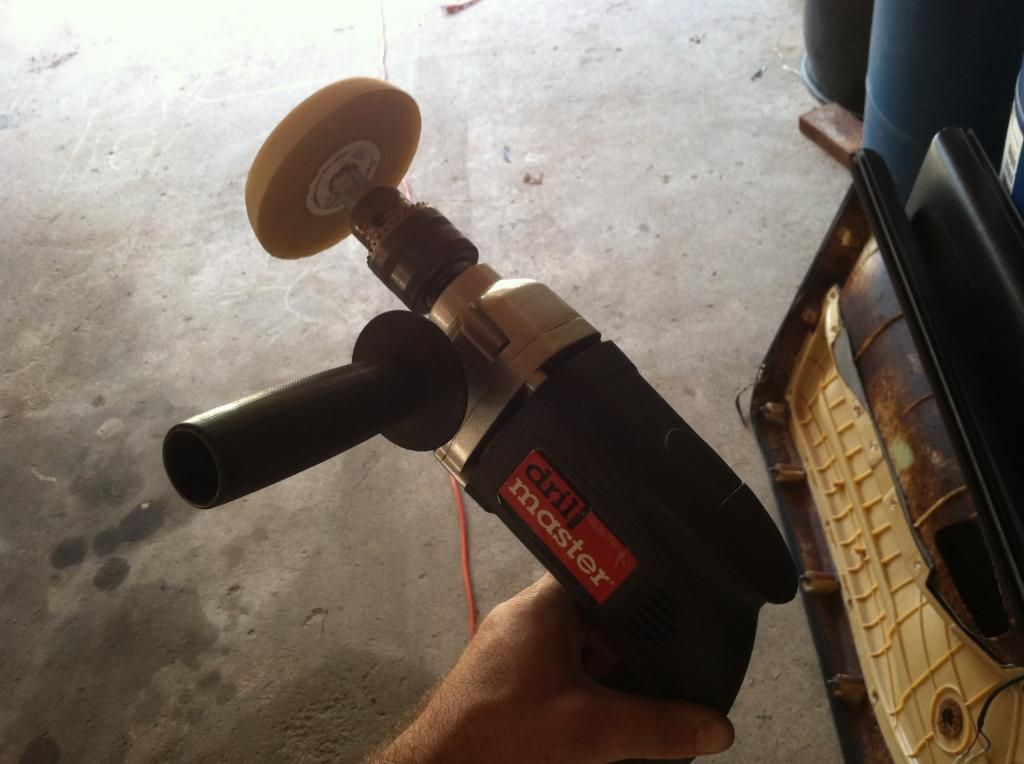
But first, broke out the pinstripe removal tool and got the stripe off.
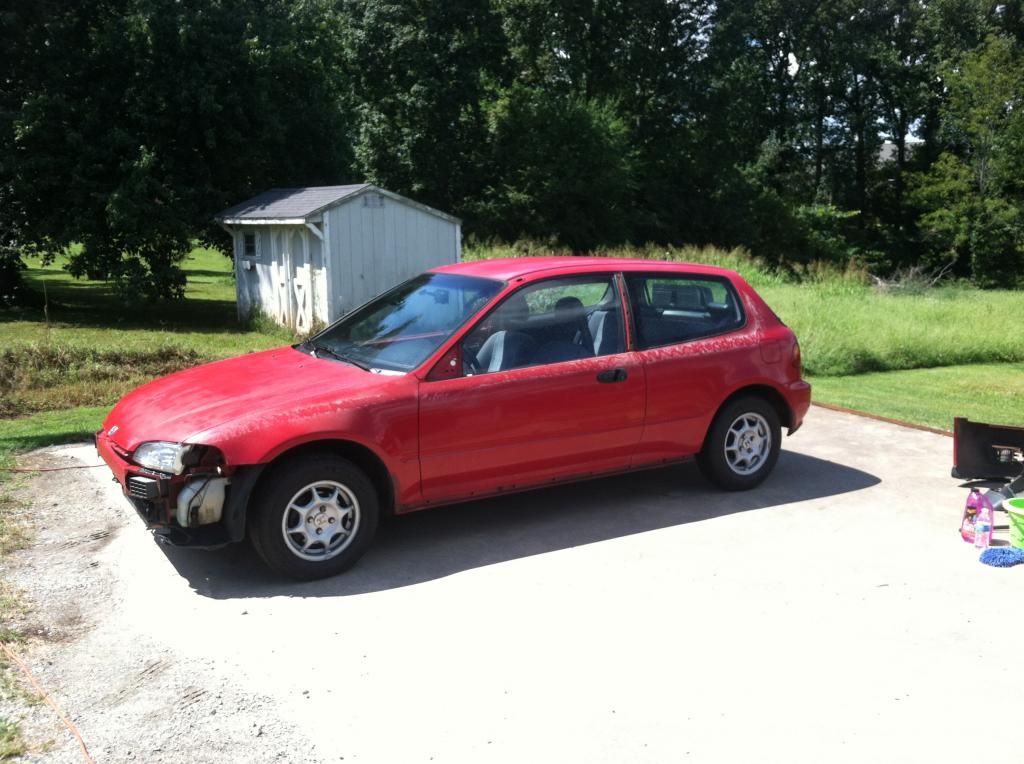
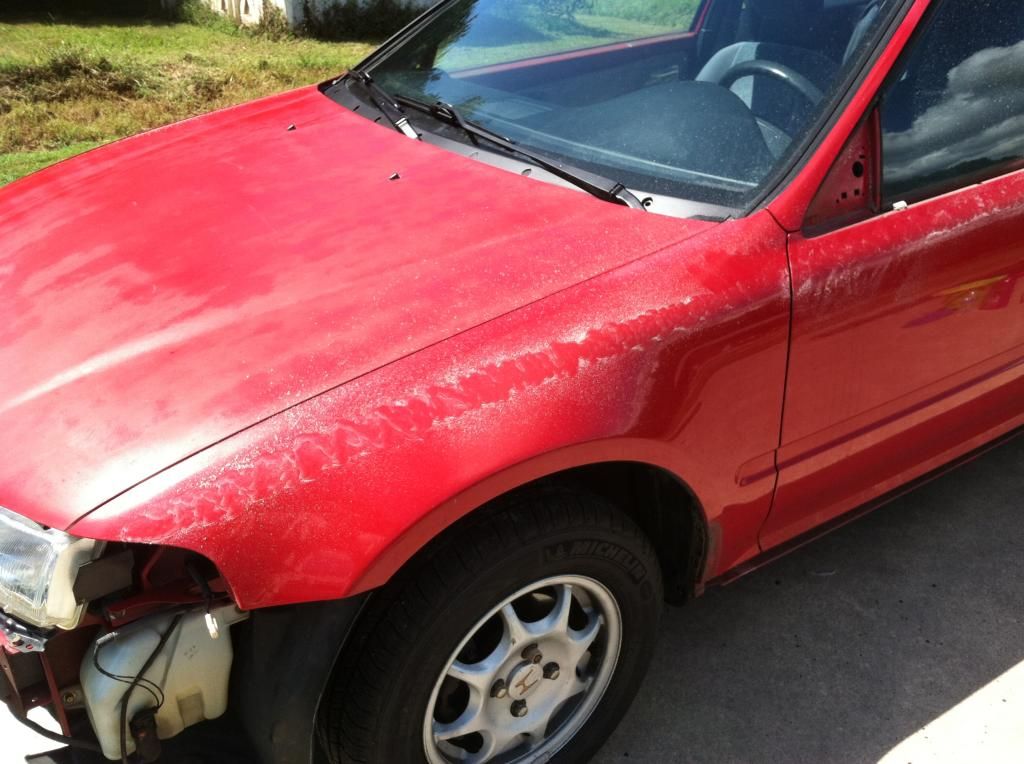
20 minutes later, all that was left was a bunch of eraser goo and dust.
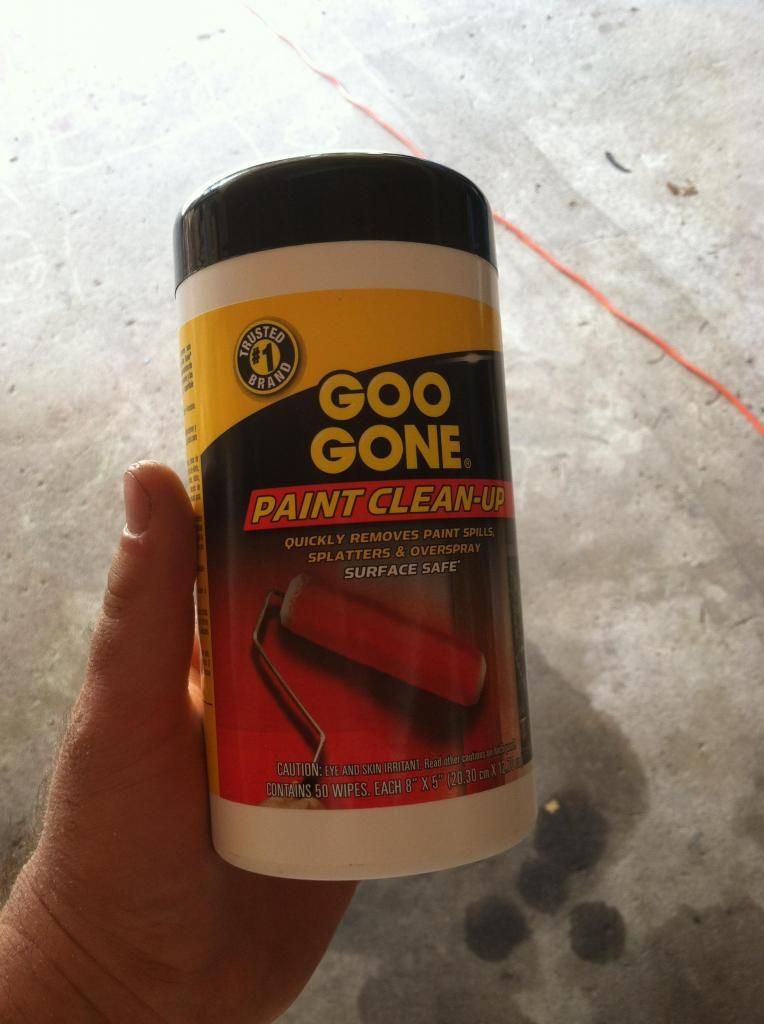
Some Goo Gone wipes made quick work of the leftover residue.
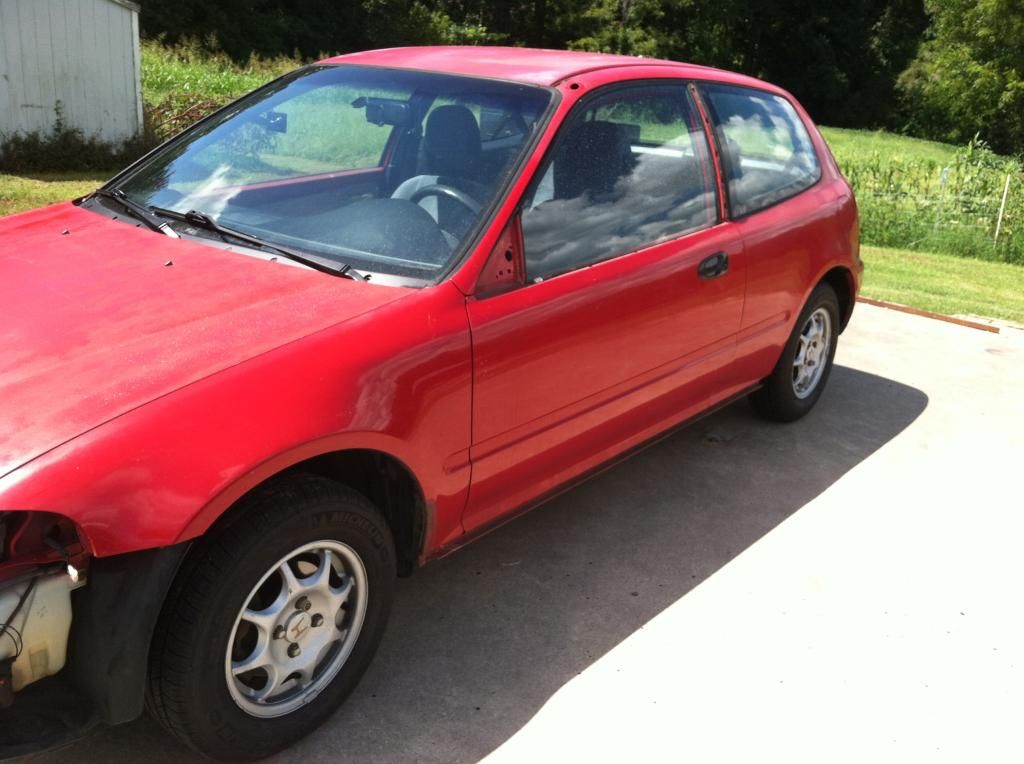
Here's after the Goo Gone wipes.
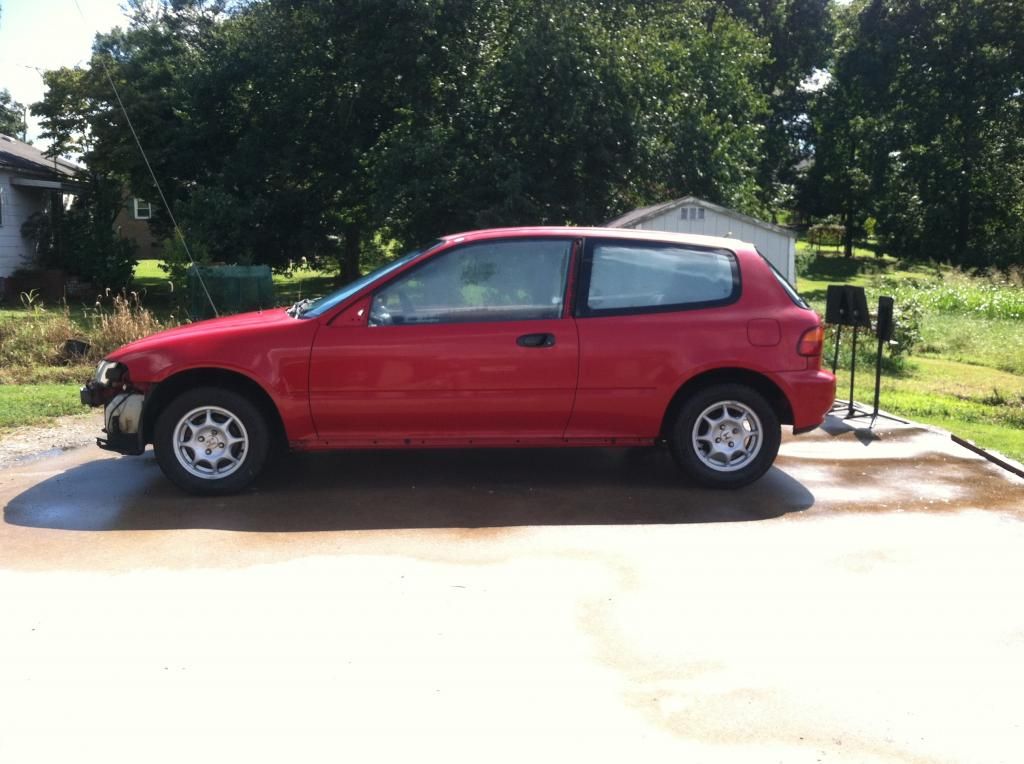
And after a bath, here she is, ready for Part Two work.
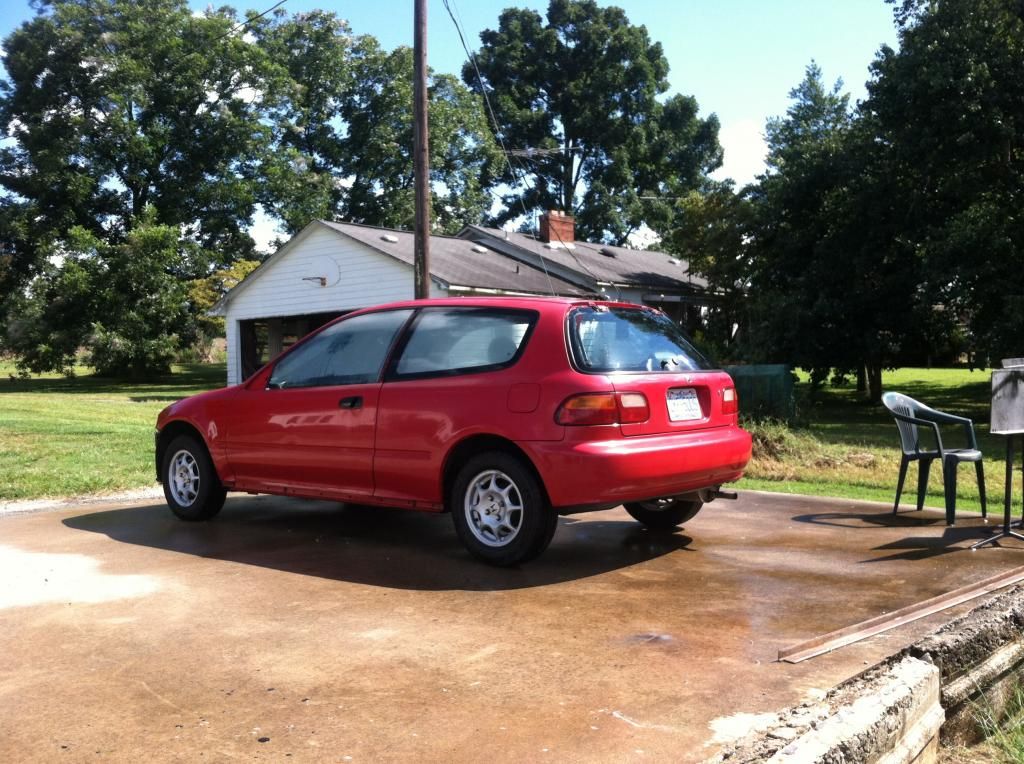
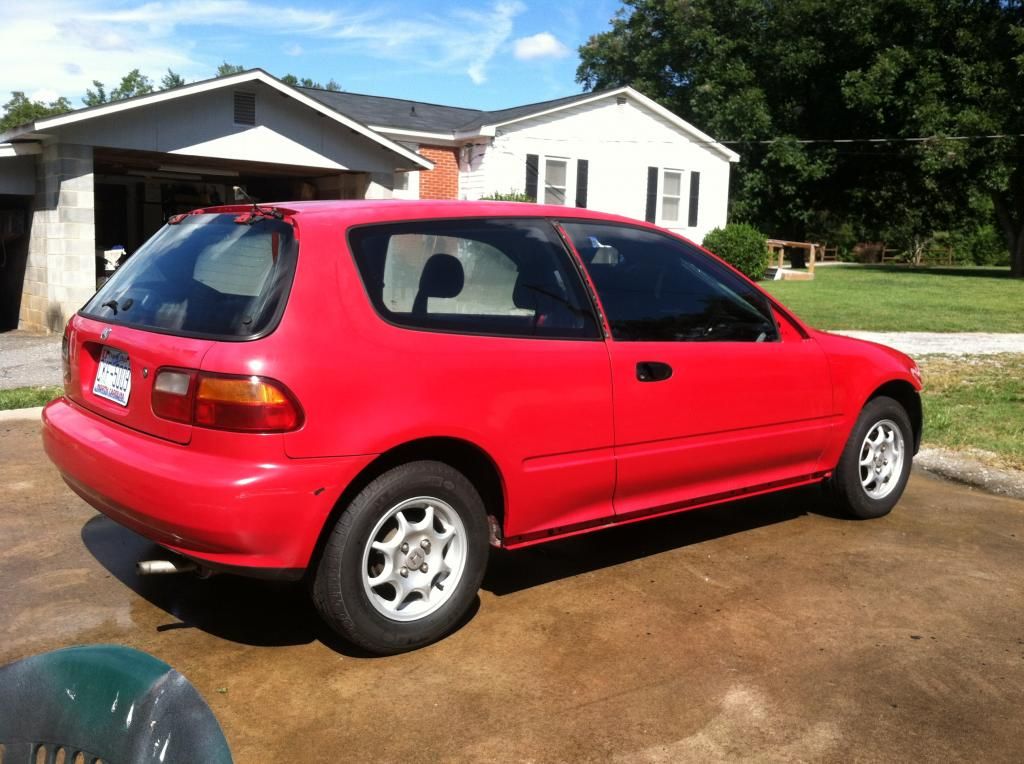
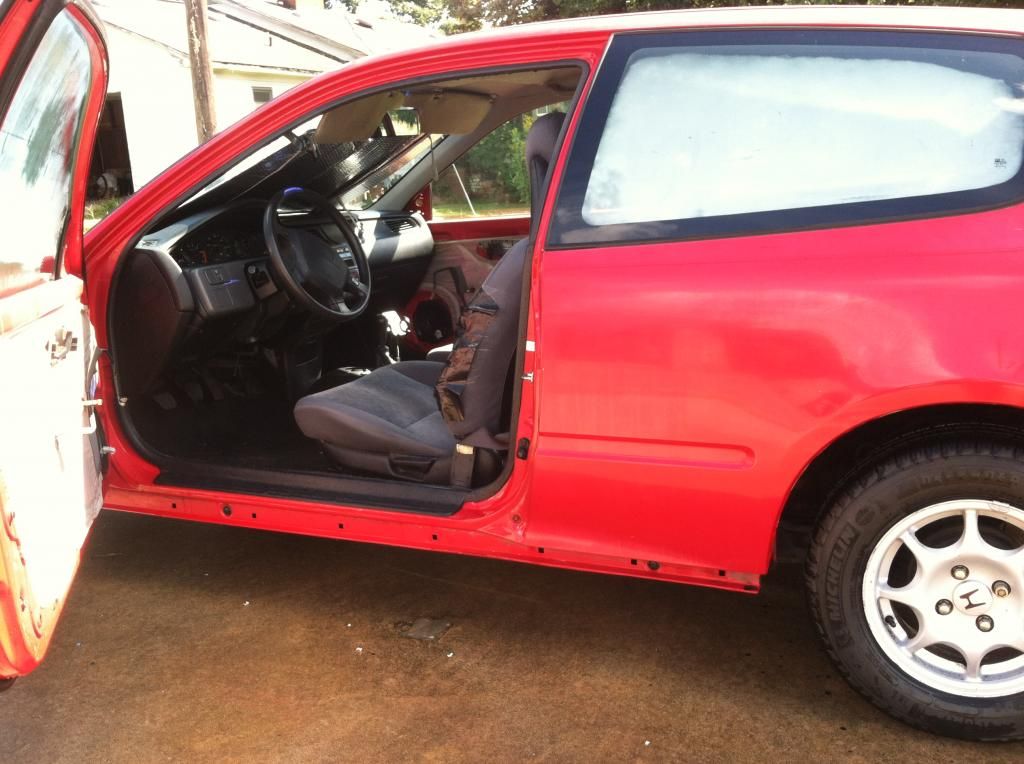
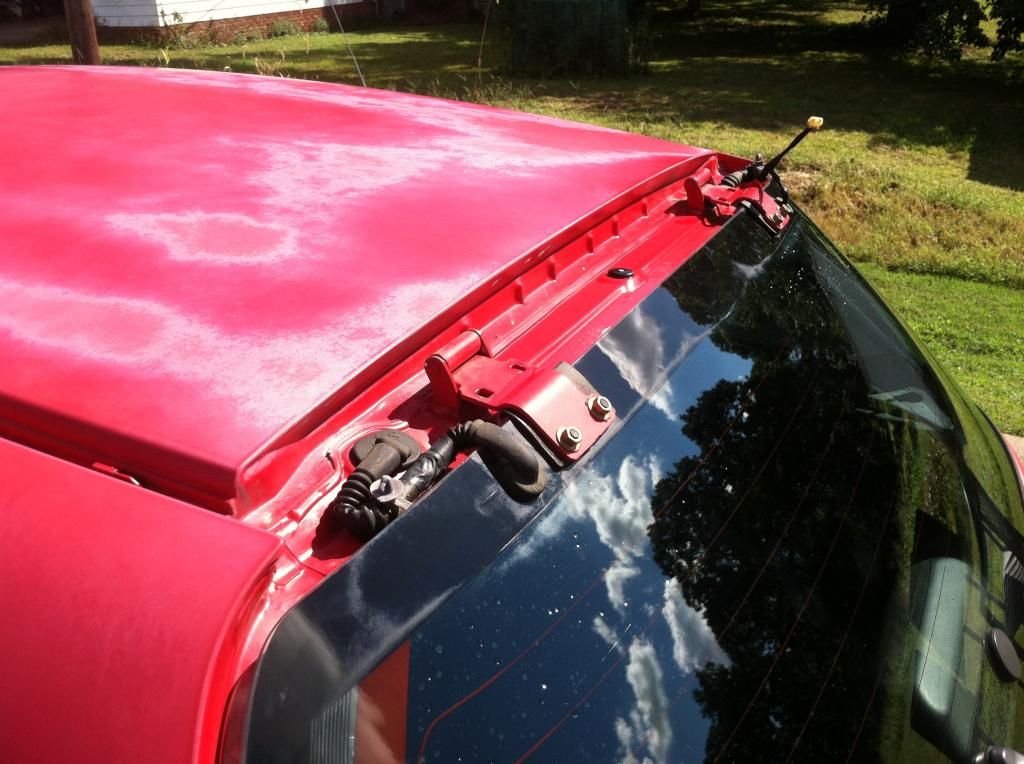
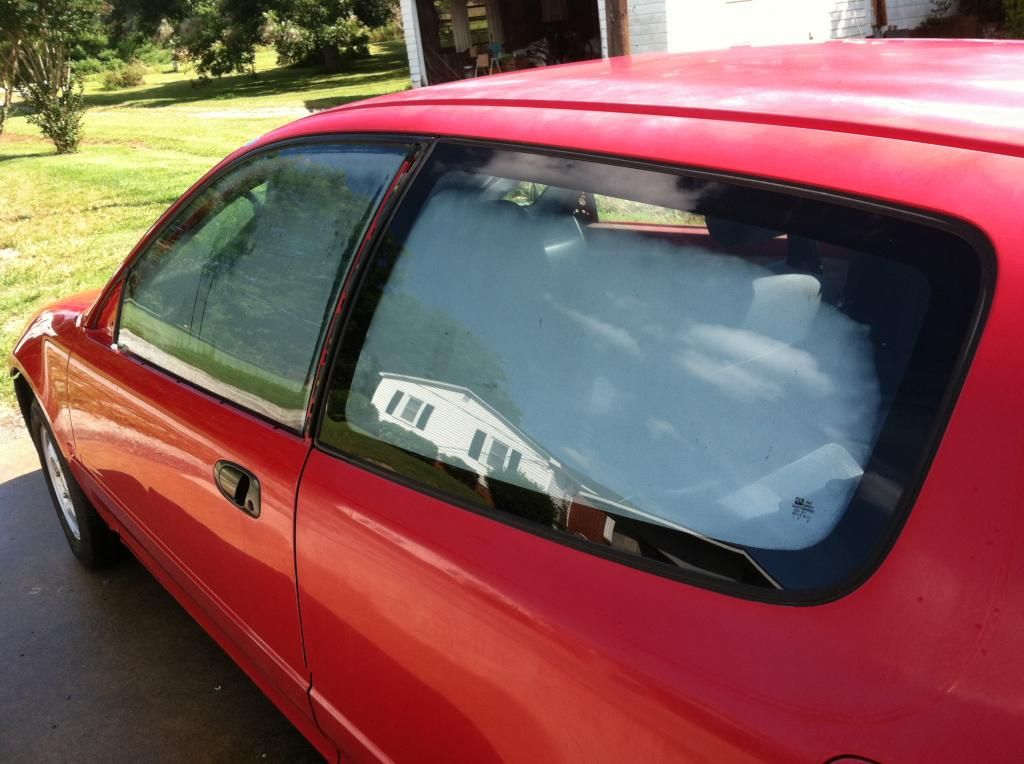
Used some "Glass Scrub" to clean the water stains & crud off of all the glass surfaces. Love that stuff.
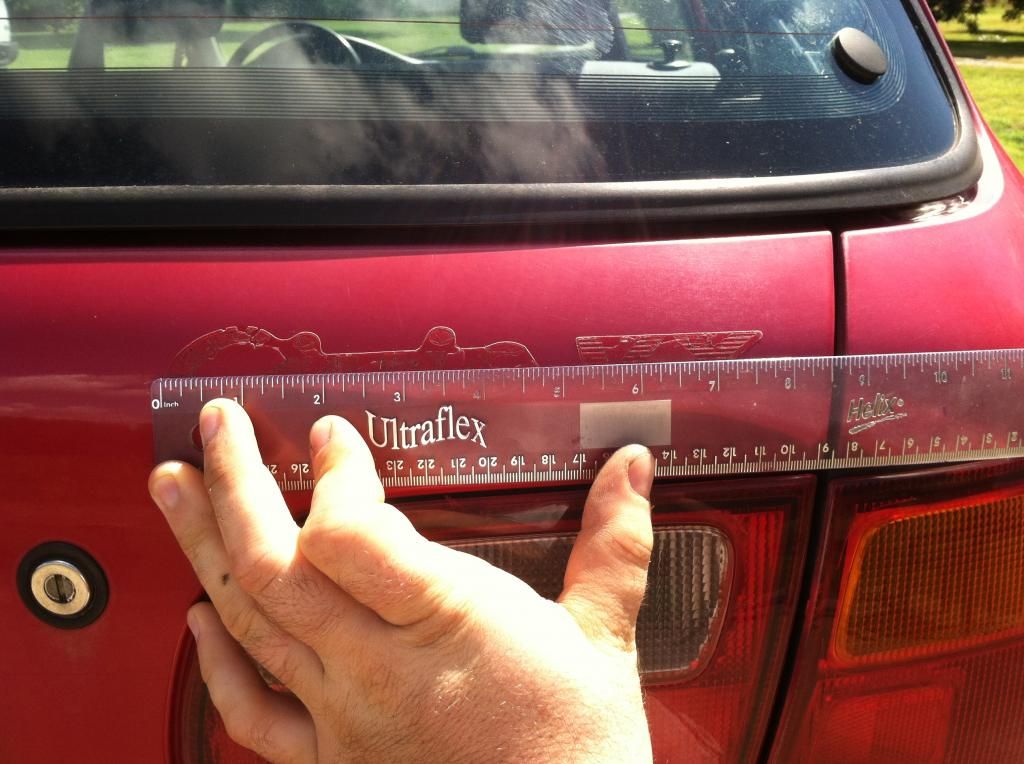
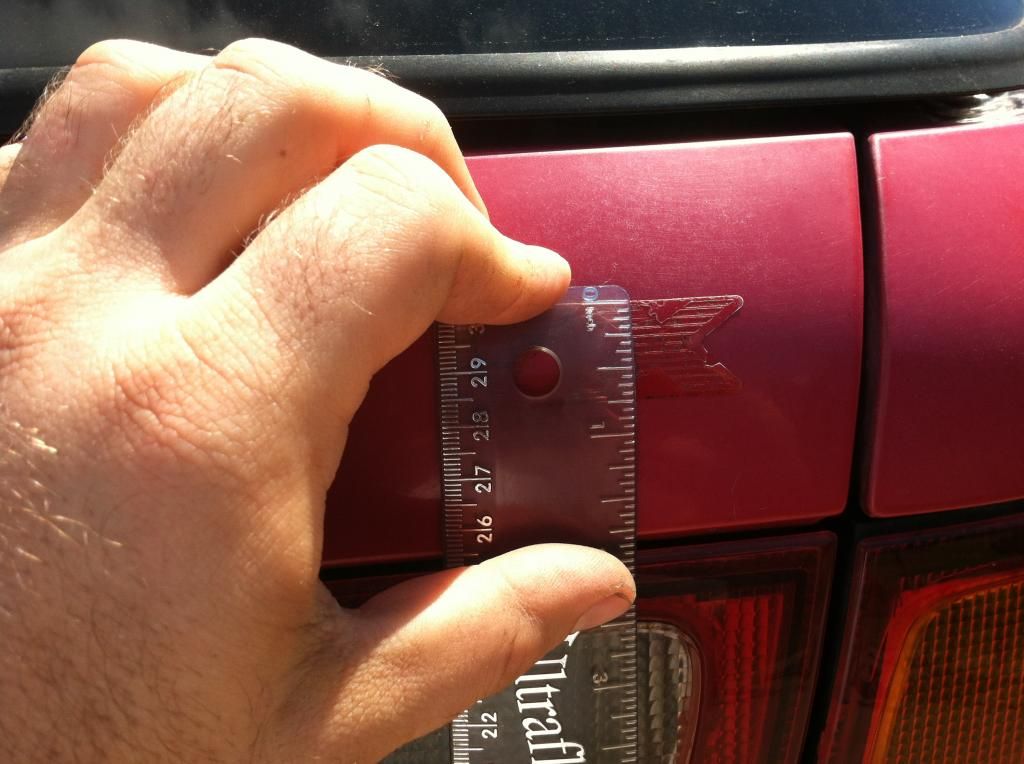
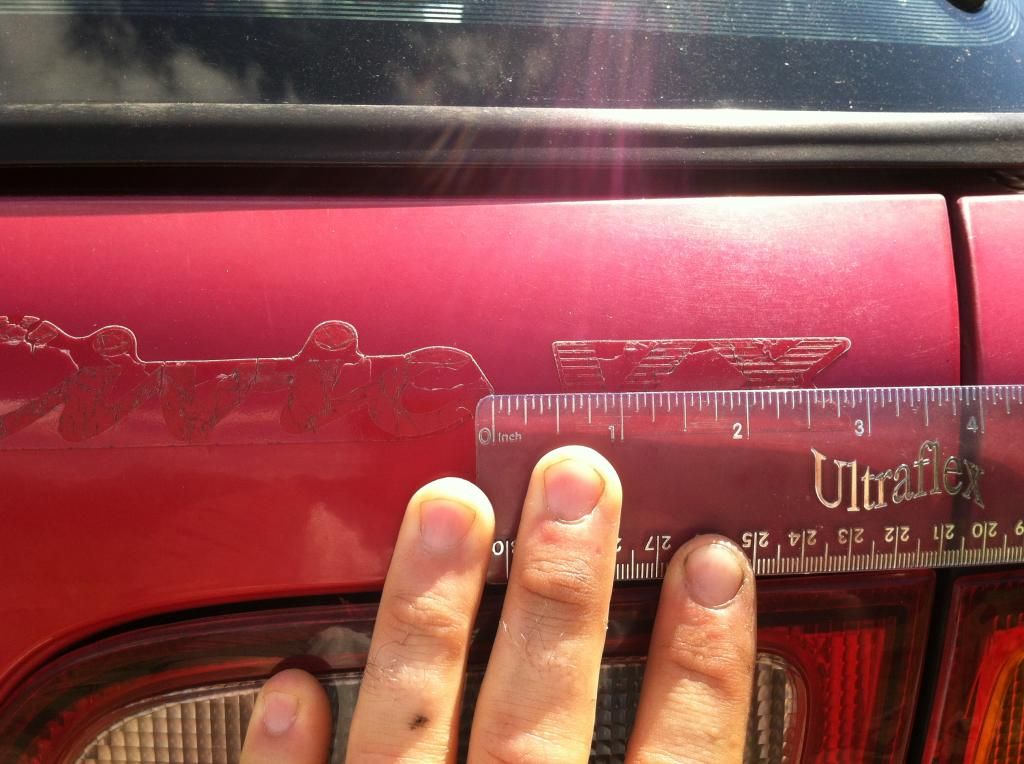
Also, for my own records later in the project, here's some detailed pics of the old Civic VX decals, with measurements. I plan to re-create this later, with some special additions added.
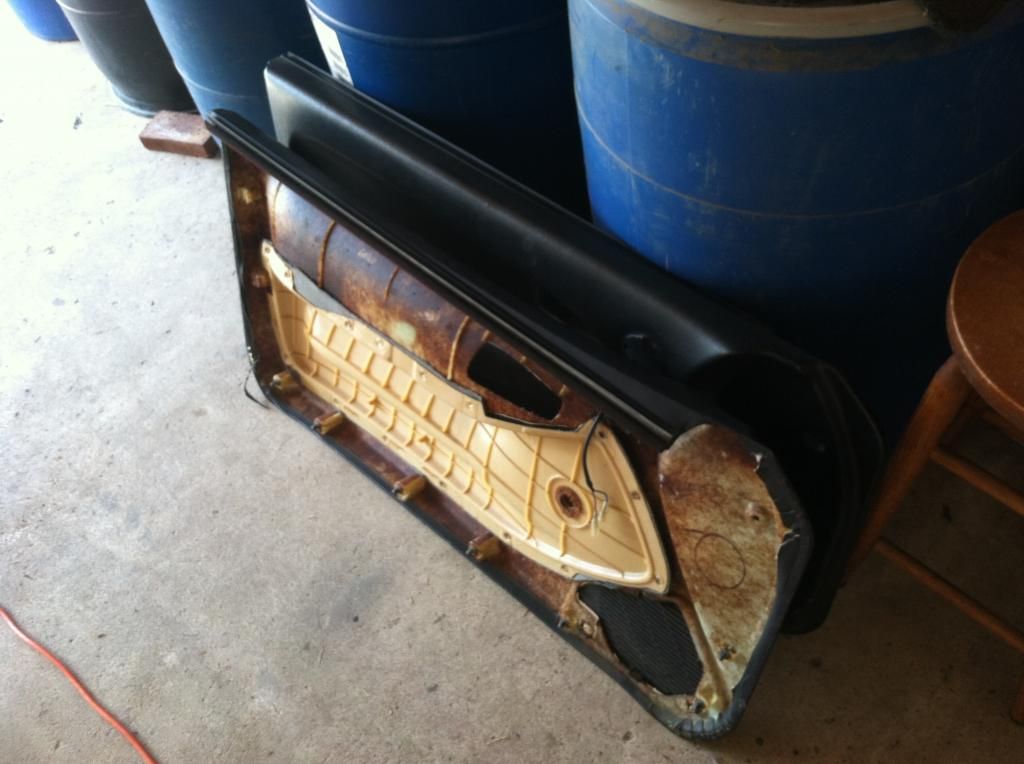
...and the door cards are off for restoration work and audio corrections.
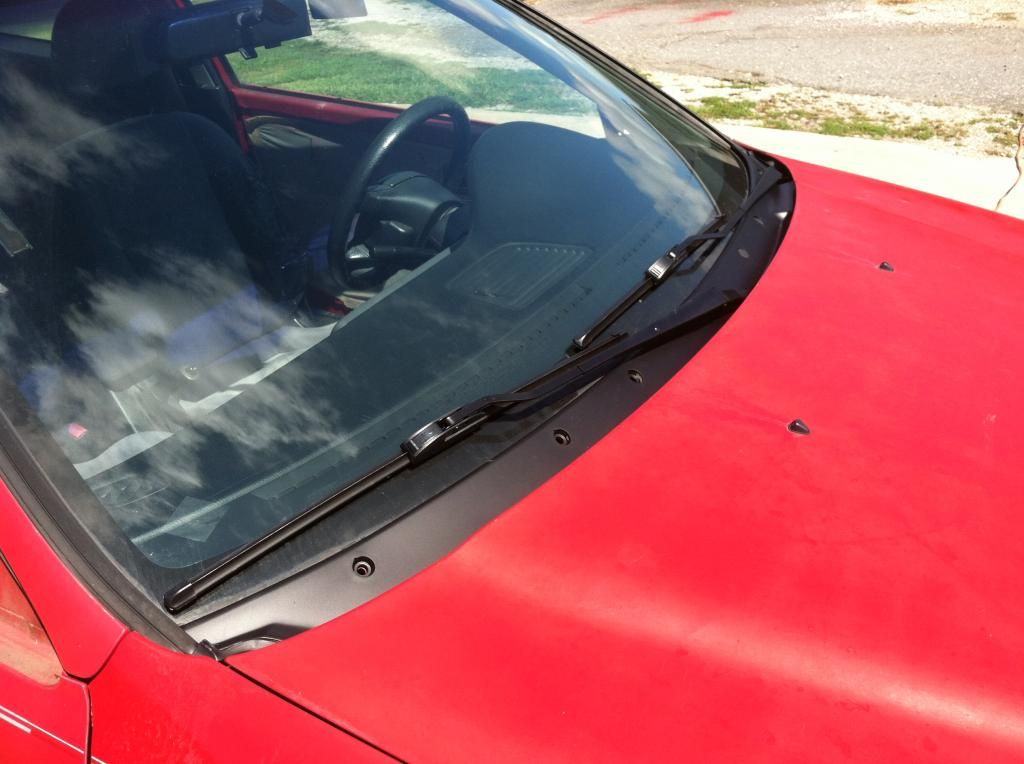
...and here's the new Duralast Flex Blades with the recently painted/restored wiper cowl. It got the Duplicolor treatment that I mentioned in my previous post.
Thanks for eco-tuning in!
The next major updates will be Exterior Part 1B: Trip Painting, and then Exterior Part 2: clay bar, wet sand, cutting, polishing, glazing.
Last edited by OG VX; 09-10-2014 at 05:51 AM..
|
|
|

|
|
The Following 6 Users Say Thank You to OG VX For This Useful Post:
|
|
 09-10-2014, 05:48 AM
|
#45 (permalink)
|
|
JDM hypeR mileR
Join Date: Aug 2014
Location: Mooresville, NC
Posts: 418
Thanks: 475
Thanked 418 Times in 198 Posts
|
Update: Exterior Work Part 1B- Trim Painting
Hello all, here's some updates to keep the thread rolling along.
Installed Vision SiR-replica corners. Also installed 1157A bulbs inside.
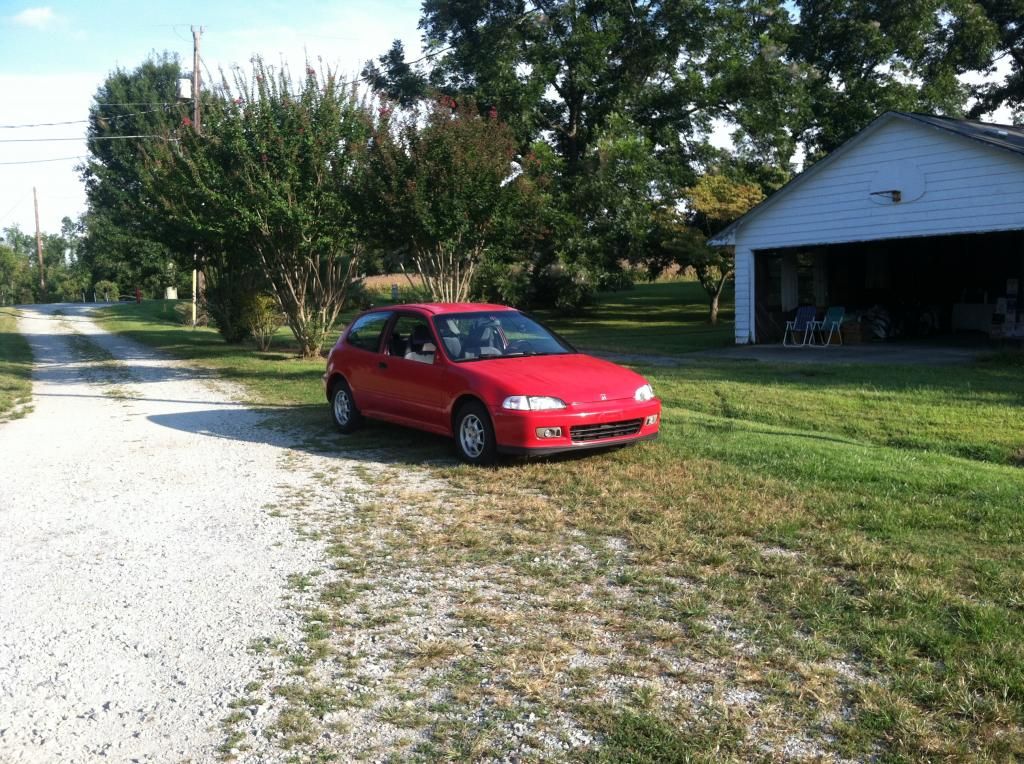
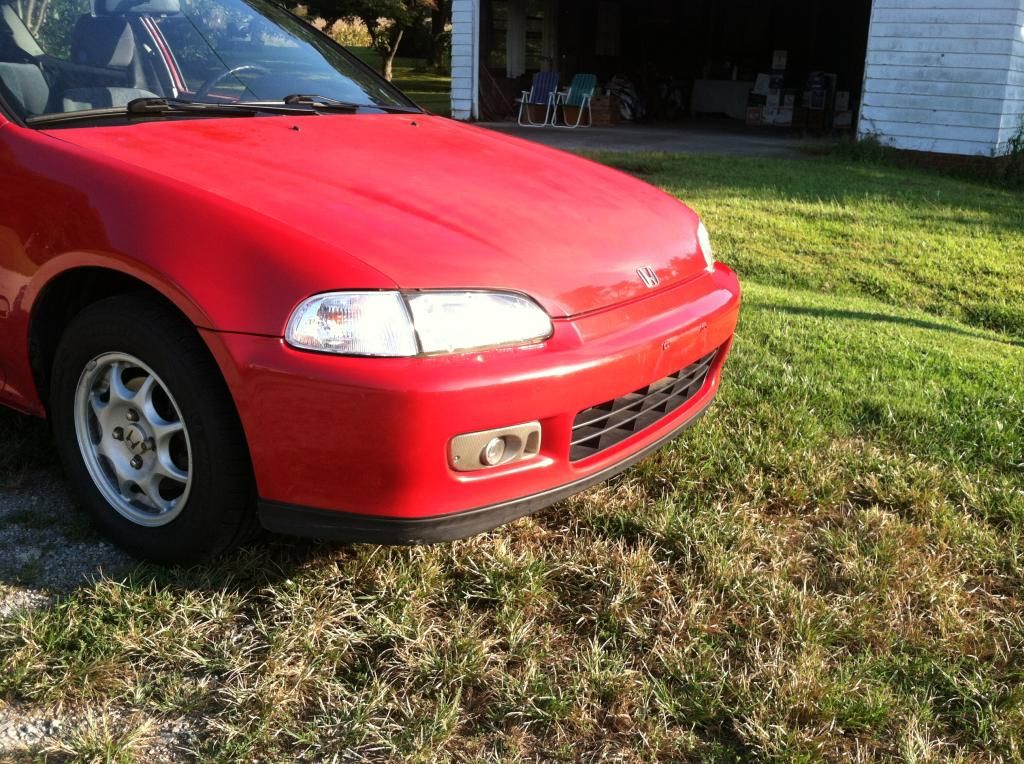
I removed and painted all of the remaining trim pieces. Here's some pics/progress:
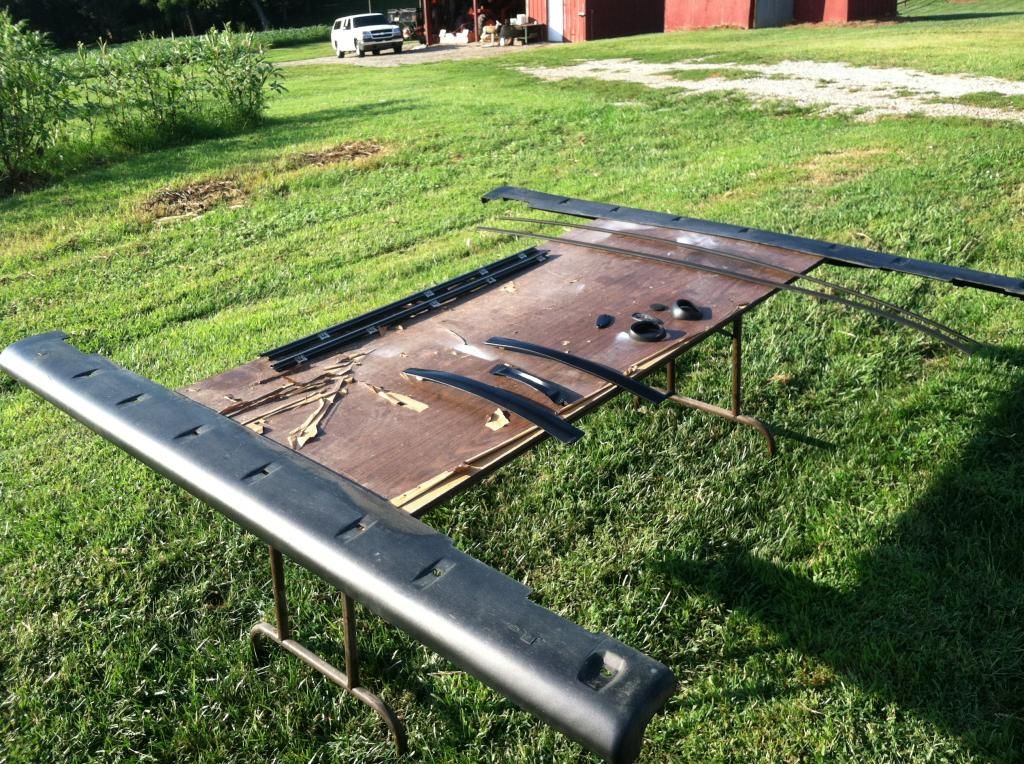
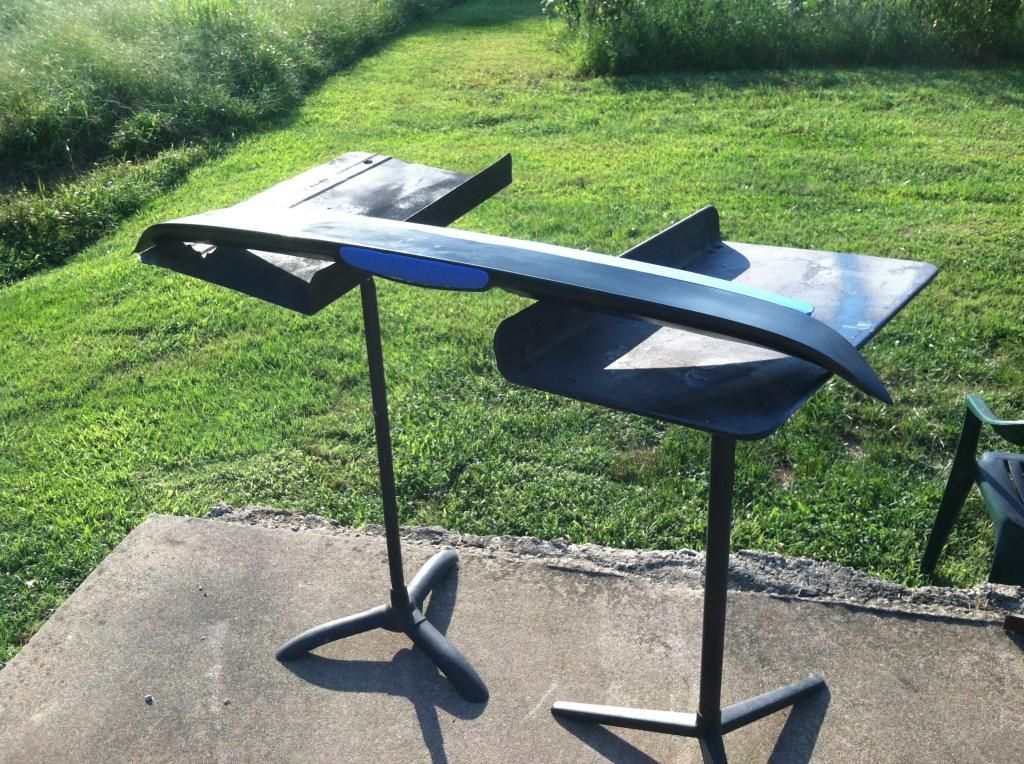
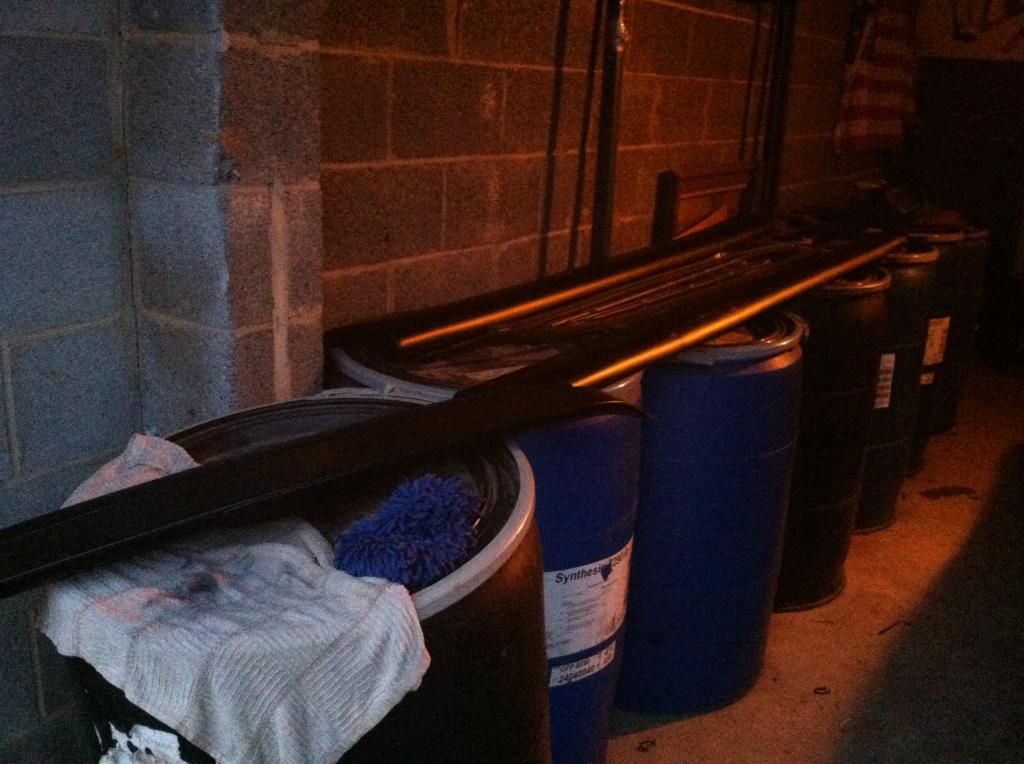
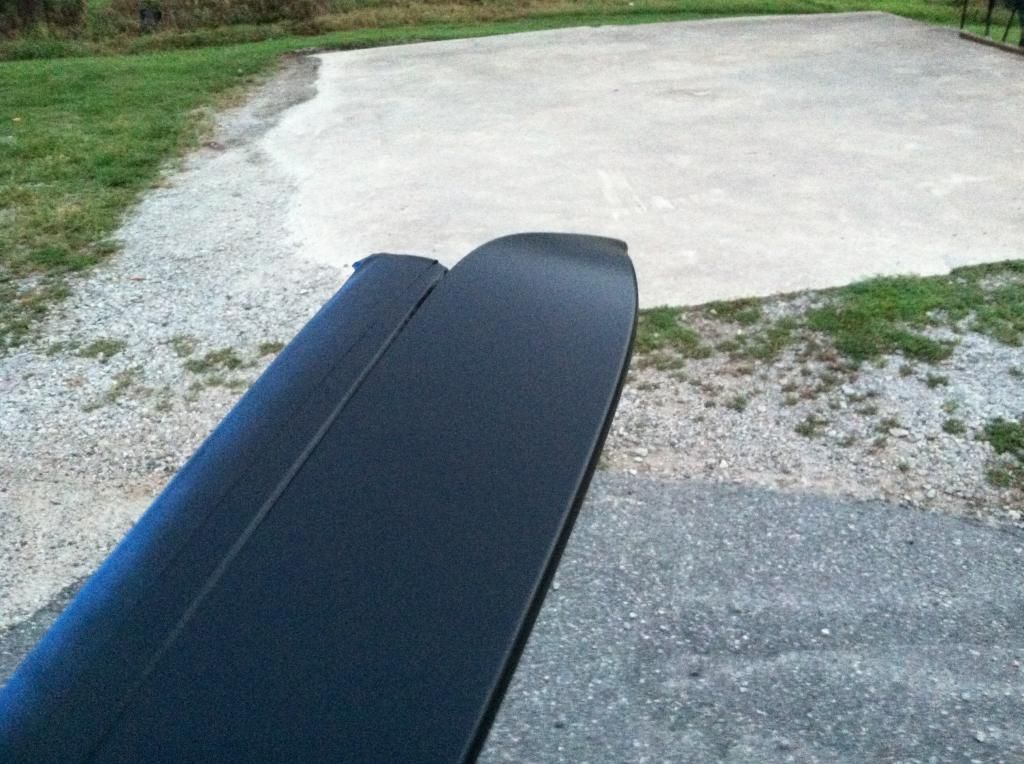
Here's the nice OEM-like sheen the Duplicolor Bumper Paint leaves. FAR superior to a Krylon Satin finish for auto parts, IMHO... You can also see in the same pic that the windshield molding trim is faded. This trim will be treated with Forever Black, since I've found it hard to remove these without damaging the clips and/or molding.
The same paint was applied to the antenna delete and accompanying rubber gasket.
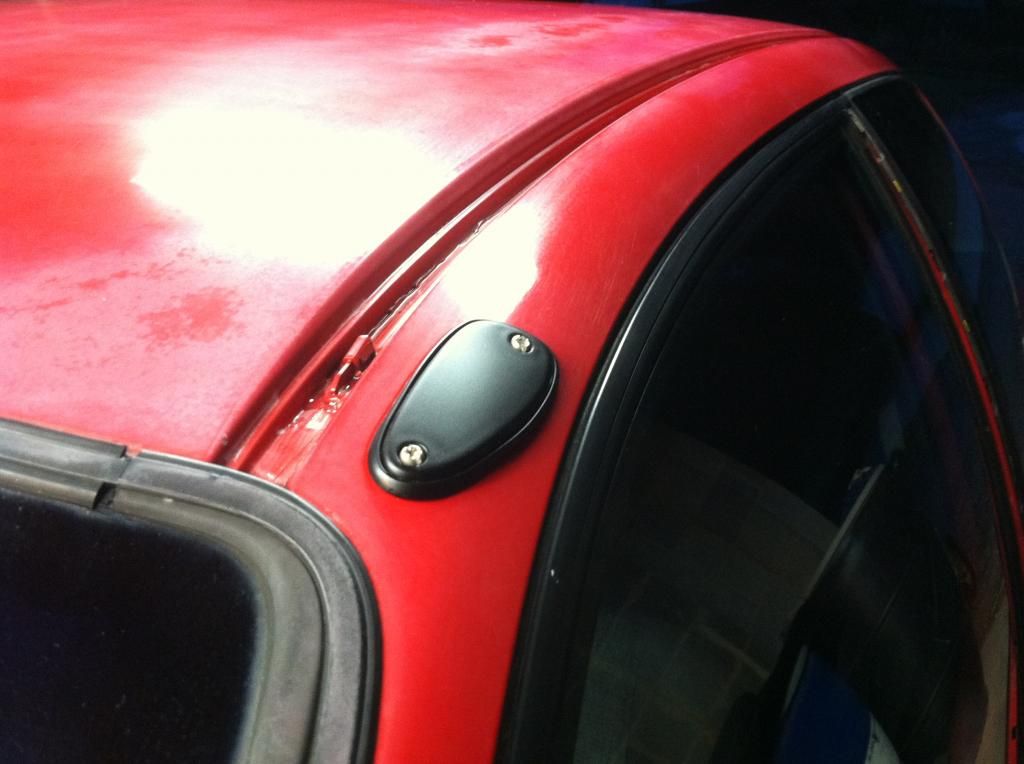
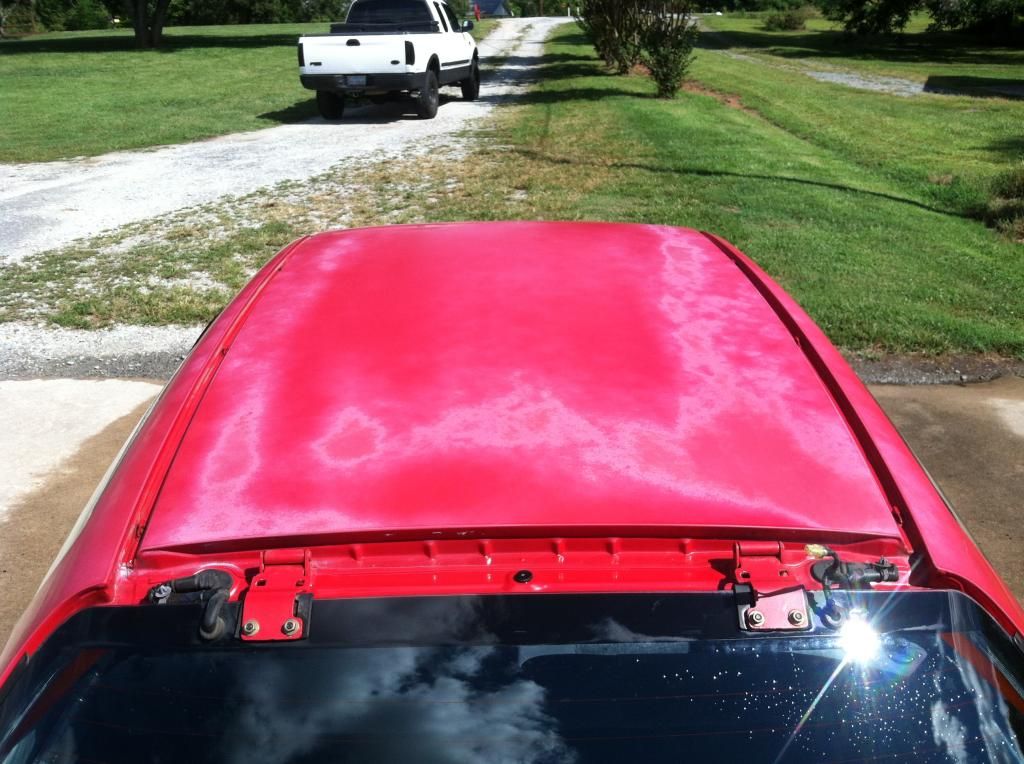
Also, pictured above, you can see that I *tried* to polish/save the paint on the roof. Didn't work. Looks like I'll have to spot paint it in the near future...
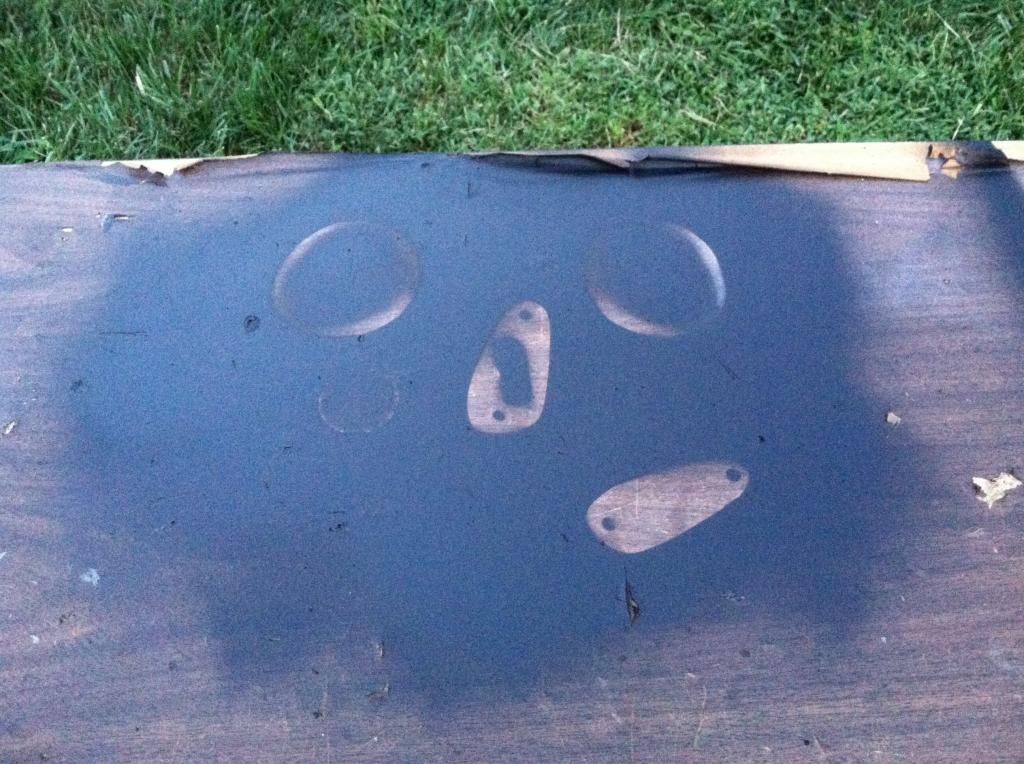
When removing parts from the paint table, found this. HILARIOUS!
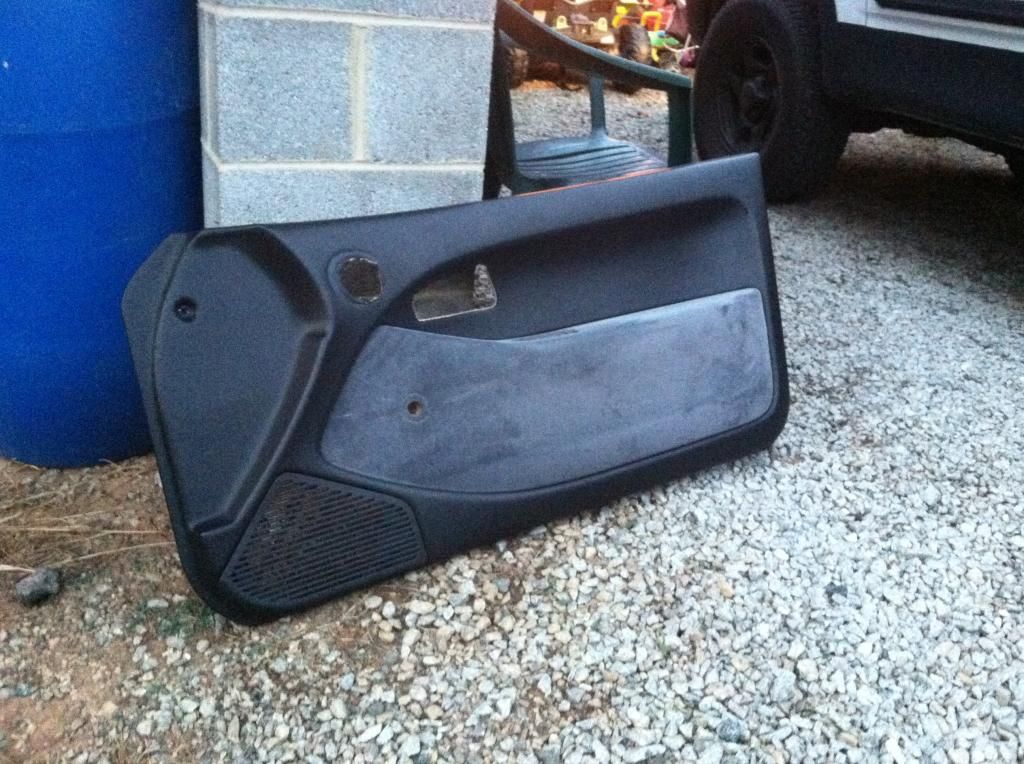
I also cleaned/degreased the fabric panels on the door cards, and left them to dry. Now that these have been drying out in the sun, I will soon remove the fabric so that I can glue them back in place. They were loose and hanging off when I acquired the vehicle.
My next update I'm MOST excited about. I've been wanting to try out the newest headlight lighting conversion craze: CREE LED bulbs. My kit came in on Tuesday from China. I am BLOWN AWAY with the quality. These belong in a museum, not my civic. They are NASA-impressive in construction/materials, and the box/presentation they came in was nicer than the box that held my wife's engagement ring 8 years ago...
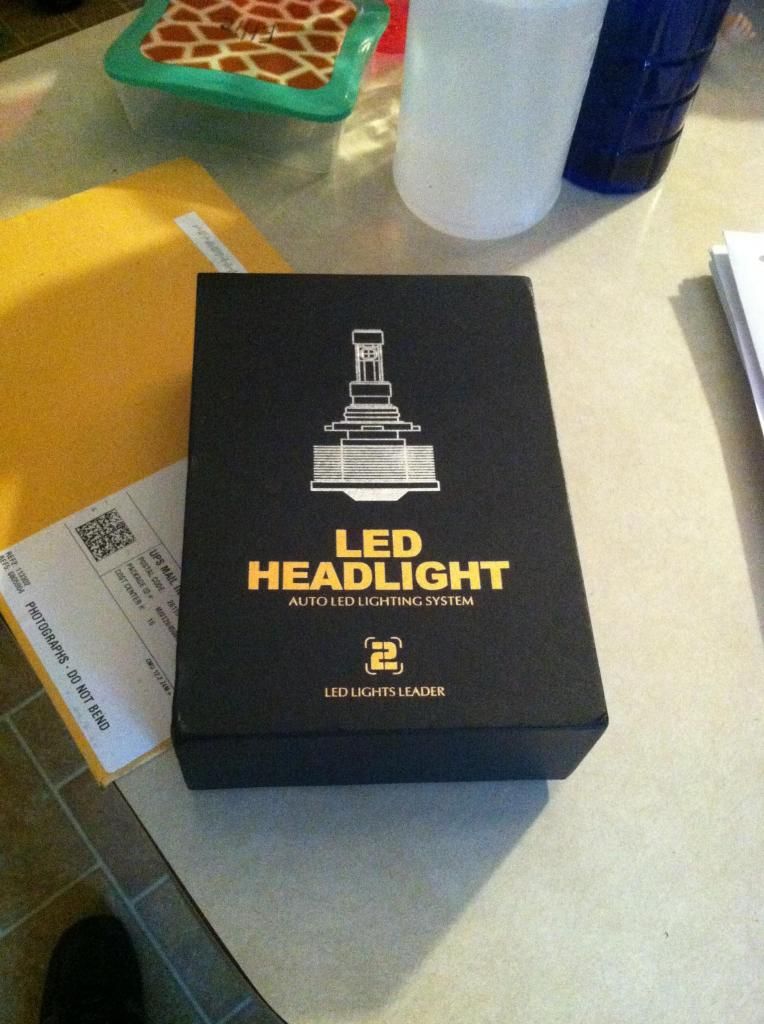
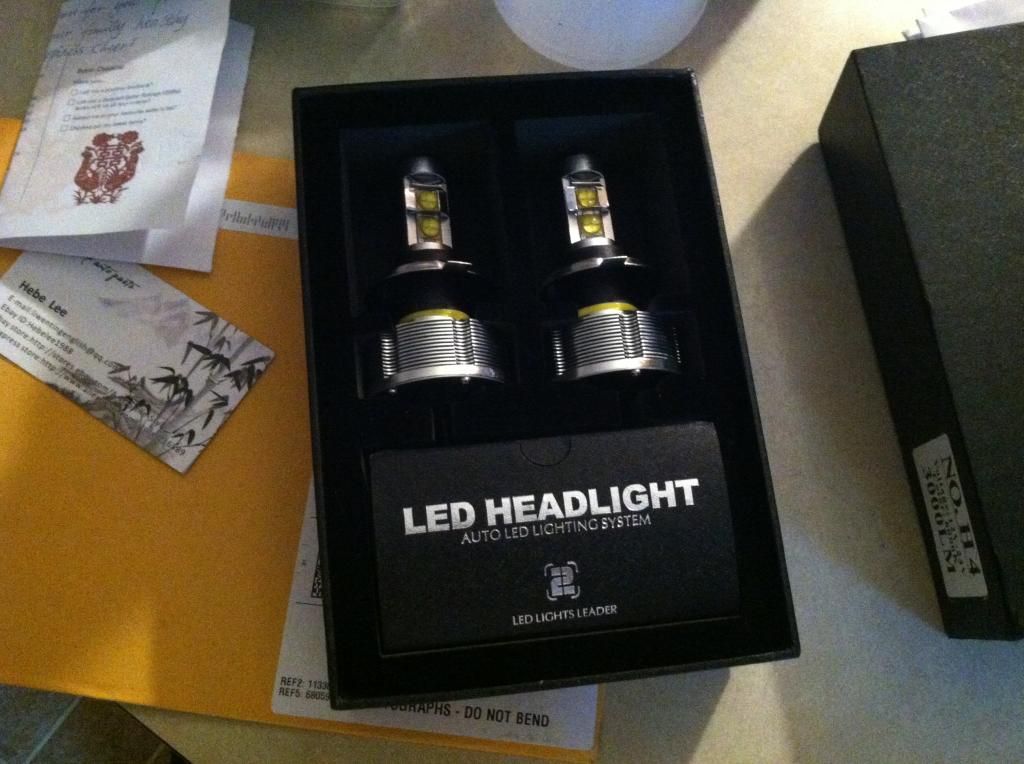
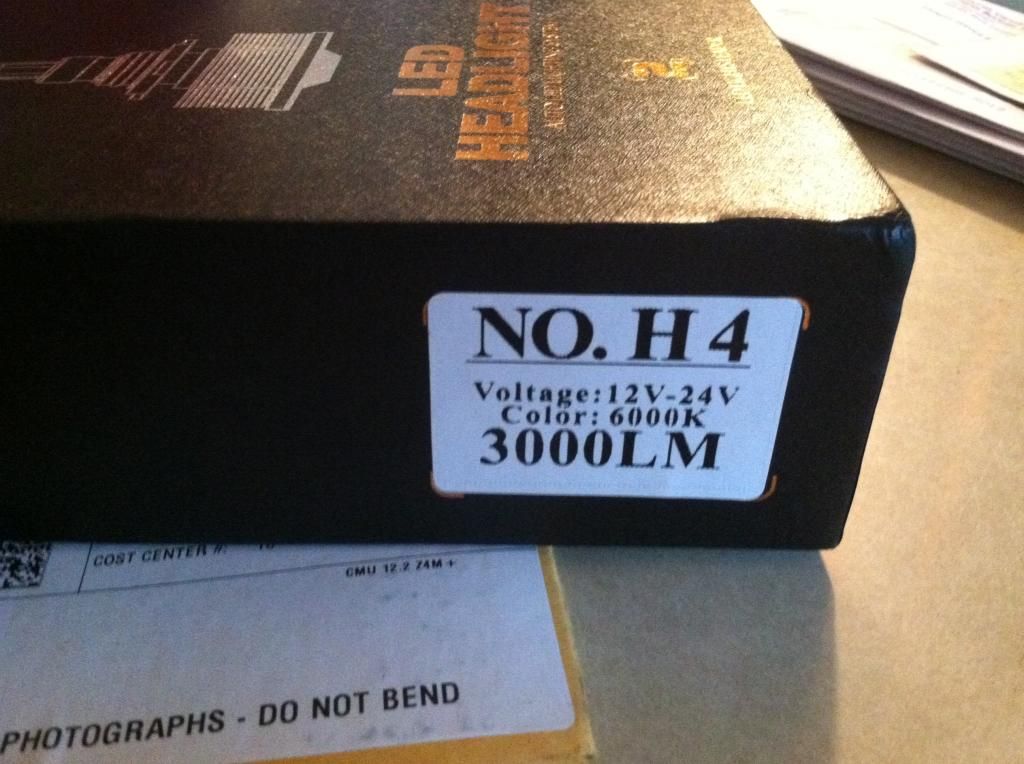
Installation was a complete breeze, and the connections are so much better designed/tighter than any Zentec HID kit I've ever bought off of Ebay. Only snag was that I discovered I needed to upgrade my high and low fuses from 10A units to 20A. Once I did that, butter! I'll take a pic of the output soon. I was also able to install the Nokya Hyper Yellow bulbs, and I love the color combo and light output.
Last, but certainly not least, an actual ECO update to the thread. 
I've been shooting to get to 500 miles out of a tank asap (to get over 60 mpg). I think I'm on track. Yesterday, I eclipsed 300 miles before the tank needle dropped below half. Now, the needle drops more aggressively once it passes the halfway mark, for whatever reason. But still, I think I'm on track! I'll know by weeks end. :nails biting:
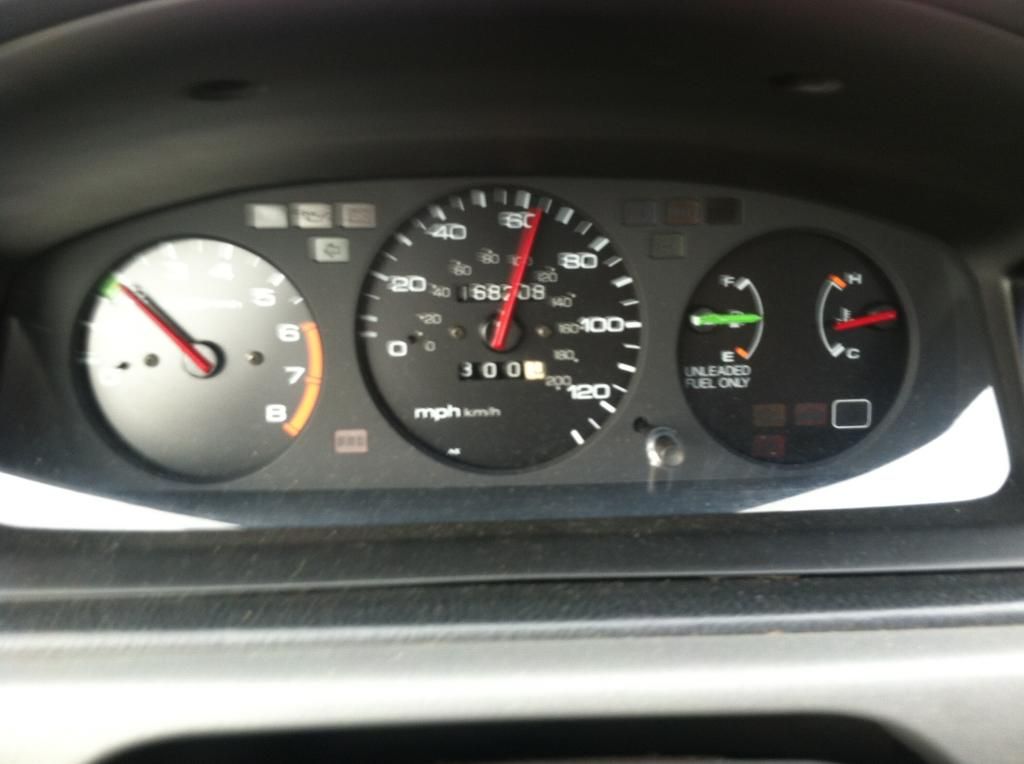
That's all for now. Back with Exterior-Part 2 work soon...
Thanks for eco-tuning in!
Last edited by OG VX; 09-10-2014 at 08:39 AM..
|
|
|

|
|
The Following 2 Users Say Thank You to OG VX For This Useful Post:
|
|
 09-11-2014, 11:07 AM
|
#46 (permalink)
|
|
JDM hypeR mileR
Join Date: Aug 2014
Location: Mooresville, NC
Posts: 418
Thanks: 475
Thanked 418 Times in 198 Posts
|
Just a quick note to share: posted to my fuel log. Ran 58 mpg this past tank!
Looks like the recent tune-up/gaskets/plugs/fuel filter/etc... is really paying off. My first tank was 53 mpg. Then, I ran 47mpg on my second tank. Likely, this was due to having to idle a bunch during engine repair (and running a bit late for work a few mornings didn't help either). Also, I suspect that the old fuel filter became clogged up from running SeaFoam for the first time on the previous tank. Probably stirred up a bunch of rust/crud in the tank and clogged the filter. There was some fuel/throttle hesitation prior to switching out to the new filter. It is now gone. I'm sure that was effecting performance.
Anyway, I'm almost to my goal of 65mpg w/o any major aero mods. . I think that running E0 gas will put me above 60, and after installing the MPGuino and vacuum gauge, I'll be able to push to my goal of 65mpg.
Once I'm at 65, I'll start aiming to complete some major aero mods: kammback, air dam, lower side skirts, grille block, wheel skirts, wheel covers etc...
Just wanted to share the good news that all of the mods and driving tech's learned on this site are really paying off. Thanks dudes (and dudettes)!
Last edited by OG VX; 09-11-2014 at 11:18 AM..
|
|
|

|
|
The Following 2 Users Say Thank You to OG VX For This Useful Post:
|
|
 09-11-2014, 11:27 AM
|
#47 (permalink)
|
|
Administrator
Join Date: Dec 2007
Location: Germantown, WI
Posts: 11,203
Thanks: 2,501
Thanked 2,589 Times in 1,555 Posts
|
Great work! It gives me motivation to work on my 93 Tercel. At least you don't have to deal with a bunch of rust.
|
|
|

|
|
The Following User Says Thank You to Daox For This Useful Post:
|
|
 09-11-2014, 11:43 AM
|
#48 (permalink)
|
|
JDM hypeR mileR
Join Date: Aug 2014
Location: Mooresville, NC
Posts: 418
Thanks: 475
Thanked 418 Times in 198 Posts
|
Quote:
Originally Posted by Daox

Great work! It gives me motivation to work on my 93 Tercel. At least you don't have to deal with a bunch of rust.
|
Thank you sir! Ironically, I'm combing through your own thread (Sunfire) in another tab, ha. Good stuff, keep it up! |
|
|

|
 09-13-2014, 01:47 PM
|
#49 (permalink)
|
|
Cyborg ECU
Join Date: Mar 2011
Location: Coastal Southern California
Posts: 6,302
Thanks: 2,374
Thanked 2,176 Times in 1,471 Posts
|
JC Whitney seems to be suggesting those are 4w headlight bulbs! Is that correct?
__________________
See my car's mod & maintenance thread and my electric bicycle's thread for ongoing projects. I will rebuild Black and Green over decades as parts die, until it becomes a different car of roughly the same shape and color. My minimum fuel economy goal is 55 mpg while averaging posted speed limits. I generally top 60 mpg. See also my Honda manual transmission specs thread.


|
|
|

|
 09-13-2014, 11:23 PM
|
#50 (permalink)
|
|
JDM hypeR mileR
Join Date: Aug 2014
Location: Mooresville, NC
Posts: 418
Thanks: 475
Thanked 418 Times in 198 Posts
|
Quote:
Originally Posted by California98Civic

JC Whitney seems to be suggesting those are 4w headlight bulbs! Is that correct?
|
Hey bro,
The ones that I ended up ordering were 20w. However, after purchasing them, the seller wrote to ask if it would be OK for him to send the newer, 30w versions. These were new-stock, as they had sold out of the older (20w) stock. Cool with me 
I'm still not very well versed on the whole CREE LED bulb deal, but apparently, the wattage numbers for these is not really comparable with how we rate halogen bulbs. They have a lower wattage rating than halogens, but produce the same or higher light output.
I'm very happy with the output. A bit brighter than my OEM halogens. The color/output is somewhere in-between a Silverstar bulb and a 5000K HID xenon bulb. Nice happy medium b/t the two.
I need step up to 25 amp fuses though, as the 20's I upgraded to earlier are not quite enough. The still cause a buzzing noise every now and then, likely when the LED's fans kick in.
|
|
|

|
|
The Following User Says Thank You to OG VX For This Useful Post:
|
|
|