 11-08-2015, 08:10 AM
|
#301 (permalink)
|
|
MPG Maniac
Join Date: Apr 2010
Location: Long Island NY
Posts: 19
Thanks: 4
Thanked 3 Times in 3 Posts
|
Quote:
Originally Posted by Ecky

While the weather is still good, I refinished my headlights again as I wasn't 100% happy with the job I did last time. I had been applying a Meguiar's Protectant to them, which brought them up to crystal clarity, but it washed off every time there was rain and that was unsatisfactory. This time I sanded them up to 2500 grit (up from 1200 last time), used a plastic polish (and spent more time on it for a better result), and then used a compound called Opti-lens to seal it up this time. I'm pretty happy with the results.
|
For really bad headlight lenses, sanding might be needed. But for just moderately dull lenses, swirl X and a small orbital buffer is all that is needed. I have done my 2002 PU and most of my relatives vehicles with excellent results, every time.
__________________
K e i t h in NY
|
|
|

|
|
The Following User Says Thank You to 100MPGUS For This Useful Post:
|
|
 Today Today
|
|
|
|
 Other popular topics in this forum...
|
|
|
|
 11-08-2015, 07:58 PM
|
#302 (permalink)
|
|
Furry Furfag
Join Date: Nov 2013
Location: Apple Valley
Posts: 2,084
Thanks: 67
Thanked 409 Times in 313 Posts
|
At the shop (we work on 80-100 insights). We sand the headlights down (i start with 500 grit, then 1000 then 1200) then spray them with a product called "euroclear" I believe. We have one insight going on 3 years and the headlights still look brand spankin new.
[Edit]: We remove the headlights from the car.
__________________

|
|
|

|
|
The Following User Says Thank You to Baltothewolf For This Useful Post:
|
|
 11-30-2015, 01:54 AM
|
#303 (permalink)
|
|
Master EcoModder
Join Date: Dec 2011
Location: New Zealand
Posts: 5,142
Thanks: 2,930
Thanked 2,604 Times in 1,619 Posts
|
Quote:
Originally Posted by Ecky


You might notice a very conspicuous CEL on my dash. Funny story, that.
Before I left Florida, I loaned Gaptooth to my father-in-law. He put nearly 500 miles on it, and when he brought it back, he said the car had been "running a little rough". A quick glance at the FCD revealed he had averaged about 33mpg, and it was vibrating like a jackhammer. Apparently one of the spark plug wires had come loose shortly after he left, and he had been running on two cylinders and dumping 1/3 of the fuel out through the exhaust pipe. The code read something along the lines of, "Catalytic converter performing below threshold". I was hoping driving it would clean up the cat, and at first thought it worked (went nearly a thousand miles before the light came on again), but the CEL has been coming on more and more frequently. It doesn't affect MPG or performance and I can slip past inspection by clearing codes before going in, but the yellow light bothers me so I'm probably going to get a replacement soon. |
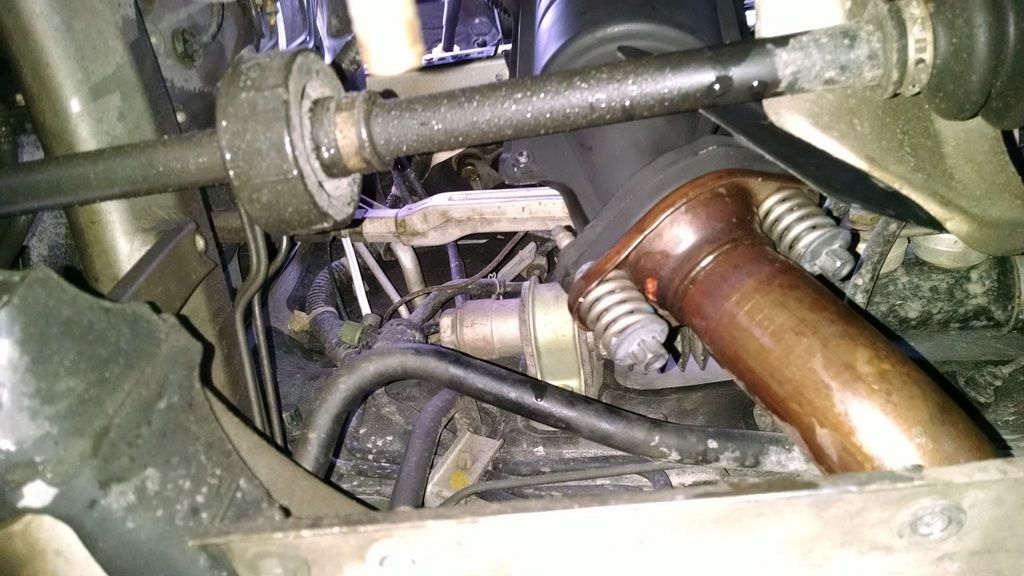
This weekend I decided to tackle the catalytic converter not working, as well as rust-proof a few more parts. I've seen enough pictures of exhaust bolts turned into fuzzy nubs to want to proactively protect things.
Here it is:
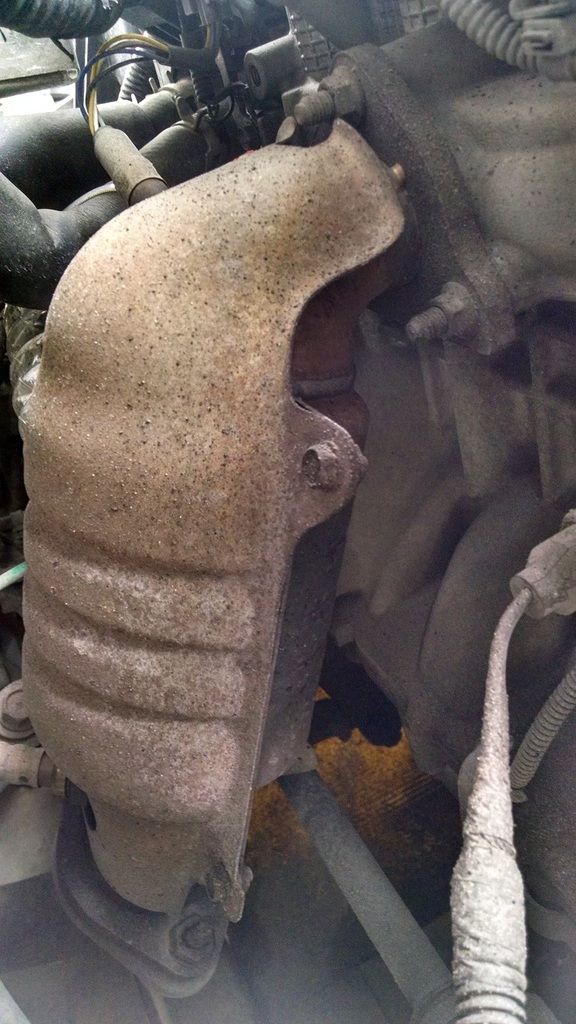
Some of the bolts were pretty stiff, and required that I use a breaker bar to get them free, despite only being torqued to ~16ft-lbs from the factory.
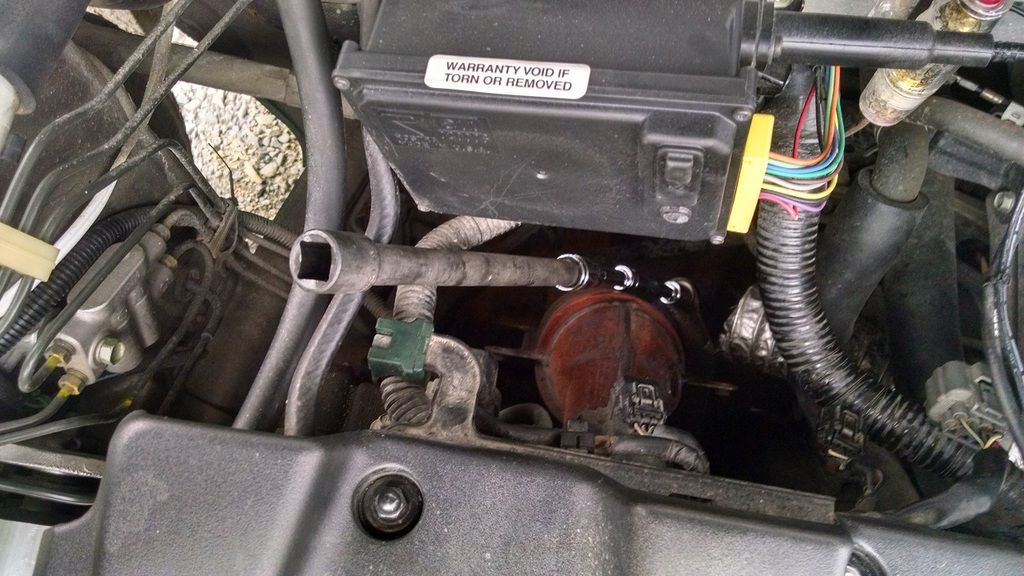
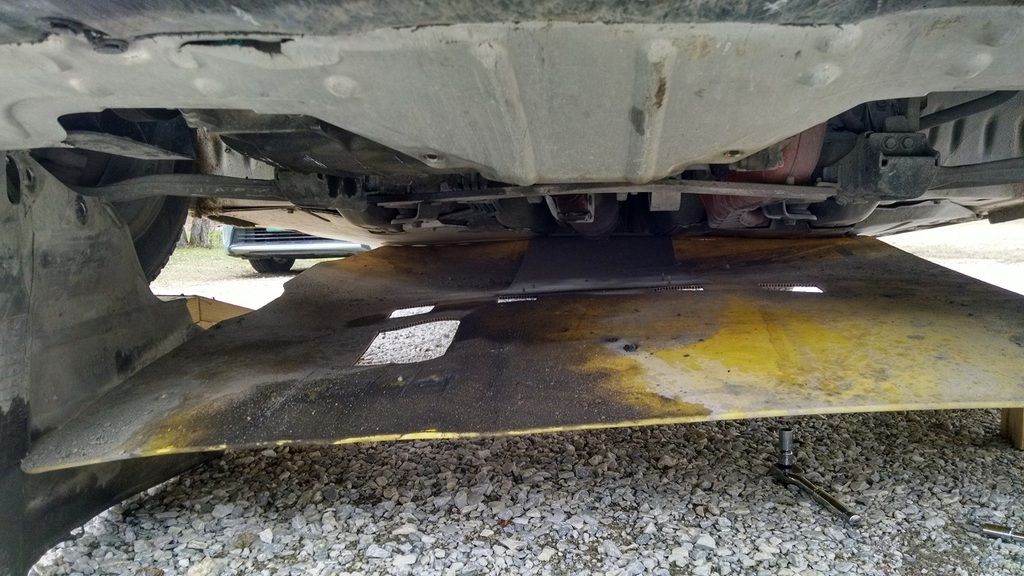
Belly pan let down to access the spring-bolts holding the downpipe to the first cat:
Here it is, with the heat shield wiped down:
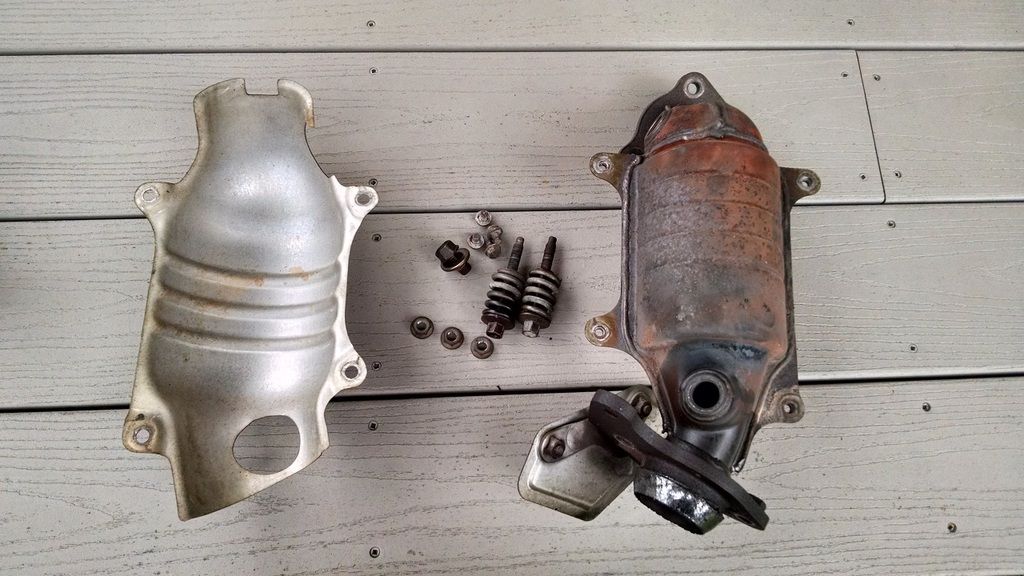
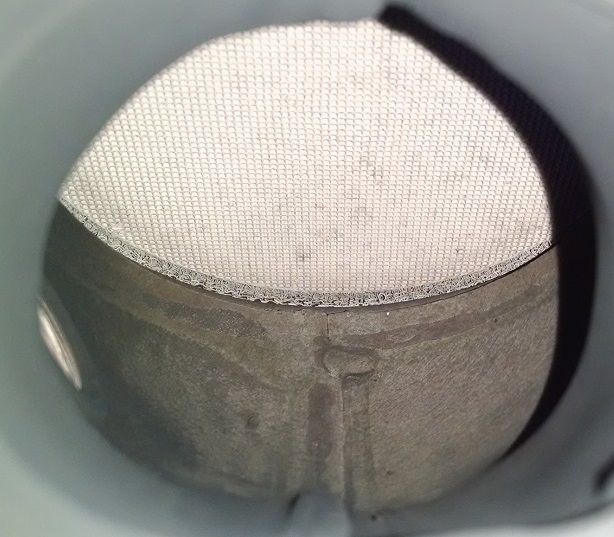
I'm not sure what I was expecting, but the mesh inside the catalyst still looked to be in pretty good shape. No visible damage, no melting/fusing, no carbon buildup. Blowing through it had some resistance though.
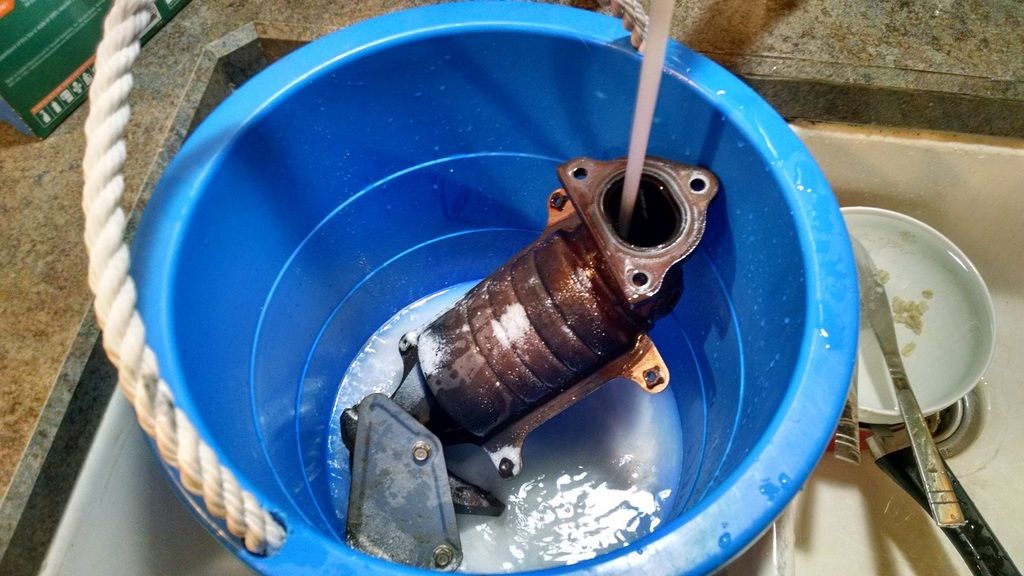
The solution: Dunk it in a bucket of hot water with some dishwasher detergent and dish soap.
Meanwhile, bolts are soaking in phosphoric acid to remove the rust:
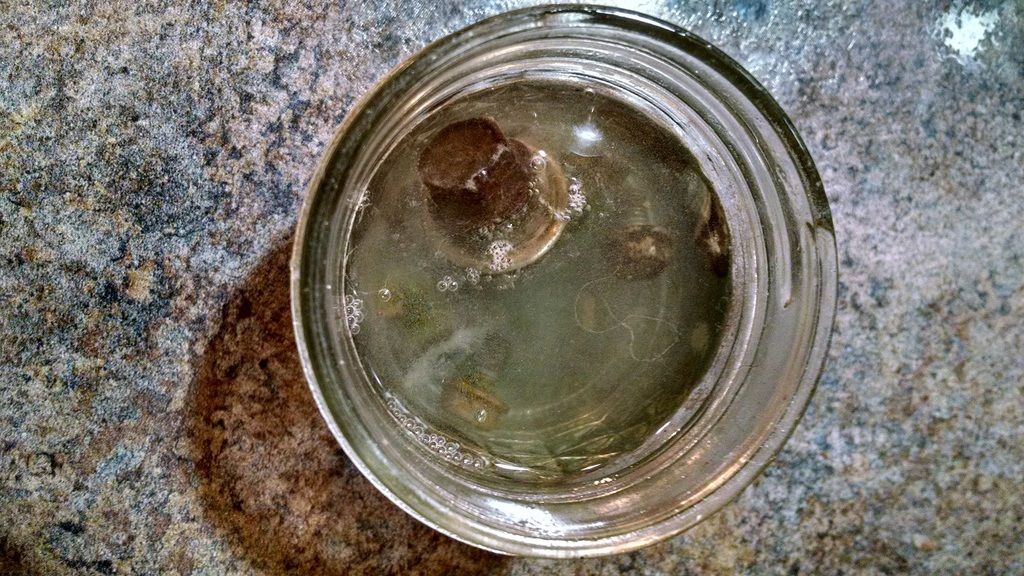
8 hours later:
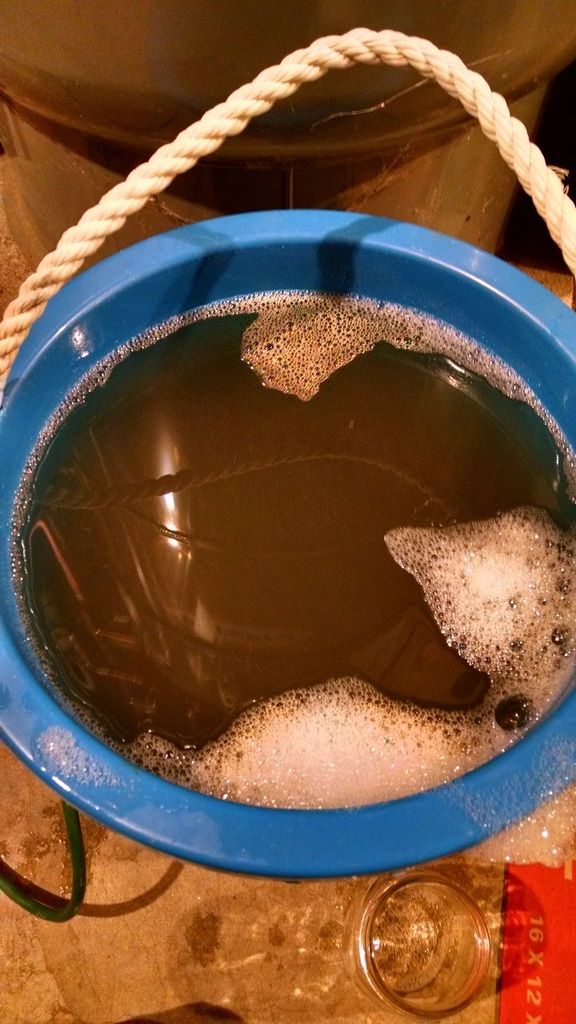
I rinsed the cat out, ran a pint of acetone through it, shook it around, and let it dry for a while. Mesh didn't look really different afterward, but then, it didn't bad to begin with.
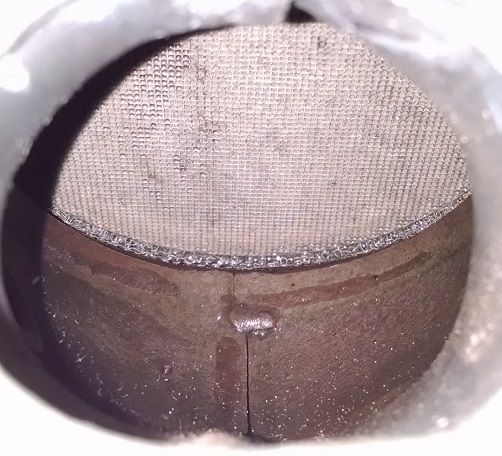
Everything treated with phosphoric acid, then painted with high temperature Rustoleum paint, and anti-seize on all of the bolts:
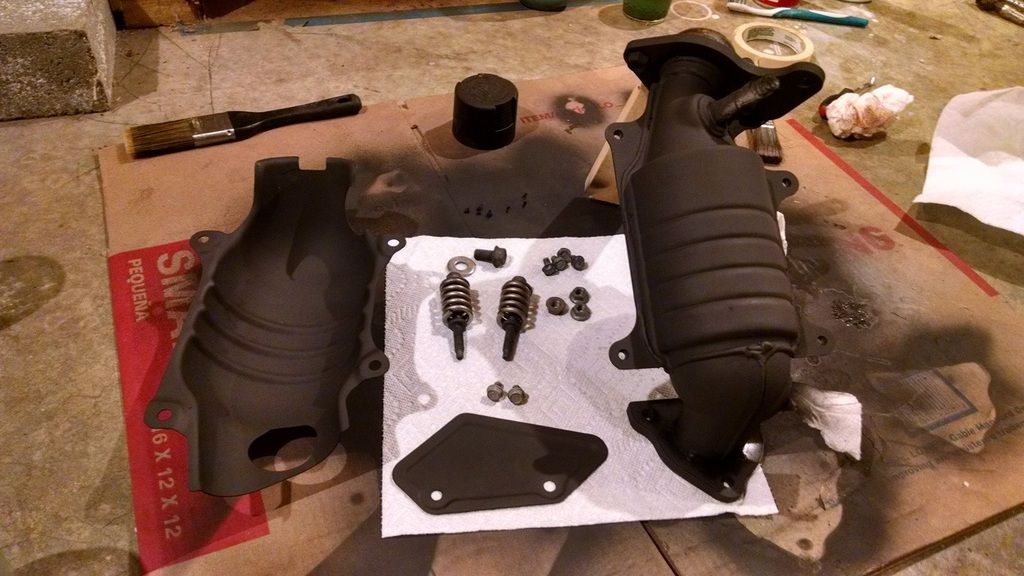
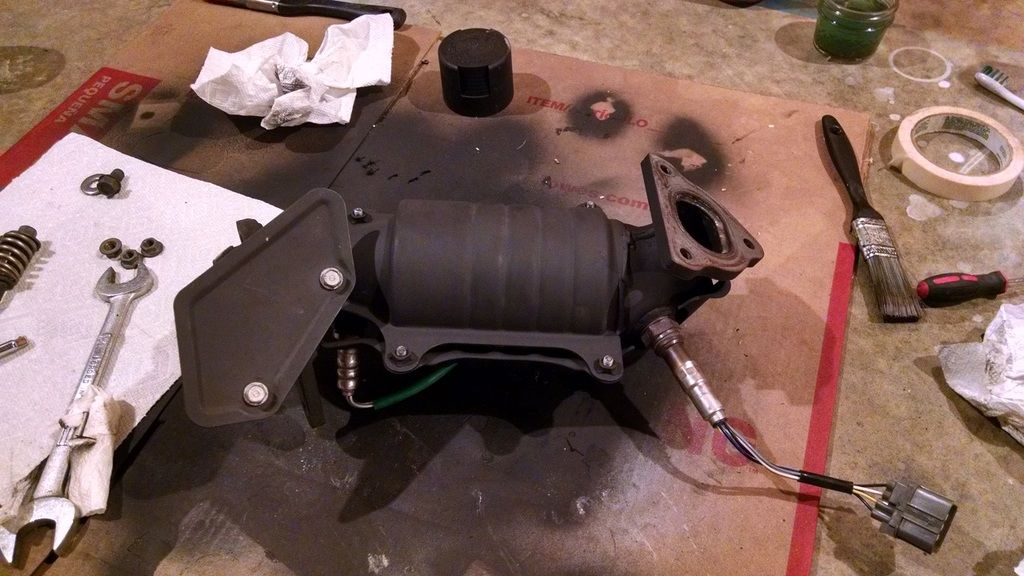
Assembled:
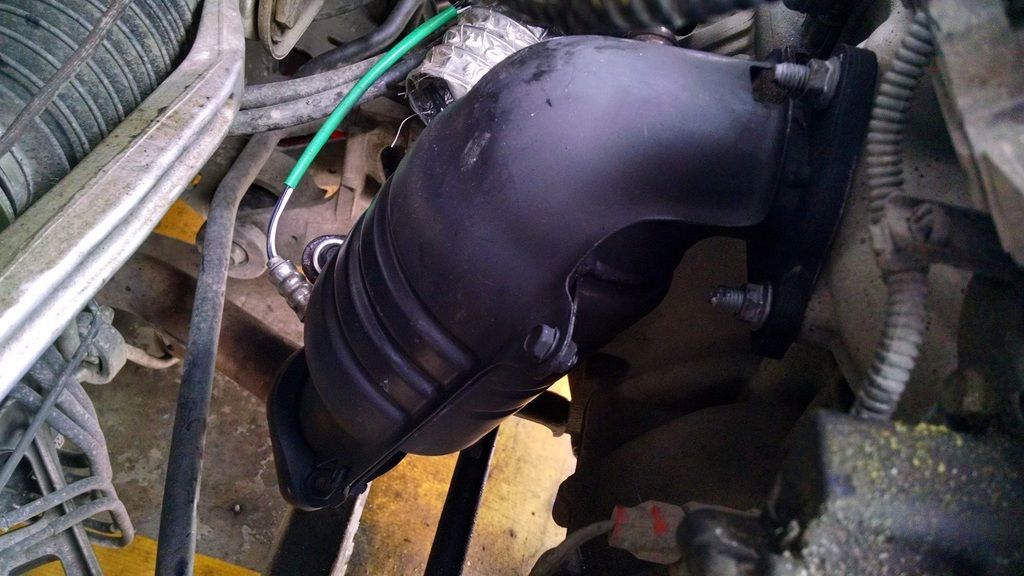
Installed:
Drove it around spiritedly, CEL came on as soon as the Catalyst test finished. Let it sit overnight, reset codes, drove it around, and PASS!
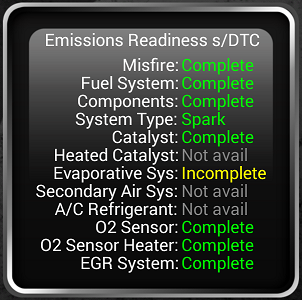
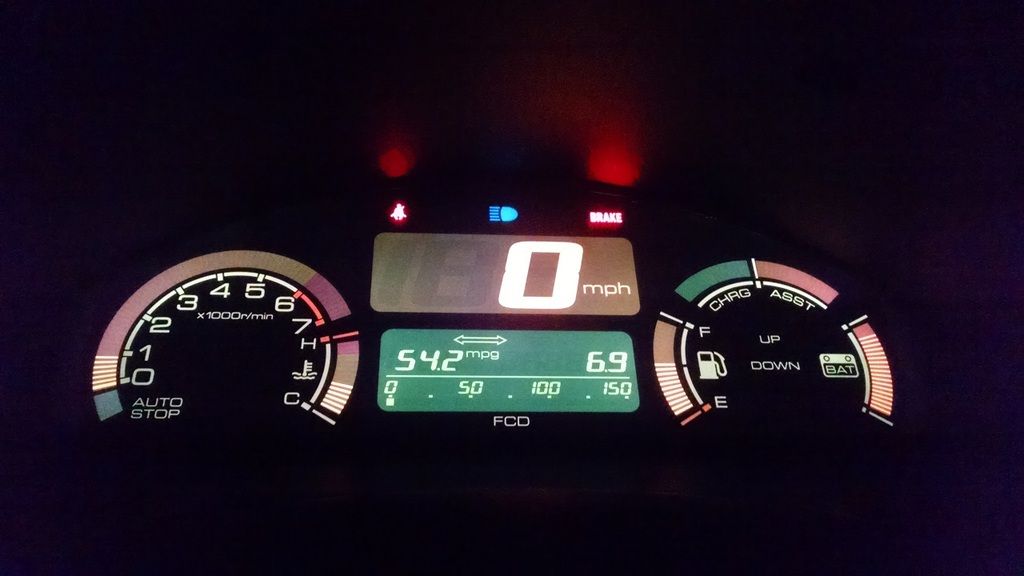
I guess I'll see if it stays off, but at the very least, I've restored it to the point that it doesn't come back on immediately.
And for anyone interested in what this car sounds like without exhaust plumbing attached:
Last edited by Ecky; 11-30-2015 at 08:57 AM..
|
|
|

|
|
The Following User Says Thank You to Ecky For This Useful Post:
|
|
 11-30-2015, 03:10 AM
|
#304 (permalink)
|
|
Furry Furfag
Join Date: Nov 2013
Location: Apple Valley
Posts: 2,084
Thanks: 67
Thanked 409 Times in 313 Posts
|
If in the end, the CEL comes back (probably got the P0420 code) you may or may not be able to punch out your cats and install a spark plug anti fouler drilled out to 1/2 inch. I may or may not know a few people who have done it. I totally haven't, as that's illegal, and don't mind spending 2,000$ for cats.
__________________

|
|
|

|
 11-30-2015, 03:17 AM
|
#305 (permalink)
|
|
Master EcoModder
Join Date: Dec 2011
Location: New Zealand
Posts: 5,142
Thanks: 2,930
Thanked 2,604 Times in 1,619 Posts
|
Quote:
Originally Posted by Baltothewolf

If in the end, the CEL comes back (probably got the P0420 code) you may or may not be able to punch out your cats and install a spark plug anti fouler drilled out to 1/2 inch. I may or may not know a few people who have done it. I totally haven't, as that's illegal, and don't mind spending 2,000$ for cats.
|
I'll get an anti-fouler, but I see no reason to punch the cat out. I'd rather have a 94% functioning catalytic converter than none at all. I didn't mention, but there's noticeably less restriction after washing it, and it might be my imagination, but my butt dyno tells me I'm getting more at the top of the rev range. |
|
|

|
 11-30-2015, 03:40 AM
|
#306 (permalink)
|
|
Furry Furfag
Join Date: Nov 2013
Location: Apple Valley
Posts: 2,084
Thanks: 67
Thanked 409 Times in 313 Posts
|
Quote:
Originally Posted by Ecky

I'll get an anti-fouler, but I see no reason to punch the cat out. I'd rather have a 94% functioning catalytic converter than none at all. I didn't mention, but there's noticeably less restriction after washing it, and it might be my imagination, but my butt dyno tells me I'm getting more at the top of the rev range.
|
Definitely don't punch them out unless the start falling apart, and when they do start falling apart, I guarantee you, you will know it. The power loss is unreal.
[Edit]: I think P0420 is when cats reach 96% efficiency. It was 98% before they did the recall in late '01.
__________________

Last edited by Baltothewolf; 11-30-2015 at 03:46 AM..
|
|
|

|
 11-30-2015, 11:03 AM
|
#307 (permalink)
|
|
Master Novice
Join Date: Jan 2008
Location: SE USA - East Tennessee
Posts: 2,314
Thanks: 427
Thanked 617 Times in 451 Posts
|
Quote:
Originally Posted by Baltothewolf

Definitely don't punch them out unless the start falling apart, and when they do start falling apart, I guarantee you, you will know it. The power loss is unreal.
[Edit]:
|
Oh, man. I had a cat suddenly go over the threshold and I thought I was only running on one cylinder it was so bad.
__________________


Lead or follow. Either is fine.
|
|
|

|
 12-04-2015, 04:30 PM
|
#308 (permalink)
|
|
Master EcoModder
Join Date: Dec 2011
Location: New Zealand
Posts: 5,142
Thanks: 2,930
Thanked 2,604 Times in 1,619 Posts
|
So far so good with the catalyst; It has been about 400 miles since the CEL came on, and I've driven it in a variety of conditions, both lightly and pretty hard at times.
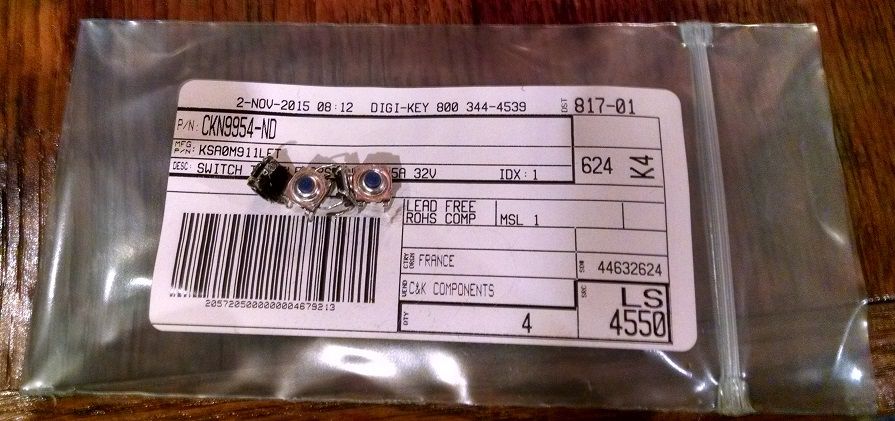
In other news, I got tired of having to mash my trip, mph/kmph, + and - buttons, so I pulled apart the dash and soldered in some replacements I got from digi-key for ~$3 shipped.
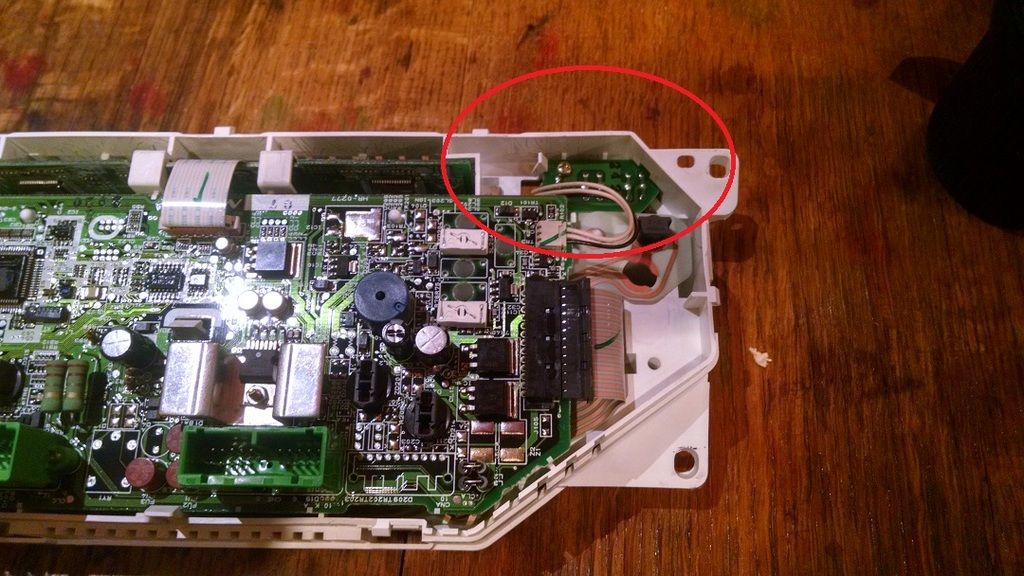
Here's the cluster removed:
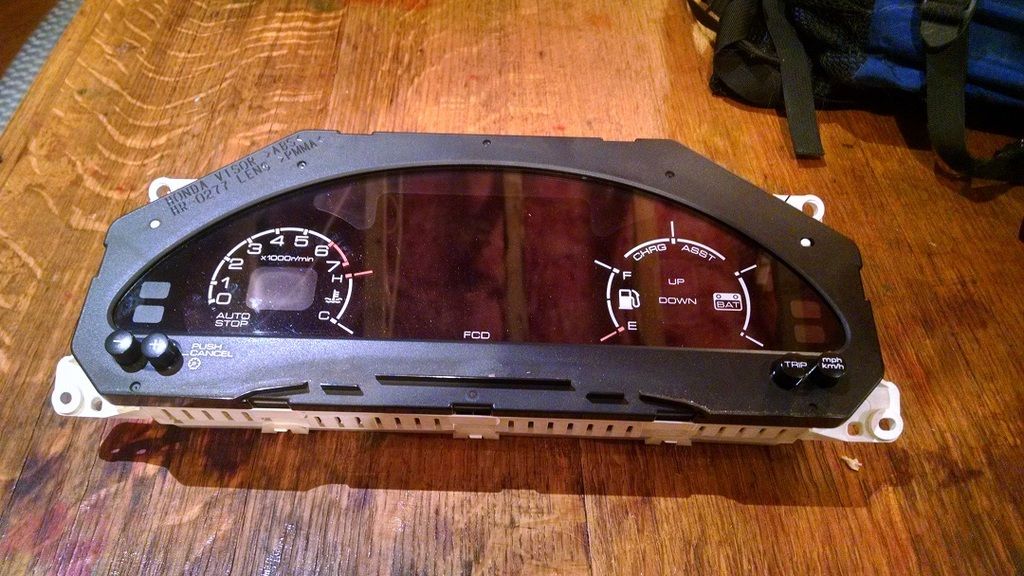
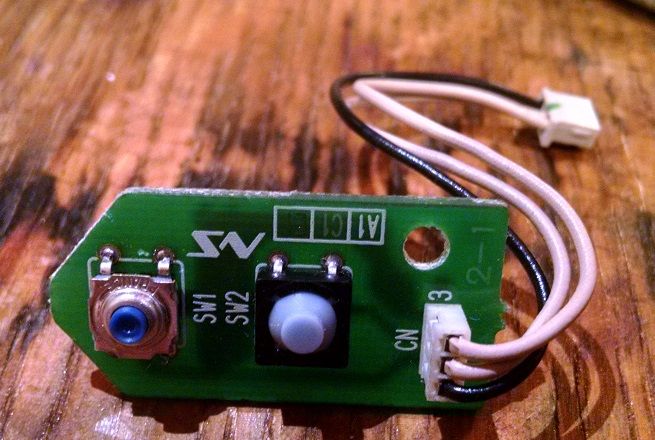
The buttons are on small, removable PCBs in the back. There are plastic tabs and a screw holding them in place. The tabs break super easy (I broke one) but don't seem to be at all necessary for securing the PCB.
Replacements:
Here's one new button next to an old one. The best way to get the old buttons out is really to tear them to bits, and then desolder the legs individually. I replaced all 4, and they work very well. There's now a very pleasant tactical "click" when they close circuit.
 |
|
|

|
|
The Following 2 Users Say Thank You to Ecky For This Useful Post:
|
|
 12-04-2015, 06:08 PM
|
#309 (permalink)
|
|
Master EcoModder
Join Date: Jan 2014
Location: South Carolina
Posts: 1,659
Thanks: 128
Thanked 765 Times in 461 Posts
|
Man I'd send you mine for you to fix if I didn't drive it every day!
How hard is it to get the dash out?
__________________

|
|
|

|
 12-04-2015, 08:12 PM
|
#310 (permalink)
|
|
Master EcoModder
Join Date: Dec 2010
Location: RI
Posts: 692
Thanks: 371
Thanked 227 Times in 140 Posts
|
Quote:
Originally Posted by cowmeat

Man I'd send you mine for you to fix if I didn't drive it every day!
How hard is it to get the dash out?
|
Check with Highwater on IC Link .. He was doing a pre-swap for people .. he sends you button replaced units ready to plug in to your dash .. you install those and send him back the old (needing new button) units... That way your dash being all opened up doesn't have to have any down time.
Getting the Dash out wasn't hard .. direction on link above .. going slow and careful it took me a few hours on a weekend to do the whole thing and have it all back together again.
__________________
Life Long Energy Efficiency Enthusiast
2000 Honda Insight - LiFePO4 PHEV - Solar
2020 Inmotion V11 PEV ~30miles/kwh
|
|
|

|
|
The Following User Says Thank You to IamIan For This Useful Post:
|
|
|