This project has been under construction for about 2 months now. And though I wanted to wait until it was "finished" before making this thread, I don't want to go and forget important info either.
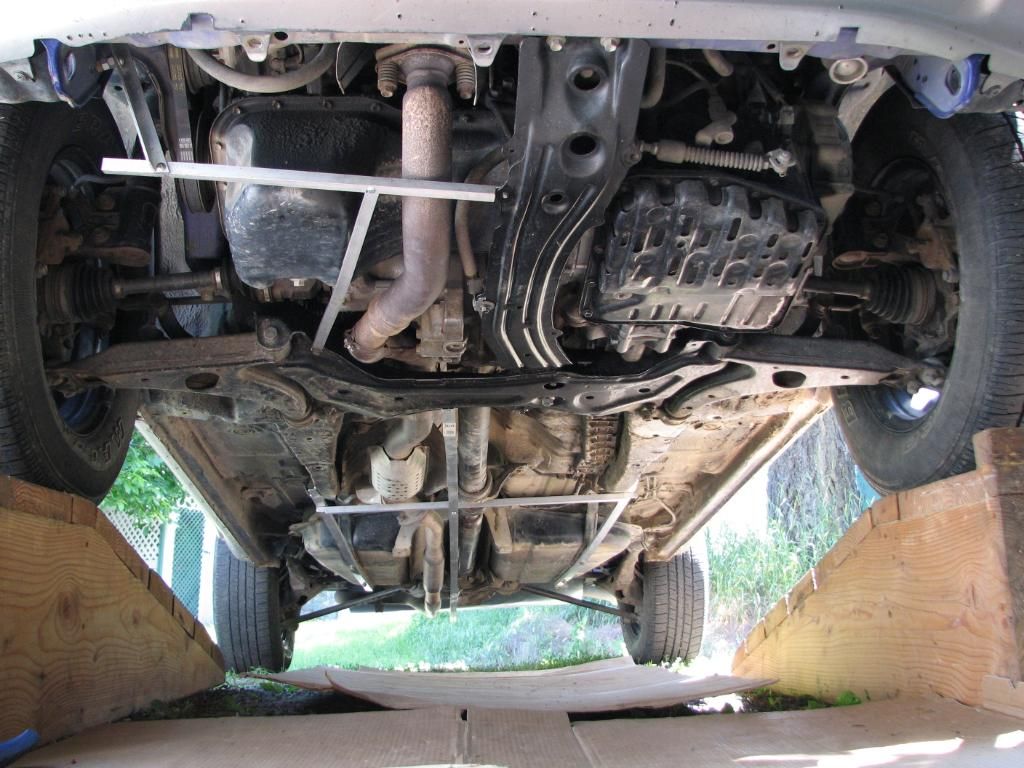
Spending several hours just looking, measuring, and deciding the plan of attack, it was apparent that there were places that would need a frame. I used aluminum angle and C bars.
I was able to acquire 2'x4' sheets of coroplast. A bit too small in places, so the frame reflects the size restraints.
Back end: I've changed my plan for that and will be working on revising it today. Originally I thought wrapping the muffler with aluminum would act as a heat shield for the coro, but it has turned out to be VERY annoying because of the extra noise. More of a rattle then a roar...
However, the driver's side of the muffler hangs lower then the passenger side, so to remedy that, I plan on holding it up with some plumbers tape.
The plan for the coro in the back is to either extend at a ~10 degree angle upward and just end slightly past the rear door. Or instead of cutting off the coro, I would bend it at a ~90 degree angle and have it attach to the place the aluminum is currently attached. I like that idea better, but I'm concerned the muffler will make it too hot with the "tent" effect.... Maybe some air openings on the vertical portion?
I made up a couple aero templates, and according to my guesses, and the template angles, the coro looks like it won't get
really close to the muffler, so I might be okay! (A note on this template, I sized the template to the RAV picture for the top line, and then moved the template upward to line up the lower angles. I hope I did that the right way!)

Okay, enough talk, lets get some pictures in here!

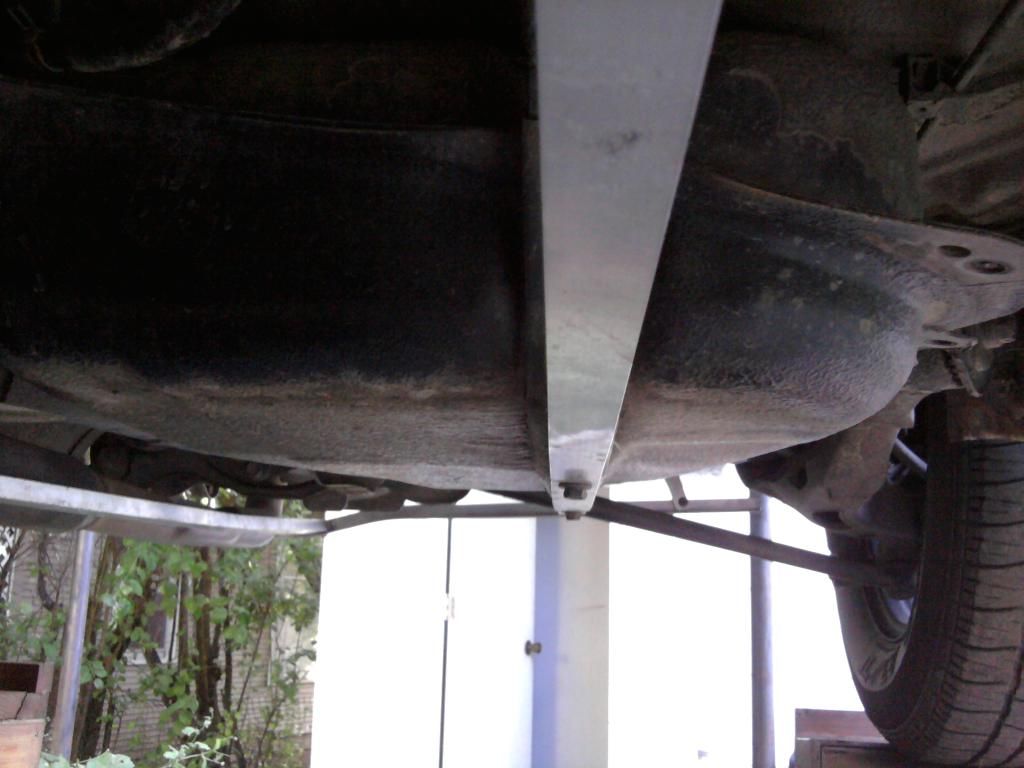
Front little frame had to be removed, because it interfered with having a side piece to cover the belts. Rear perpendicular bar hadn't been installed yet.
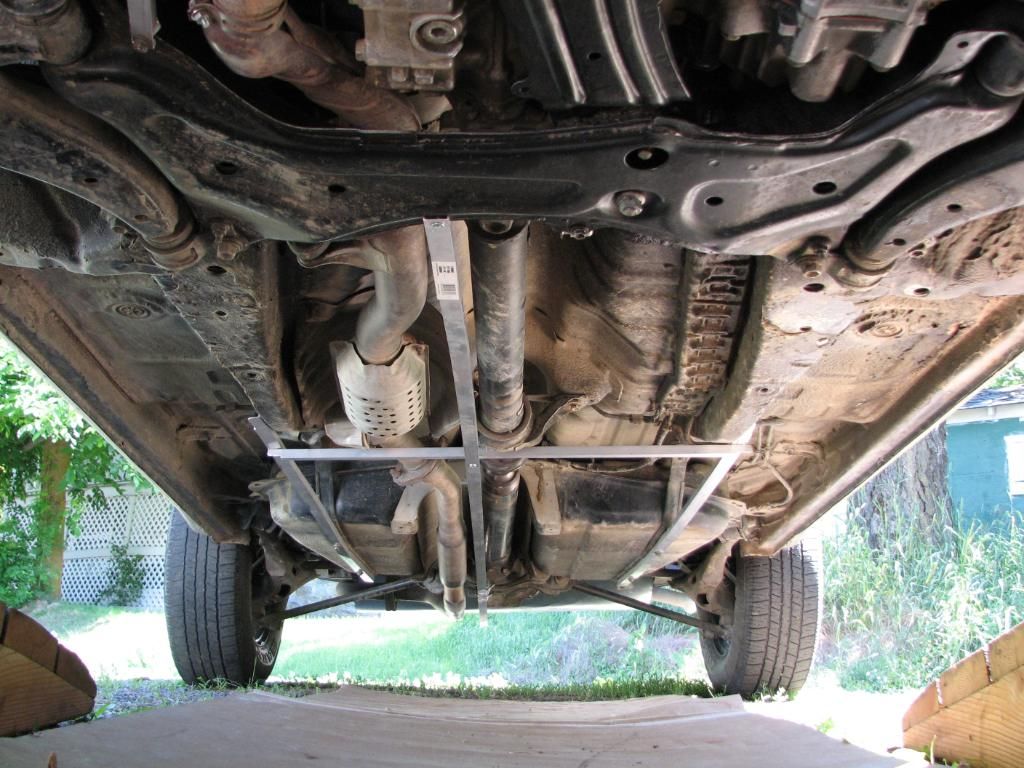
A closer view of the middle part.
The back bar in place. (Tough job!) Also a couple pieces of coro installed.
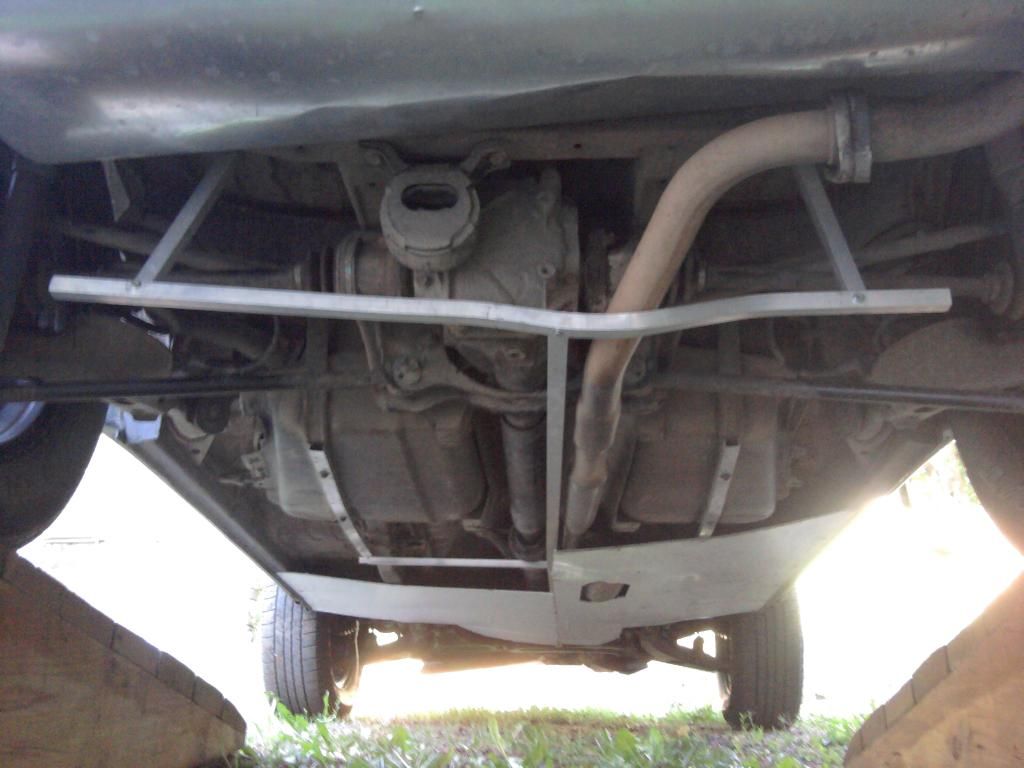
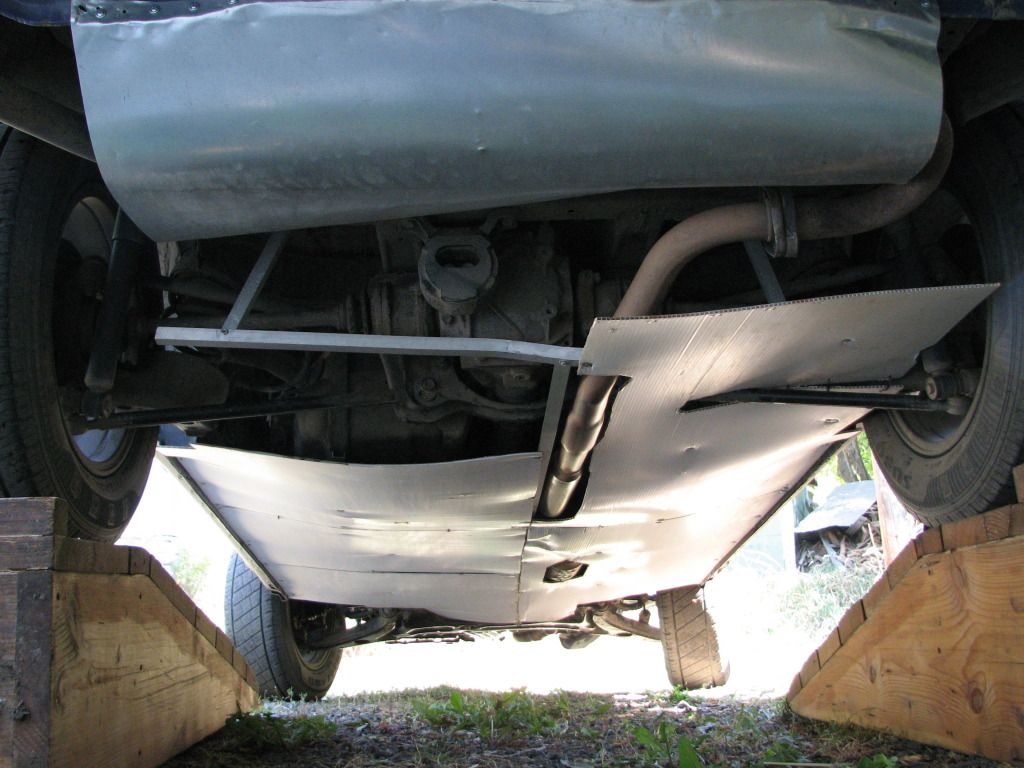
Clear view of the back aluminum sheet that will be replaced.
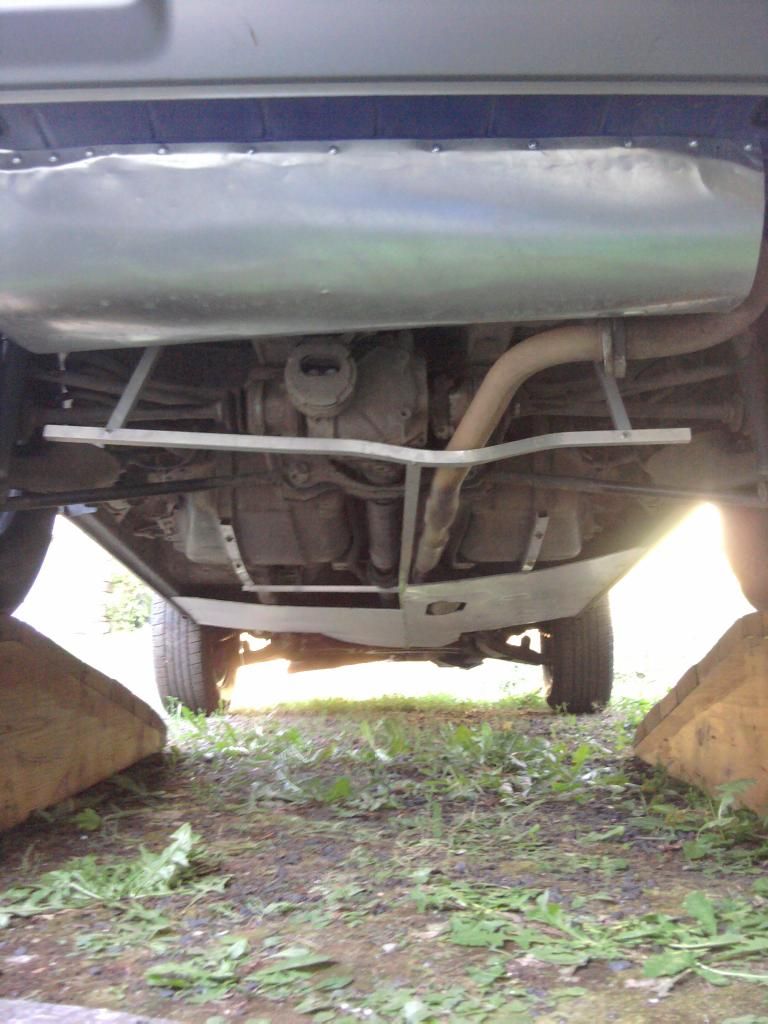
I had added a couple more sheets of coro since then. And I can add a picture of those later today when I get her up on the ramps.
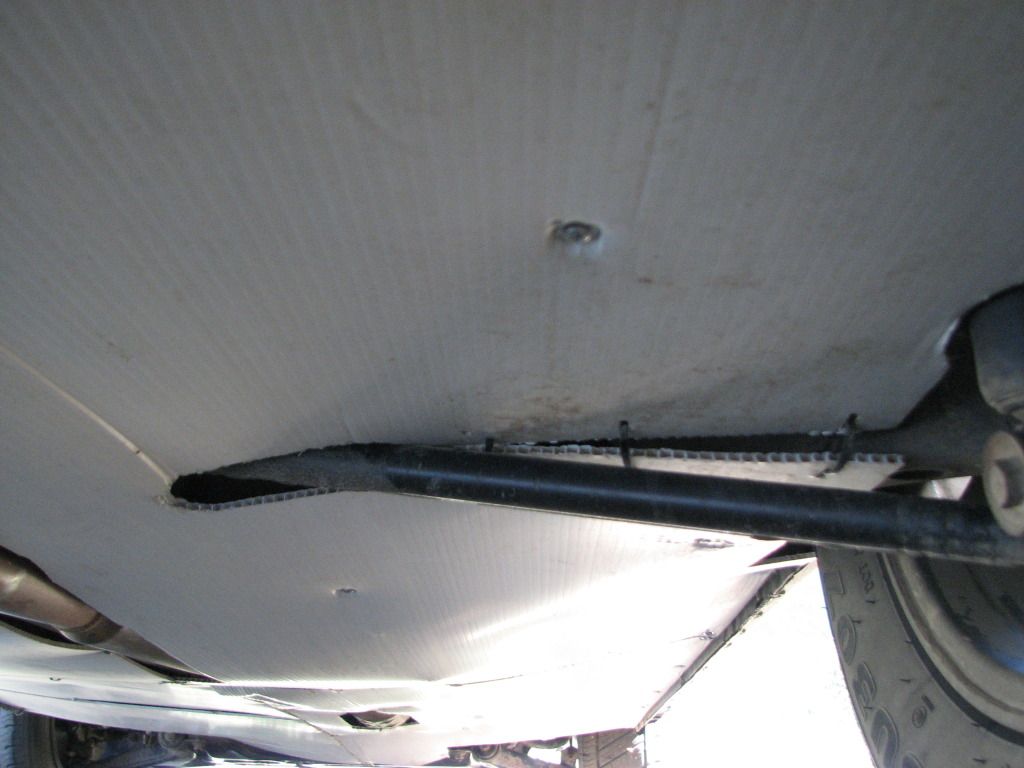
Here's a parallel angle. I did add one sheet, on the other side, that goes through the suspension bar. I cut long, narrow oval holes for the rod to go through and have room to move freely, and zip tied the coro together. I'll show a picture of what I'm talking about in a few hours.
If you guys have suggestions, I'd be happy to hear them! I'm pretty slow these days, and I never seem to do the right, or best thing the first time through. There's always LOTS of room for improvement!
Thank you guys for all the ideas, and info!!
Couldn't have gotten this far without ya!!


 Today
Today


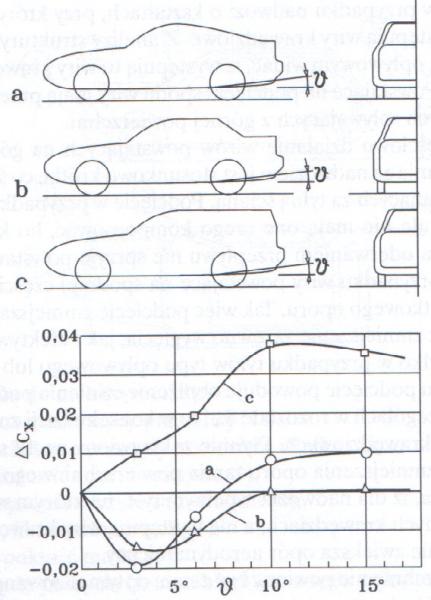
 I honestly can't interpret your diagram... I wish I could!!

 That's about the only thing I COULD understand. I have no clue what the symbols represent or are called to learn about them, and I wish I could look at those numbers and learn something. But it flies WAY over my head...
  Clarification would be greatly appreciated!


