 09-18-2012, 07:06 PM
|
#21 (permalink)
|
|
Master EcoModder
Join Date: Aug 2012
Location: northwest of normal
Posts: 29,333
Thanks: 8,345
Thanked 9,107 Times in 7,521 Posts
|
Quote:
|
Also, I'm hoping the coro will be able to move as needed.
|
I'd be more concerned with the parts you don't want to move, moving. Are you going to tape the gaps between the individual pieces. What seems solid when you tap on it may act differently when the wind is gnawing on it.
|
|
|

|
 Today Today
|
|
|
|
 Other popular topics in this forum...
|
|
|
|
 09-18-2012, 08:19 PM
|
#22 (permalink)
|
|
Wiki Mod
Join Date: Nov 2009
Location: Midland MI, USA
Posts: 2,042
Thanks: 228
Thanked 304 Times in 210 Posts
|
two thoughts,
One the aero lay over is off center, the highest point on the car needs to match the high point of the template.
Second, after looking at the pics of the rear wheel travel areas one word comes to mind SNOW.
it looks good, but I worry that snow and ice might build up (think frozen slush) and jam up the suspension travel. thats why in mine I left the suspension open in the front and back. My first rear belly pan got snow and ice build up from this and that made it fall off 
__________________

|
|
|

|
 09-19-2012, 11:09 PM
|
#23 (permalink)
|
|
Learning Aeromodding
Join Date: Feb 2011
Location: Spokane, WA.
Posts: 199
Metro - '93 Geo Metro 4 door hatchback 90 day: 35.26 mpg (US)
Thanks: 59
Thanked 45 Times in 32 Posts
|
Thanks guys for all the comments!
Ben, I had shown you that template picture before, and you thought it looked about right. It was purely for the under side diffuser angle. 

Does that look better? 
I am trying to keep snow in mind. It's tough figuring out how to seal things up. I'm not yet finished. Right now it's just the main areas. I want to focus on the details when the back end gets finished.
I know, because this is my first belly pan, and first big aero mod, that I will be redoing parts of it in a year or two. Course, if I get another project, a manual!, I will be doing another belly pan. And hopefully it will be way better! 
- - - - - - - - - - - - - - - - - - - - - - - - - - - - - - -
Okay, so yesterday's work:
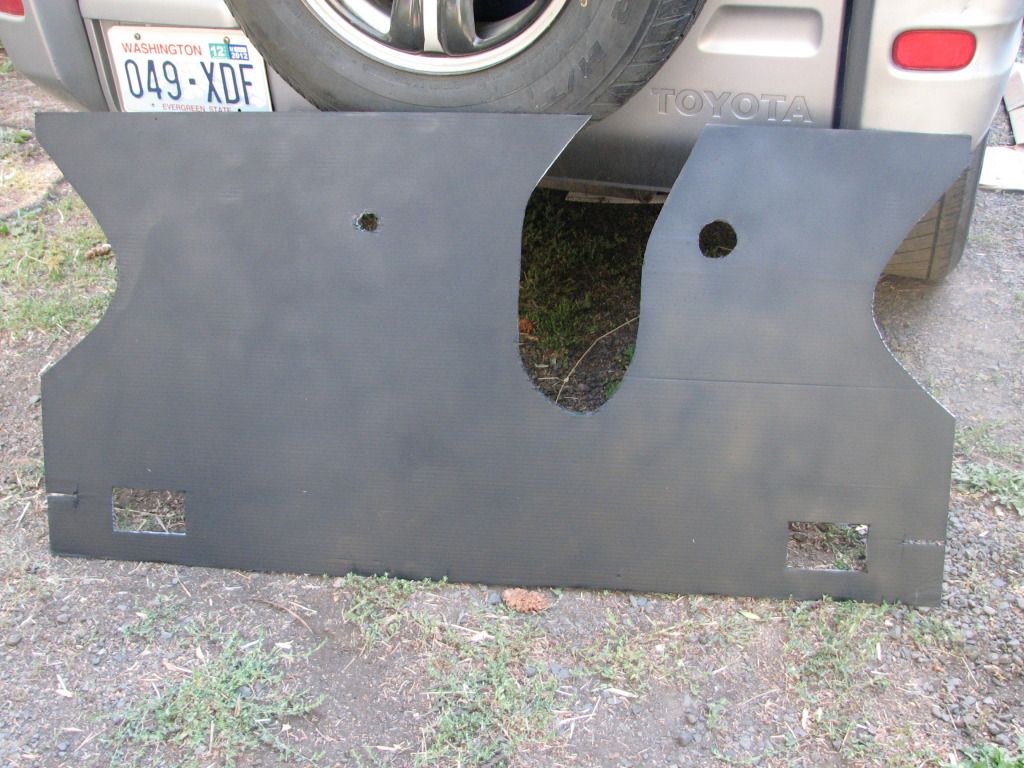
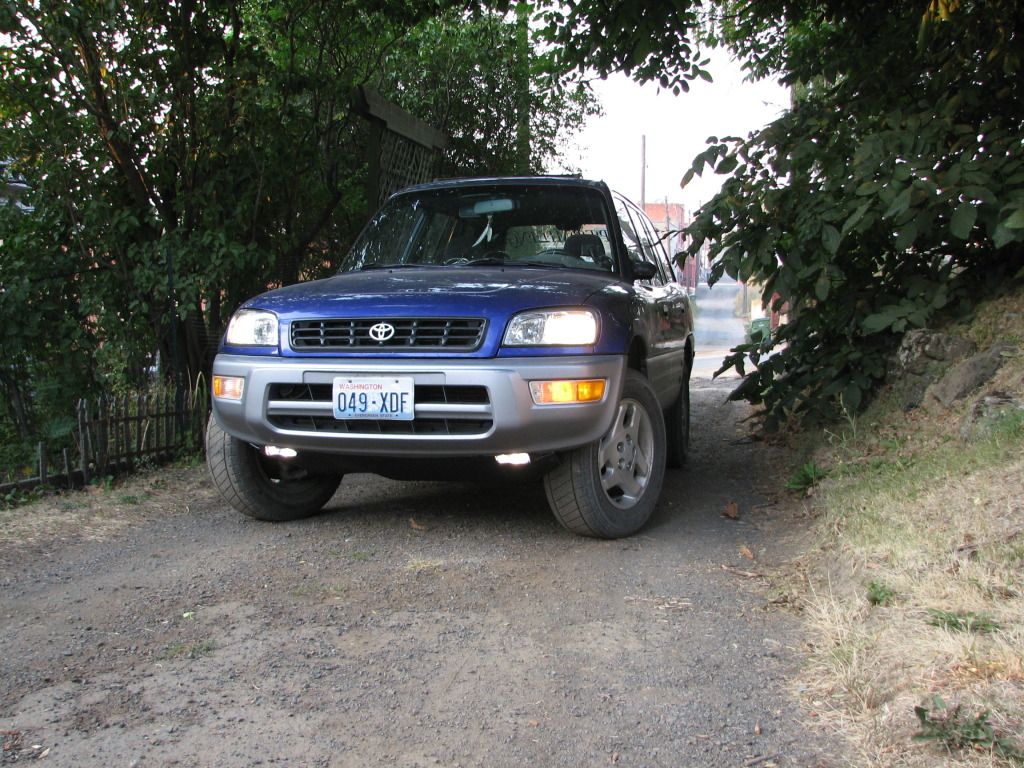
Here's the final cut out for the front. Needed, and still needs, a few modifications.
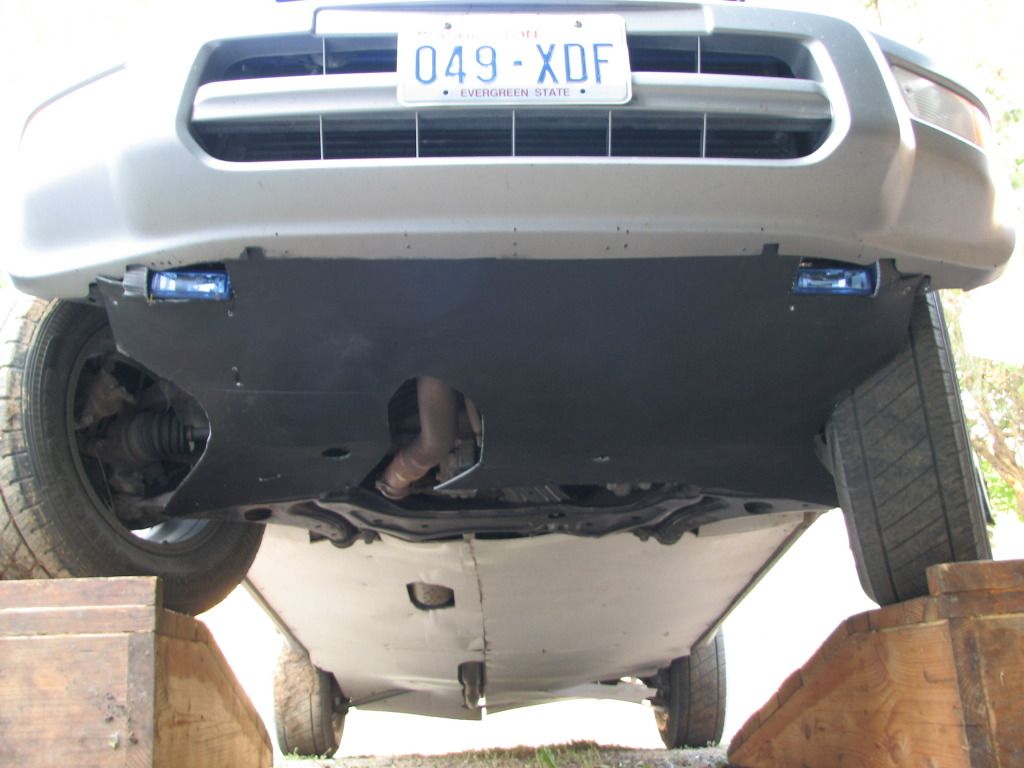
Alright, here it is installed. Mostly attached with zip ties. Wheel clearance might look really close, and that's because it is. I can always cut away some, I can't add more. I wanted to take it easy and slowly cut it back until I have the right size.  It looks like it's touching now, but it's not.
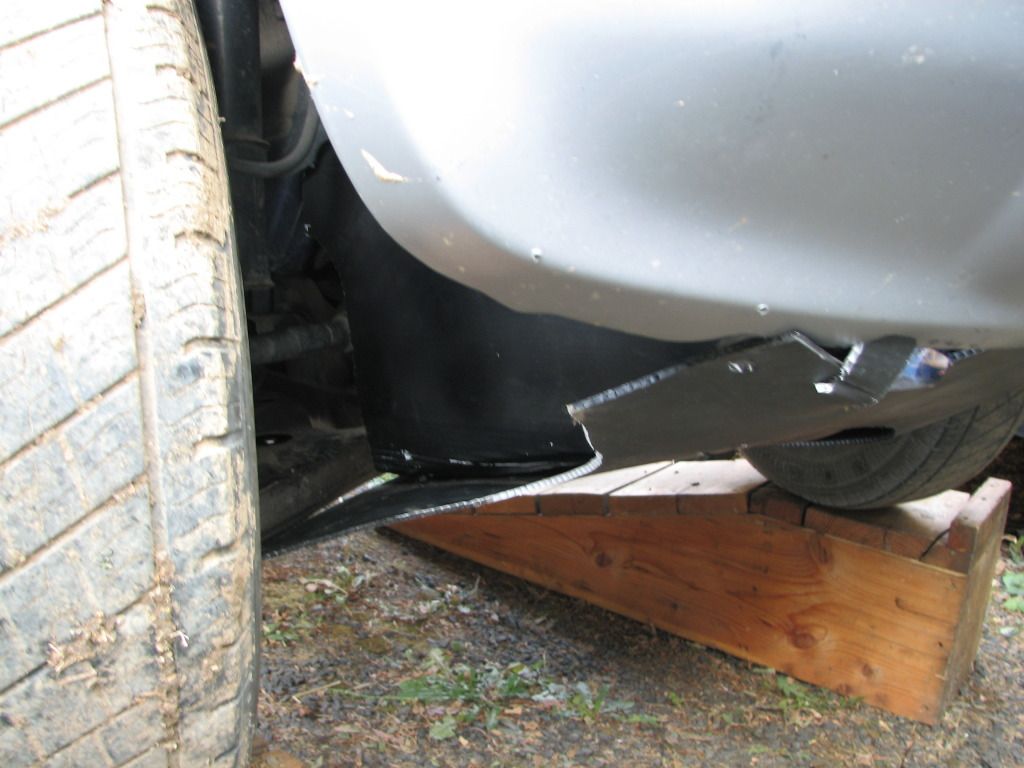
Here's a shot of the right side where I have to cover the belts. I'm DEFINITELY not done with the front wheel area. And I'm not 100% sure where to go from here. But I do have some ideas. 
The black looks great! It makes the belly pan less noticeable, and more finished looking. Pretty nice!  
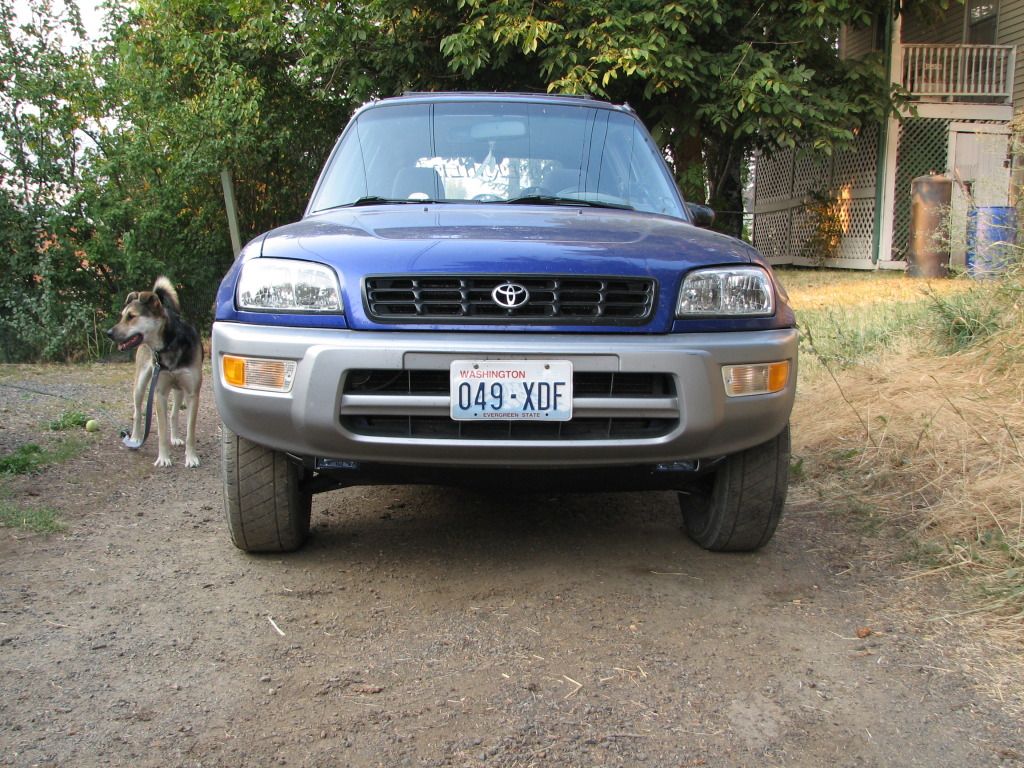
Yes, the fog lights are new. I added them about a month ago, but had to tack them up behind the bumper until I got the front piece put on. Fog lights will be important come this Winter. It can get REALLY foggy here in the palouse! I do plan on finding some yellow bulbs for better actual visibility. They need a bit of detailed attention too....
I bought some aluminum mesh, and we had a bunch of various bracket goodies. 
I'm anxious for tomorrow!! I hope to get the two right side pieces redone and the mesh added around the front and middle areas. I might even be able to get the right rear wheel area done too! But not if I'm spending all my time updating this thread!!!!  
I enjoy hearing your guys suggestions, thoughts, corrections, etc. Keep it coming so I can keep on learning!!   
Last edited by myrefugeisintheLord; 12-17-2012 at 12:11 AM..
Reason: reloaded pictures
|
|
|

|
 09-20-2012, 12:52 AM
|
#24 (permalink)
|
|
Master EcoModder
Join Date: Mar 2008
Location: USA
Posts: 568
Thanks: 1
Thanked 74 Times in 59 Posts
|
You done good.
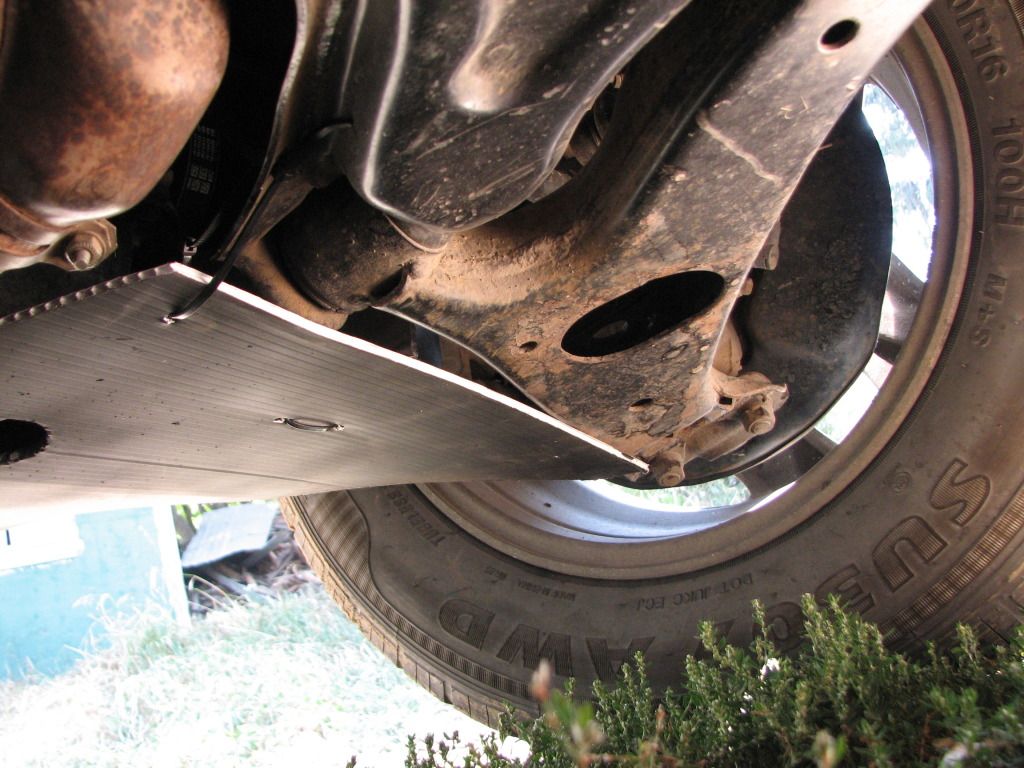
Is the coro attached to the control arm, such that it flexes up an down with control arm travel? I've been wanting to try that myself, so am curious.
Also, out of curiosity I'd like to just put the coro on, see what happens with the heat from the exhaust pipe--how much it melts or distorts--then just trim that part out and maybe cover the hole with aluminum window screen. Think that'd work?
And, if you need to reinforce/stiffen a spot for the zipties to go, just insert a short length of appropriately thin wood dowel rod into the flutes.
|
|
|

|
 09-20-2012, 01:46 AM
|
#25 (permalink)
|
|
Learning Aeromodding
Join Date: Feb 2011
Location: Spokane, WA.
Posts: 199
Metro - '93 Geo Metro 4 door hatchback 90 day: 35.26 mpg (US)
Thanks: 59
Thanked 45 Times in 32 Posts
|
Otto, I can take a closer picture of that area tomorrow. I only have 2'x4' sheets, so it can be limiting. The coro isn't attached to the control arm, I could have zipped it, but thought I would wait and see how things go as is. There is only a corner of the coro that is below the control arm, so it does flex.
I will be taking off the warped/melted sheets tomorrow, and can post a picture. I'll measure the distance from the pipe. The coro that had openings melted a bit in a couple of spots, but it is noticeably less wide spread then the areas that had no outlet for the heat. I already cut out the melted area along the opening, so I won't be able to show you the difference, but I can show you what I have. 
I like your coro strengthening idea! Simple, but effective!  Thank you! |
|
|

|
 09-20-2012, 03:09 AM
|
#26 (permalink)
|
|
Master EcoModder
Join Date: Aug 2012
Location: northwest of normal
Posts: 29,333
Thanks: 8,345
Thanked 9,107 Times in 7,521 Posts
|
With fog lights you want a sharp cut off on the top of the light beam and it needs to point down so it doesn't illuminate the fog above a horizon line that is lower than your eyeball. So a light that came with a blue bulb may be a pencil beam and need more than a color change.
It's kind of like the difference between the high beams and low beams. You want a low beam for fog, the blue lights may be a high beam.
And mounted that low, if they angle down the view will be blocked by the hood. If they were moved up into the upper, or at least the lower grille, I think you would get a better result. You were going to block the grille anyway, right?
|
|
|

|
 09-20-2012, 12:14 PM
|
#27 (permalink)
|
|
Learning Aeromodding
Join Date: Feb 2011
Location: Spokane, WA.
Posts: 199
Metro - '93 Geo Metro 4 door hatchback 90 day: 35.26 mpg (US)
Thanks: 59
Thanked 45 Times in 32 Posts
|
Freebeard, It never ceases to amaze me. Something seemingly straight forward and simple, can have a lot of specific details enabling it to work properly. That's one of the reasons vehicles are so fascinating to me. 
I understand the idea of needing a sharp cut off on the top of the beam, but I don't understand needing the fog lights mounted higher.
My understanding is totally based on my own observations and speculations: but wouldn't it be good to have the fog lights really low so they can connect with something solid easier? Then having to try to cut through a large amount of fog? Factory fog lights are the lowest lights on a vehicle and often placed as low as the bumper and inset bumper mounting will allow.
The fog lights themselves were something my dad bought for our Jeeps, but never got around to using them. We no longer have the Jeeps, so he let me use them if I wanted. I love the blue housing color, as it matches nicely with RAVadoodle, and they are narrow for less aerodynamic drag, but I'm not set on keeping them if they don't serve my needs.
I've got some time before the fog starts to become a problem. I will look into this subject until I have a good understanding and can having something that WILL work.  Thank you for sharing your knowledge about this. 
Edit: Oh, and I have yet to actually try the fog lights at night while driving. I've used them to help see while picking up tools after dark, but that's about it. Maybe I'll take RAVadoodle for a spin tonight, just to try the lights out. I may be totally disappointed, and need to get something else. And everything else seems to be bigger, which means I will HAVE to mount them in the lower grille.
Last edited by myrefugeisintheLord; 09-20-2012 at 12:24 PM..
|
|
|

|
 09-20-2012, 01:25 PM
|
#28 (permalink)
|
|
Master EcoModder
Join Date: Aug 2012
Location: northwest of normal
Posts: 29,333
Thanks: 8,345
Thanked 9,107 Times in 7,521 Posts
|
I had a college professor who would said "Nothing is pure and few things are simple."  OTOH, I could be wrong. After all, I am using logic.
I mentally sort driving lights into spot, flood and fog lights.
When a light is mounted low, cresting a hill for instance, there is a blind spot just over the top. When I was in high school and determined to be a good driver, when I was on high beam, I would dip them to low beam and back up as I went over, just to be sure. Off-roaders put their driving lights above their sight-line, on the roll bar. WWII blackout light were on top of the fenders.
To evaluate them find a blank light-colored wall in a parking lot. Drive up to it and back away with the fog lights on. You should see a line that drops as you back away. That's how you aim Hella H-4 headlights, instead of a machine that sits on the posts on sealed-beam headlights. Hella brand headlights (not the American quartz-halogens) have such a sharp cut-off that, when you hit a bump, you can see the line move forward and then back on the ground in front of you. I hardly need fog lights. |
|
|

|
|
The Following User Says Thank You to freebeard For This Useful Post:
|
|
 09-20-2012, 03:56 PM
|
#29 (permalink)
|
|
Learning Aeromodding
Join Date: Feb 2011
Location: Spokane, WA.
Posts: 199
Metro - '93 Geo Metro 4 door hatchback 90 day: 35.26 mpg (US)
Thanks: 59
Thanked 45 Times in 32 Posts
|
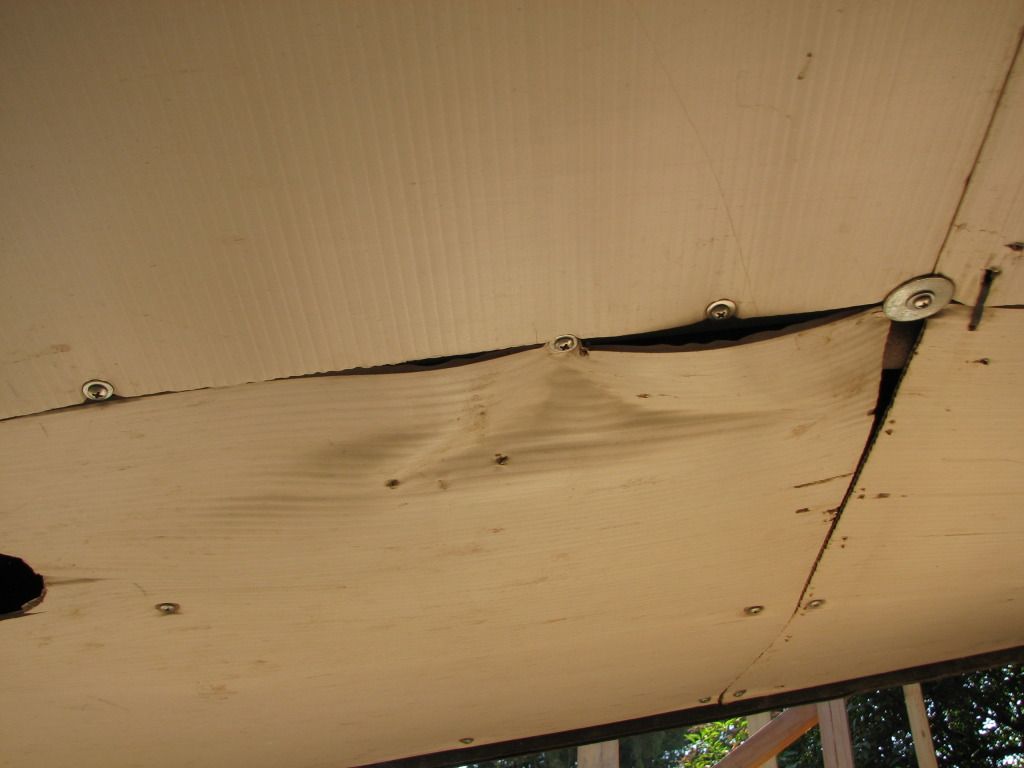
Update:
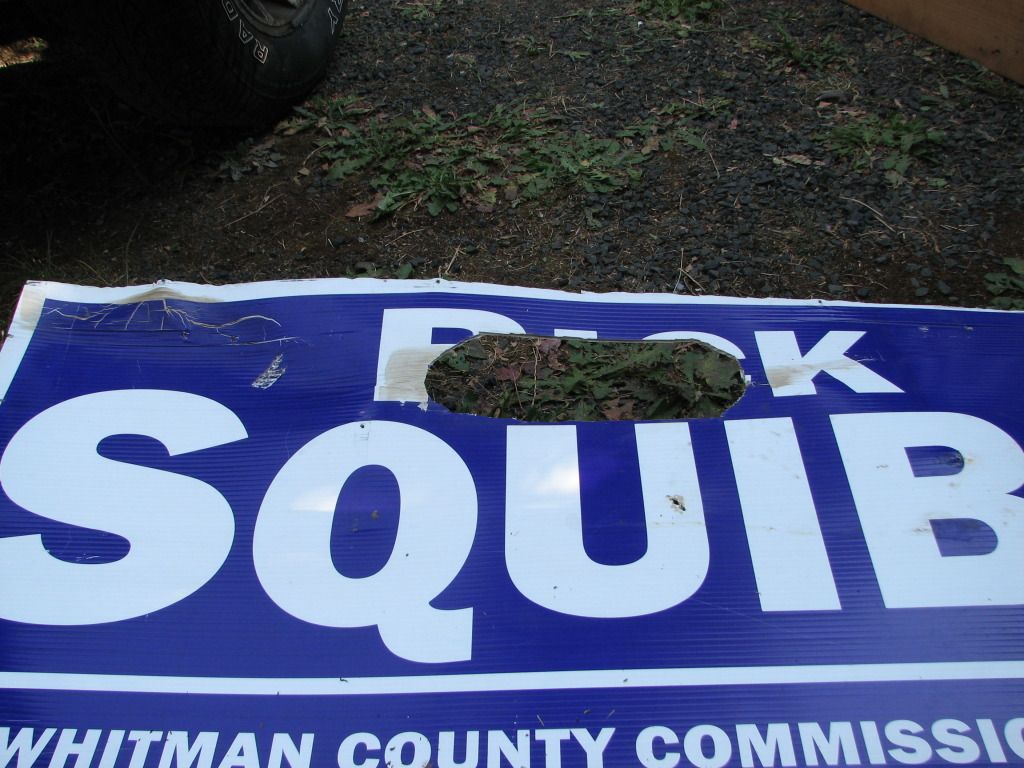
This is before taking off this piece, it's pretty warped.
Here's behind it:
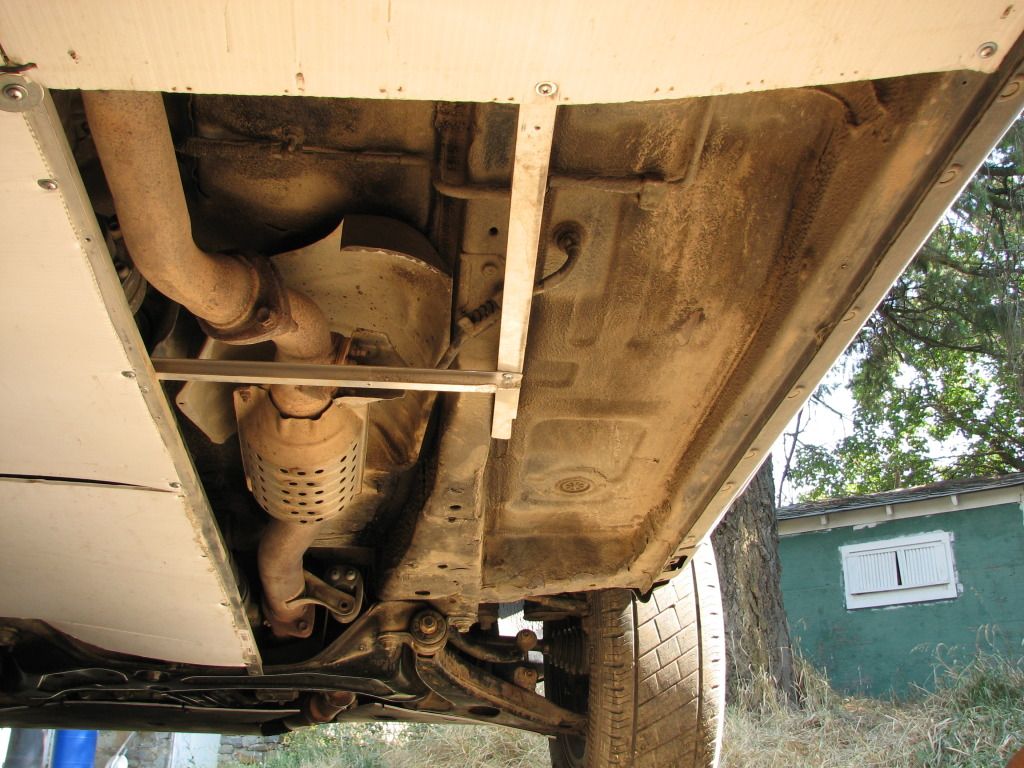
I cleaned up the back side and here's what it looks like:
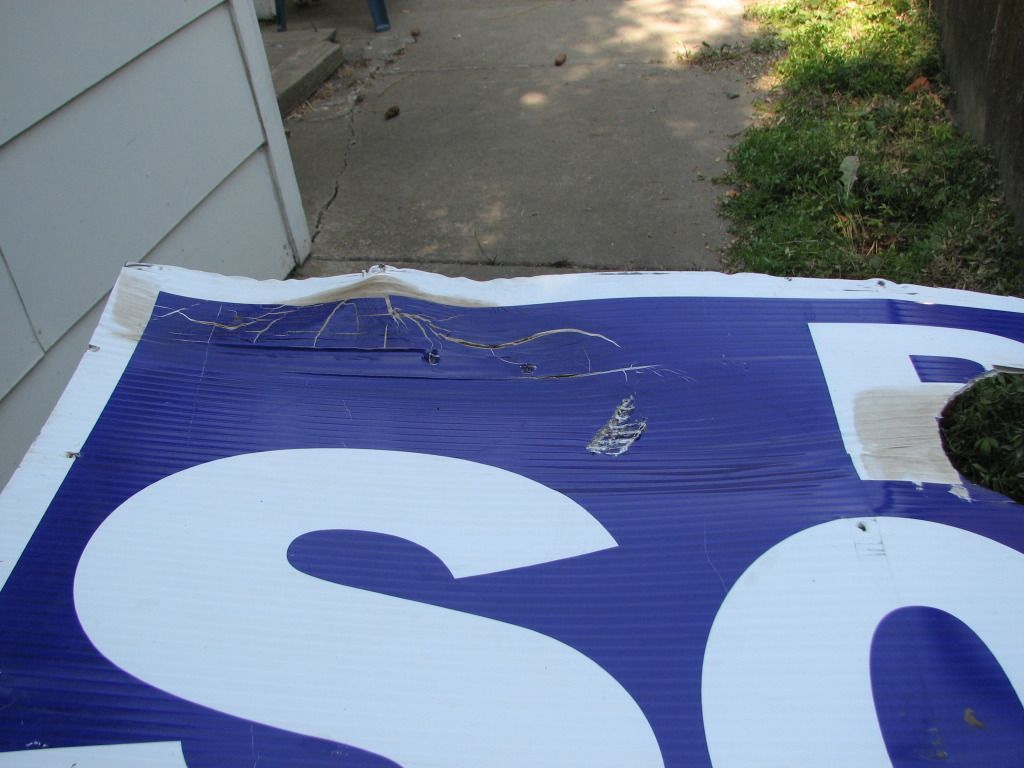
The areas near the opening that got too hot did warp and discolor, but not as much as the closed area.
Otto, here is the control arm pictures. I was temped to cut the corner off because it's BARELY over the control arm, but then I would have a harder time attaching another piece to this one. I'm thinking I'll just tuck the next piece above the front piece and zip it together. I do want to leave some areas open for air to exit the engine bay.

Okay, back to playing! 
Last edited by myrefugeisintheLord; 12-17-2012 at 12:12 AM..
Reason: reloaded pictures
|
|
|

|
 09-20-2012, 07:16 PM
|
#30 (permalink)
|
|
Learning Aeromodding
Join Date: Feb 2011
Location: Spokane, WA.
Posts: 199
Metro - '93 Geo Metro 4 door hatchback 90 day: 35.26 mpg (US)
Thanks: 59
Thanked 45 Times in 32 Posts
|
Got the new piece in place.
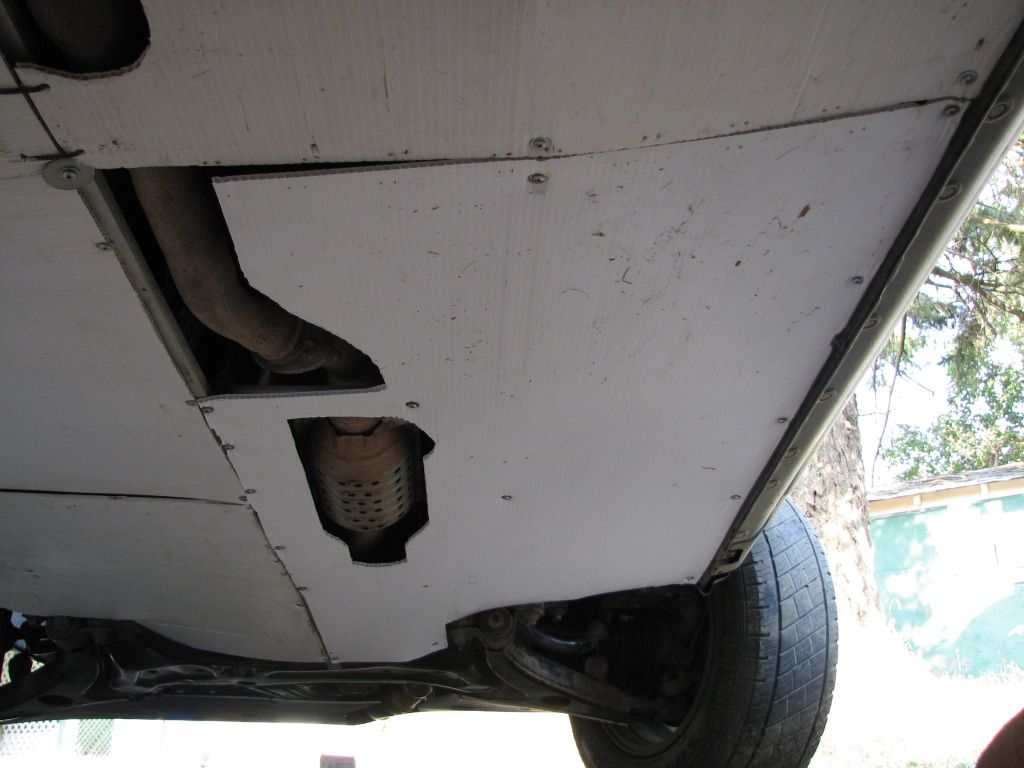
I think I got the wrong mesh for my application. I need something that I don't have to stretch, or have a frame for.
I missed something earlier...
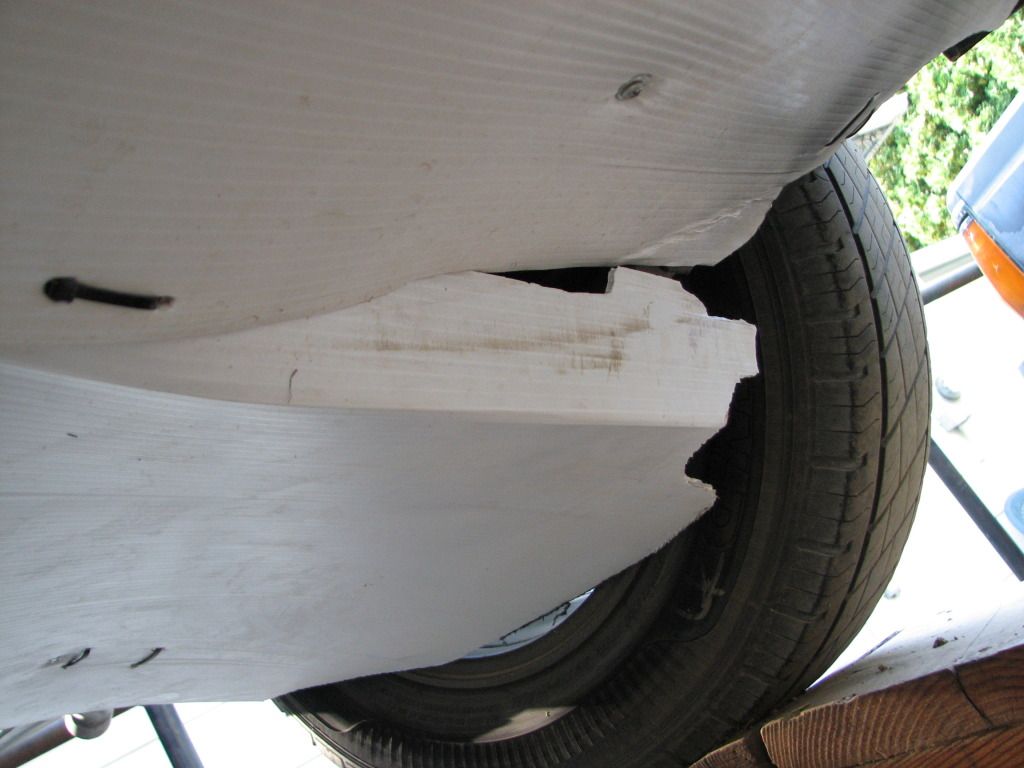
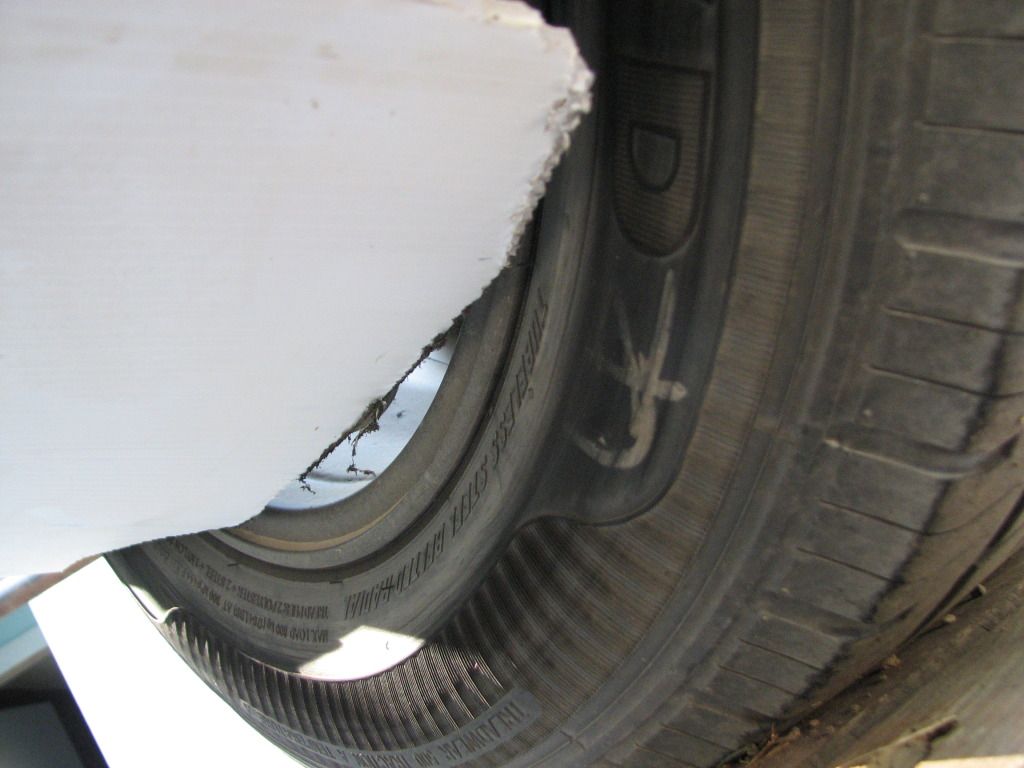
That isn't going to work. Things probably would work better if the ribbing was going the other direction, and I knew that when I was putting it on, but it wasn't nearly wide enough to go that direction. At least with what I wanted to do. I may have it go parallel and the end is all I get. I'm also thinking the coro got bent when going up the mountain yesterday.
At least now I know it doesn't work. I would have always wondered how close I could get to the tire. 
I'M RUNNING OUT OF CORO!!!  I should have enough to finish this, but I don't have room for any more mistakes!
Last edited by myrefugeisintheLord; 12-17-2012 at 12:12 AM..
Reason: reloaded pictures
|
|
|

|
|