 08-18-2014, 06:03 PM
|
#501 (permalink)
|
|
Master EcoModder
Join Date: Jan 2012
Location: United States
Posts: 1,756
Thanks: 104
Thanked 407 Times in 312 Posts
|
Quote:
Originally Posted by NeilBlanchard

If it could cruise at ~55MPH @ 2,100-2,400RPM I'd be happy. As it is, even with my tall tires, it is ~3,000+ at 55MPH and ~3,500RPM at ~65MPH. I often skip 3rd or 4th gear for upshifts.
I will consider a final drive swap if/when the clutch wears out. Dropping it from the 4.31:1 down to 3.58:1 (whatever the other final drive gearing is, on the automatic, I think?) would be ~17% drop in RPM, so 3,500 down to 2,900RPM, or 3,000 down to ~2,490 RPM would be wonderful.
|
Welcome to the crappy Toyota 5-speed club.
Final drive swap on these transmissions is not worth it I think, it's pretty difficult to remove them from the transmission, and the final drive gears themselves cost a ton of money if you buy them from Toyota. Supposedly, the 5th gear swap is not too hard to do though.
Another possibility is to find an old C160, but those probably are expensive as well.
Honestly, with your more efficient 1NZ, if you just have the 0.725 5th gear installed you'd be in pretty good shape already. One guy custom swapped a 1NZ into his MR2 for track use, had a turbo on it, and "overclocked" the ECU to overrev it, and was getting 40+ mpg without trying, with a 6 speed and 0.725 top gear.
Last edited by serialk11r; 08-18-2014 at 06:16 PM..
|
|
|

|
|
The Following 2 Users Say Thank You to serialk11r For This Useful Post:
|
|
 Today Today
|
|
|
|
 Other popular topics in this forum...
|
|
|
|
 08-25-2014, 07:21 PM
|
#502 (permalink)
|
|
Master EcoModder
Join Date: May 2008
Location: Maynard, MA Eaarth
Posts: 7,908
Thanks: 3,475
Thanked 2,953 Times in 1,846 Posts
|
I had cut an opening for the removable panel, and glued on the inner lip on Saturday. (The glue took forever to dry ...) and today I tested it by jacking up the car and removing the wheel. Bottom line is, the opening has to be bigger; which is a pain since I have to cut a new panel, as well.
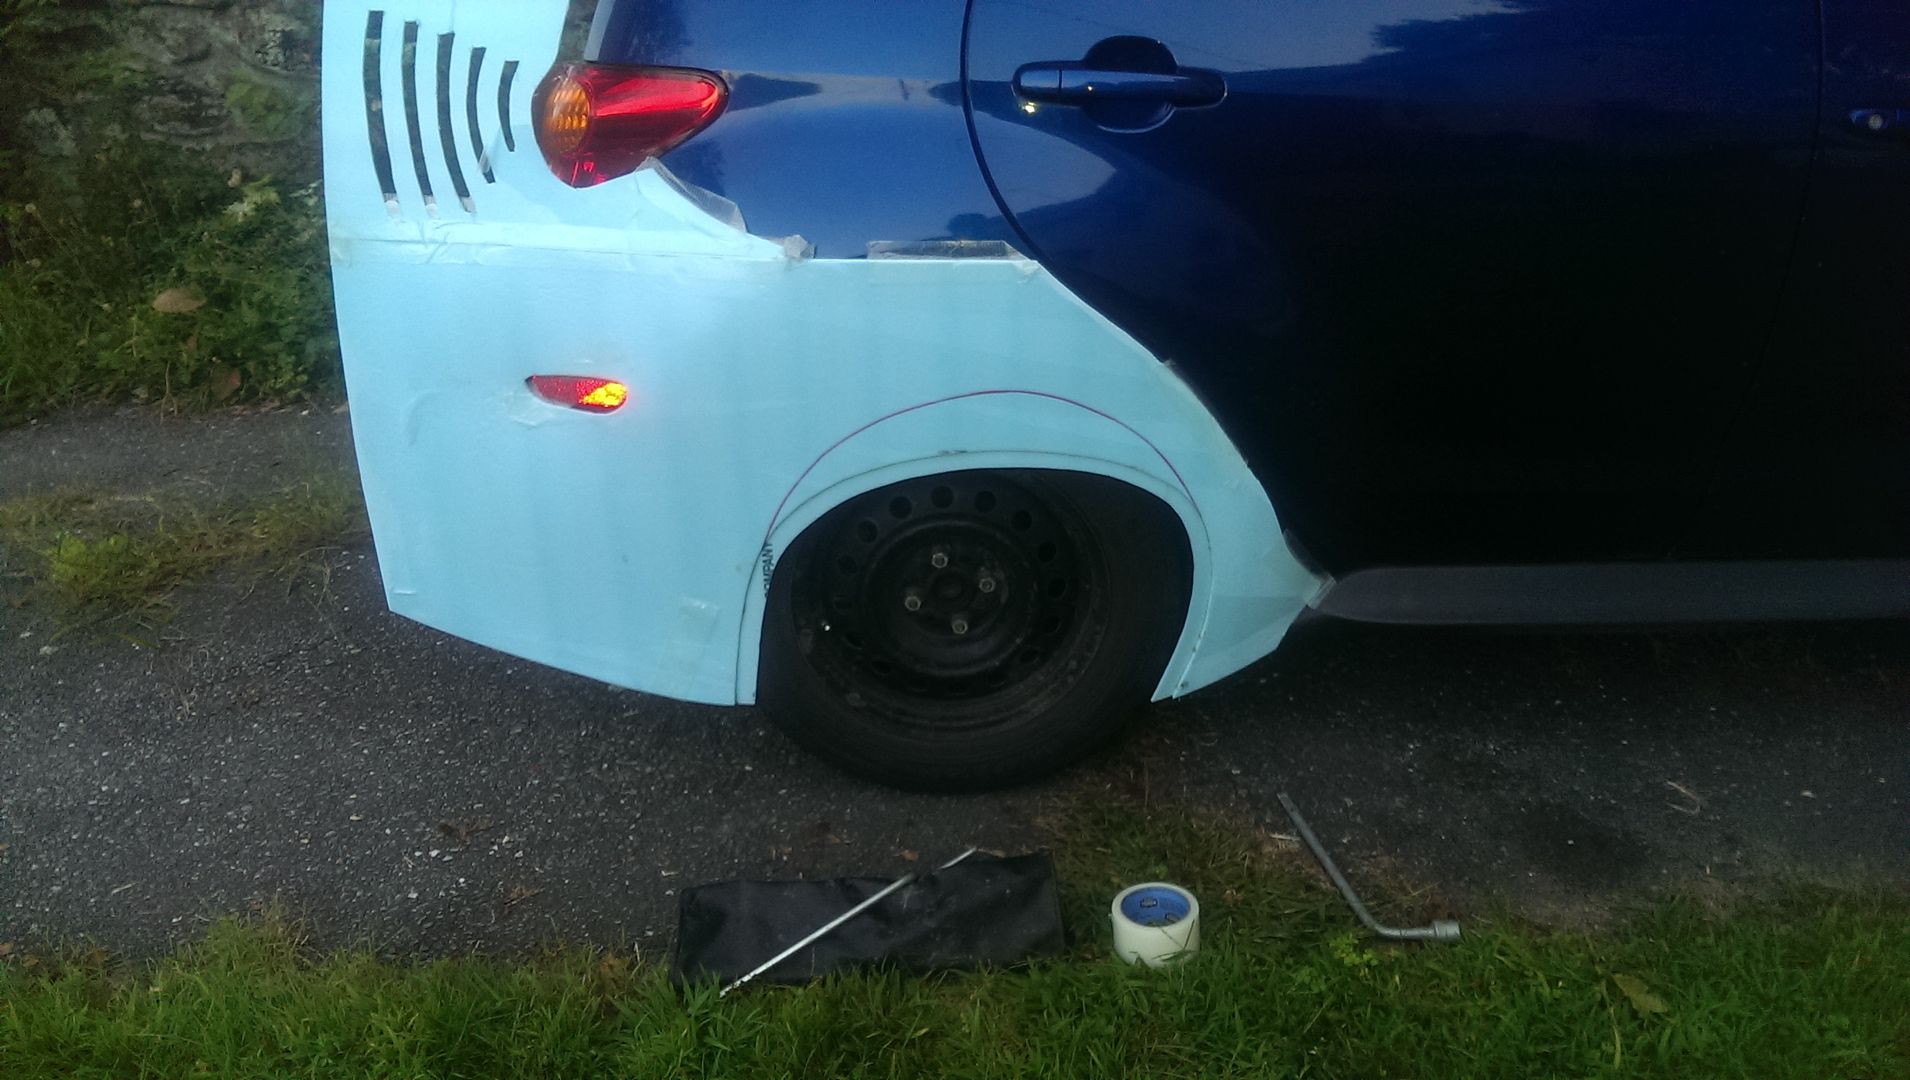
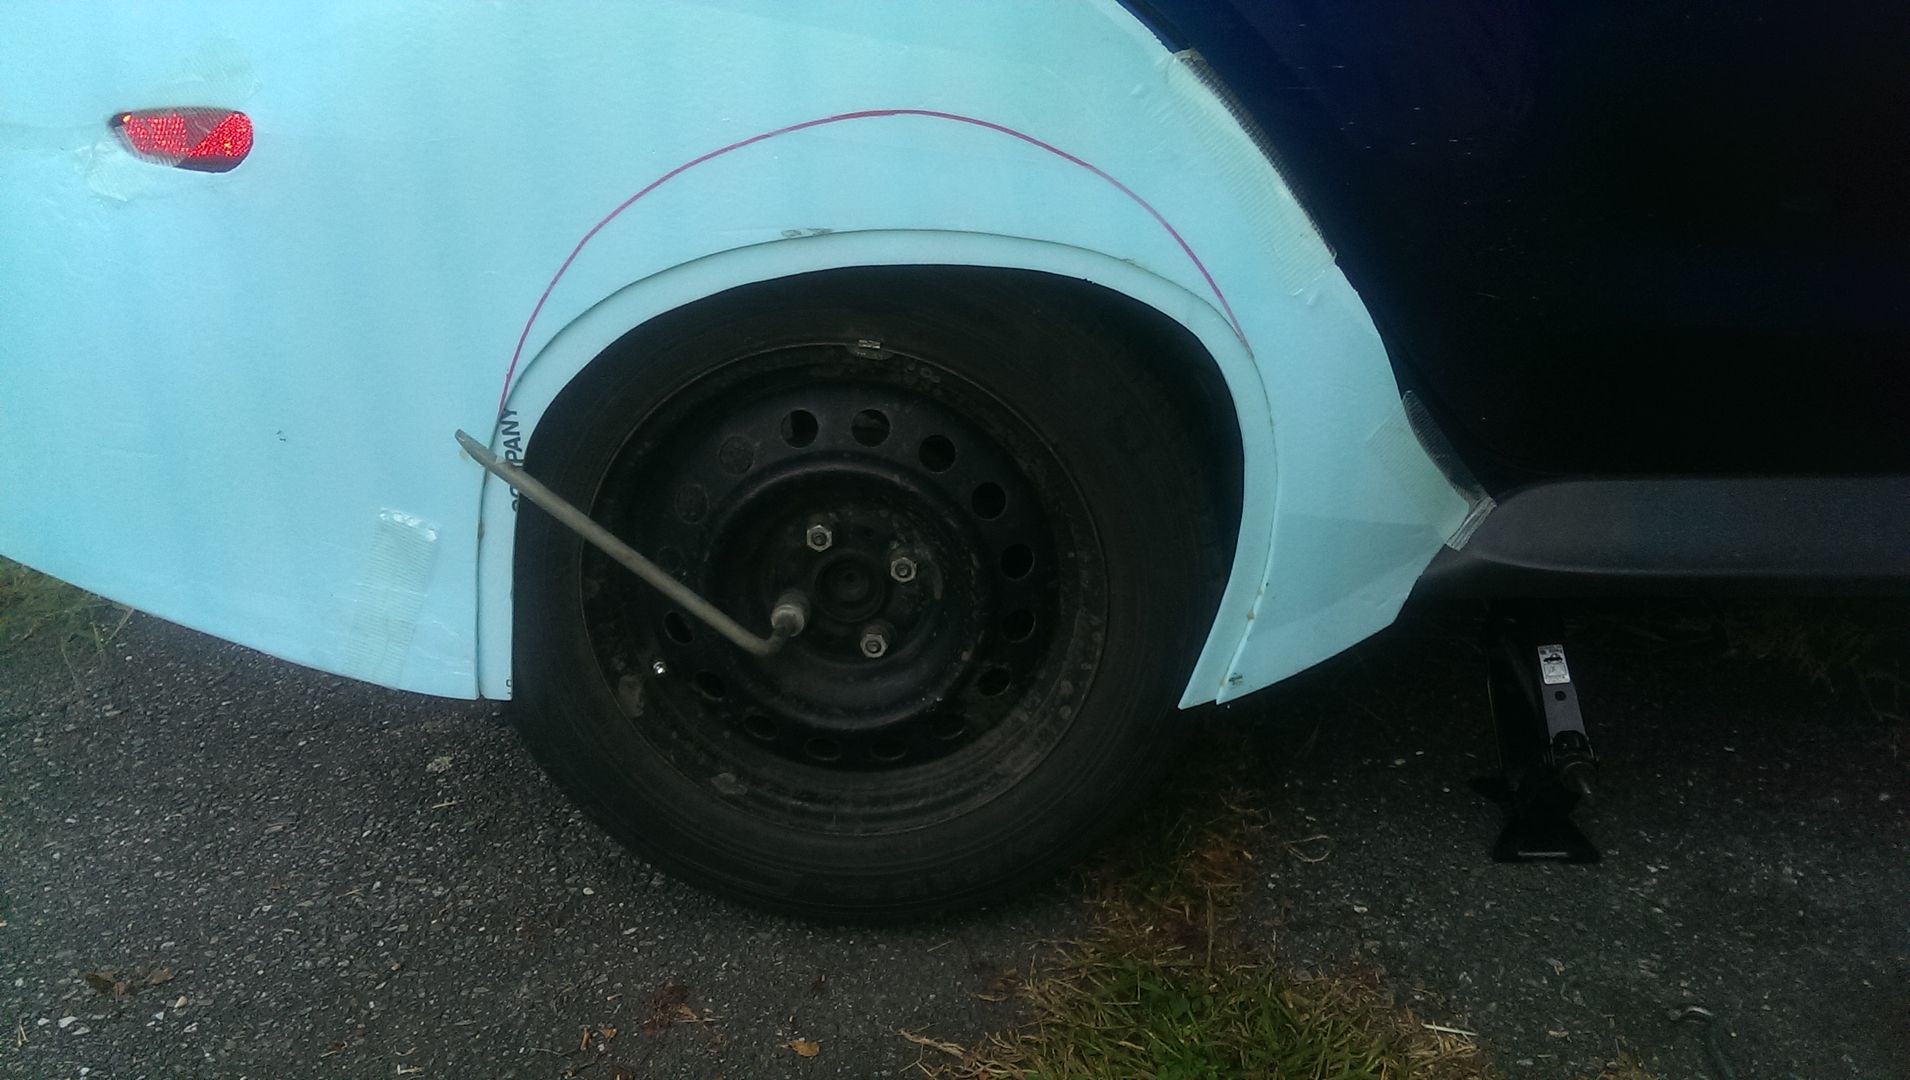
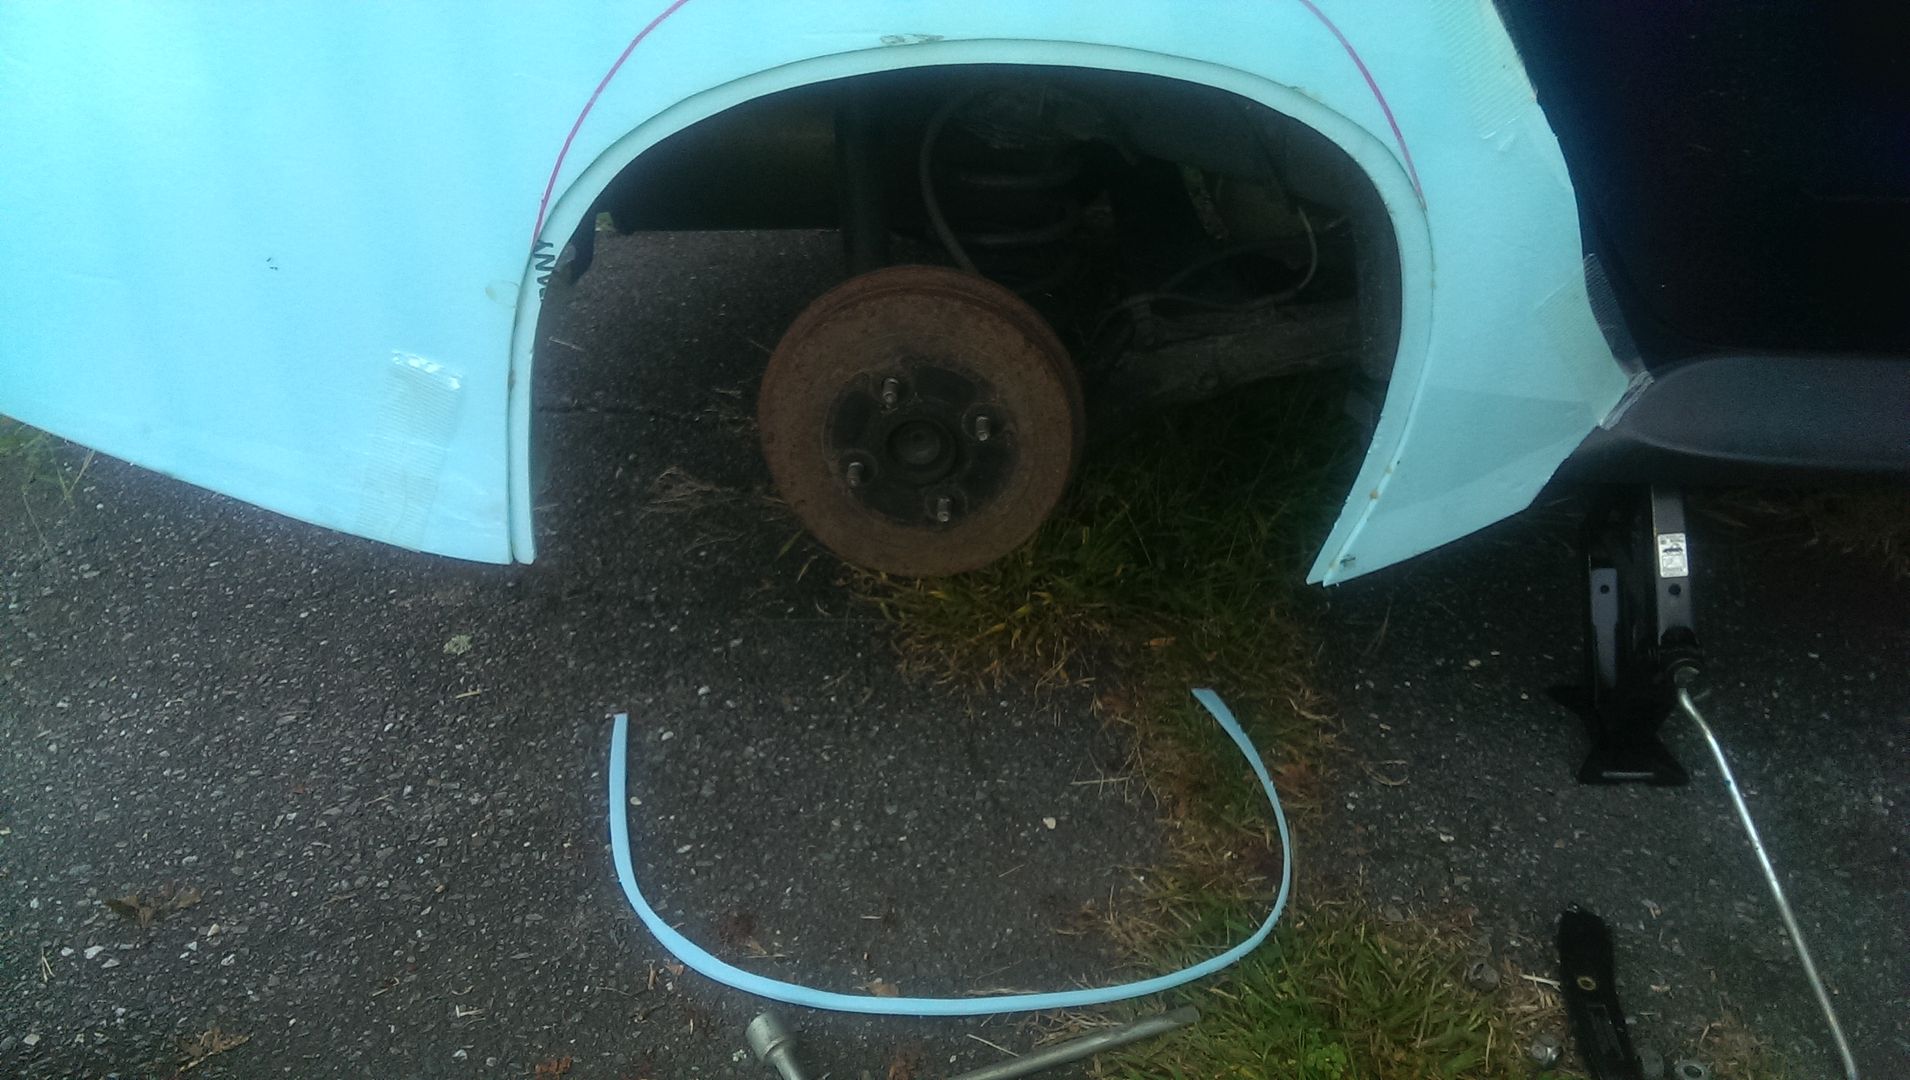
The lip I glued on has to come off, and the leading edge of the wheel strake hits the tire, so I think I have to adjust the fit in behind the strake. |
|
|

|
|
The Following User Says Thank You to NeilBlanchard For This Useful Post:
|
|
 08-26-2014, 08:30 PM
|
#503 (permalink)
|
|
Master EcoModder
Join Date: May 2008
Location: Maynard, MA Eaarth
Posts: 7,908
Thanks: 3,475
Thanked 2,953 Times in 1,846 Posts
|
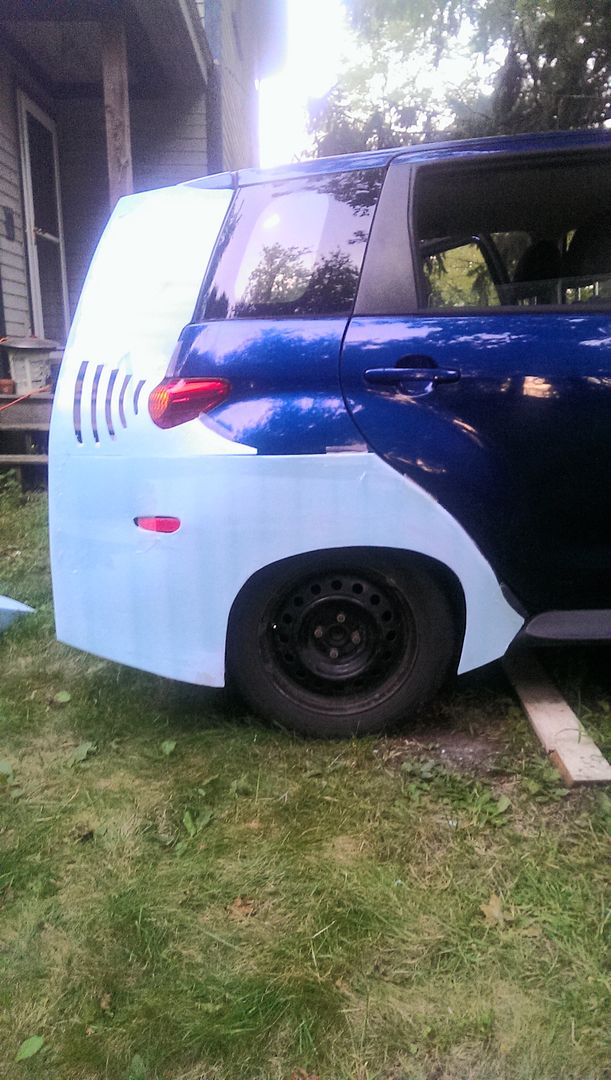
I made a bit more progress tonight, in that the skirt opening is now big enough and the right shape to get the wheel on and off.
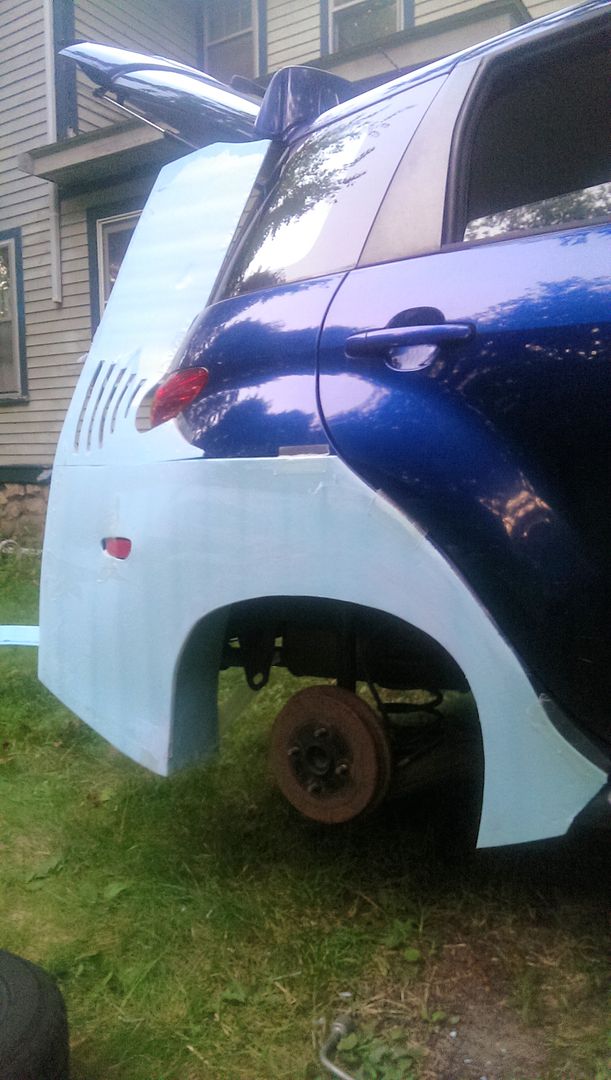
Car up on the jack:
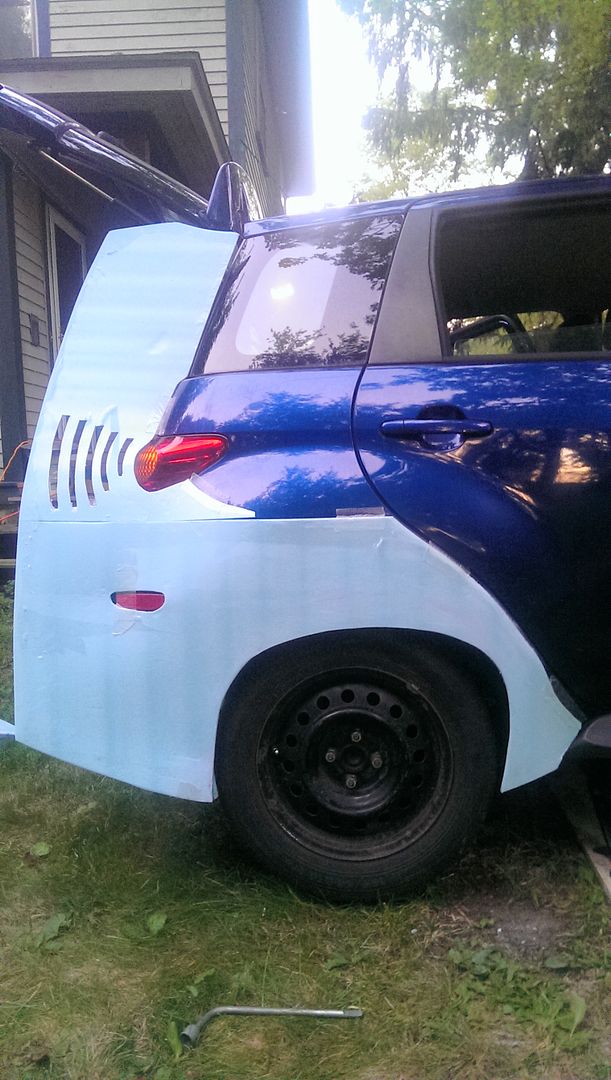
Car on the ground:
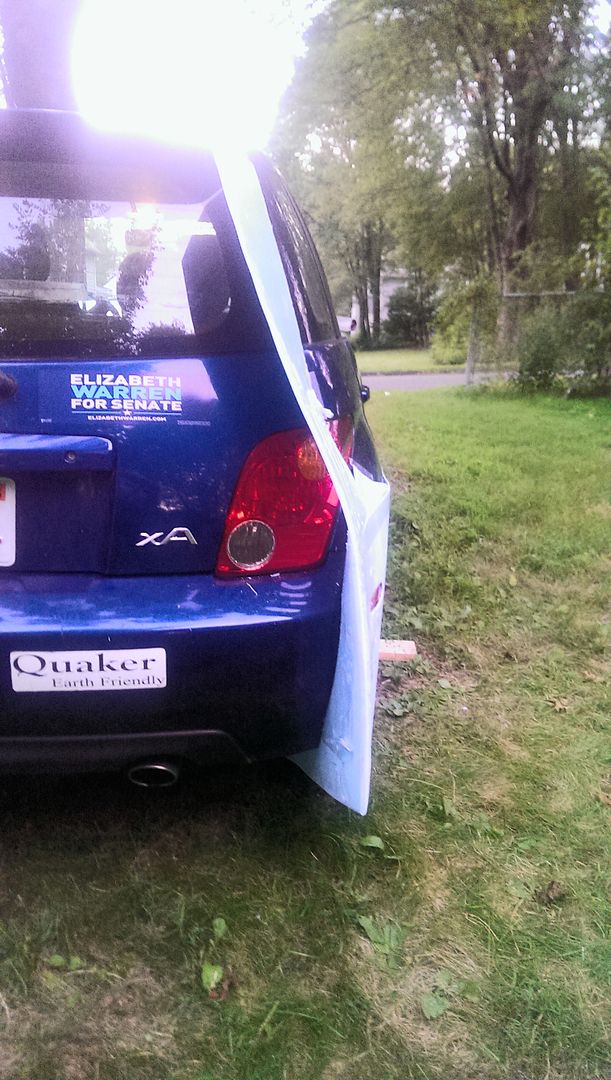
View from the back - I need to fit the inside a bit better, so the trailing edge near the bottom angles inward more:
 |
|
|

|
|
The Following User Says Thank You to NeilBlanchard For This Useful Post:
|
|
 08-30-2014, 03:36 PM
|
#504 (permalink)
|
|
Master EcoModder
Join Date: May 2008
Location: Maynard, MA Eaarth
Posts: 7,908
Thanks: 3,475
Thanked 2,953 Times in 1,846 Posts
|
I have (finally!) begun to glue fiberglass onto the right side wheel skirt / strake / Kamm panel!
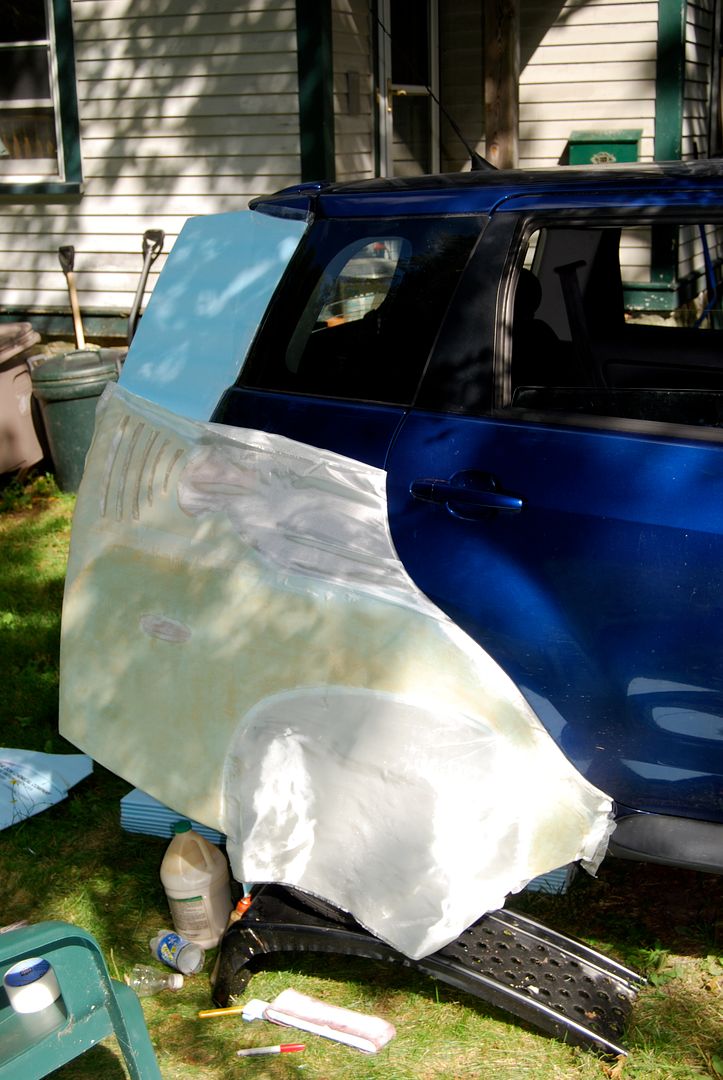
(click on image for link to library of more images)
It is going to work okay, I think, but the surface will likely have some small imperfections. The glue is drying, though I have found, I have to leave it a long time, because this foam is impervious to water. Today is nearly perfect (except for a gusty breeze) though tomorrow may rain.
I think the arced slots at the taillights will have to be changed to an acrylic panel, as the slots are way too fussy to do right. |
|
|

|
|
The Following User Says Thank You to NeilBlanchard For This Useful Post:
|
|
 09-01-2014, 12:14 PM
|
#505 (permalink)
|
|
Master EcoModder
Join Date: May 2008
Location: Maynard, MA Eaarth
Posts: 7,908
Thanks: 3,475
Thanked 2,953 Times in 1,846 Posts
|
We had a very damp start to the day - heavy rain overnight and continued near 100% humidity. So I got a later start than I'd hoped, but things are proceeding:
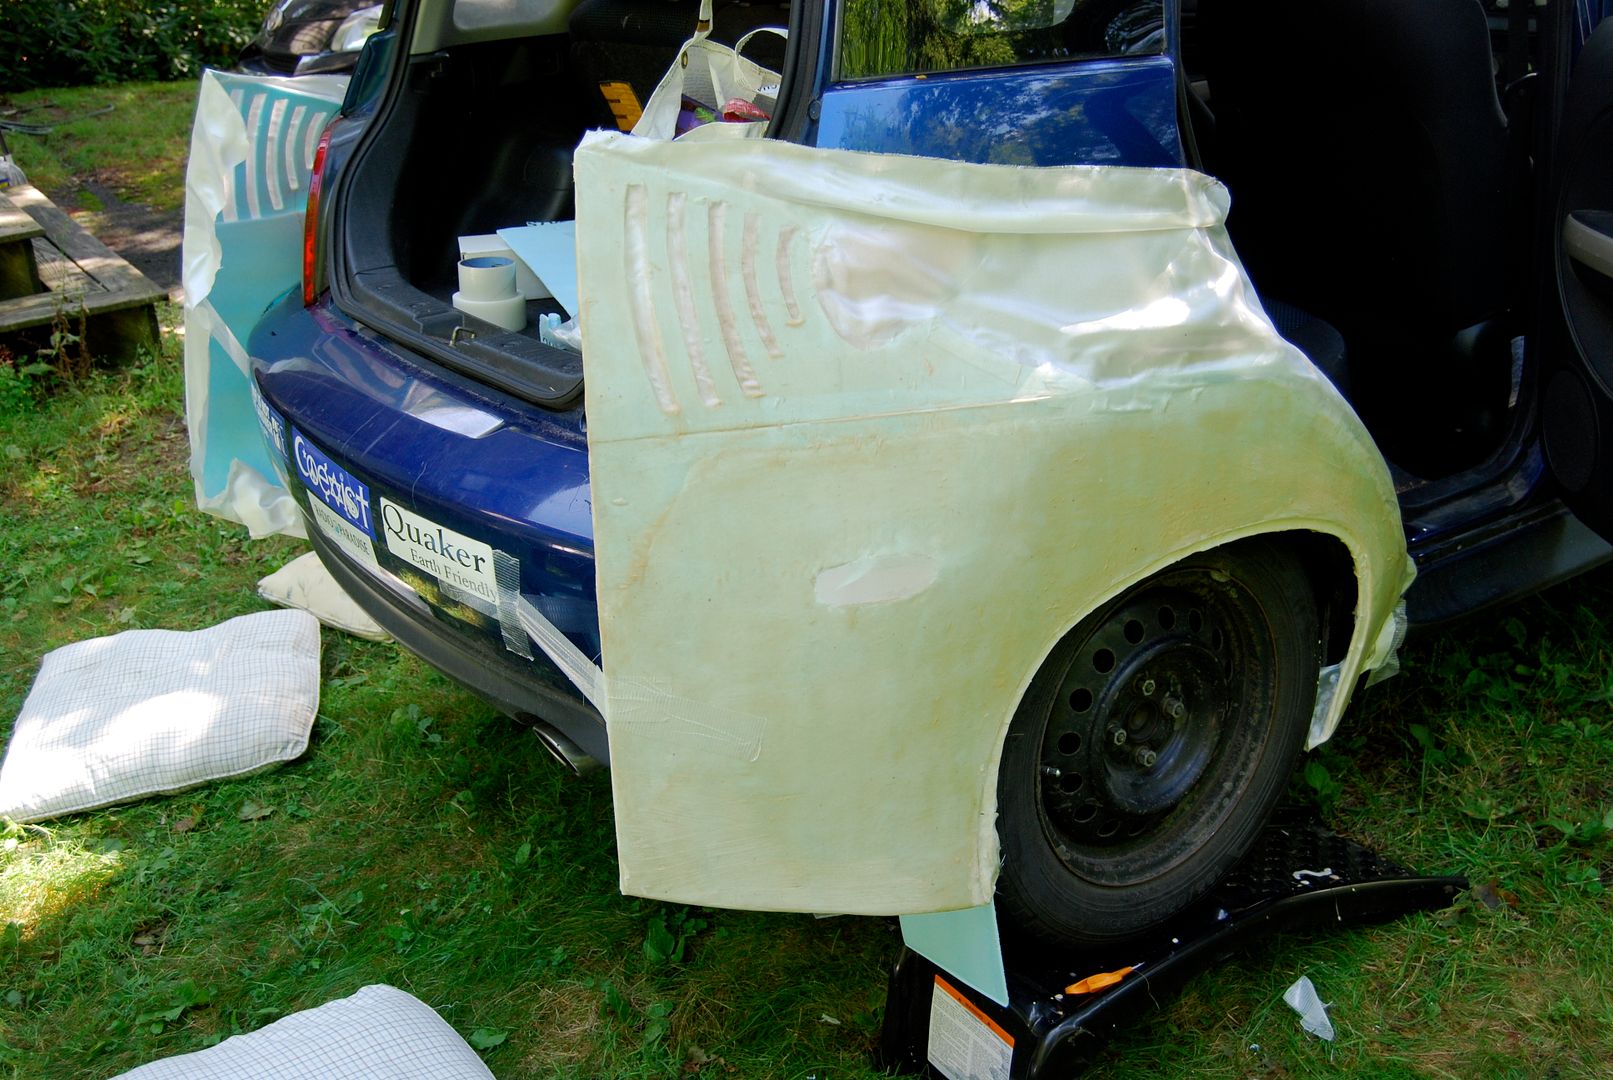
I am gluing the fiberglass on the left side, and continuing on the right side. The fabric is cut at the right side wheel opening, obviously. |
|
|

|
|
The Following User Says Thank You to NeilBlanchard For This Useful Post:
|
|
 09-01-2014, 01:14 PM
|
#506 (permalink)
|
|
Master EcoModder
Join Date: Aug 2013
Location: Richmond, VA
Posts: 447
Thanks: 277
Thanked 231 Times in 105 Posts
|
Looks like you are making some great progress! What foam are you using?
__________________

|
|
|

|
 09-01-2014, 05:32 PM
|
#507 (permalink)
|
|
Master EcoModder
Join Date: May 2008
Location: Maynard, MA Eaarth
Posts: 7,908
Thanks: 3,475
Thanked 2,953 Times in 1,846 Posts
|
It is 1/4" Dow XPS fan fold sheets. Each section is 2' x 4'. I am using 3oz. e-glass which has an 8 loom weave making it flex fairly evenly.
I am going to need drain holes in the wheel strakes! The right side unit was on the car overnight, and we had heavy rain. It had about a quart of water in the bottom ...
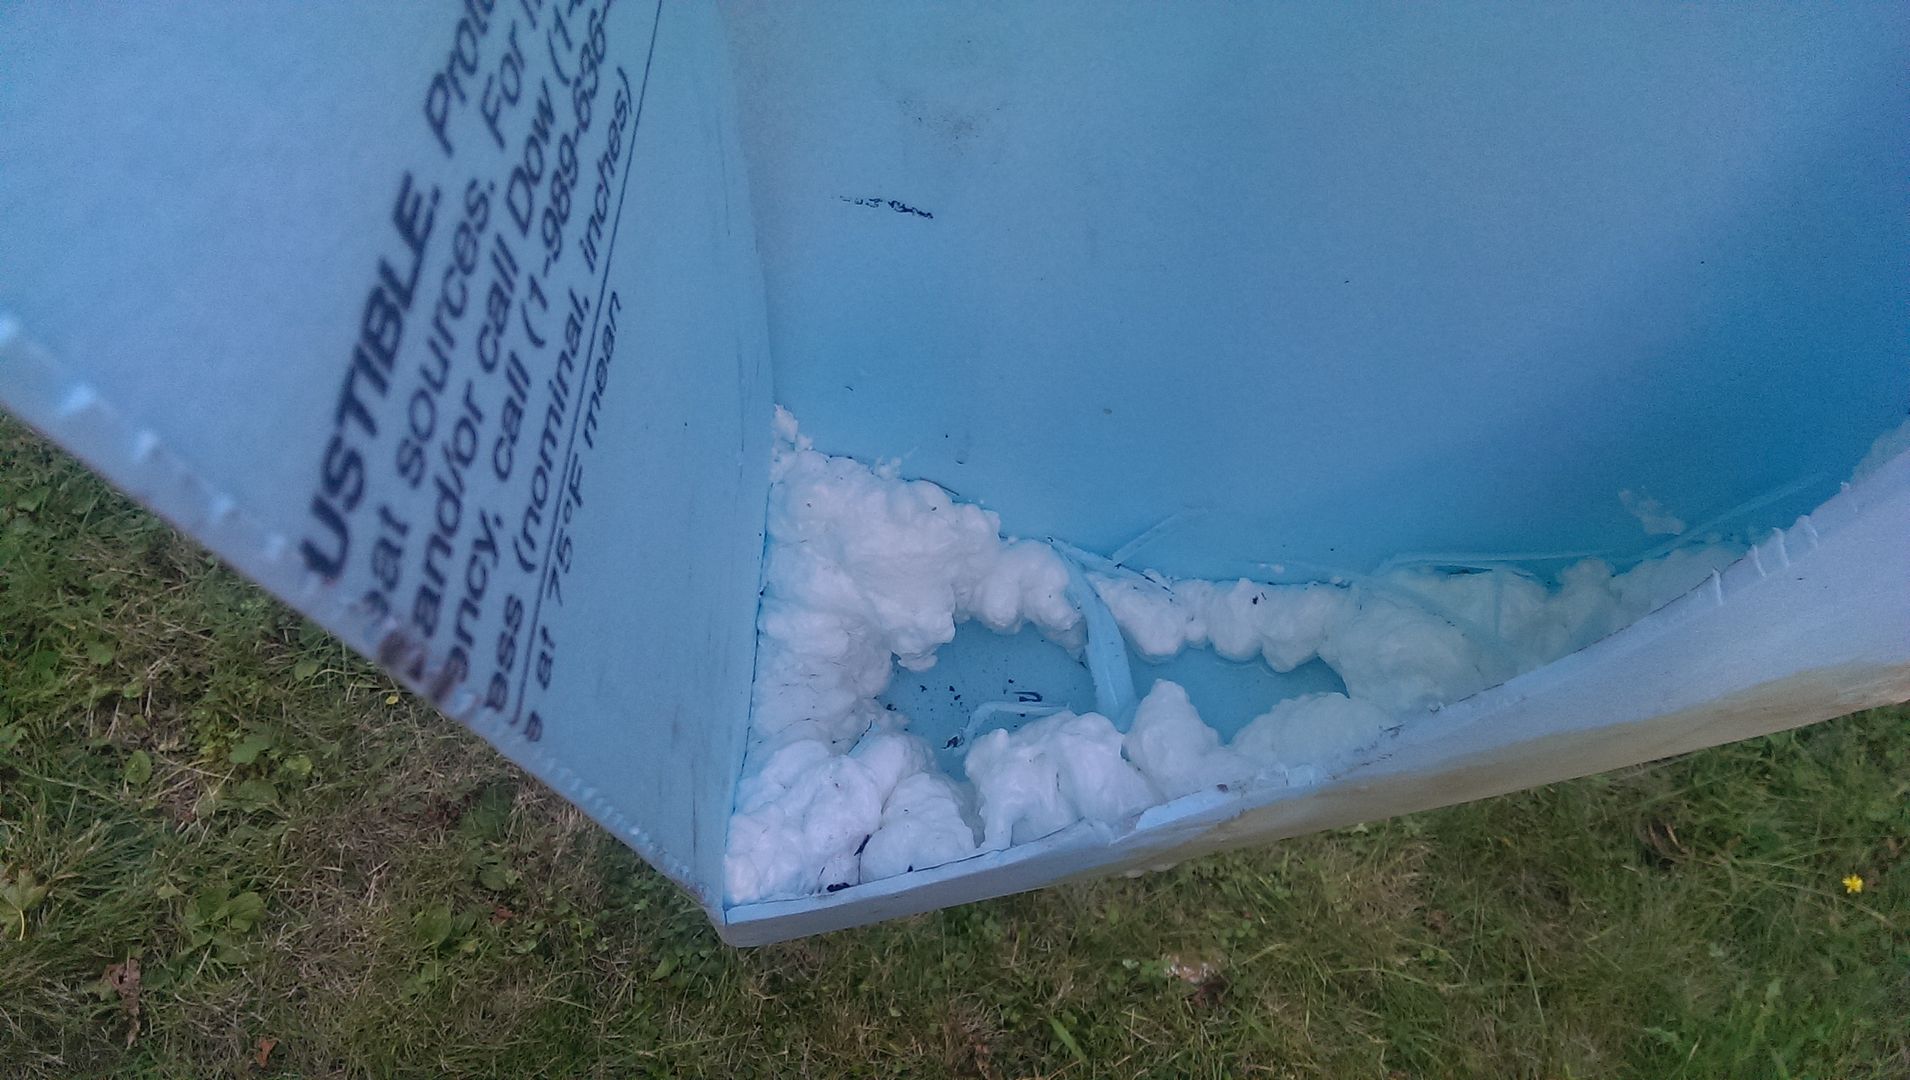
It is good to get a fair bit done. I have them off the car again, so I can fiberglass the back of the main panel. I plan on pop riveting it onto the car (I hope the hold it, and don't pull through!) and I have small stainless screws and nuts to hold on the skirt. I'll fiberglass the nut onto the back. |
|
|

|
|
The Following User Says Thank You to NeilBlanchard For This Useful Post:
|
|
 09-01-2014, 06:28 PM
|
#508 (permalink)
|
|
Not Doug
Join Date: Jun 2012
Location: Show Low, AZ
Posts: 12,298
Thanks: 7,305
Thanked 2,243 Times in 1,731 Posts
|
Did that come with a wispy layer of perforated plastic? If so, how did you remove it?
|
|
|

|
 09-01-2014, 09:56 PM
|
#509 (permalink)
|
|
Master EcoModder
Join Date: May 2008
Location: Maynard, MA Eaarth
Posts: 7,908
Thanks: 3,475
Thanked 2,953 Times in 1,846 Posts
|
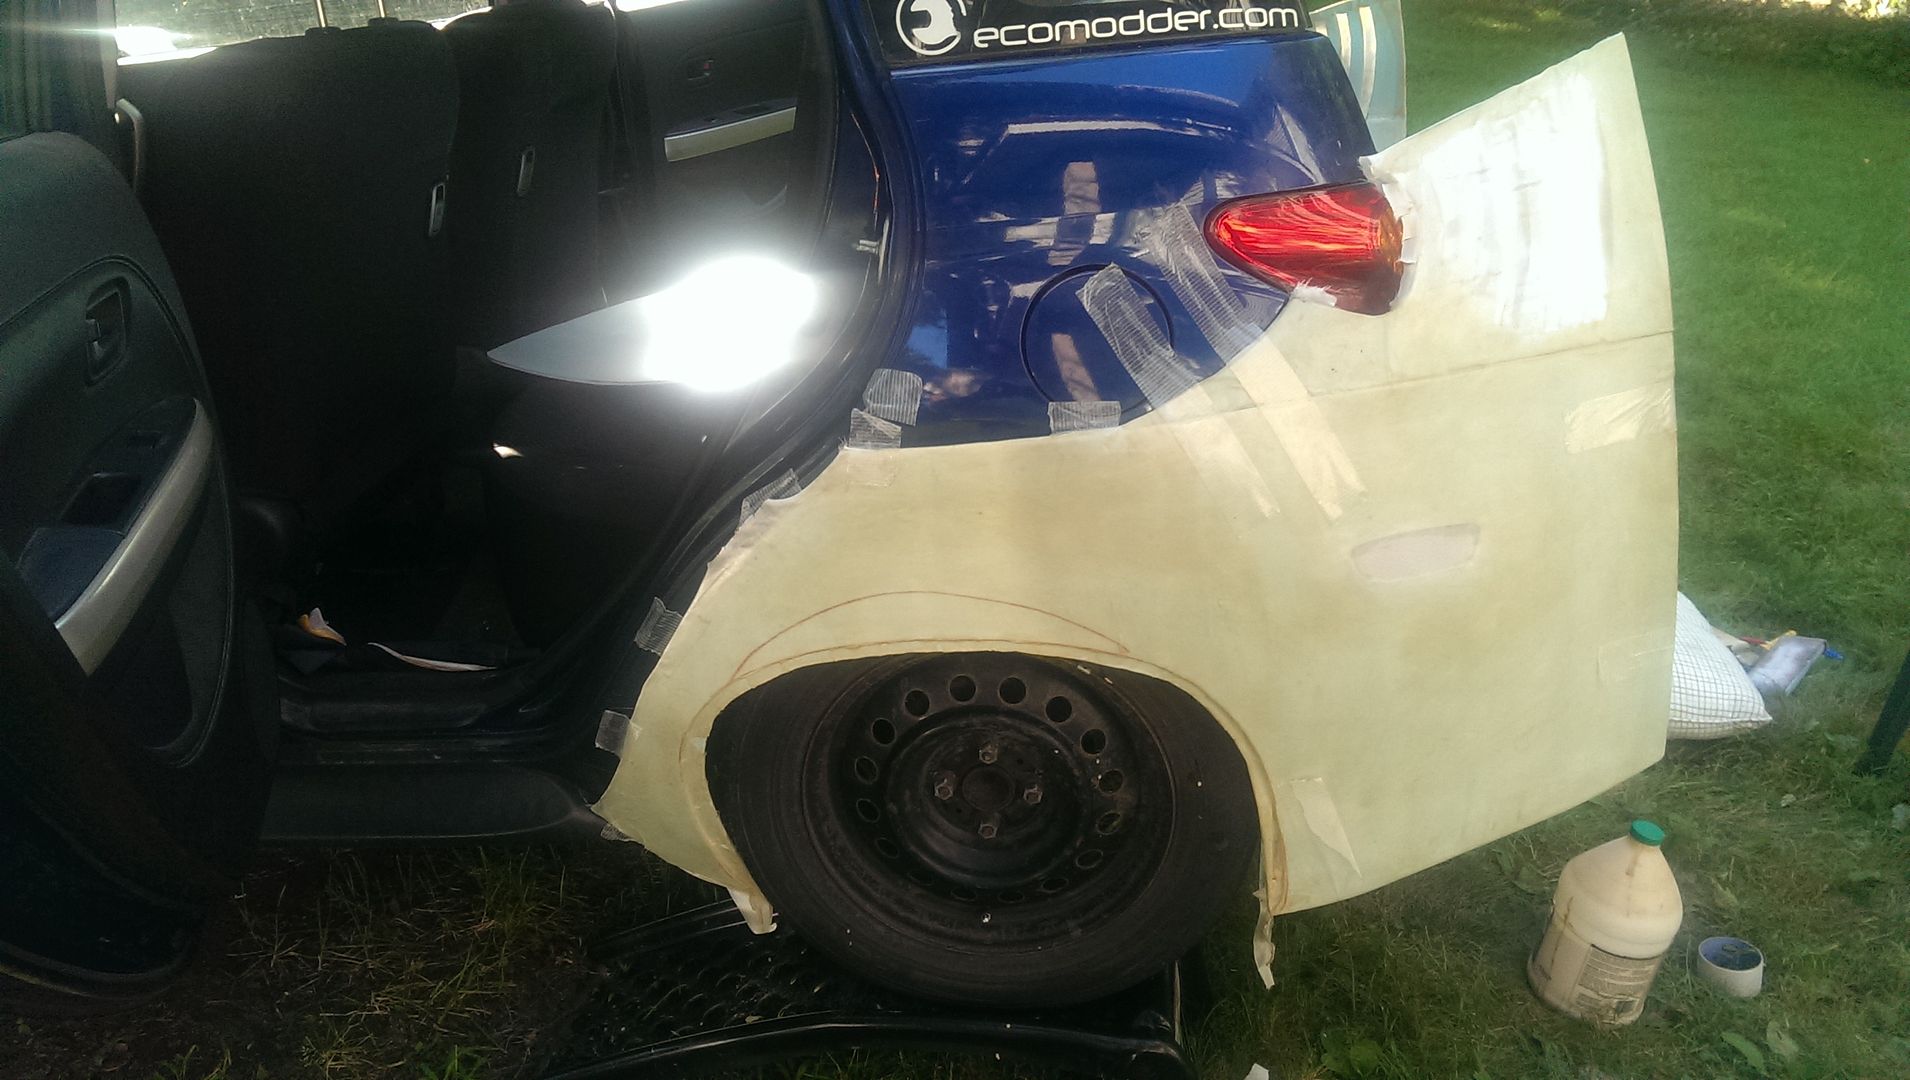
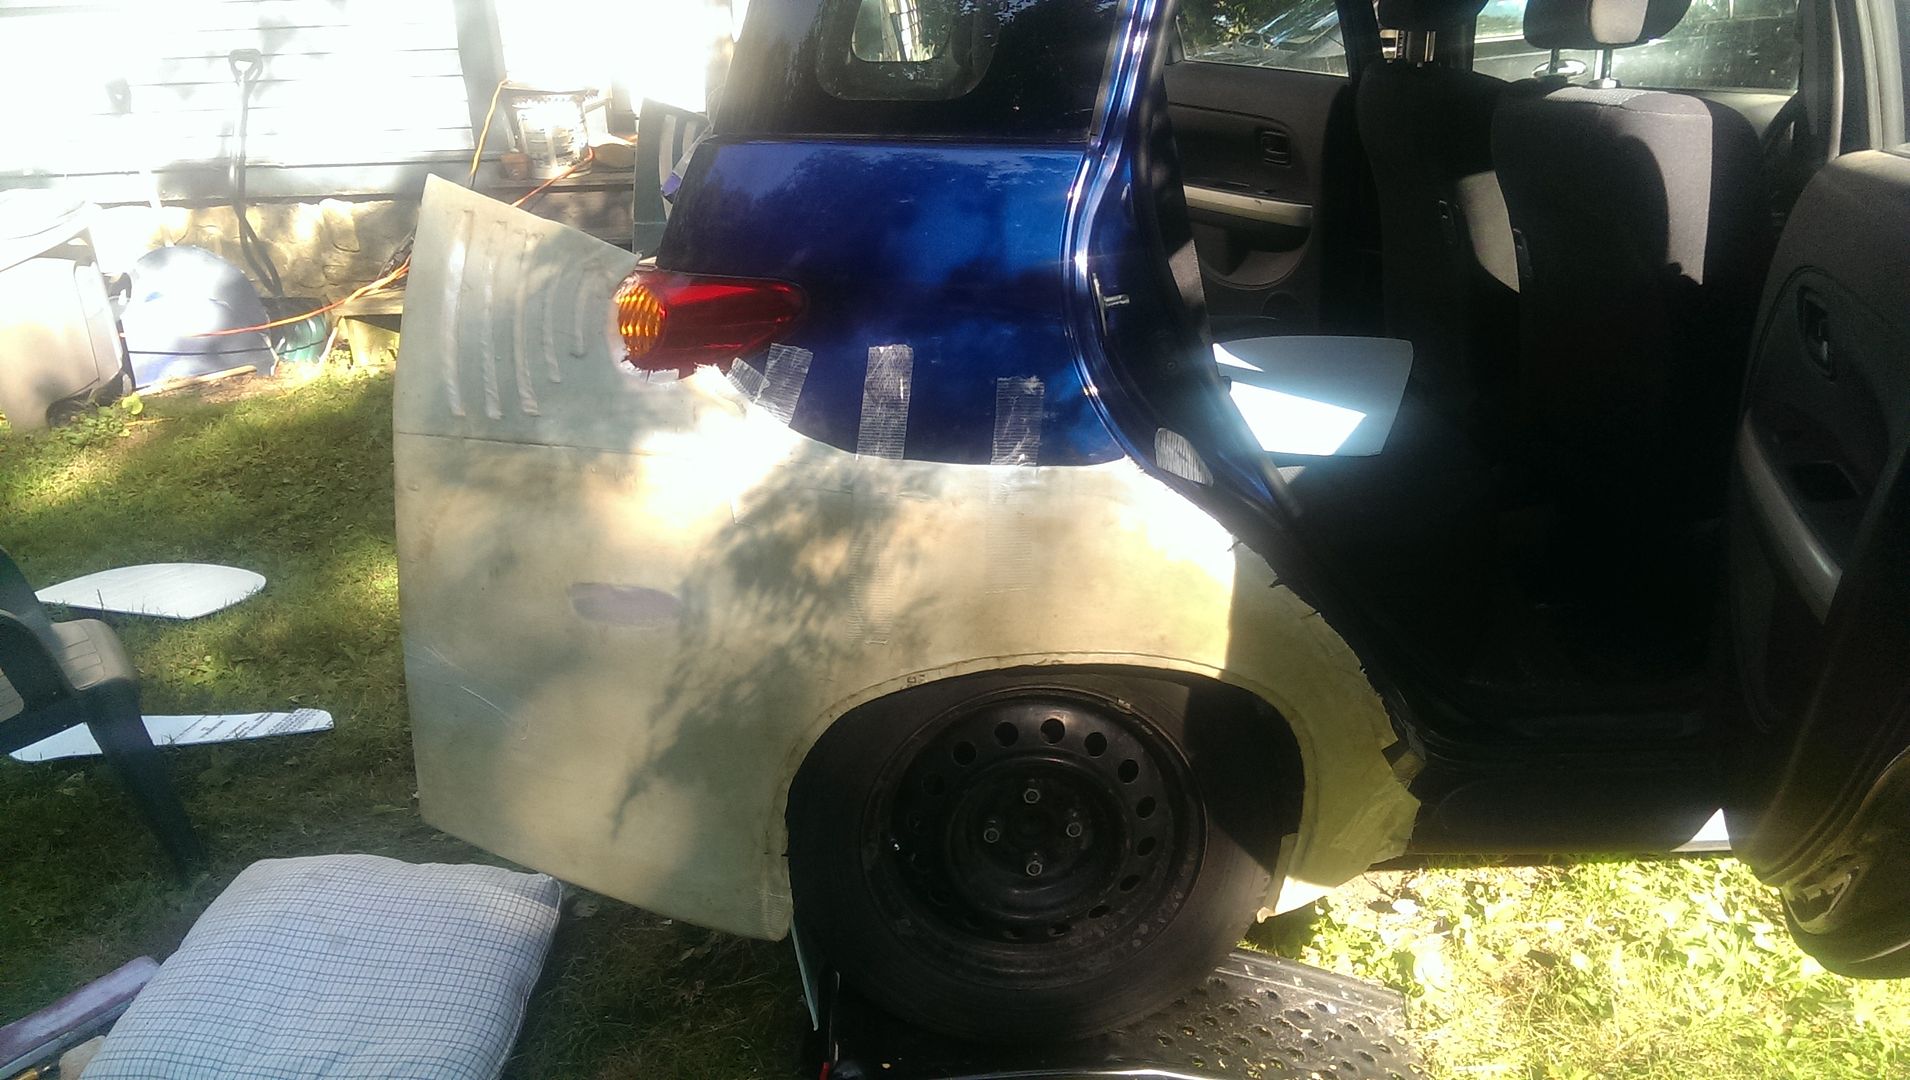
Yes, it has that stuff on it. Good sticky tape can lift it off, or you pick at it with your fingernail. The only good aspect is that I can remove marked lines after the fact.
I have a better idea than drain holes - a sloped panel "roof" inside the strake to shed water out. Even with drain holes, in the winter it is going to freeze - and that would not be pretty.
I got the left side more or less to the same level as the right. I cut off the excess fabric at the top, as well.
Last edited by NeilBlanchard; 09-02-2014 at 10:35 PM..
|
|
|

|
|
The Following User Says Thank You to NeilBlanchard For This Useful Post:
|
|
 09-27-2014, 01:43 PM
|
#510 (permalink)
|
|
Master EcoModder
Join Date: May 2008
Location: Maynard, MA Eaarth
Posts: 7,908
Thanks: 3,475
Thanked 2,953 Times in 1,846 Posts
|
|
|
|

|
|
The Following 2 Users Say Thank You to NeilBlanchard For This Useful Post:
|
|
|