Go Back   EcoModder Forum > EcoModding > DIY / How-to
Register Now
 Register Now
 

Reply  Post New Thread
 
Submit Tools LinkBack Thread Tools
Old 08-06-2011, 11:49 PM   #1 (permalink)
EcoModding Lurker
 
Cowboy_Dan's Avatar
 
Join Date: Aug 2011
Location: Frozen Wisconsin
Posts: 9

Blue By You - '96 Ford F250 XLT
Thanks: 0
Thanked 2 Times in 1 Post
DIY bed cover for keeping toolbox

I've got three weddings to go to in as many weeks coming up, and well over 5000 miles for them.
So, I decided it was time for some semi-aero changes.
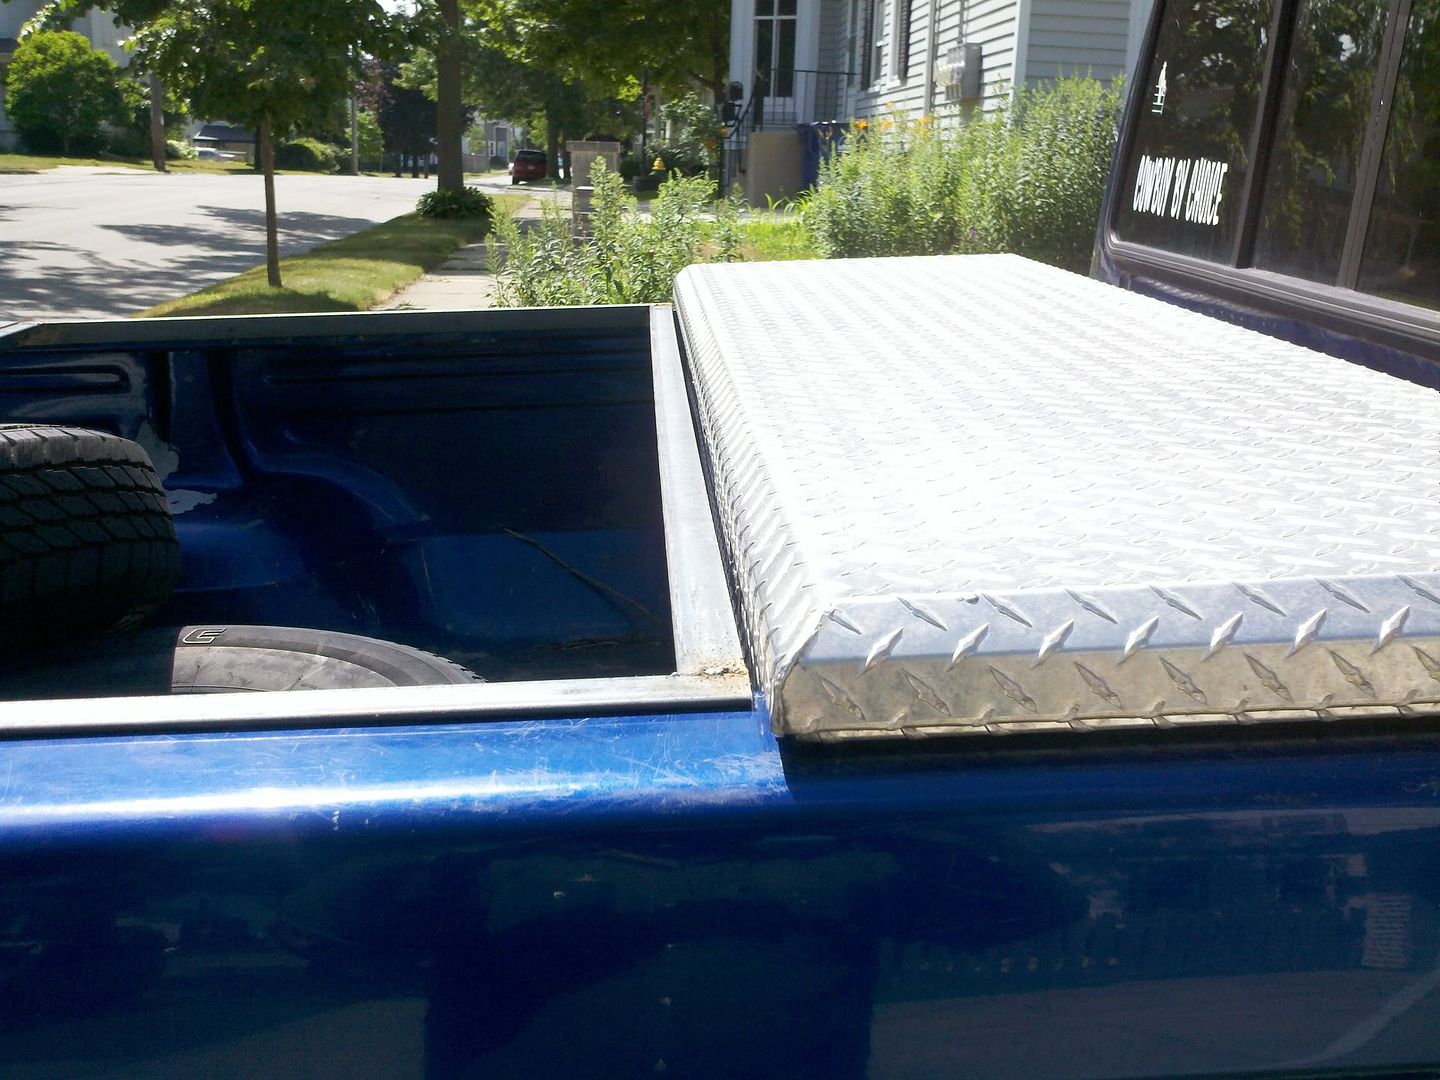
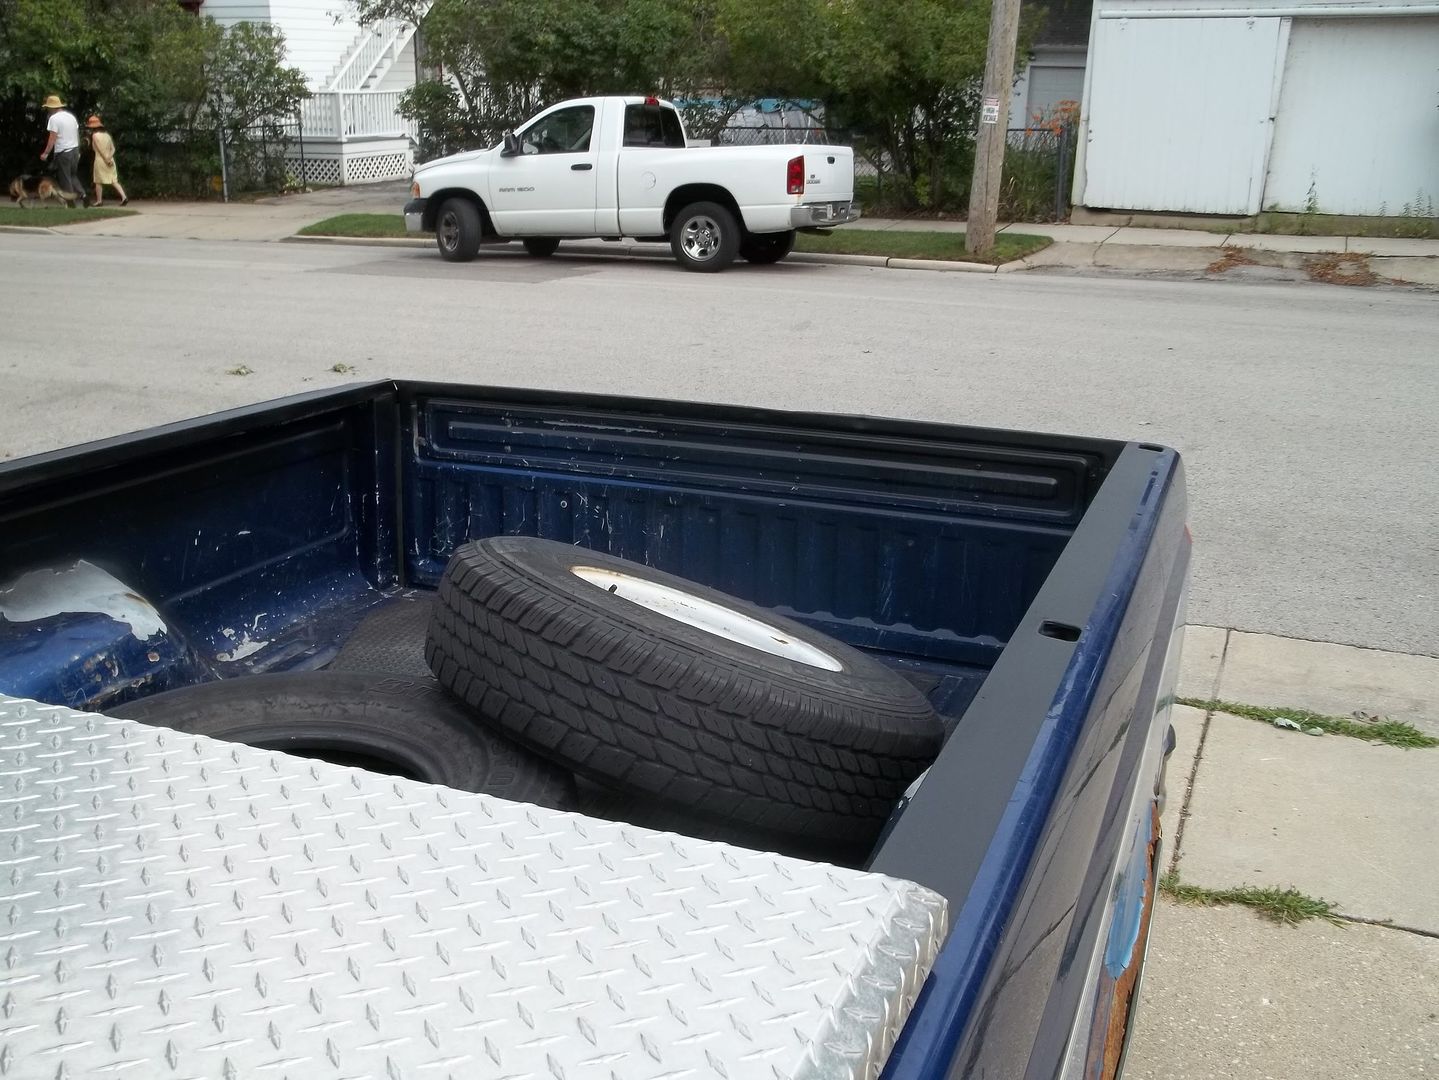
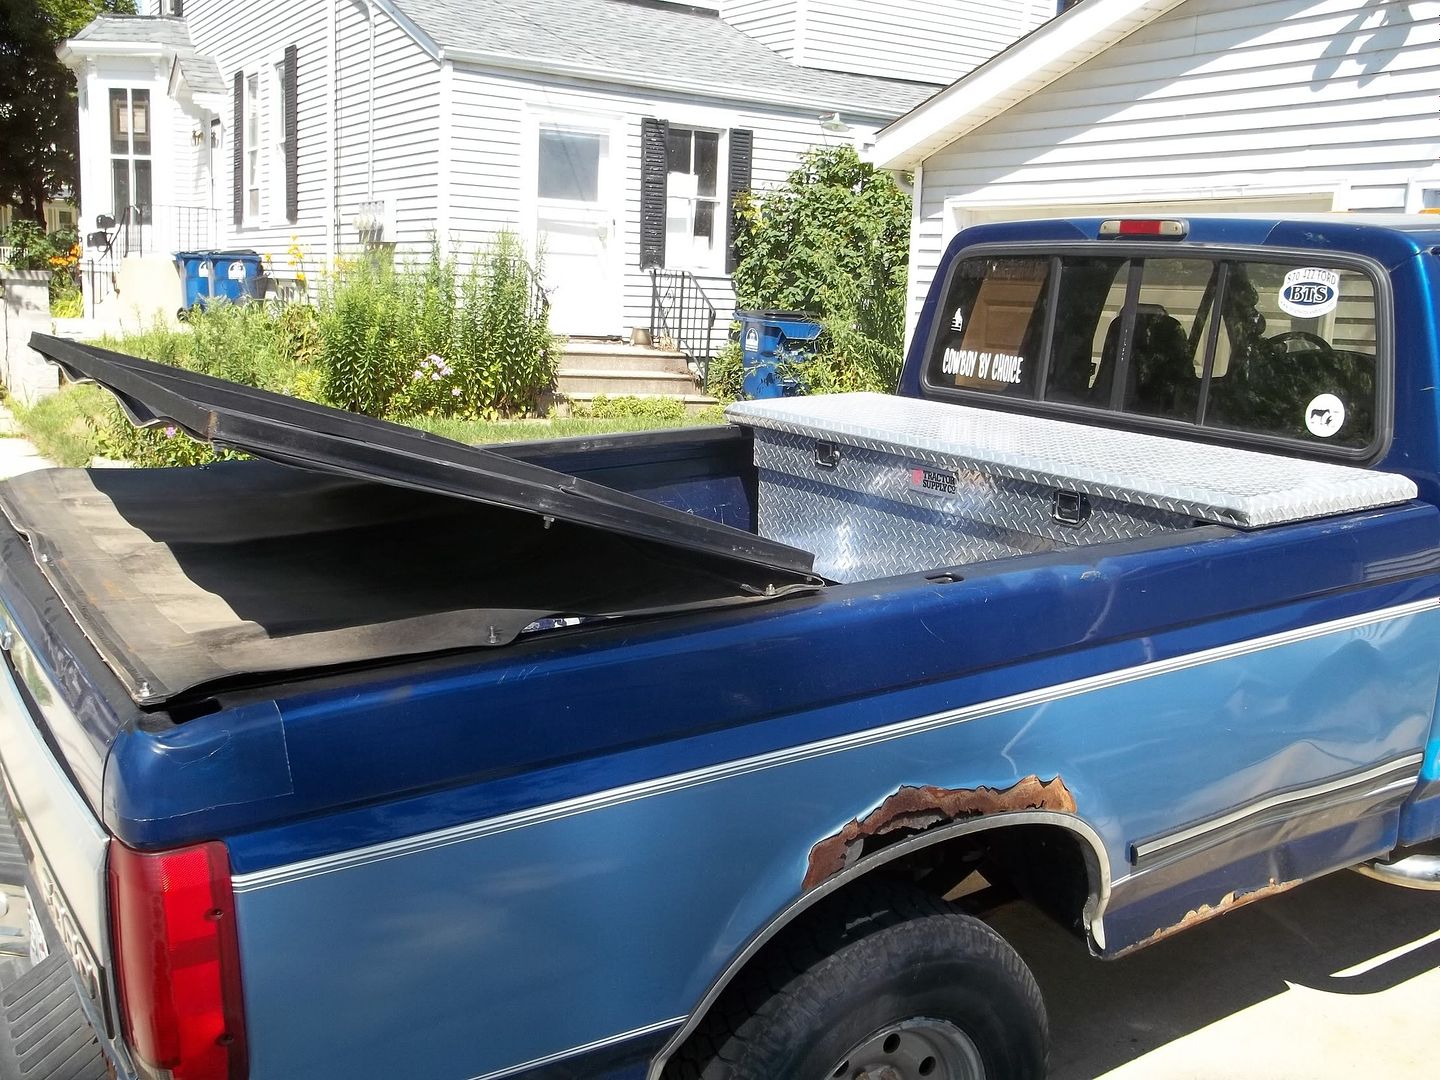
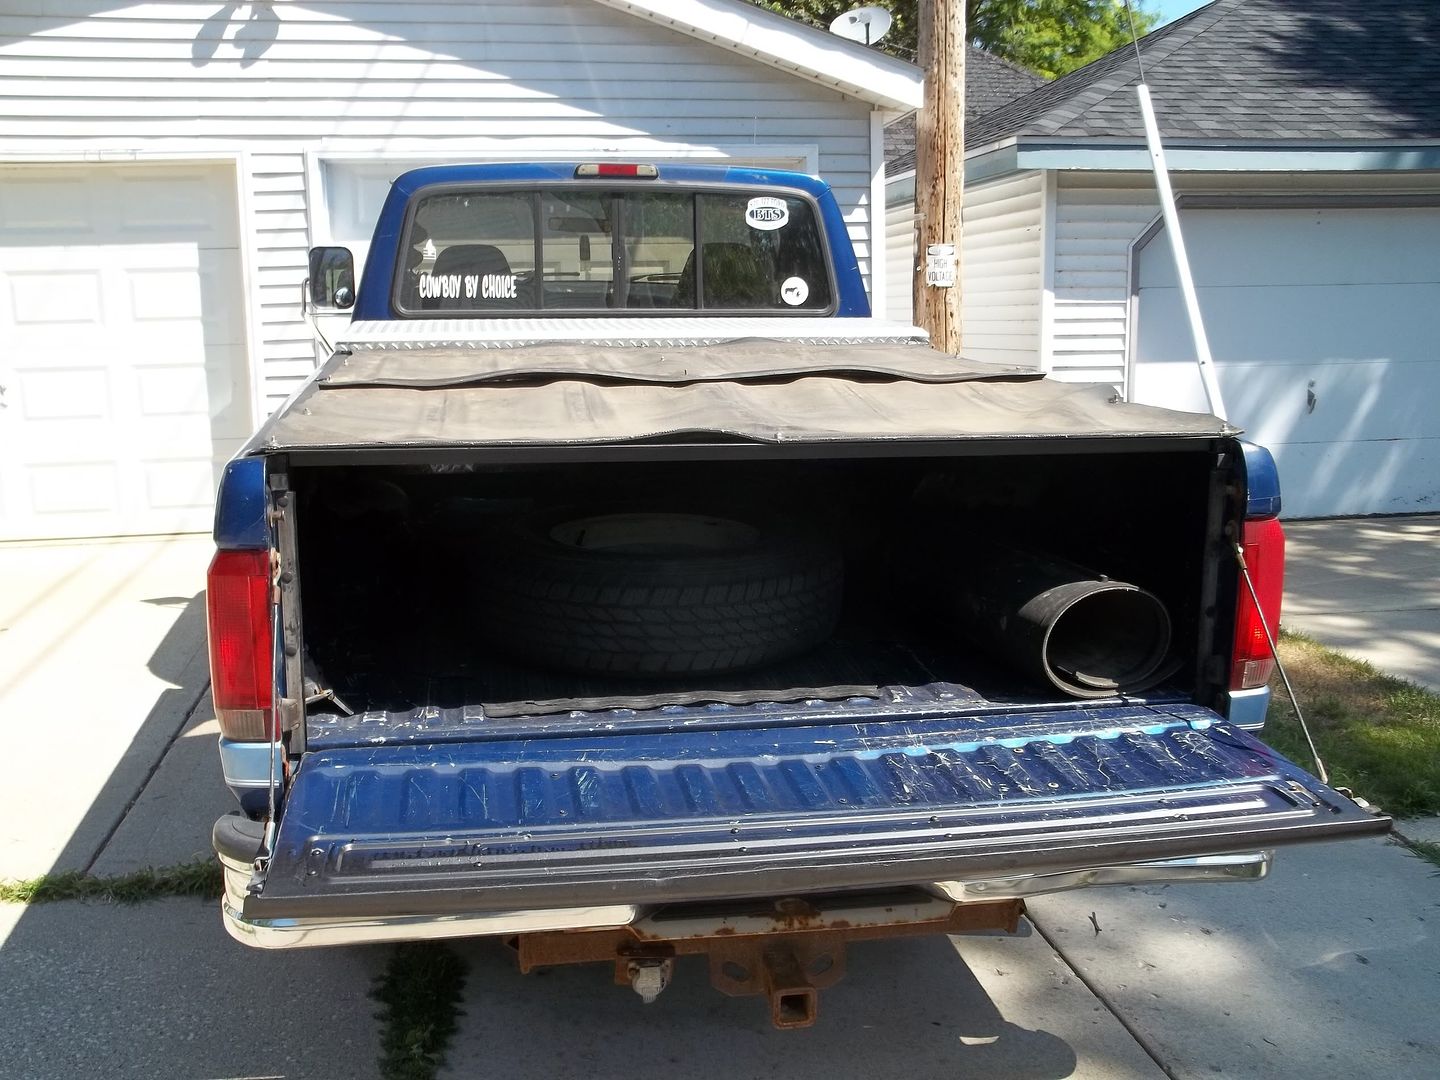
First was a truck bed cover. I have a pretty standard low profile over-rail toolbox in the bed, and I'm not willing to give it up unless I could get a really killer deal on a in-bed toolbox (I'm cheap normally, but really on a budget for this project). Basically it would have to be a straight trade, or free.
So I started looking for a cover that would fit with the toolbox. The only ones I found didn't work with the low profile toolbox (handle & lock on the toolbox are below level of bed rails), wouldn't raise in the front (I'm not removing the cover just to get in the toolbox), or just too danged expensive ($600 and up).

I pondered this for several weeks, daydreaming and looking at pictures of other bed covers for ideas. I really wanted a cover like Big Dave has for his truck, but I couldn't figure out how to make it open up for access to the toolbox in a fairly simple manner. I'm a mechanical engineer by training, so I can come up with all kinds of theoretical things that 'should' work. But, I have to build this myself, and I put myself on a really tight budget for it.
Then I started sketching out my ideas. And promptly threw them out one by one for various reasons that made them impractical to build, or just plain wouldn't work.
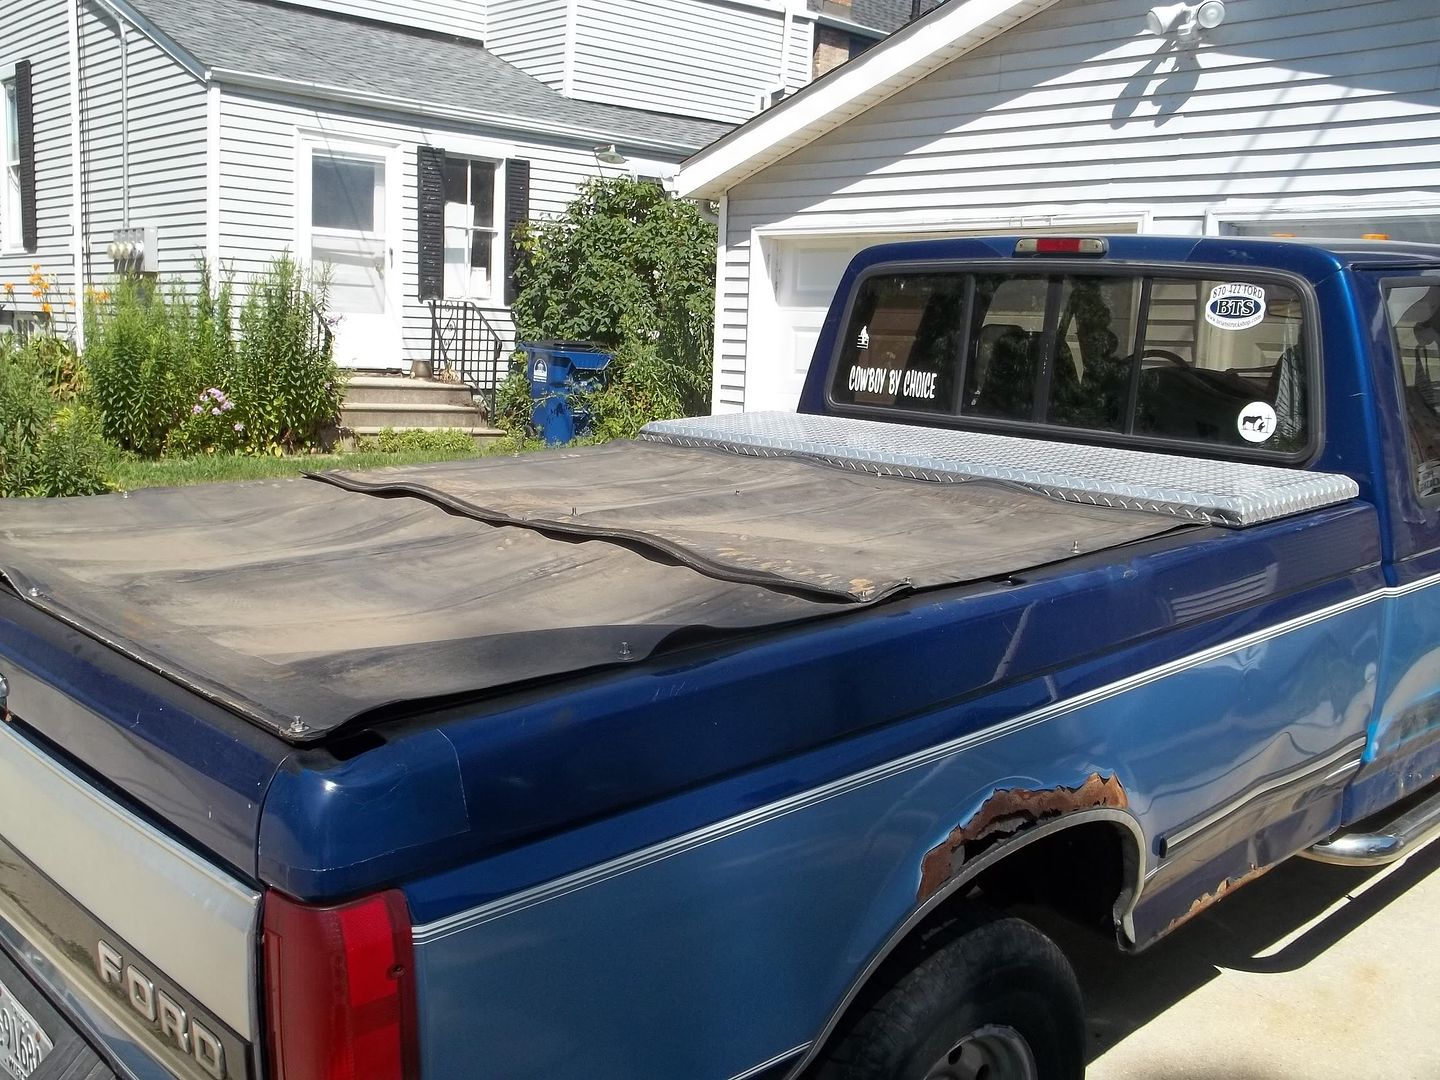
Eventually I settled on this design. The results are what you see here. It still isn't done, I need to make a little latch of some sort to keep it from bouncing around and rattling.

BOM:
Vendor Part number Desc pkg qty qty unit price
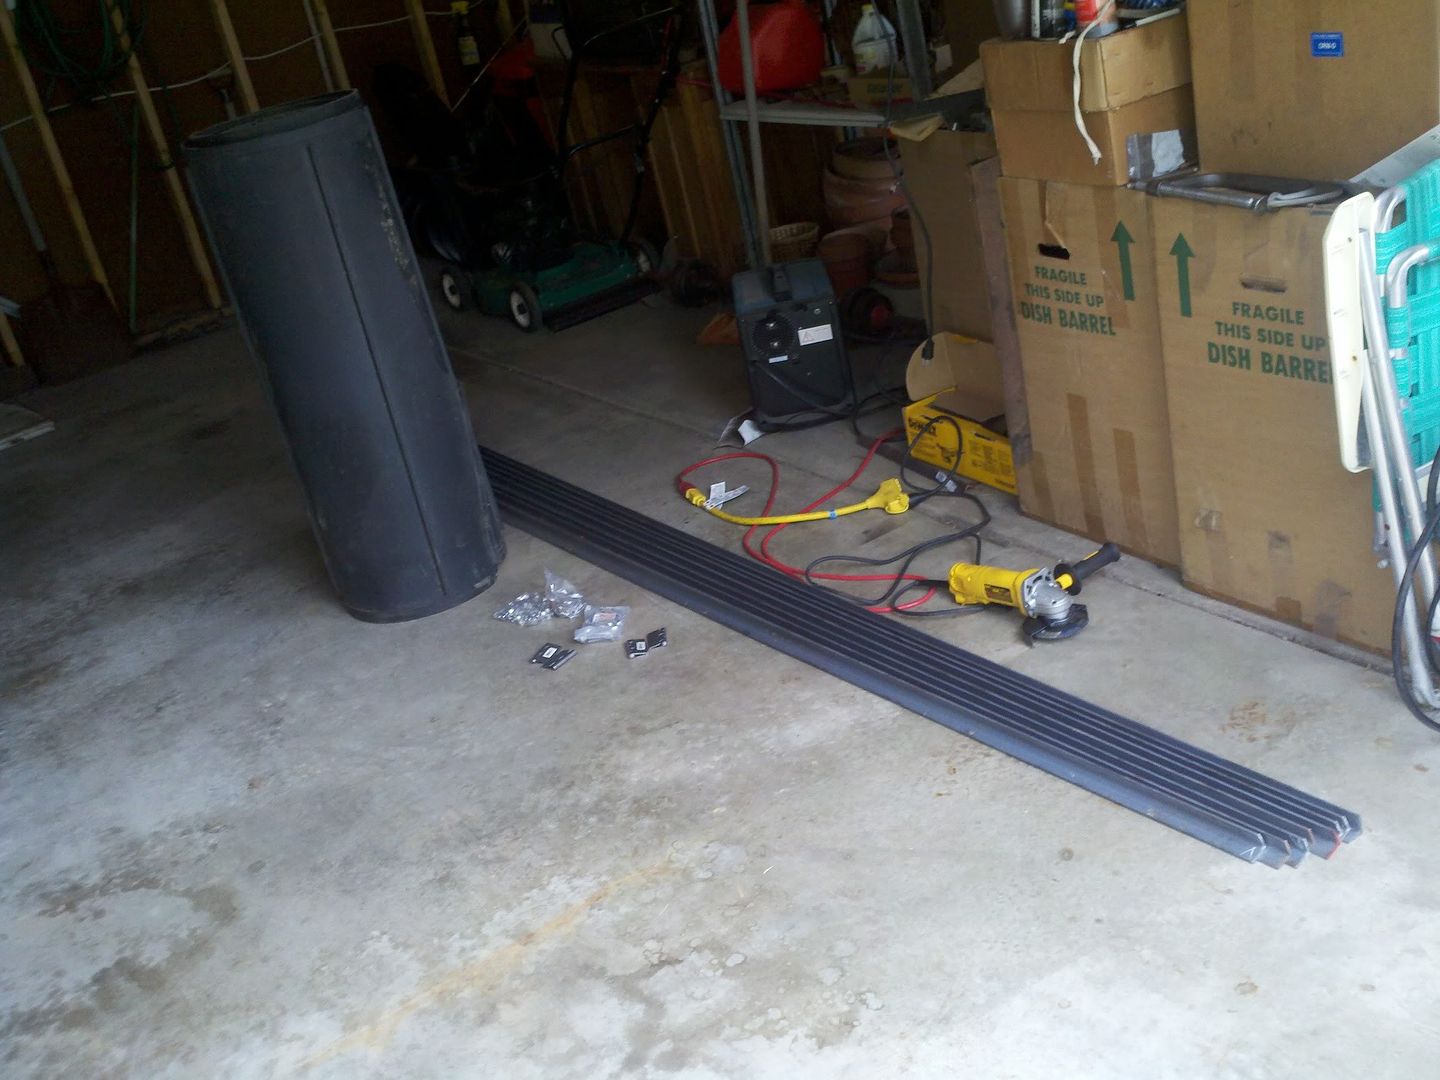
Metal world N/A Angle 1 1/4" x 1 1/4" x 3/16" x 20' cut in half 1 3 36.70
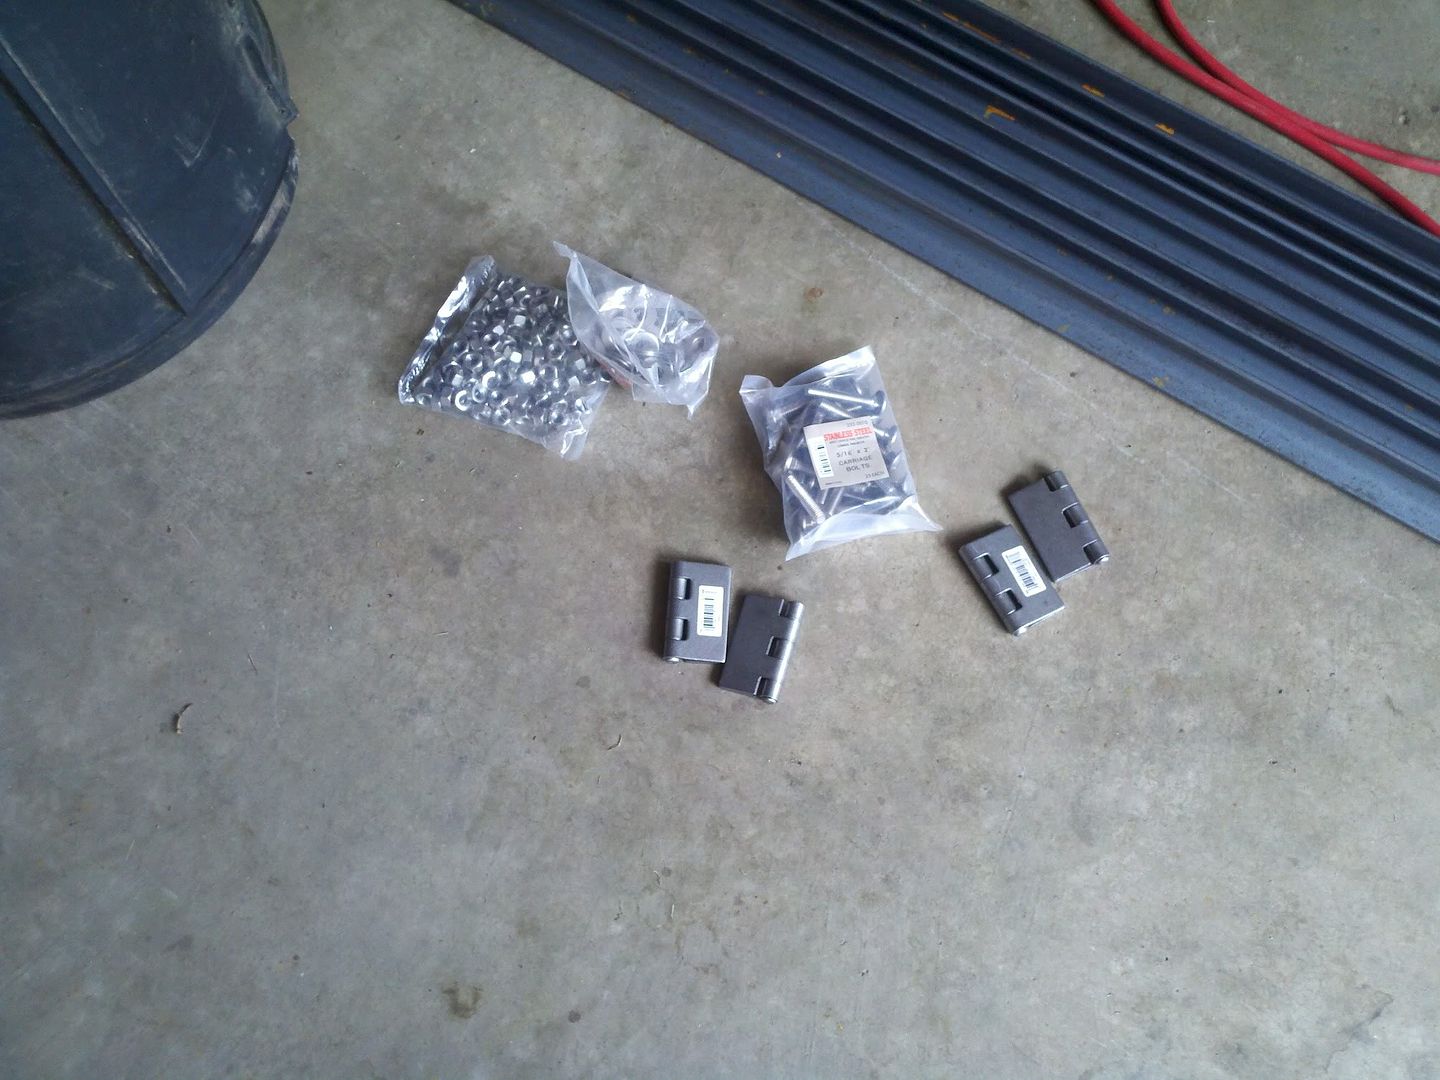
Lee's truevalue hdw N/A 5/16 X 3" stainless carriage bolt 1 7 2.00
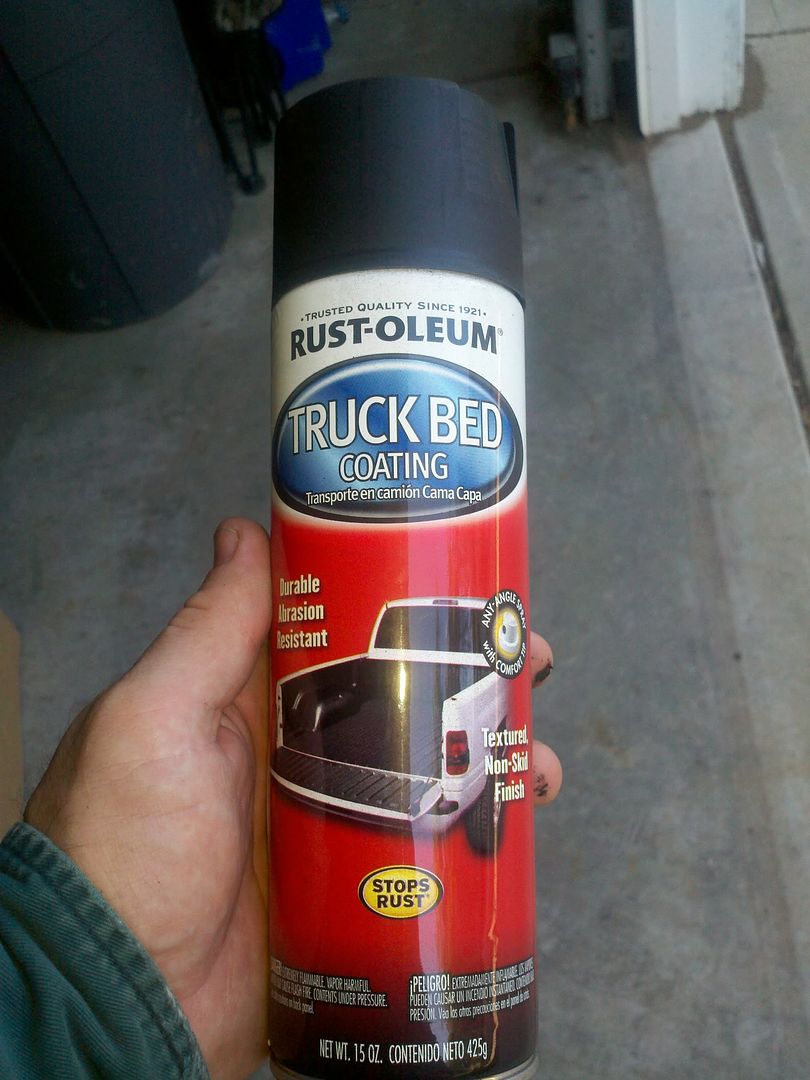
Menards 554705 spray on bed liner 1 3 7.49
Menards N/A 5/16 x 2 SS carriage bolt 23 1 6.99
Menards N/A 5/16" SS nuts 96 1 5.99
Menards N/A 5/16" SS washers 87 1 4.99
Menards N/A 2 1/2" hinge captive pin 1 4 2.49


And, pictures:


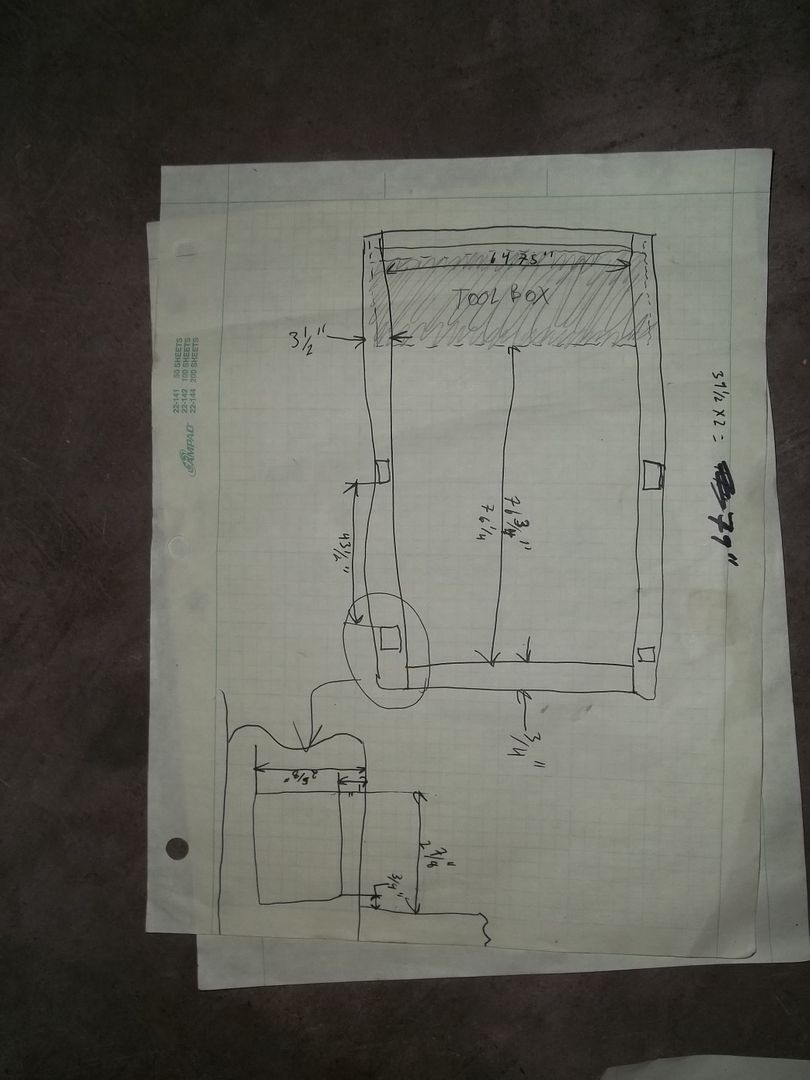
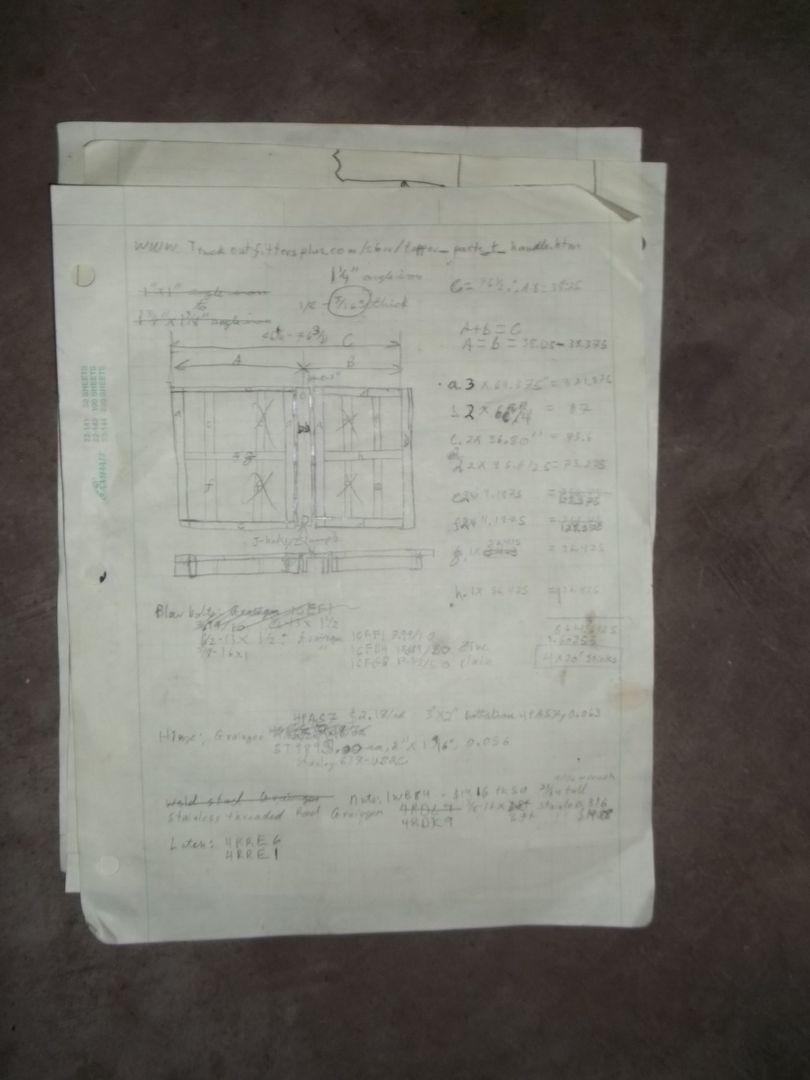
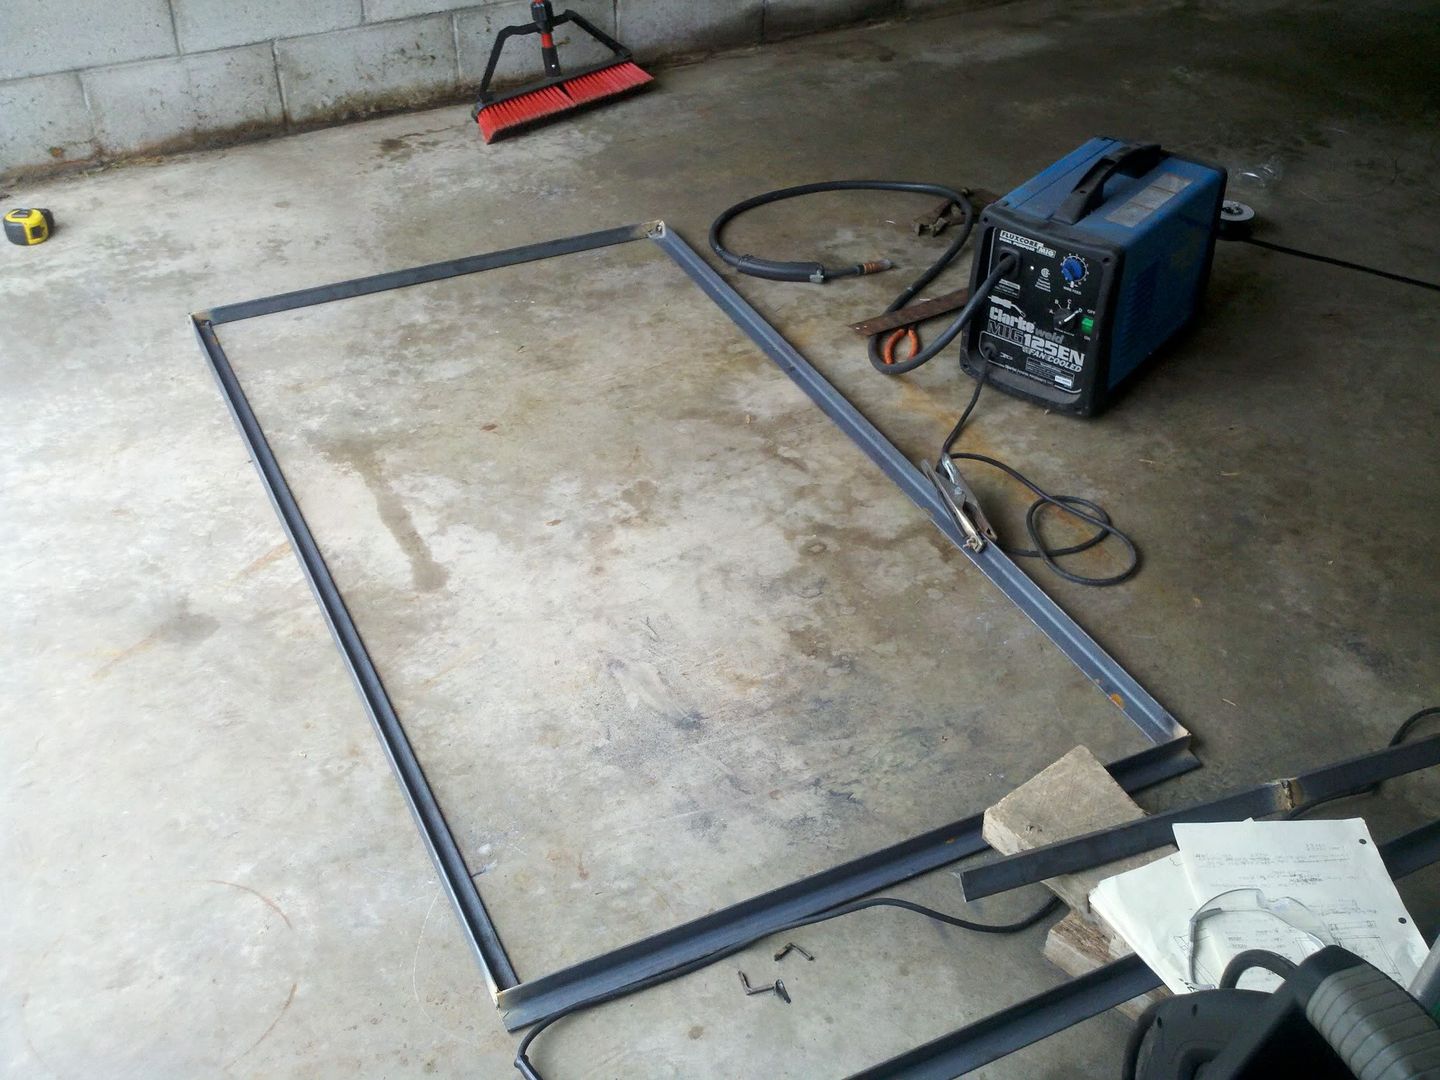
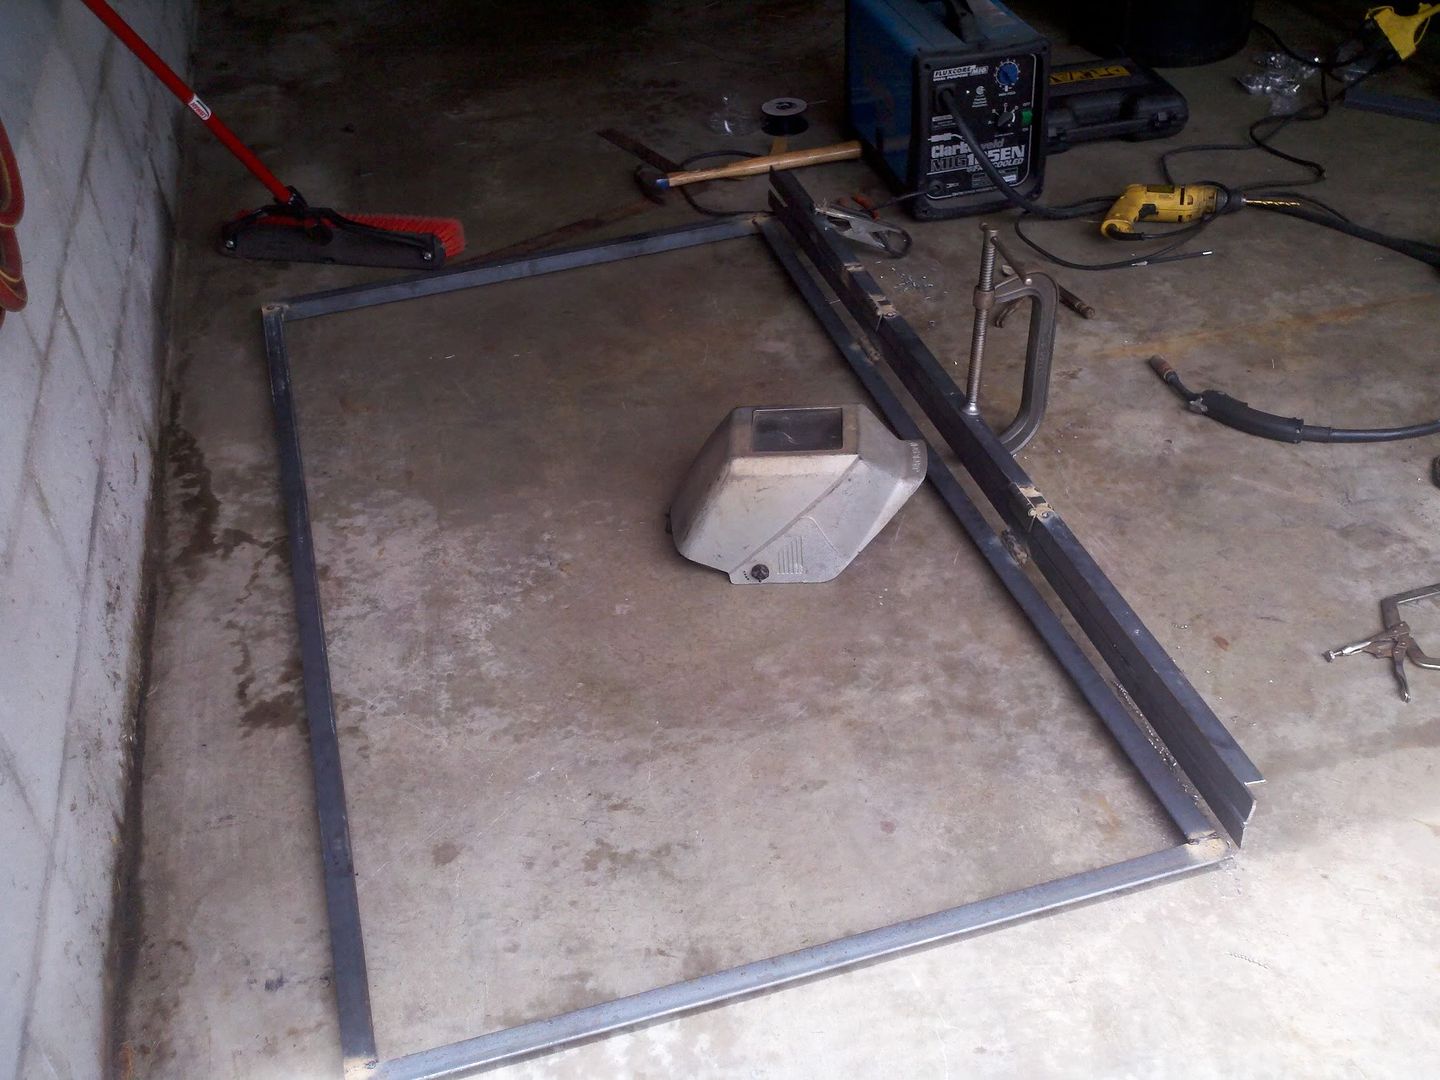
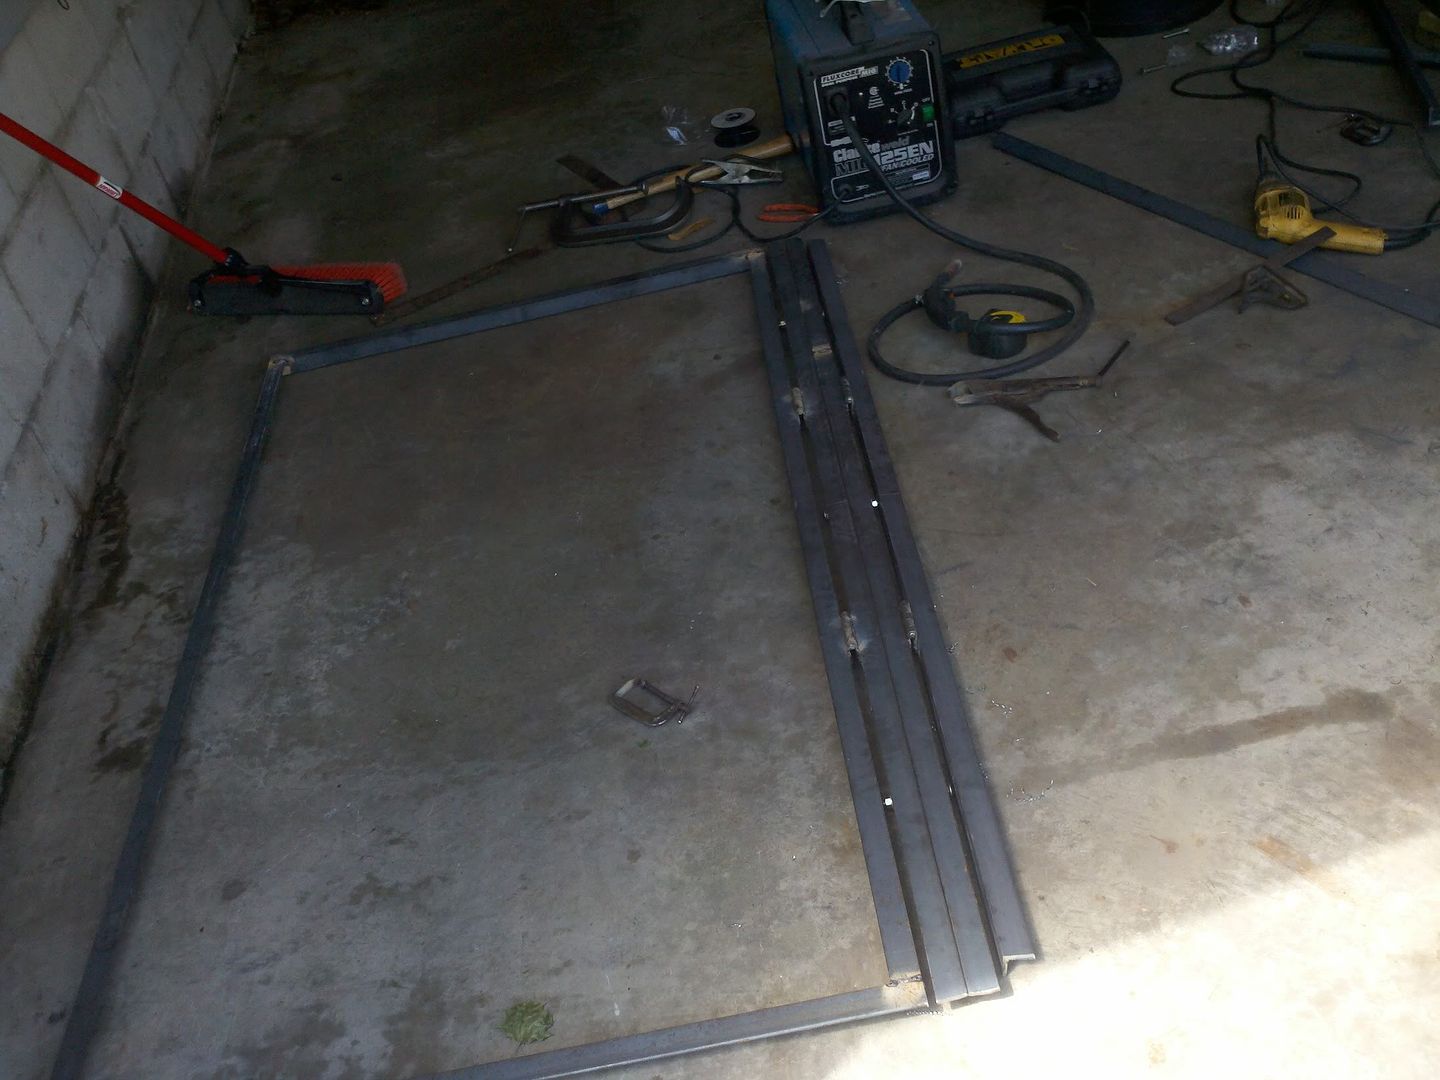
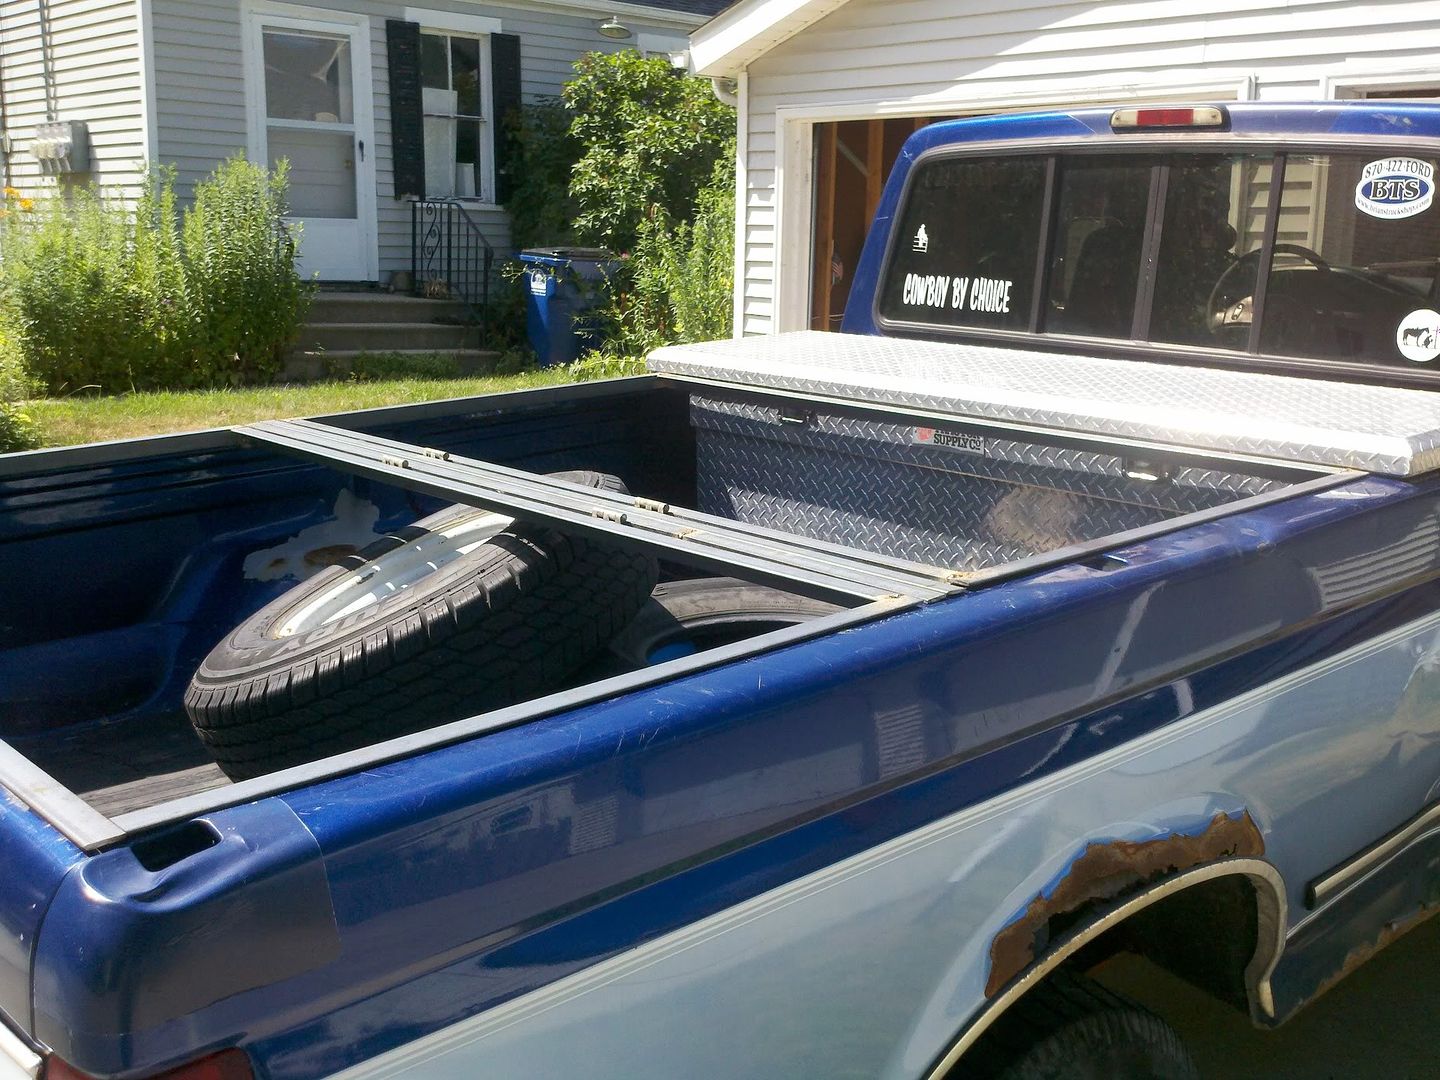
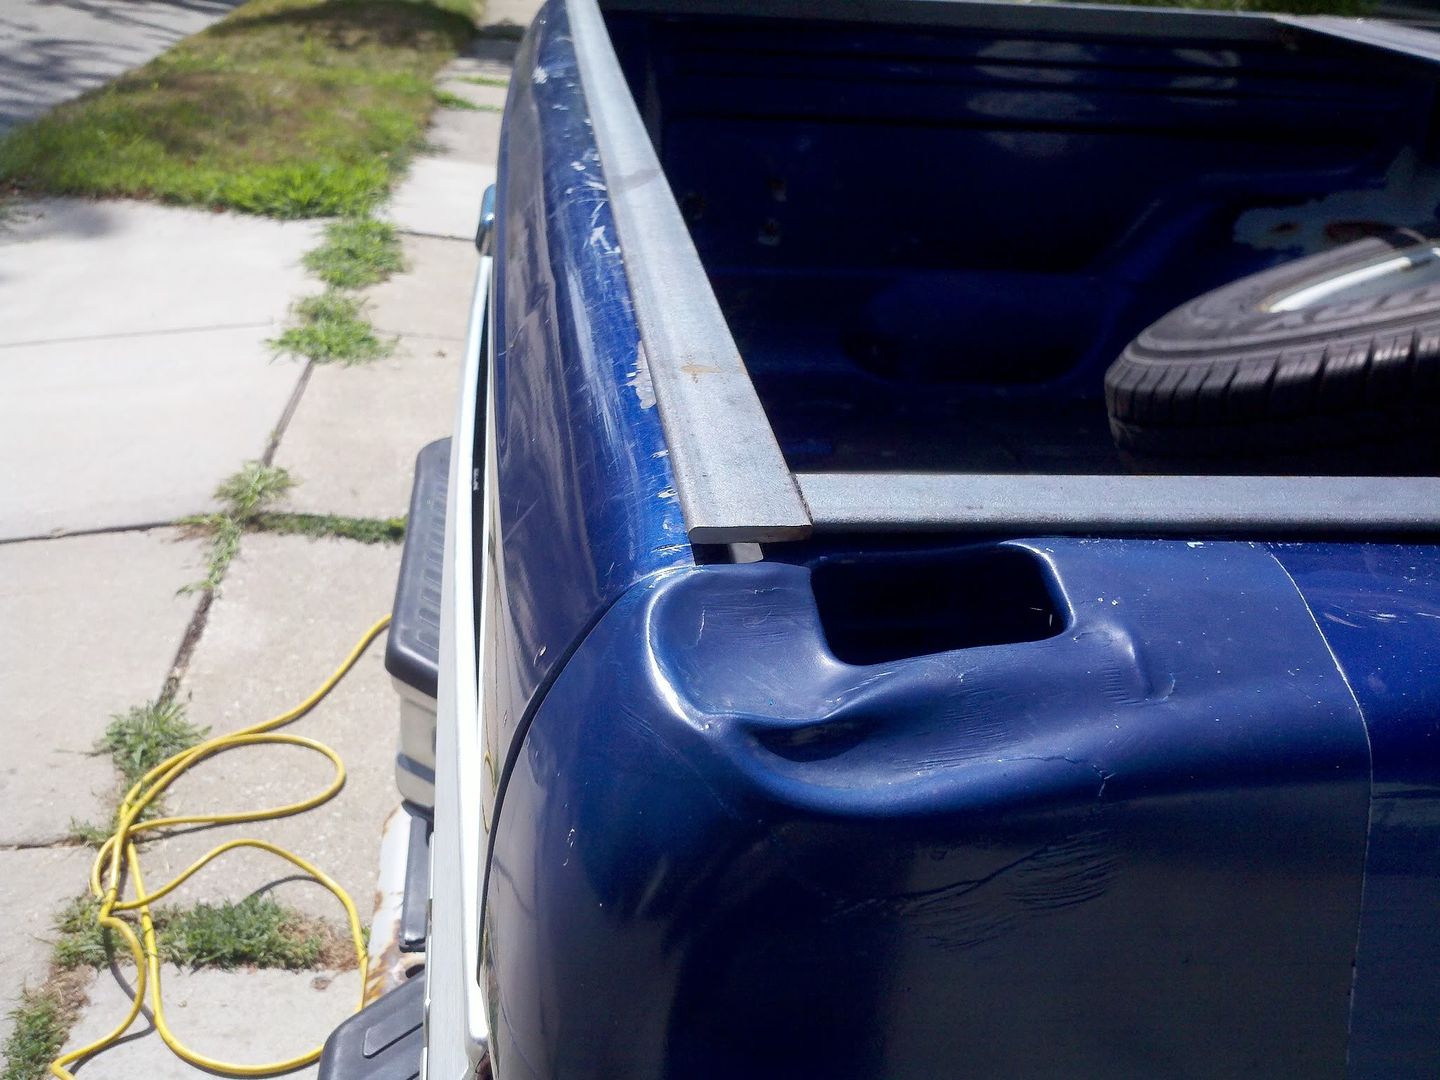
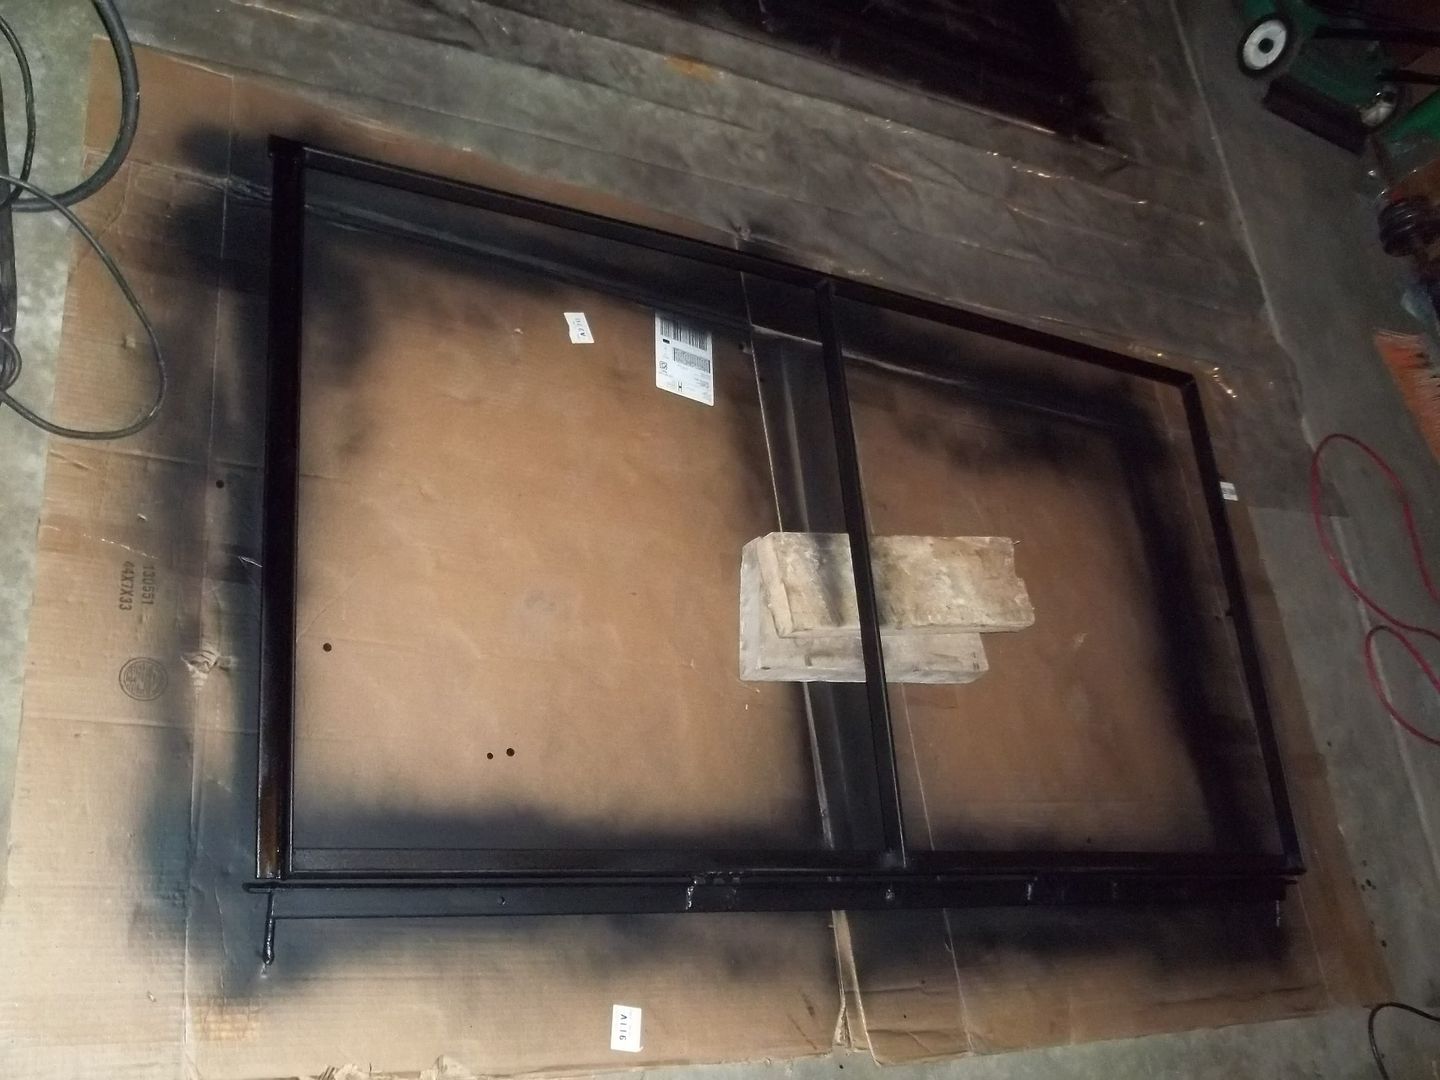
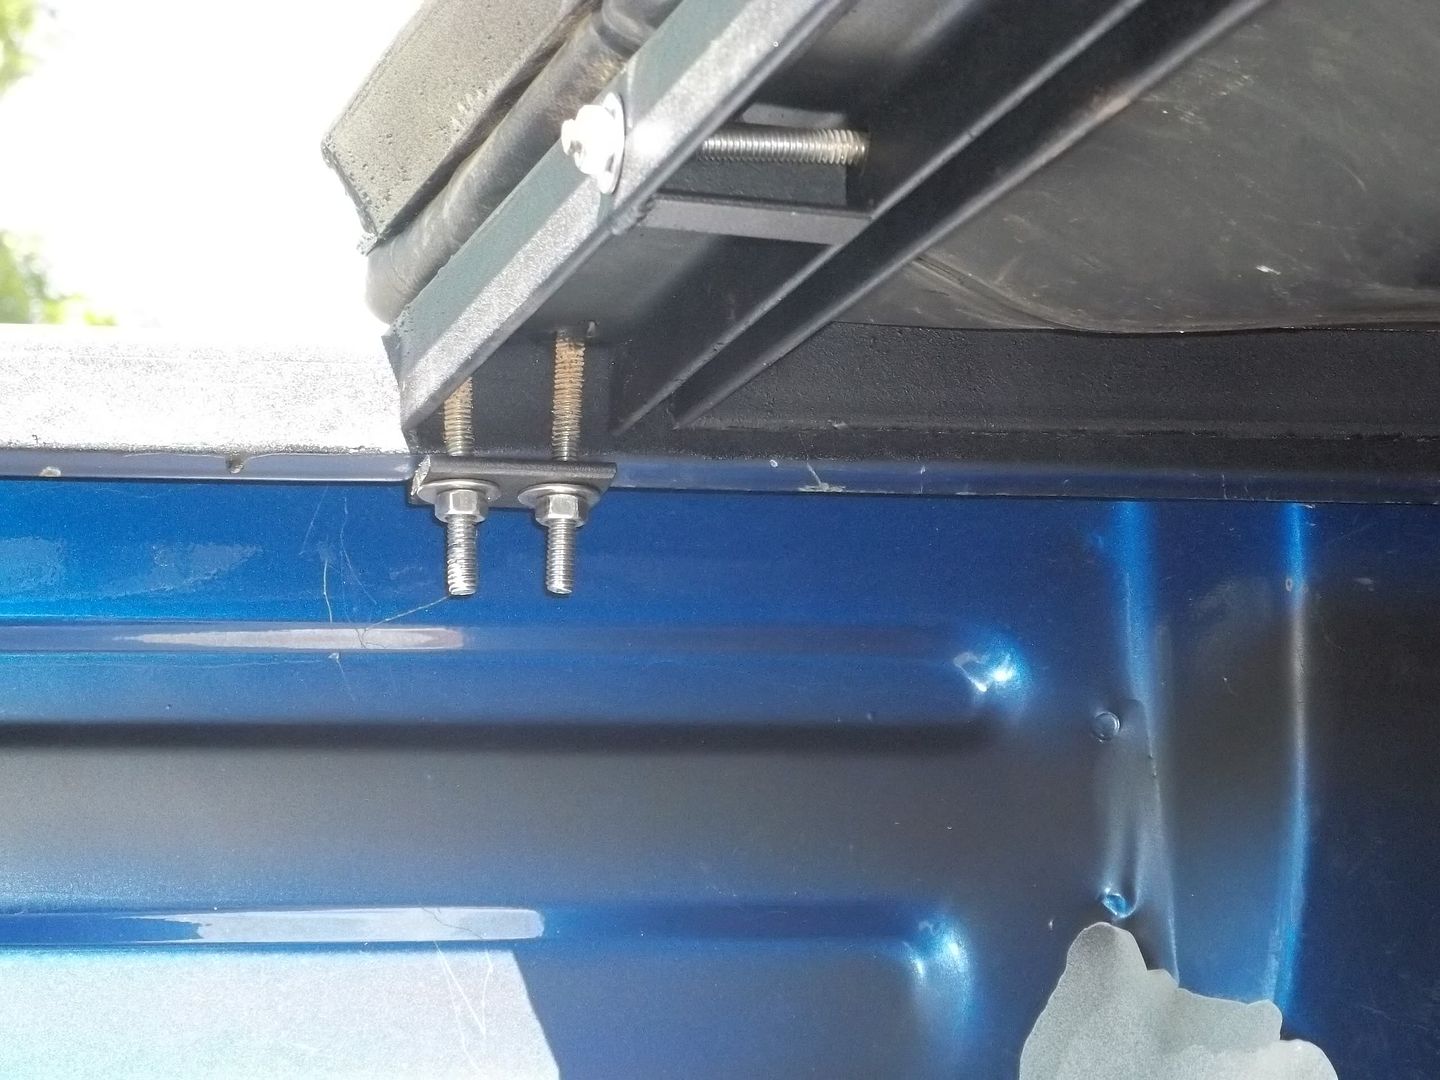
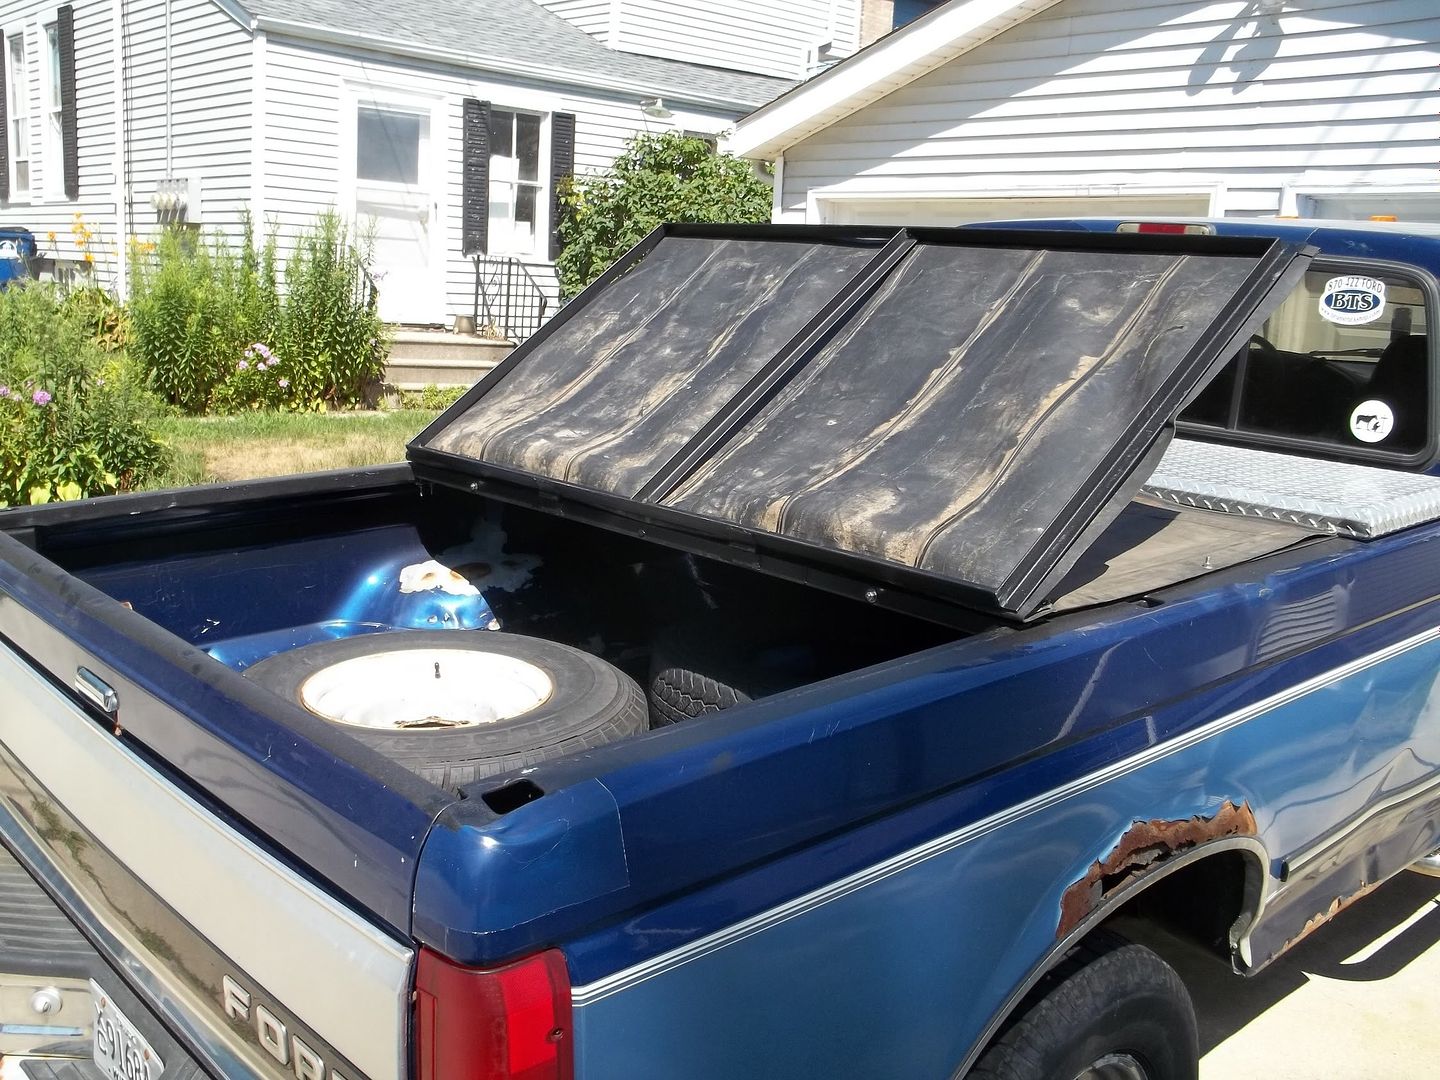
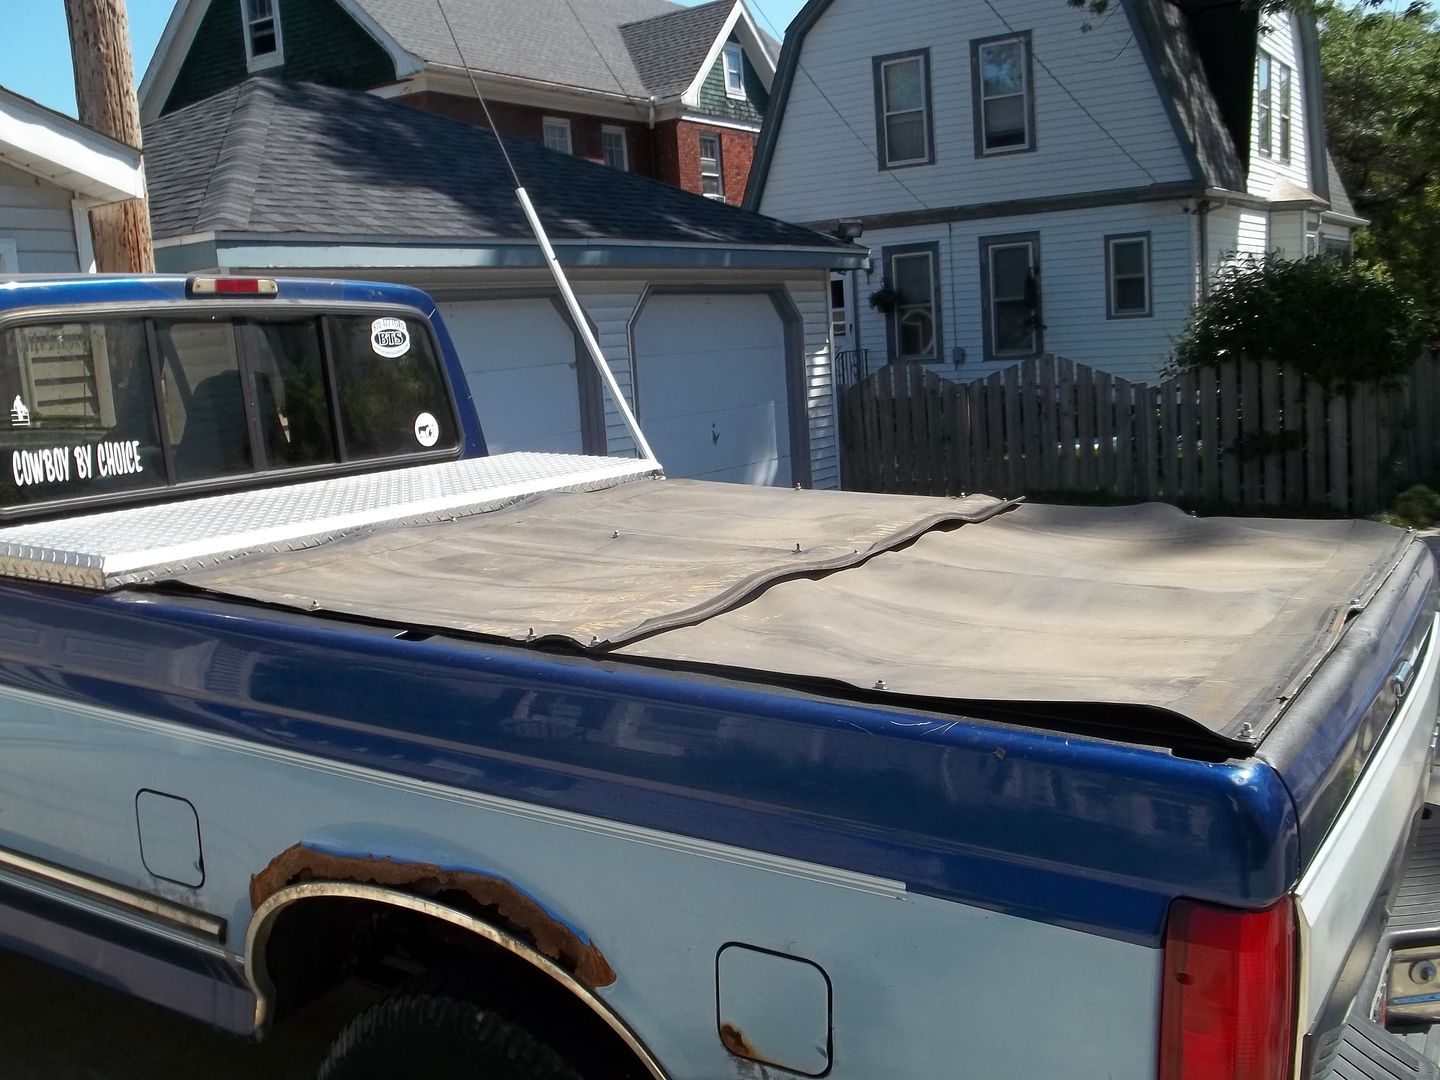
One other thing worth mentioning is that I built the front panel pretty much 'to print' (such as the 'print' is). Then built the center frame and 'clamps'. After that I built the rear frame and actually tack welded it on the truck to make sure it was exactly the right size.

In all but a few spots where the inner edge of the bed rail is bent, the angle iron clears the sides of the rails by probably 1/8"-3/16" on each side. Tailgate clearance is about the same.

Total: $183.40, approx 12-18 hours labor, 4 gallons of sweet iced tea, 8 gallons of water, and a few gatorades.
Weight I estimate at about 80-100lbs. It can be lifted with one hand, it's just awkward.

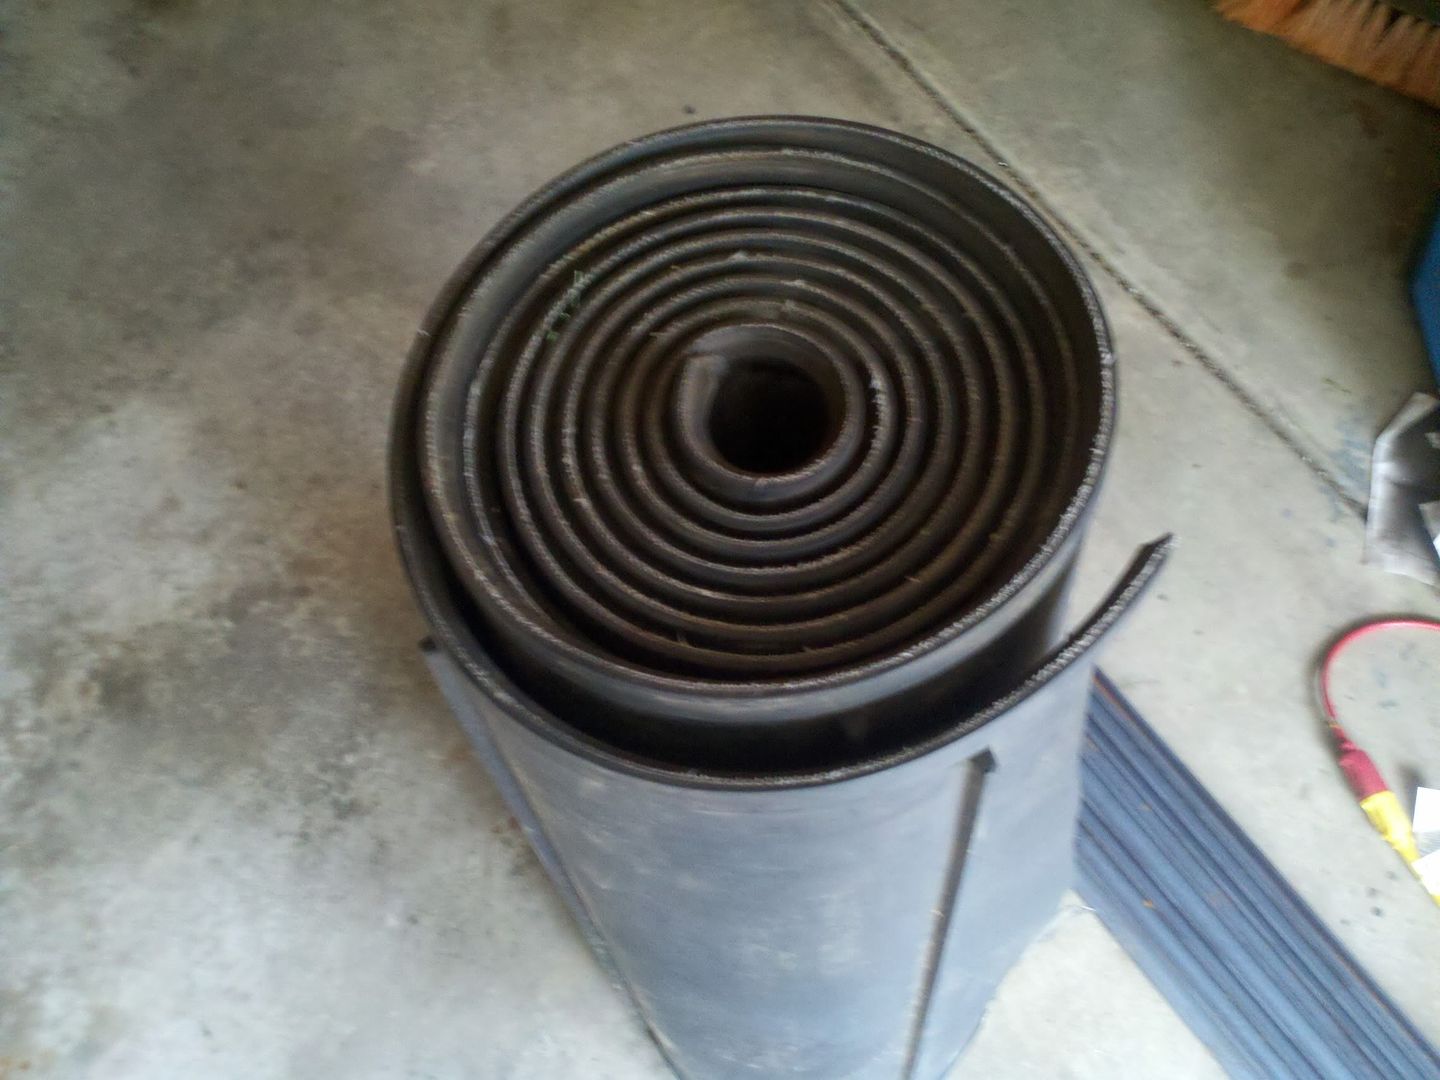
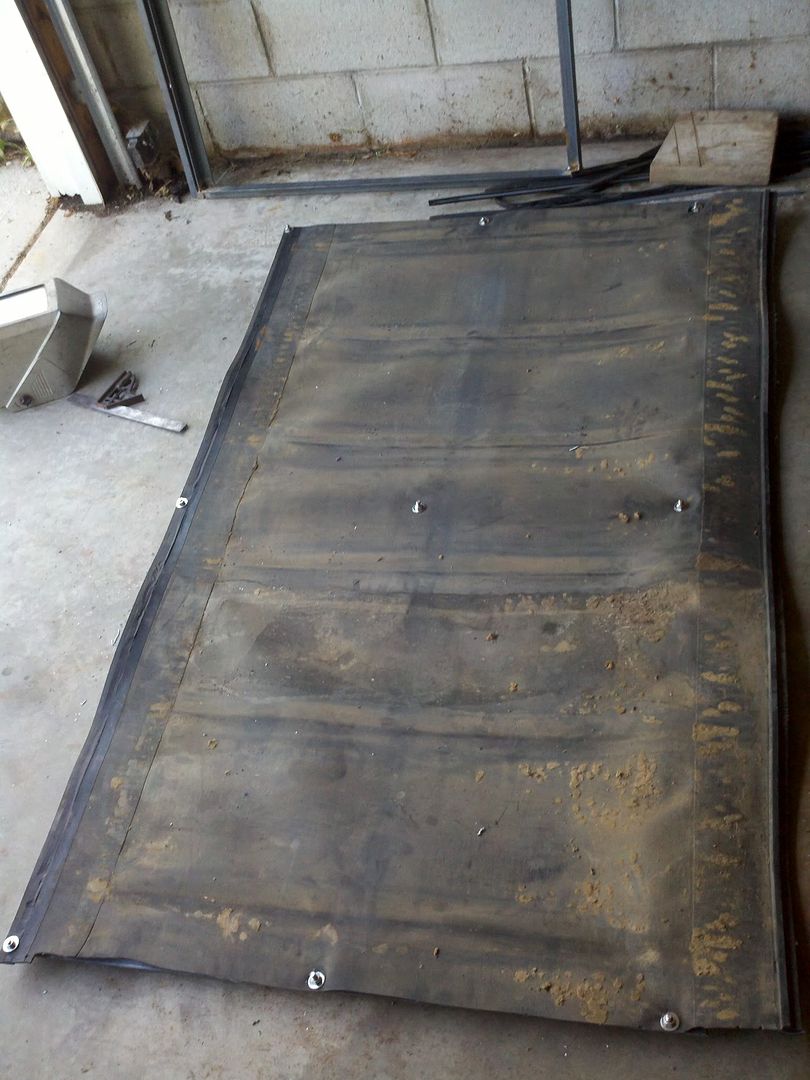
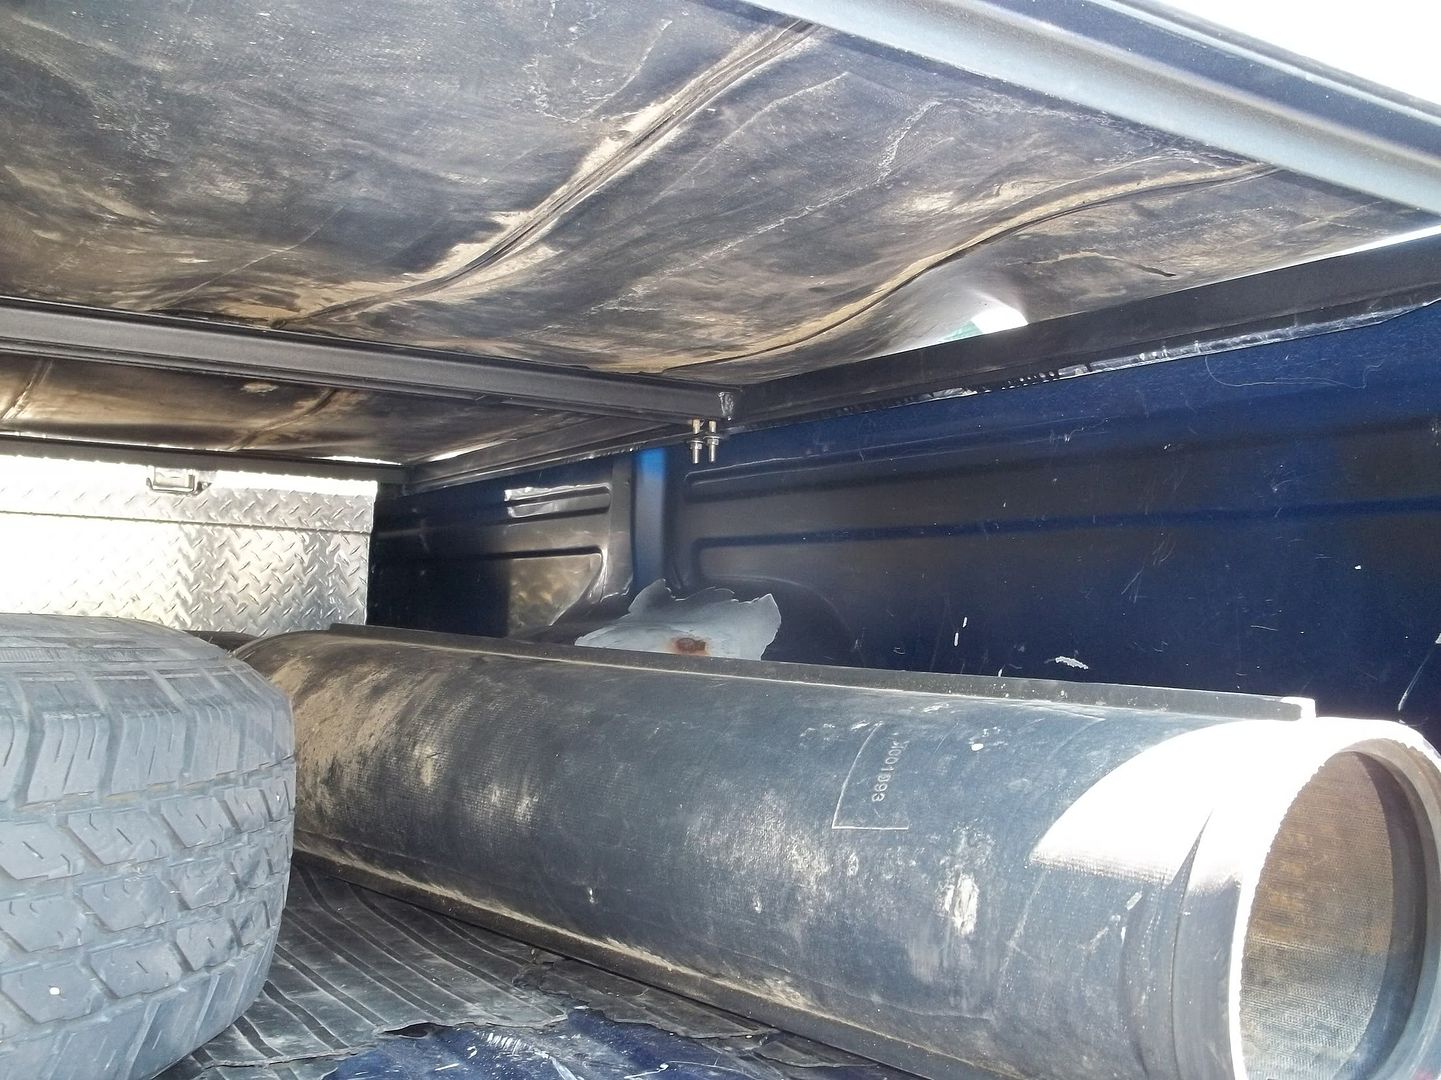
I used a draper head canvas for this project. Any of the side draper canvas from a CaseIH 2142, 2152, 2162 or MacDon D50, D60, or FD70 will work. It doesn't matter what size the head is. The shortest canvas is over 130 inches long.
You have to cut off the fiberglass rods and the V-guides, but that's pretty easy with a utility knife.
I put it on upside-down. So the side that the crop normally rides on is facing the inside of the bed.
So, if you have a dealership nearby that sells or services draper heads, see if they have any that have been removed.
You could probably use material from other brands, but I have no idea what size those are, so no clue if it would work as well.


It's not pretty, but it should work. And I am rather surprised how much water it does keep out. We had a torrential storm the week after I built this and there was a small pool at the front near the toolbox, and a few droplets scattered around the rest of the bed, but otherwise it was surprisingly dry.

__________________
'96 F250 XLT, Diesel, auto, 4x4

"Political Correctness is a doctrine, fostered by a delusional, illogical minority, and rabidly promoted by an unscrupulous mainstream media, which holds forth the proposition that it is entirely possible to pick up a turd by the clean end."
  Reply With Quote
The Following 2 Users Say Thank You to Cowboy_Dan For This Useful Post:
LUVMY02CREW (08-07-2011), slowmover (09-09-2011)
Alt Today
Popular topics

Other popular topics in this forum...

   
Old 08-07-2011, 08:01 AM   #2 (permalink)
EcoModding Apprentice
 
LUVMY02CREW's Avatar
 
Join Date: Jan 2008
Location: Mid TN
Posts: 152

TANK the fifth - '02 Chevrolet S10 Crew Cab 4x4 LS
90 day: 20.44 mpg (US)
Thanks: 4
Thanked 2 Times in 2 Posts
Thanks for posting up this project along with all the pics!!!

I definately like the way you have it hinged in the middle for easy access to either end of bed if necessary.

It didn't look like it was supported in the middle of the frame sections. I think that would be my only concern.

So I wonder how much play/vertical movement you will get with the "draper canvas" once you get to speed??? I would think too much movement with the cover material would possibly lead to a tear or rip in the future.
__________________
  Reply With Quote
Old 08-09-2011, 04:51 PM   #3 (permalink)
EcoModding Lurker
 
Cowboy_Dan's Avatar
 
Join Date: Aug 2011
Location: Frozen Wisconsin
Posts: 9

Blue By You - '96 Ford F250 XLT
Thanks: 0
Thanked 2 Times in 1 Post
Quote:
Originally Posted by LUVMY02CREW View Post
Thanks for posting up this project along with all the pics!!!

I definately like the way you have it hinged in the middle for easy access to either end of bed if necessary.

It didn't look like it was supported in the middle of the frame sections. I think that would be my only concern.

So I wonder how much play/vertical movement you will get with the "draper canvas" once you get to speed??? I would think too much movement with the cover material would possibly lead to a tear or rip in the future.
The frame is 3/16" angle iron, so it's fairly sturdy. It may not support ME, but I have no doubt it will support any snow it will see.

I've been up to about 50-55 so far, just haven't had a chance to get on the interstate to see how it will do.
The belting is pretty sturdy stuff. In it's original application, the crop is laying on it to be carried to the center of the head where it gets fed into the combine on another belt. And some crops are surprisingly heavy, but the draper belting seems to hold up fine. There have even been people in traditionally non-corn growing areas use a draper head to harvest the corn as an experiment. And corn is HEAVY. For that matter, rice is too, but it's biggest problem is being so abrasive.

Here's a draper head:
At about 50 seconds you can see the side drapers running, where they would be bringing material into the center.
__________________
'96 F250 XLT, Diesel, auto, 4x4

"Political Correctness is a doctrine, fostered by a delusional, illogical minority, and rabidly promoted by an unscrupulous mainstream media, which holds forth the proposition that it is entirely possible to pick up a turd by the clean end."
  Reply With Quote
Old 09-08-2011, 07:28 PM   #4 (permalink)
EcoModding Lurker
 
Cowboy_Dan's Avatar
 
Join Date: Aug 2011
Location: Frozen Wisconsin
Posts: 9

Blue By You - '96 Ford F250 XLT
Thanks: 0
Thanked 2 Times in 1 Post
Finally got my latching idea ironed out. It works pretty good, and it's cheap. Not as user-friendly as I originally wanted, but at $20/ea for a t-handle, I figured this way would work juuuust fine.

Weld a nut onto the top rail of the cover. I used 1/4" nuts, and 3/16" rods.


View from other side. You have to make sure the nut is close enough to the inside edge of the rail so that the latching rod can slide over far enough for the hook to clear the bed rail. you'll see what I mean in a moment.


Here's the completely bent & welded latching rod.


Here it is installed, but not bent into locking position. I made all 4 latching rods sit like this so it pre-loads the latch and keeps it from vibrating as much since it's not actually bolted down.


Super hi tech bending apparatus.


I've noticed there is a lot of noise from the bed when going over bumps, so I added some camper tape all the way around on the front & rear panels. I didn't unbolt the center section, so there is no tape there.


Here it is all locked down:


The locking pins:


And, bedliner coating on the rod.


I thought it turned out pretty well.


Design notes:
- Make sure the hook will clear the bottom of the bed rail. This criteria is mainly influenced by the depth of the hook, and the distance between the pivot, and the vertical portion of the hook. Keeping this distance short and the other end (handle) long, also increases the amount of 'spring' you can get out of the rod to really clamp the lid down to the bed.
- Make sure all your bends are wide enough to be able to thread the rod through the welded nut. I found it bad it nicer to drill out the threads from the nuts.
- Don't leave too much room between the ID of the nuts, and the OD of the rod. This gap allows the cover to rattle and bounce on the bed rails. 1/4" nuts with the threads drilled out, and 3/16" rods worked really well.
__________________
'96 F250 XLT, Diesel, auto, 4x4

"Political Correctness is a doctrine, fostered by a delusional, illogical minority, and rabidly promoted by an unscrupulous mainstream media, which holds forth the proposition that it is entirely possible to pick up a turd by the clean end."
  Reply With Quote
Old 09-09-2011, 01:49 PM   #5 (permalink)
Banned
 
Join Date: Oct 2009
Location: Fort Worth, Texas
Posts: 2,442

2004 CTD - '04 DODGE RAM 2500 SLT
Team Cummins
90 day: 19.36 mpg (US)
Thanks: 1,422
Thanked 737 Times in 557 Posts
Sure like the DIY!! And that rain was kept out. Any idea of mpg help given?

  Reply With Quote
Reply  Post New Thread


Thread Tools


Powered by vBulletin® Version 3.8.11
Copyright ©2000 - 2024, vBulletin Solutions Inc.
Content Relevant URLs by vBSEO 3.5.2
All content copyright EcoModder.com