 06-27-2009, 10:38 PM
|
#1841 (permalink)
|
|
EcoModding Lurker
Join Date: Feb 2009
Location: MO
Posts: 37
Thanks: 0
Thanked 3 Times in 2 Posts
|
Quote:
Originally Posted by MPaulHolmes

Now, solder everything into place. Oops, I mean solder my finger. It smelled sort of good, like roast chicken.
|
Paul, next time you try it, make sure your finger is clean and liberally apply flux. It appears that you didn't get any of the solder to fuse to your finger this time. If that doesn't work, maybe you should use your chemical process and tin your finger first?
Did you hear the sizzling sound or were you too busy saying bad words that you didn't want your son to hear?
We need to make sure we write this up into the assembly procedure.
"Step 666: Solder finger and enjoy the chicken-y smell."
More seriously... Thanks for taking yet another one for the team. Wear that burn mark like a badge of honor.
Perhaps you can put wet paint on your finger and press your burned fingerprint on the case with the the paint. It could be like Picasso signing his artwork.
Last edited by slurryguy; 06-27-2009 at 10:58 PM..
|
|
|

|
 Today Today
|
|
|
|
 Other popular topics in this forum...
|
|
|
|
 06-27-2009, 11:53 PM
|
#1842 (permalink)
|
|
EcoModding Apprentice
Join Date: May 2009
Location: Orrville, Ohio
Posts: 108
Thanks: 9
Thanked 2 Times in 2 Posts
|
 chicken fingers
Shoo, that looked like that hurt! I have done the same thing, and when the chicken thing happens, I take a break and the wife and I go to KFC.  Stay safe, and take care. Watt  |
|
|

|
 06-28-2009, 03:37 AM
|
#1843 (permalink)
|
|
MAD Modder
Join Date: May 2008
Location: NorCal
Posts: 70
Thanks: 0
Thanked 3 Times in 3 Posts
|
Nice, I did that to myself yesterday, but with a match I was lighting (to heat up a backhoe so I could get some new bearings in it.)
Buut, Did you put aloe vera on it? I keep some growing so it is always fresh for a burn.
A little burn like that on the finger will go away after 4-5 applications and a couple days.
Looking great!   |
|
|

|
 06-28-2009, 10:11 AM
|
#1844 (permalink)
|
|
EcoModding Lurker
Join Date: Jun 2009
Location: Sarajevo, Bosnia
Posts: 3
Thanks: 0
Thanked 0 Times in 0 Posts
|
hi to all
heave been reading for last 6 days whole thread and my head hurts right now.
I'm waiting for my atmels so I can start messing with them before I make controller.
I will keep an eye on this thread.
Paul ... just to say great work, I admire Yours persistence and will to make this work. 
Goran
__________________
artificial intelligence is no match for natural stupidity
|
|
|

|
 06-28-2009, 12:15 PM
|
#1845 (permalink)
|
|
EcoModding Lurker
Join Date: Jul 2008
Location: ontario
Posts: 13
Thanks: 0
Thanked 1 Time in 1 Post
|
 scar to prove it
congrats to you Paul all the crew that brought this about,you have all worked together and deserve a long hard handshake,BRAVO!
|
|
|

|
 06-28-2009, 12:27 PM
|
#1846 (permalink)
|
|
EcoModding Lurker
Join Date: May 2009
Location: Livonia, Michigan
Posts: 3
Thanks: 0
Thanked 1 Time in 1 Post
|
Soldering the buss bars sounds like a royal pain.
Have we thought about using a copper crush washer between the bar and the board instead? The kind that you use for a brake caliper banjo bolt.
Seems like that would create a nice contact point utilizing the force of the bolts.
Just a thought...
Rick
|
|
|

|
|
The Following User Says Thank You to rsandberg For This Useful Post:
|
|
 06-28-2009, 01:42 PM
|
#1847 (permalink)
|
|
PaulH
Join Date: Feb 2008
Location: Maricopa, AZ (sort of. Actually outside of town)
Posts: 3,832
Thanks: 1,362
Thanked 1,202 Times in 765 Posts
|
That you, you guys for the kind works! My burn is already healed! The soldering iron was so hot, that it just vaporised the top callous layer, so now it makes an indent, but still has normal skin (no fingerprint though).
Hey Rick! I think that would make an excellent contact around the bolt, but the only problem is getting excellent contact along the whole bar. What seems to work the best for me is using electrically conductive silver epoxy resin on the bottom of each bus bar. it fills in all the air gaps, and even acts like a pretty strong electrically conductive glue. I get like 99% contact. The only problem is it is sort of expensive for a little container of it. The nice thing is, that little container is good for like 15 controllers, so it works out to costing maybe $2-$3 per controller, but it's not good for someone wanting to put their own controller together, if they had to buy a whole container of it just for 1 controller. Maybe they sell little baby syringes that could be filled with the stuff and included in a kit so people would only have to pay a few dollars instead of like $35 or something for extra that they wouldn't use?
|
|
|

|
 06-28-2009, 03:49 PM
|
#1848 (permalink)
|
|
EcoModding Apprentice
Join Date: May 2009
Location: Orrville, Ohio
Posts: 108
Thanks: 9
Thanked 2 Times in 2 Posts
|
Hello, Paul. Was reading along, and wanted to ask if there are any welding supply stores close to where you are? We have one right up the road,and they have paste solder, and all sorts of epoxy. I bought my 2/0 cable and my hammer lug crimper there. (11.95 on sale!)  :. Maybe you could buy the paste cheaper. Good to hear the finger is ok. Have a good one! Watt.  |
|
|

|
 06-29-2009, 03:27 AM
|
#1849 (permalink)
|
|
PaulH
Join Date: Feb 2008
Location: Maricopa, AZ (sort of. Actually outside of town)
Posts: 3,832
Thanks: 1,362
Thanked 1,202 Times in 765 Posts
|
I'll check a welding supply store! Thank you! There's one right down the street from me.
Ben working on Ben's controller. 47 new pictures. hehe. I also added the wires to Joe's. Now, I think Joe's just needs the software added. I'll need a few days to re-immerse myself into the code to know what the heck is going on. Then I'll start PI loop tuning again to get the throttle just right for Ben and Joe, now that I finally have a control section in my hot little mittens that's not a piece of junk!
Look, a bird went number 2 (and the dookie is levitating it appears)! No! That's silver conductive epoxy!
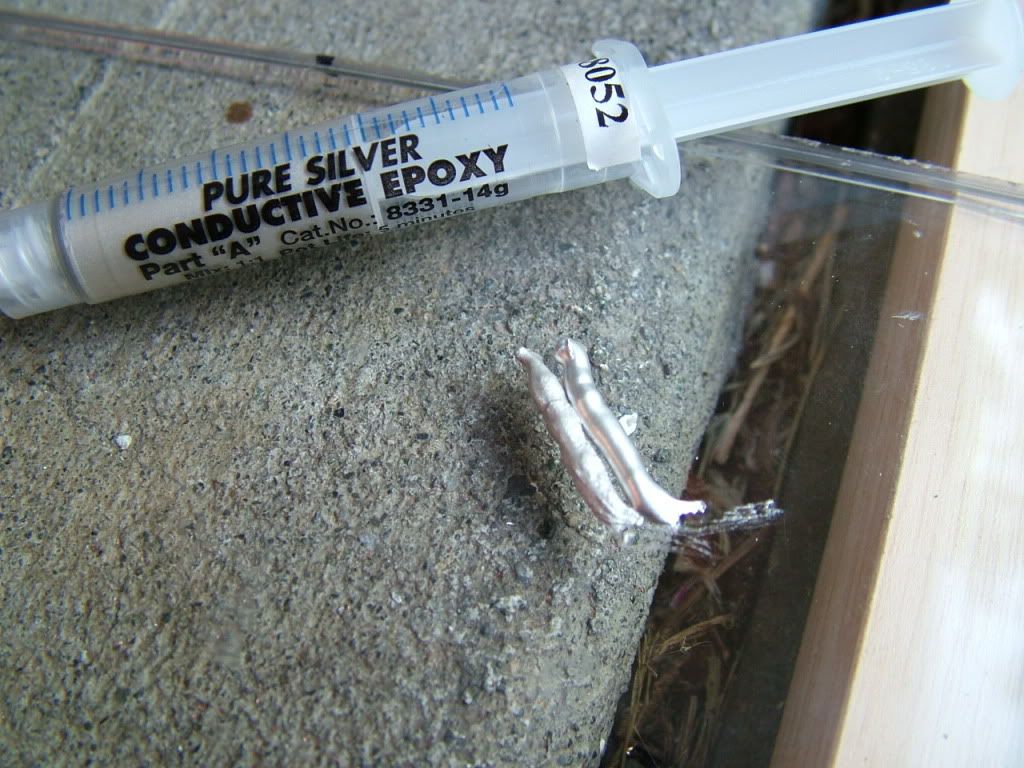
S.C.E. engaged!
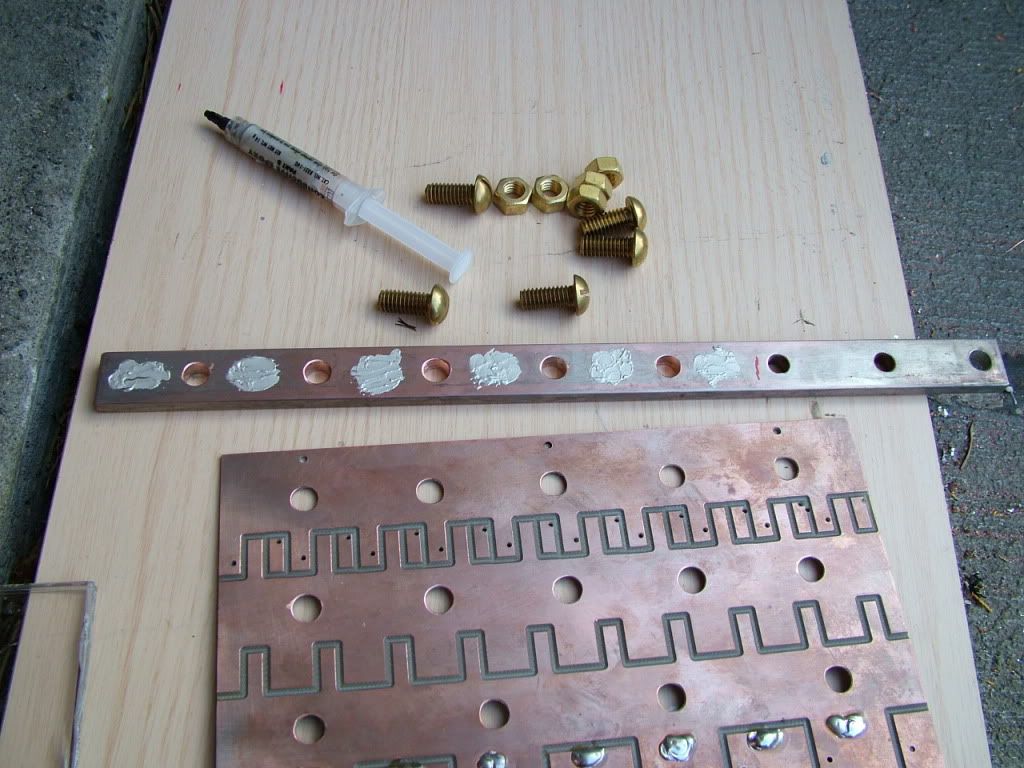
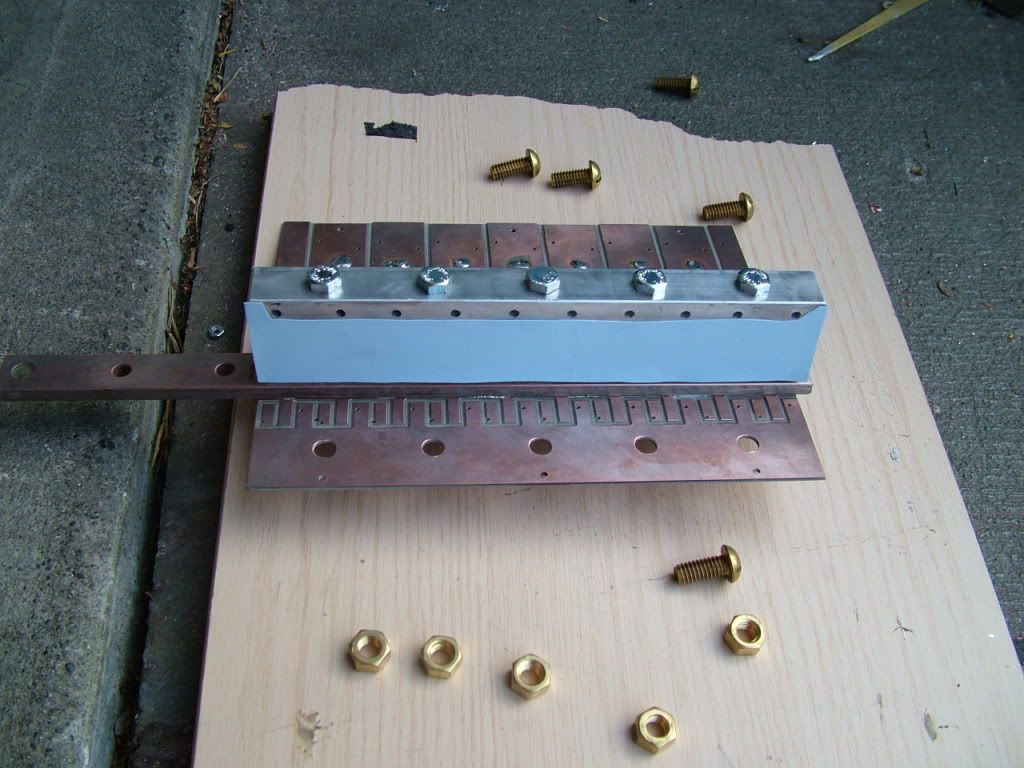
Look at that friggen fancy bend.
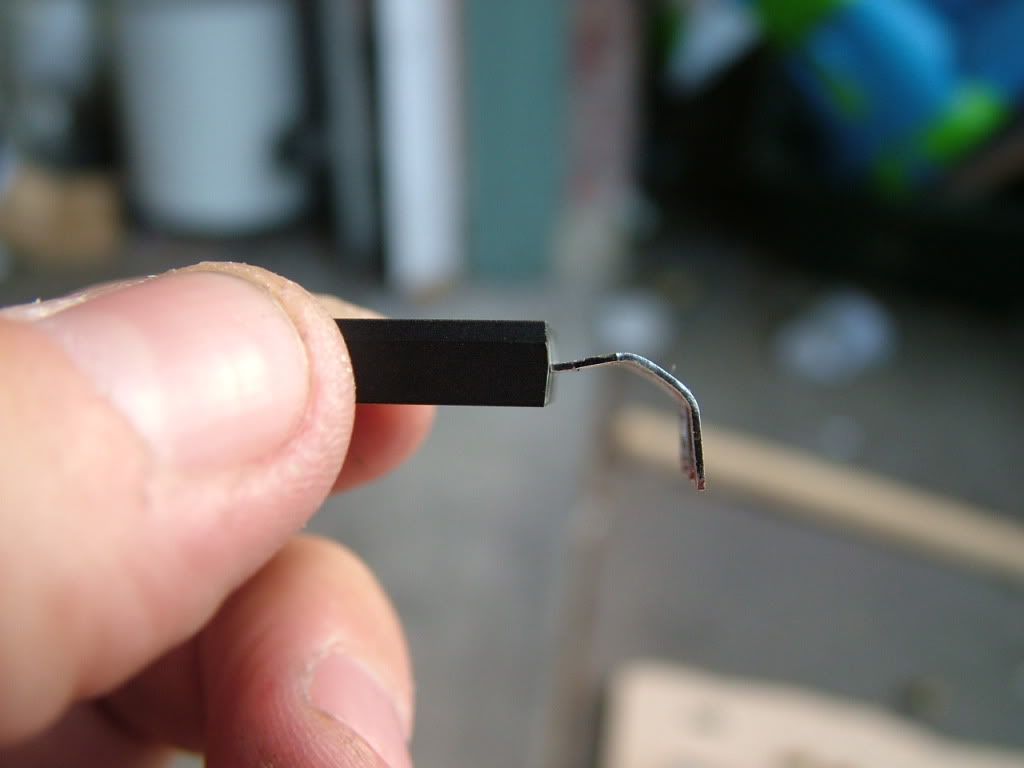
Ya, that's super fun bending those stupid leads.
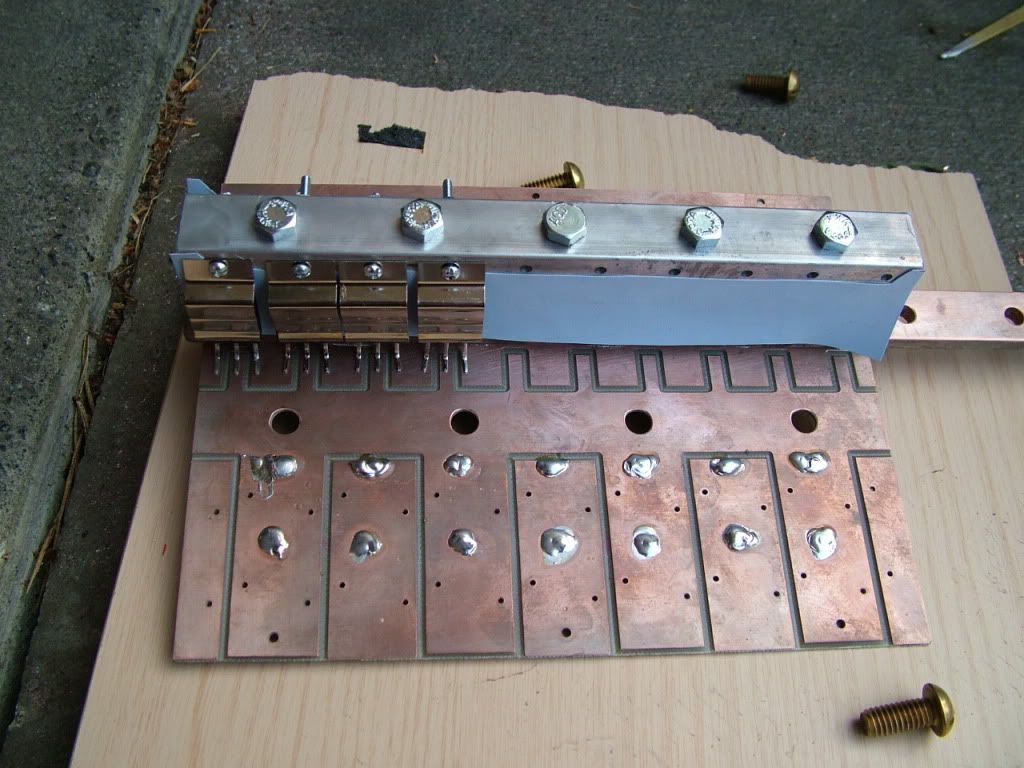
Holy cow that's fancy! You can't teach that. It's instinct!
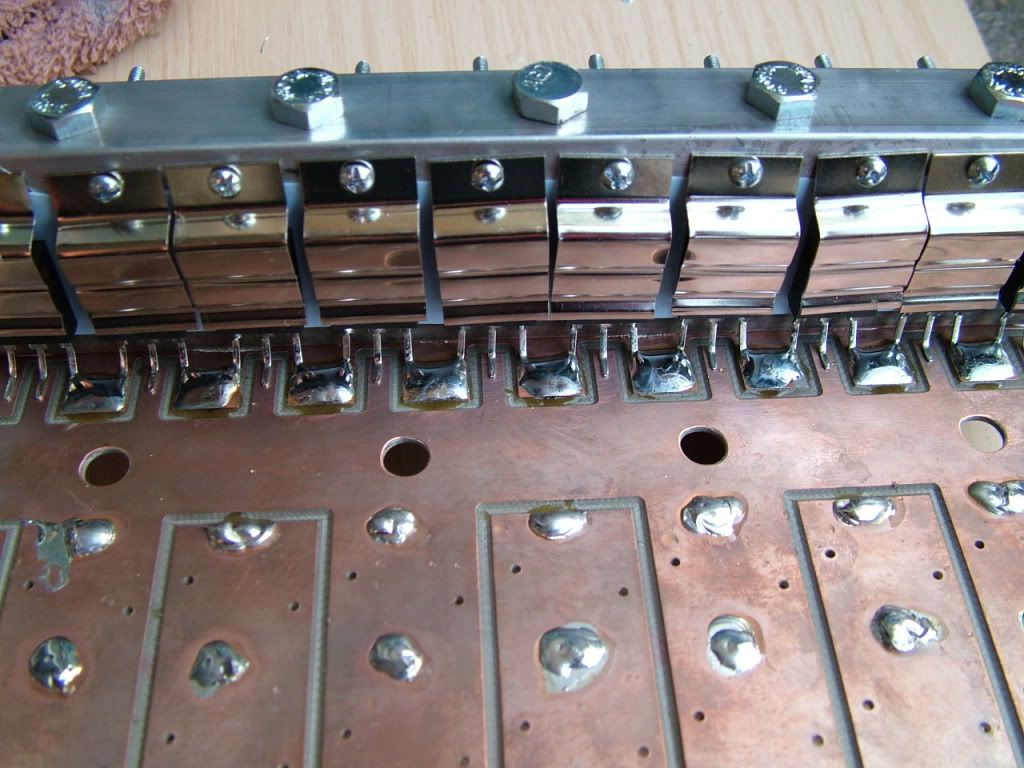
Diode Soldering acknowledged!
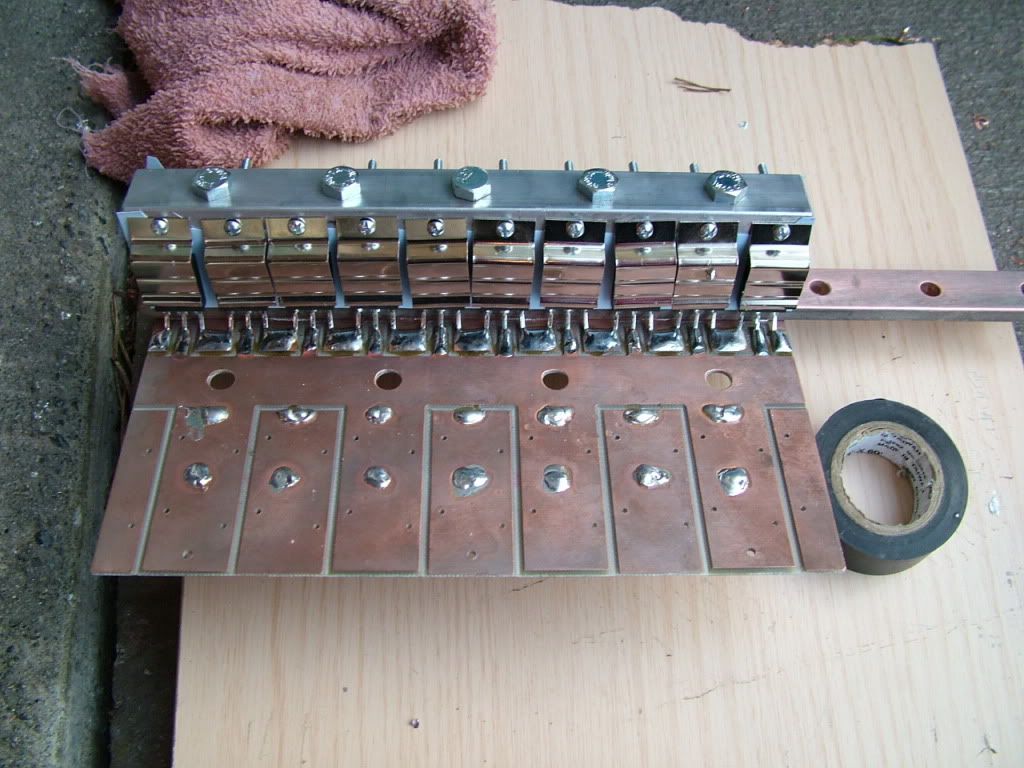
Last edited by MPaulHolmes; 06-29-2009 at 03:32 AM..
|
|
|

|
 06-29-2009, 06:37 AM
|
#1850 (permalink)
|
|
EcoModding Lurker
Join Date: Mar 2009
Location: Victoria Australia
Posts: 30
Thanks: 0
Thanked 4 Times in 2 Posts
|
Hi Guys
Have been away for a week due to Grandparents duties for school holidays, I have not read the last weeks pages yet so I hope I am not doubling up on someone elses work. I have done a update on the parts list based on the 2C schematic, the Mouser prices are in AU$ and I could not get part No or price for "C25" also could not find a source or price for "U5A,U5B,U5C,U5D". If someone would like to check this and put it on the WIKI that would be great, I am a complete novice but would like to help in any way I can.
Is there any more uptodate than the 2C revision? it seems that you Techs are coming up with modifications all the time.
|
|
|

|
|