Update 11/5/2014: EcoSafety Sign; Part 2
Hello all. The fabrication is now done on the EcoSafety sign. I need to go back and do some touch-up paint work around the outline of the arrows. Unfortunately, despite my efforts to aid with an Exacto knife, the tape lines did not release with precision due to the elasticity of Plasti-Dip paint.
Here’s some progress pics:
In primer:
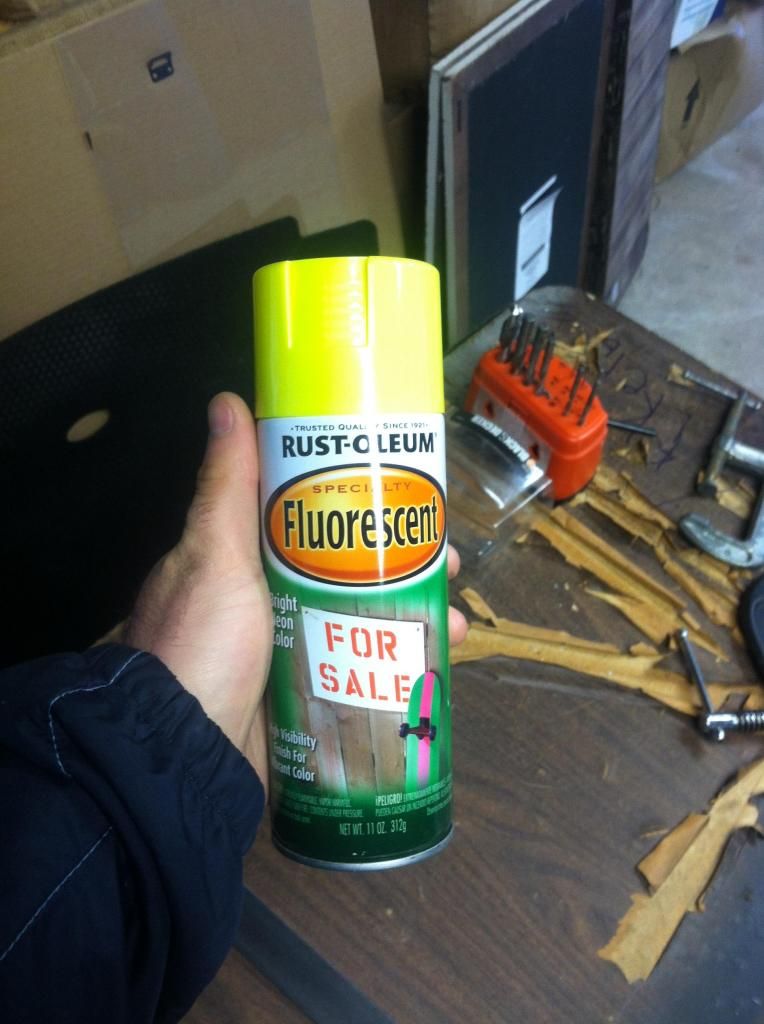
I used the same primer that I used to paint the MPGuino button board on my dash. Here’s a couple of pics of the can, in case anyone is looking for a paint with a close match to the OEM 92-95 Civic dash trim color. I bought it at Lowes for a bit under $4.
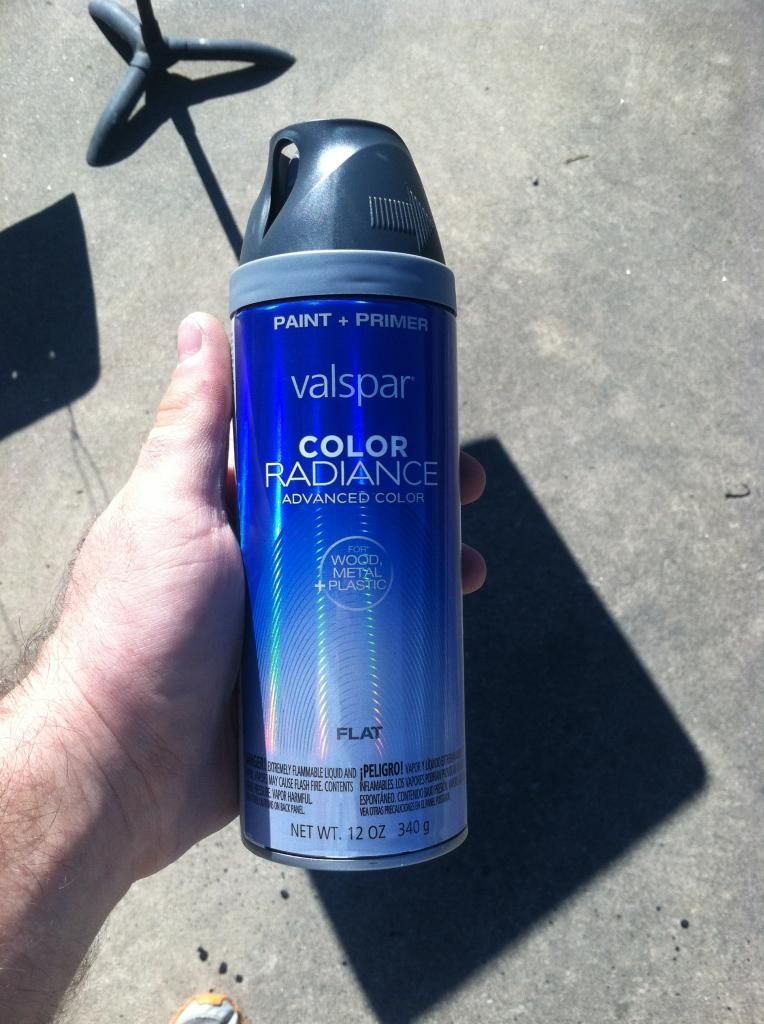
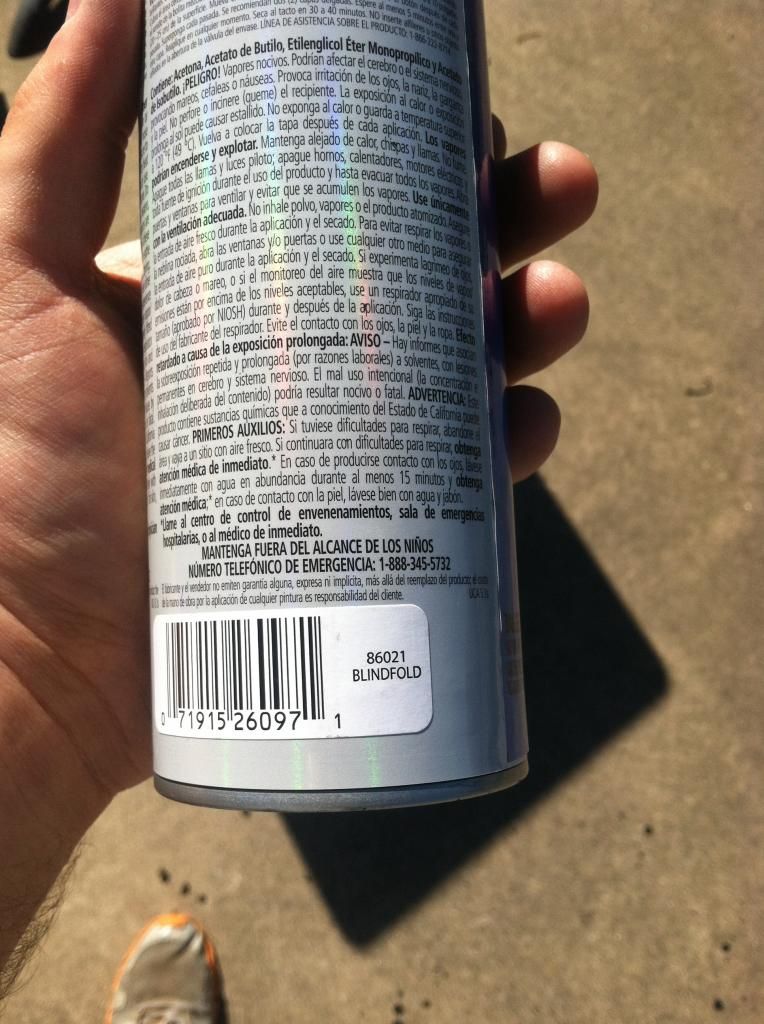
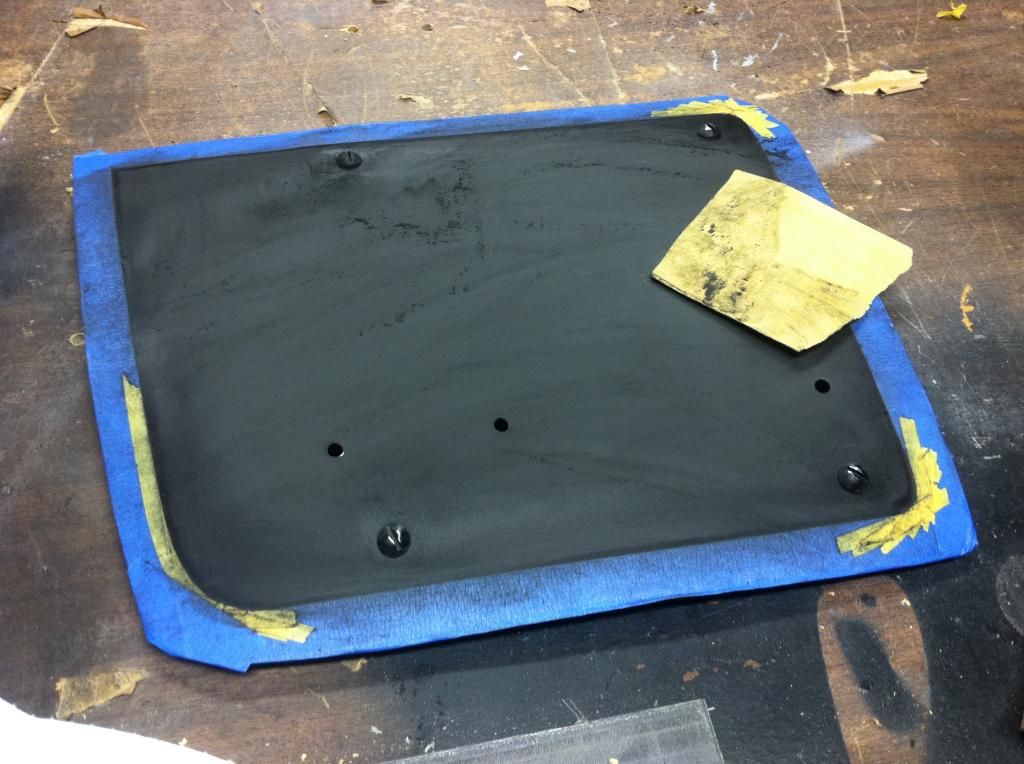
I then sanded the primed panel to remove orange-peel:
Next, I sprayed on a layer of white basecoat, to help a few coats of this stuff to really pop out:
A few layers of clear-coat was sprayed on top to seal everything in.
All dried and test fitting:
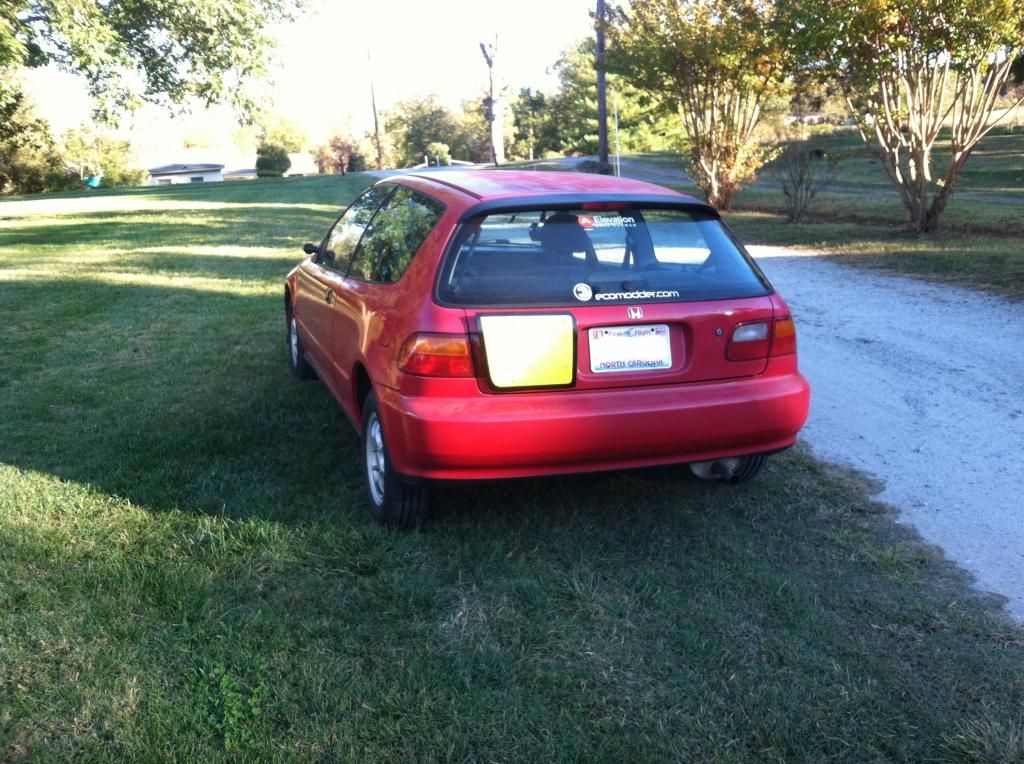
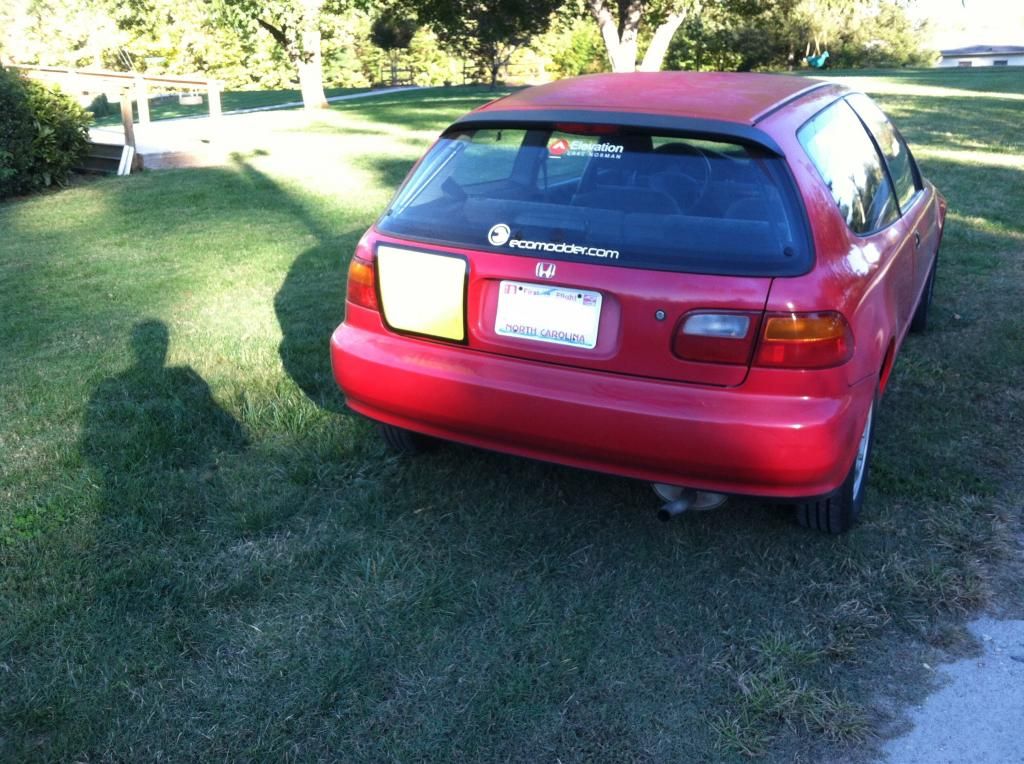
Decals applied. I sourced these vinyl die-cut letters at Lowes, in the mailbox/sign section; circa 50 cents per letter; a plus sign was not available so an "I" was cut up into pieces and those pieces were used to create a "+" shape. While I didn't take pictures of it, I temporarily placed some thin striping tape from my old model cars kit on the bottom and top of the space allotted for the letters. I used these tape lines as guide marks to help me place the decals as even/straight as possible.
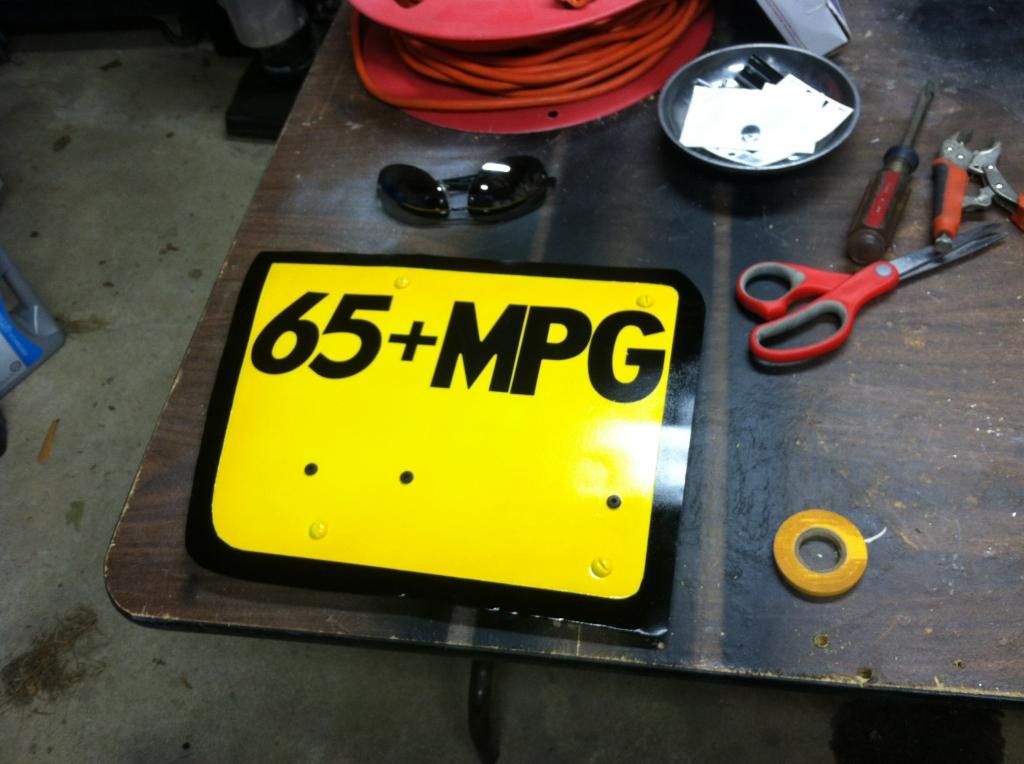
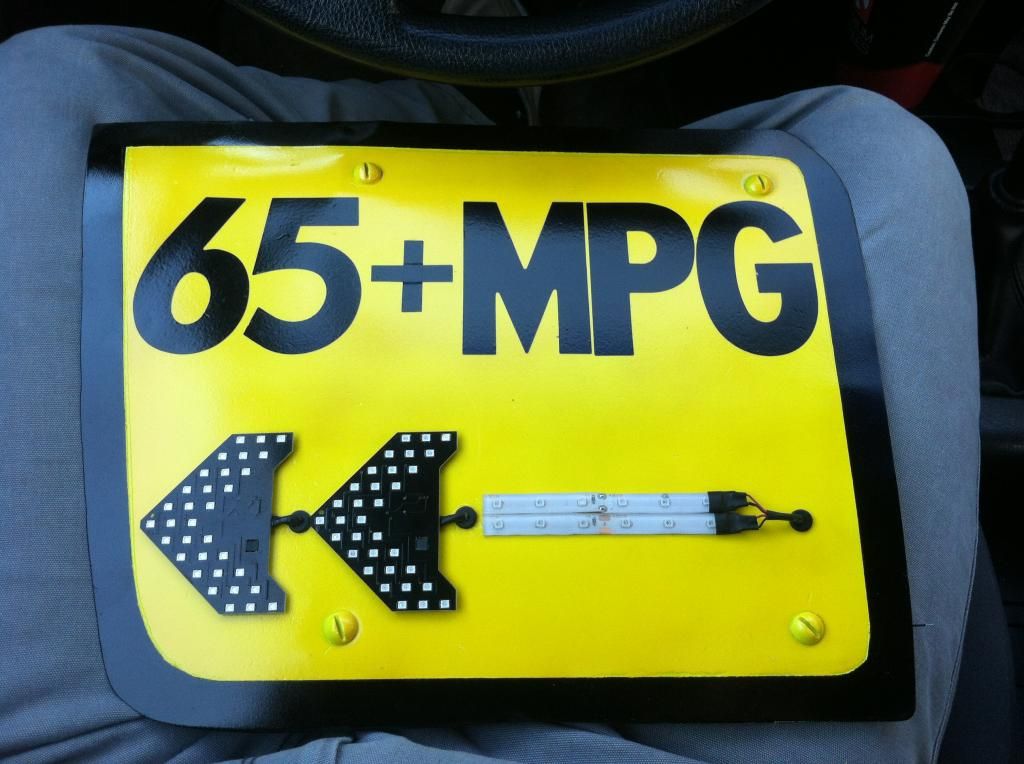
I then drilled holes for the wiring, set rubber grommets in their place, and taped the arrows onto the panel:
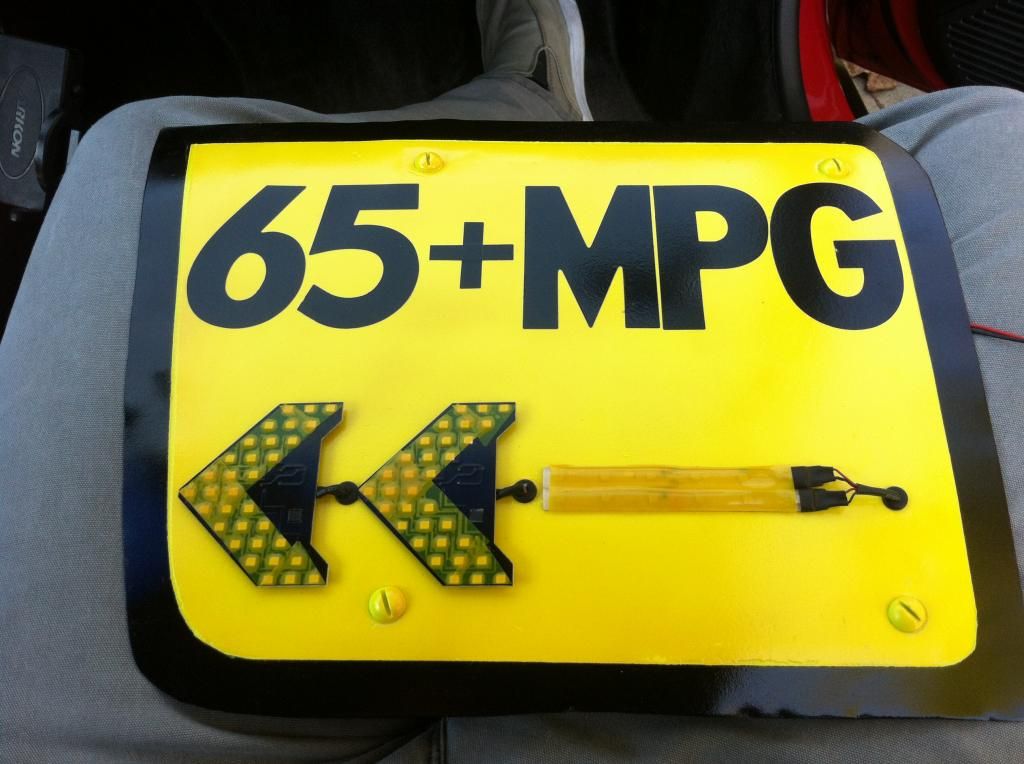
3M amber tape was applied as an overlay (mainly for aesthetic purposes):
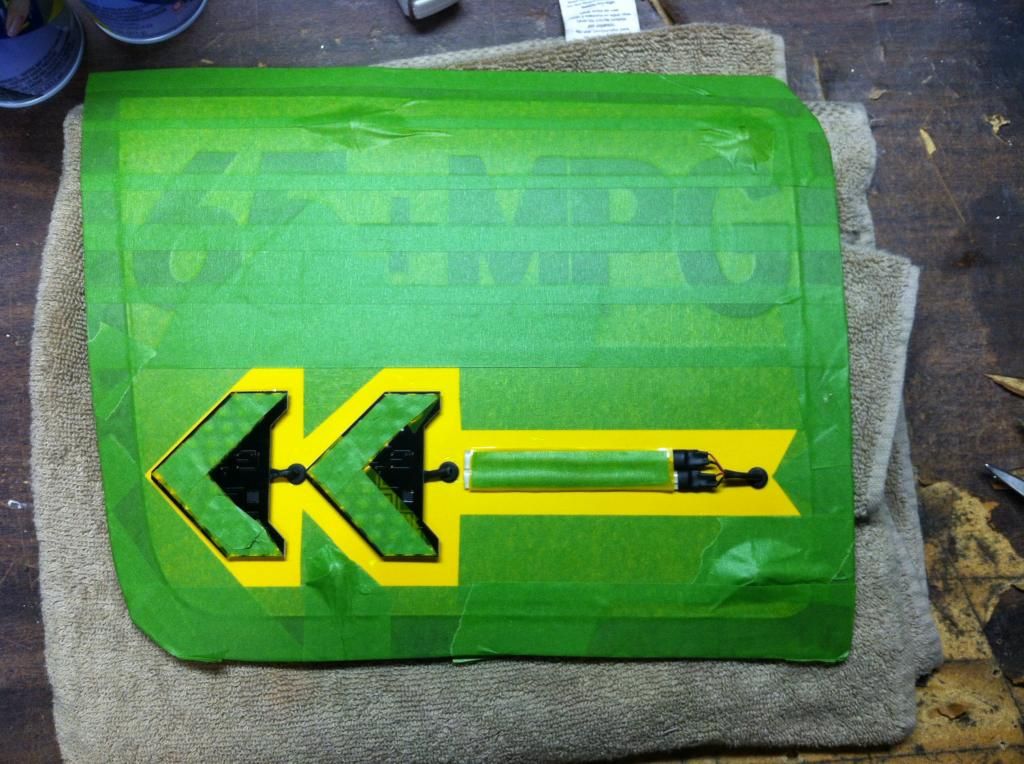
Next, I masked off a shape for the arrow:
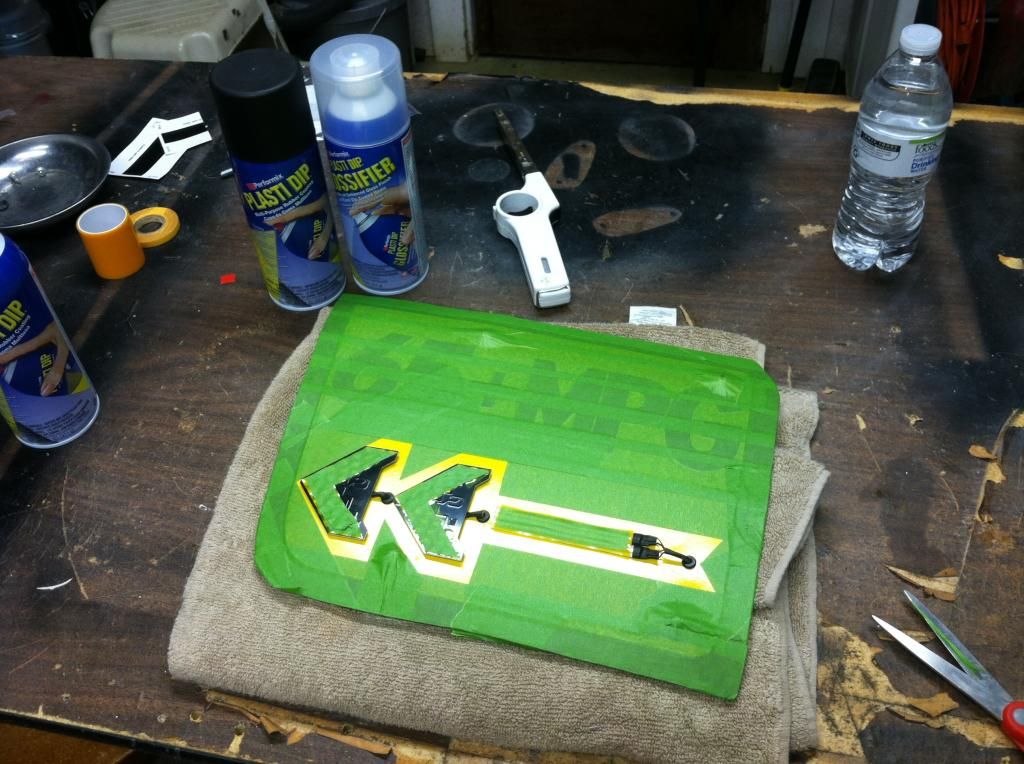
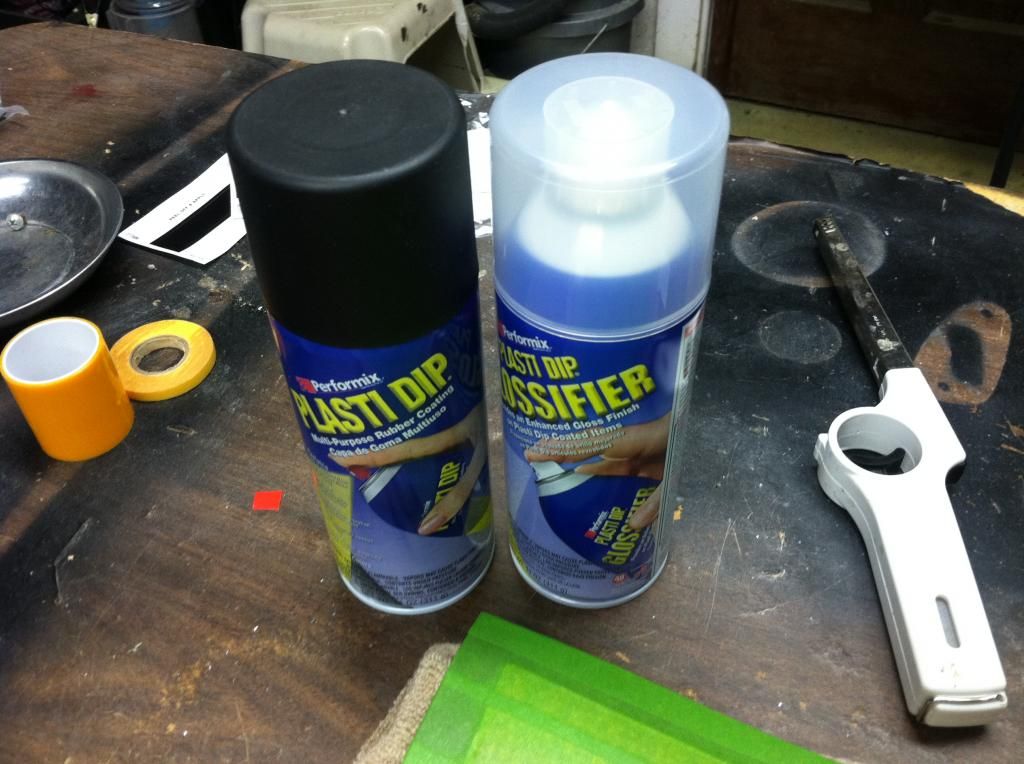
3 Coats of Plasti-Dip black and 2 Coats of Glossifier were then applied (for aesthetic purposes, but also to protect the electrical circuits/wiring):
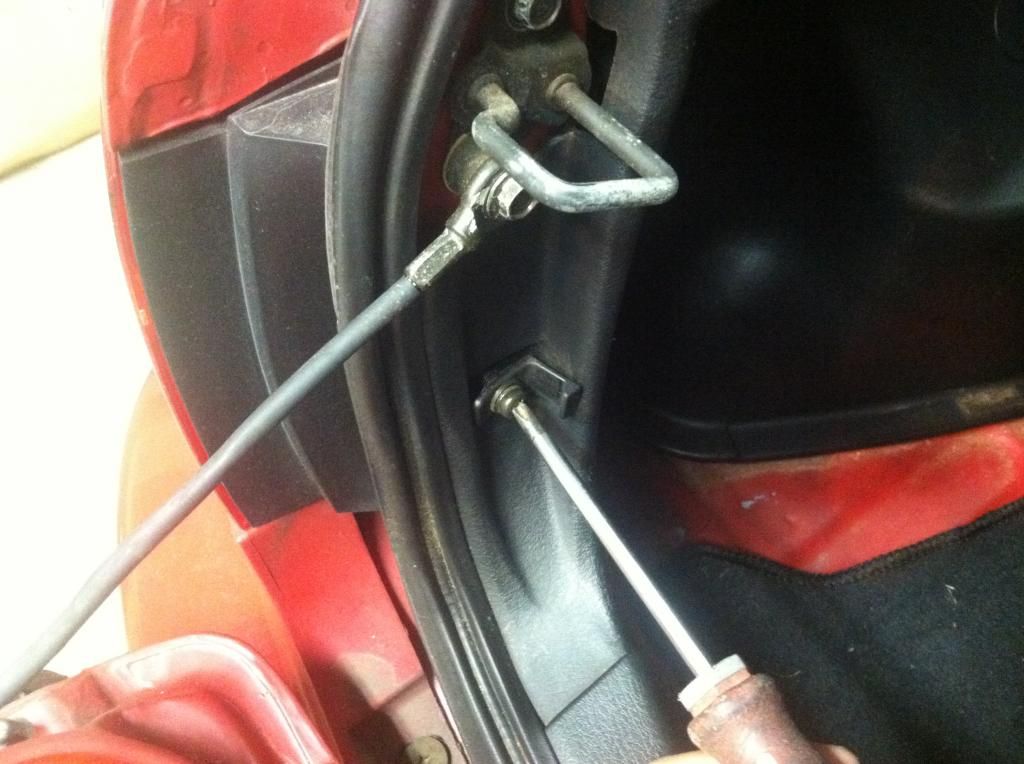
Next, I set to create an anchor for the sign, in case a strong gust of wind ever caught a corner and wanted to force it off of the car. I choose a bolt just inside the tailgate to bolt the anchor up to:
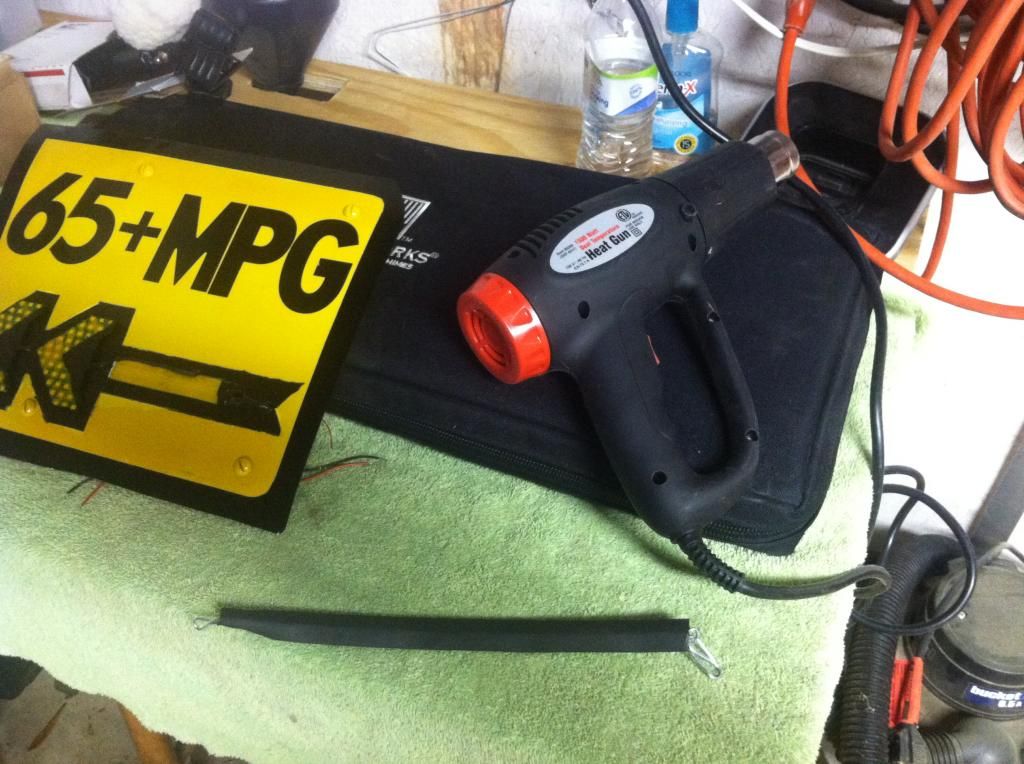
I then cut some thin chain to length and sleeved it with heat shrink. I used a heat gun to shrink everything into place. Hooks were crimped to both ends. One end was bolted to the hatch at the aforementioned location. The other end was looped and crimped into a hole drilled on the top magnetic bracket of the sign.
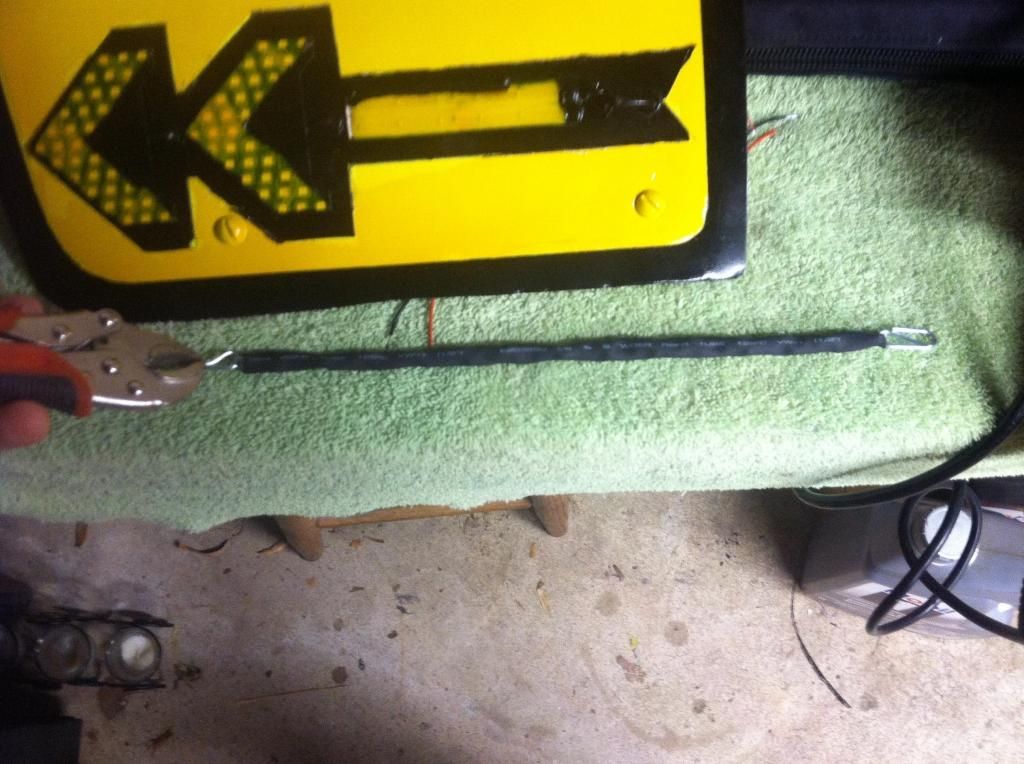
Everything all buttoned up and ready to ride:
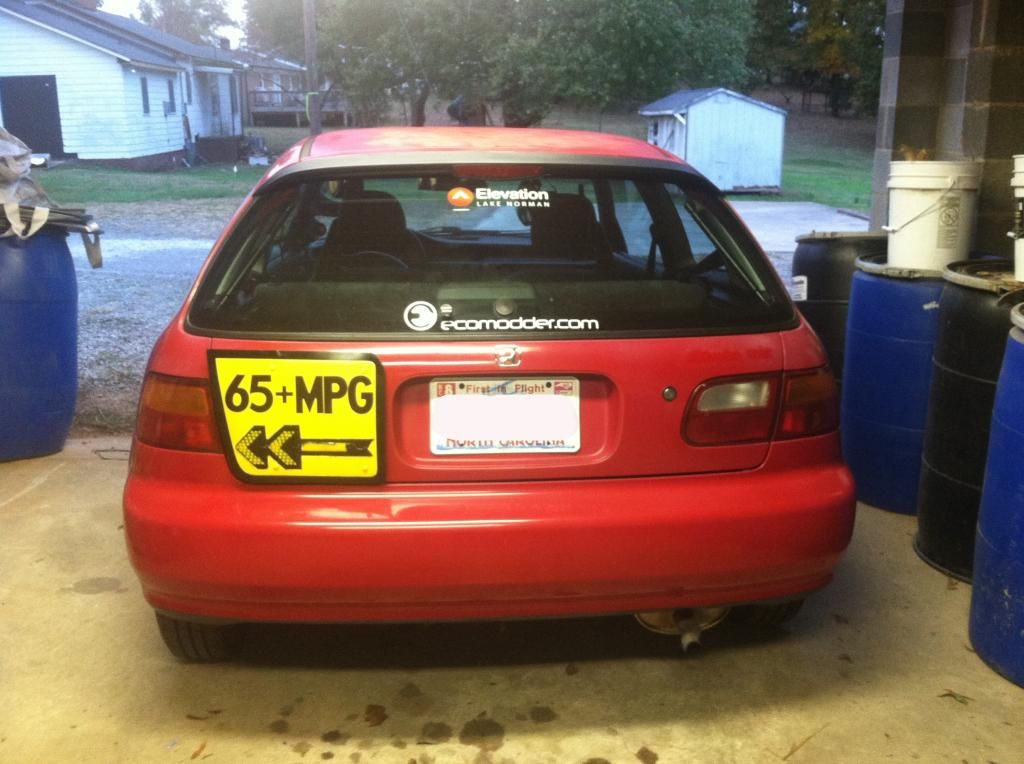
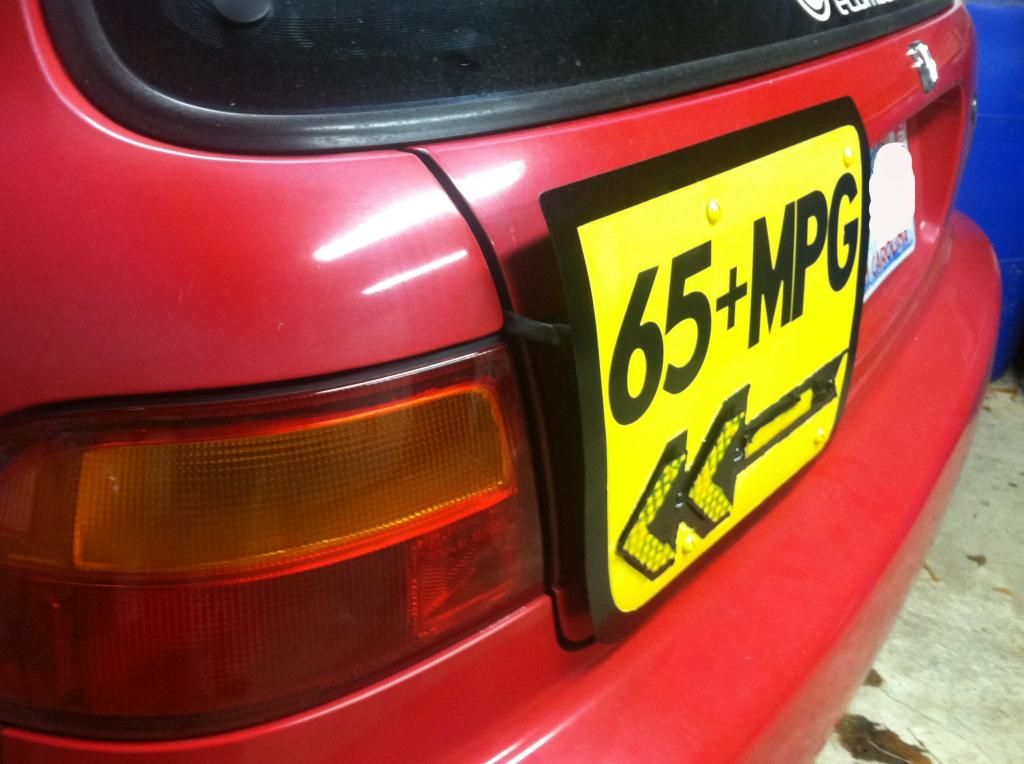
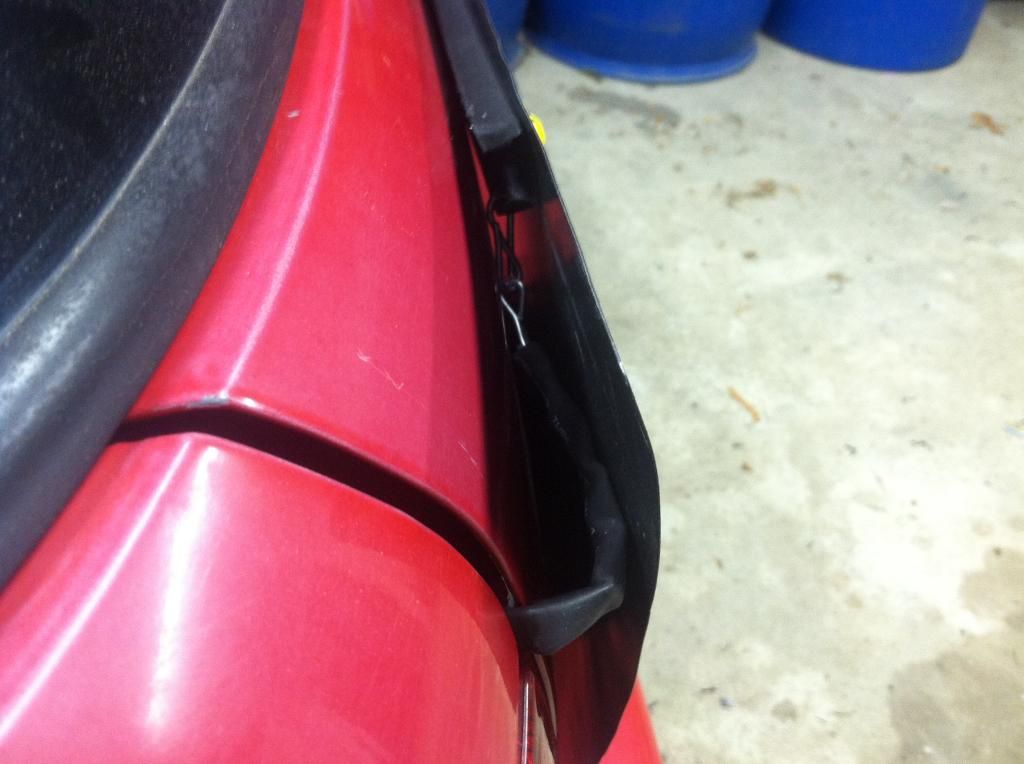
Today’s maiden voyage went great. So far, the sign appears to be well received, other than a few of my colleagues laughing at me in the office.

I did find one thing rather odd. I suspected people would just blast right by me when they saw the sign. However, many just stayed behind me and rode along. Not tailgating me, but keeping a healthy/respectful distance. It was like…the sign was giving me more respect. No one was mad at all. No honks, nothing like that. Appears the signing is making life safer. I felt a bit like Forrest Gump, leading the runners cross-nation. People just jumped right in

So far, the
EcoSafety sign appears to be living up to it’s name. As always, I'll continue to keep you updated. Wiring work will be next on the list to (finally) finish this part of the project.
Thanks for
EcoTuning in.