 02-27-2015, 12:57 PM
|
#1 (permalink)
|
|
EcoModding Apprentice
Join Date: Feb 2015
Location: Sacramento
Posts: 202
Thanks: 3
Thanked 225 Times in 91 Posts
|
Third Conversion, ultra efficient (1993 Geo Metro EV)
After doing a few conversions and doing a lot of research and developement, I came up with some good ideas to build something that is more efficient. This 1993 Metro was selected for its already light curb weight, and the basic theme of the car is to build it with lightweight materials. As most members of this forum are already aware, the biggest factors in efficiency are weight and the rolling resistance associated with it, and aerodynamic drag. The other huge thing that effects a cars efficiency is heat. When you pop the hood of a car and get blasted by a wave of heat, those are dollars and cents that go up into the air. The heat that goes out the exhaust pipe is a huge waste as well. Heat is waste, so this car will be equipped with an HPEVS AC35 and Curtis 1238 7601 controller.
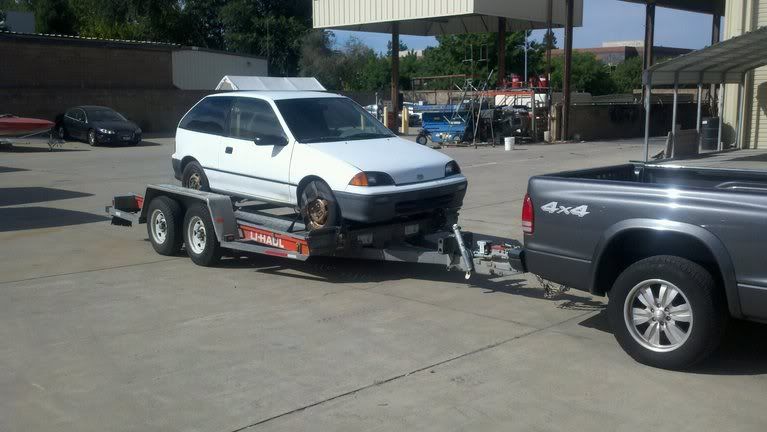
Here is the Metro. Old, worn out, rod knock, and cheap.
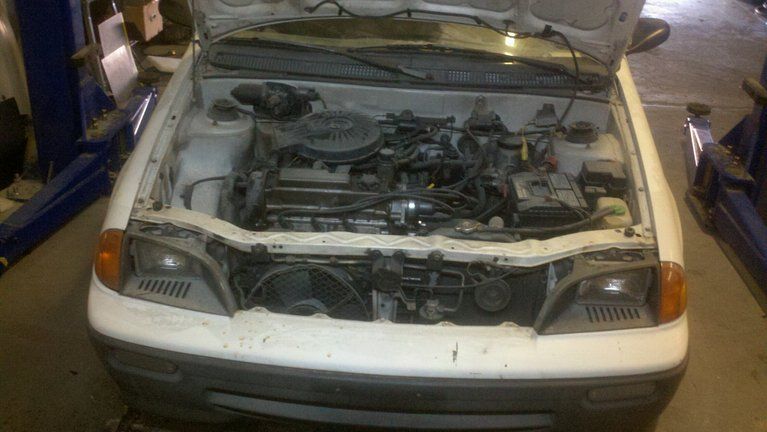
First order of business is to get rid of that fuel hog 3 cylinder engine, and all the related stuff that runs it.
And then fit up the motor and factory 5 speed transmission
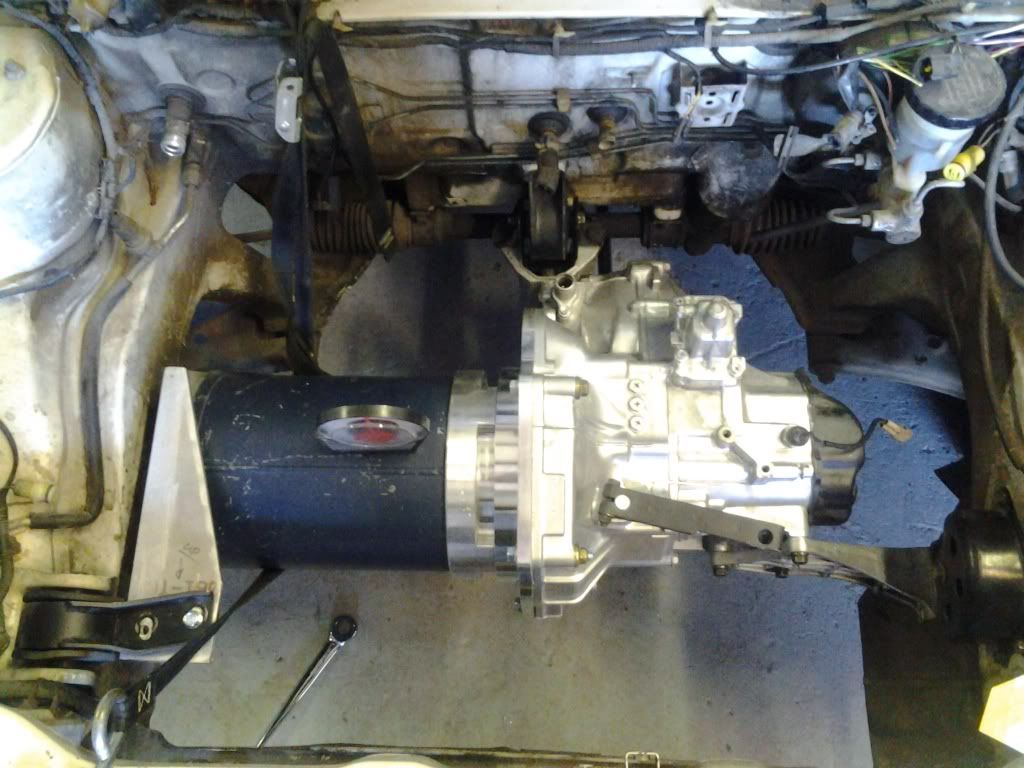
The two mounts on the transmission are the stock mounts, and the bracket on the end of the motor was fabricated to use the factory mount on the passenger frame rail.
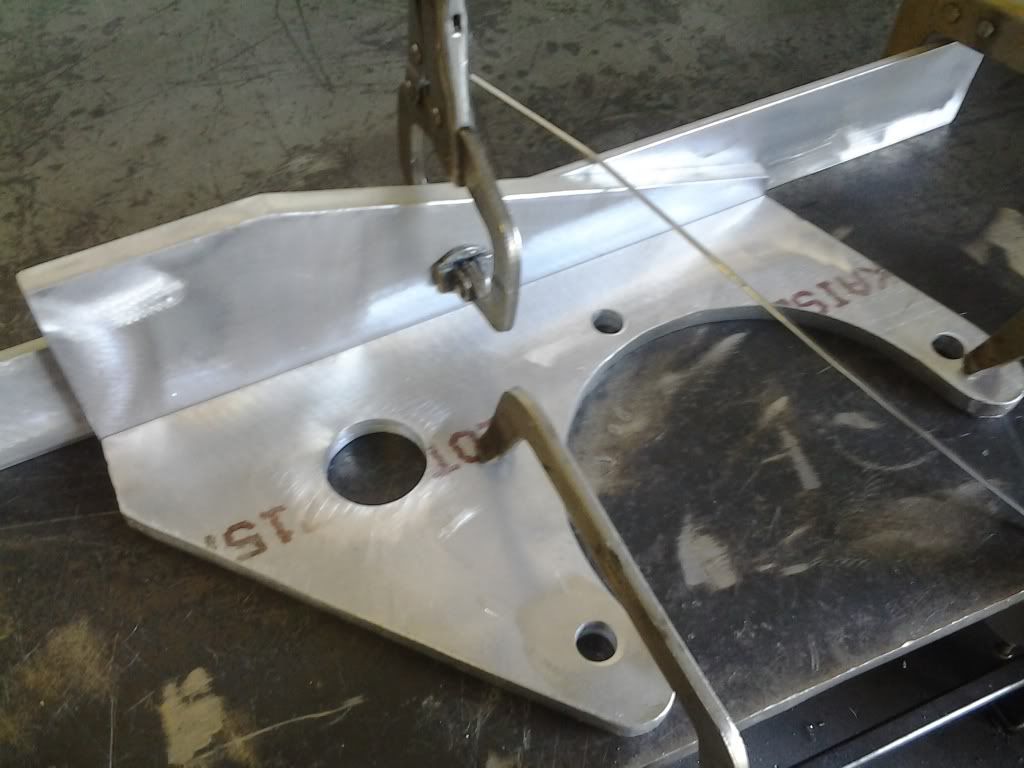
The lower radiator support was cut out, and a new one was fabricated. Aluminum does not weld to steel, so the new aluminum lower support needed flanges to adapt to the frame rails.

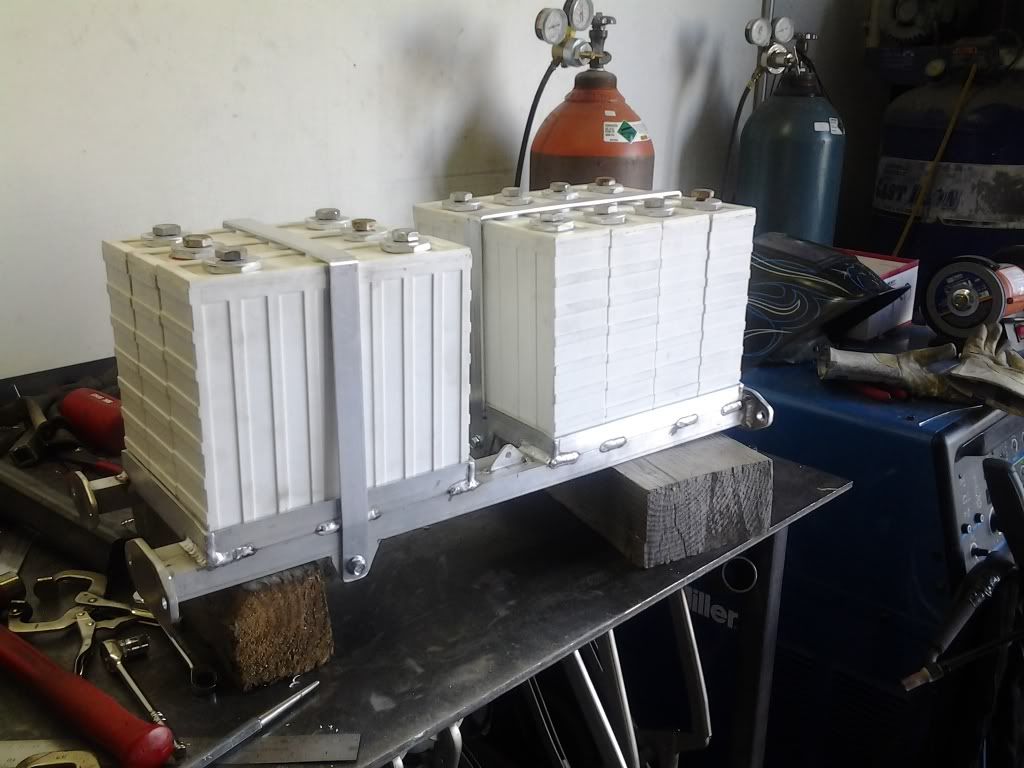
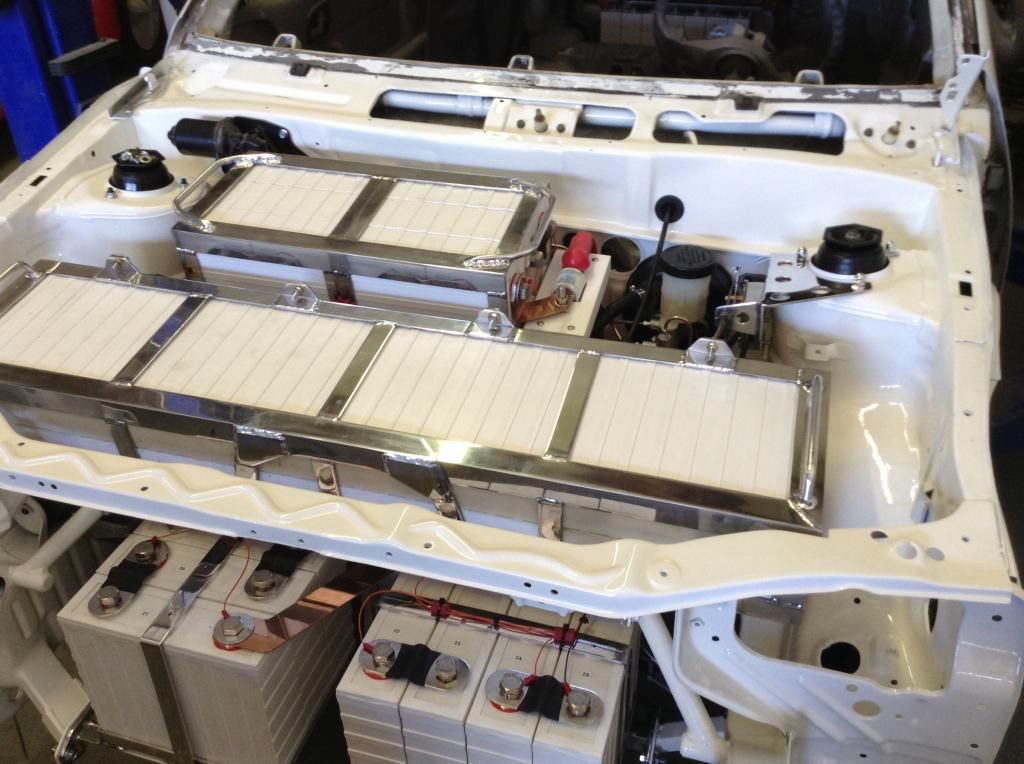
Here is the lower support all set up with its lithium batteries
|
|
|

|
|
The Following 7 Users Say Thank You to EVmetro For This Useful Post:
|
|
 Today Today
|
|
|
|
 Other popular topics in this forum...
|
|
|
|
 02-27-2015, 01:35 PM
|
#2 (permalink)
|
|
Administrator
Join Date: Dec 2007
Location: Germantown, WI
Posts: 11,203
Thanks: 2,501
Thanked 2,589 Times in 1,555 Posts
|
I keep seeing you using these white cells. Who makes them?
|
|
|

|
 02-27-2015, 02:08 PM
|
#3 (permalink)
|
|
EcoModding Apprentice
Join Date: Feb 2015
Location: Sacramento
Posts: 202
Thanks: 3
Thanked 225 Times in 91 Posts
|
Here is the framework for a bunch more lithium. 21 200AH batteries under the hood, and 15 in the hatchback.
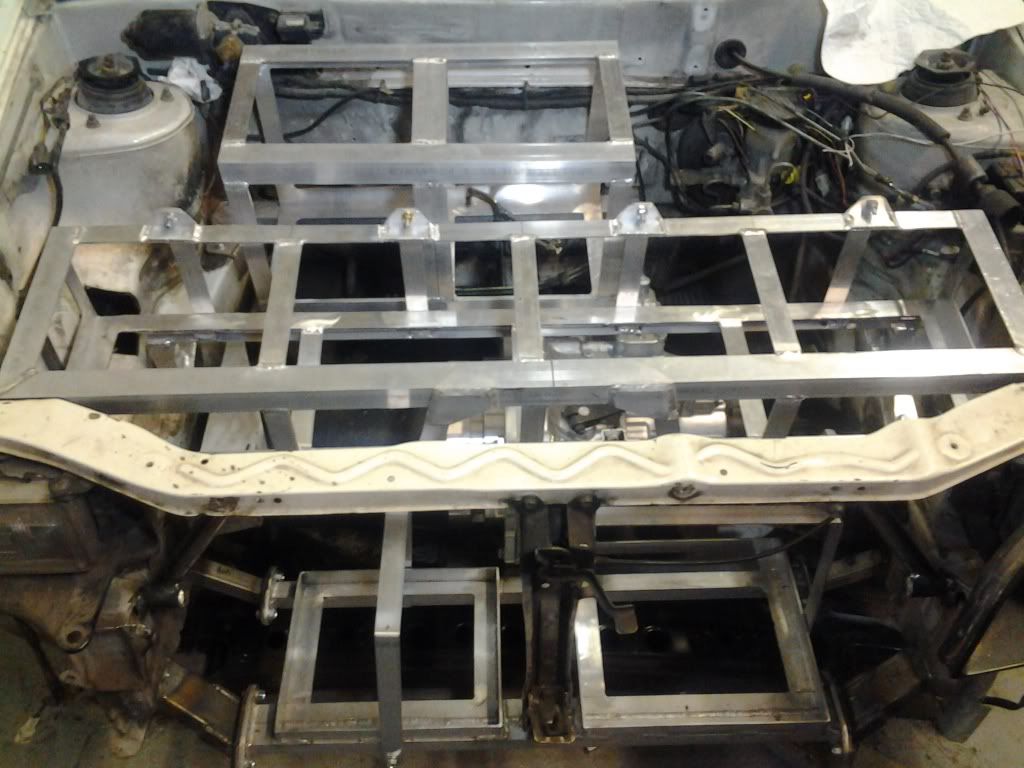
Kind of a tight squeeze up here on the upper support, so some clearance notches were added.
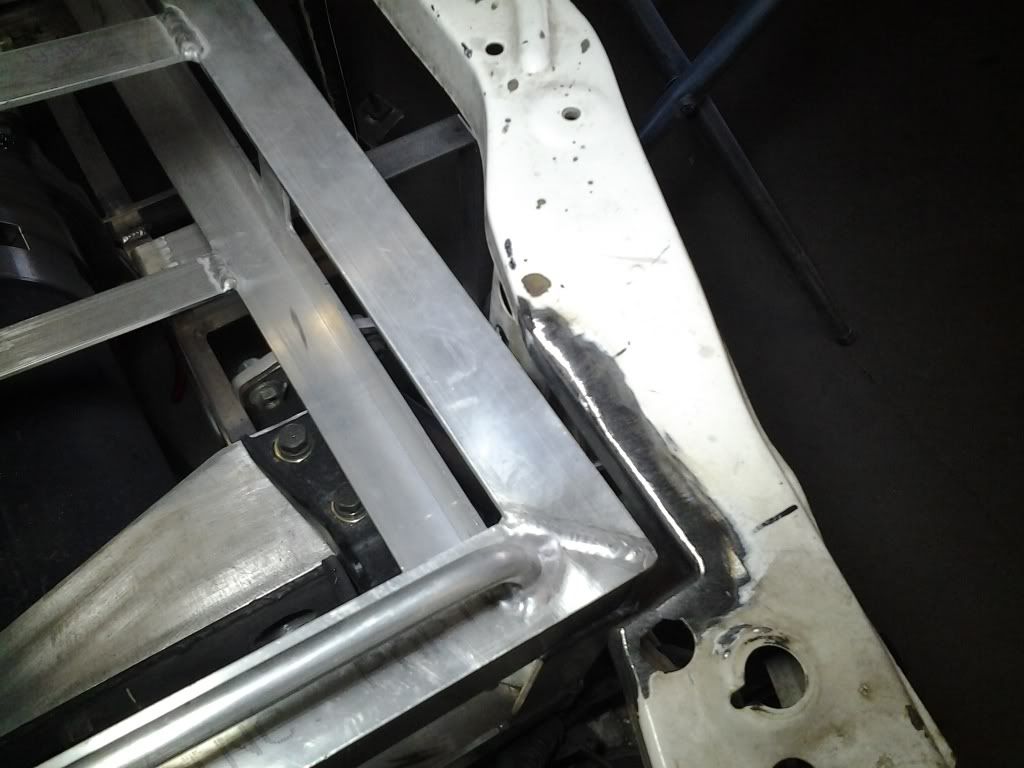
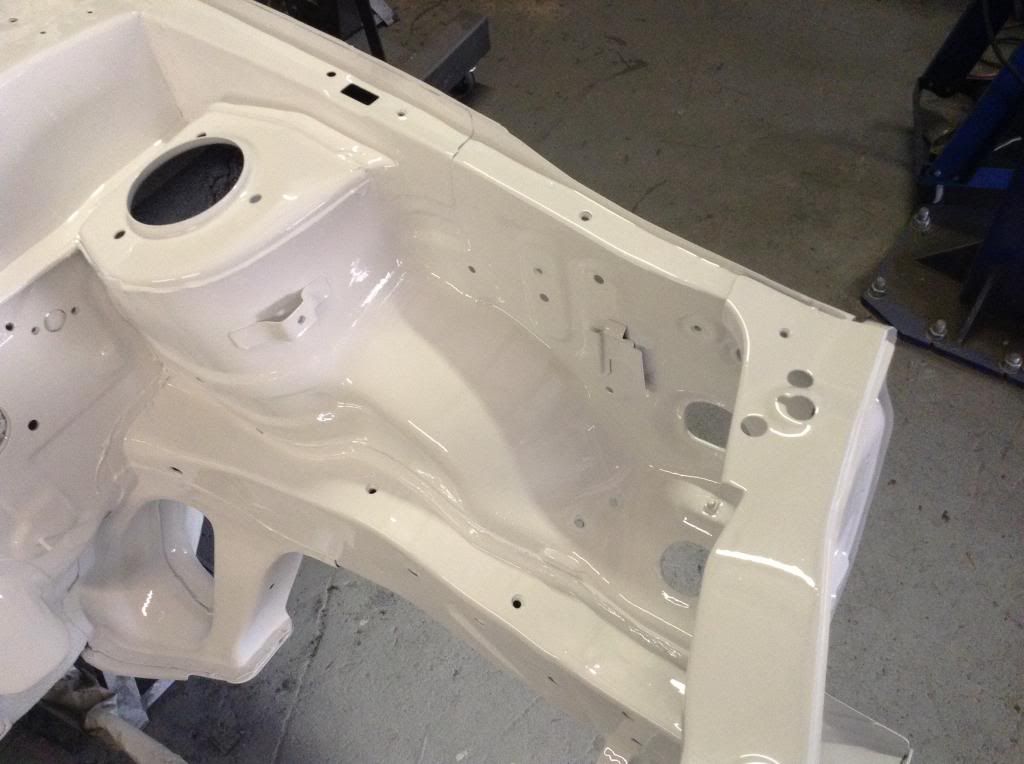
The firewall had a bunch of holes in it that are no longer needed, so they have been patches up. The frame rails were a little out of alignment, so I put it up on the frame rack and twisted everything back to where it goes. It looked like the car had been wrecked at some point in its life, and was not fixed right, but it is right now.

a little filler work, and then primer.

Then some white
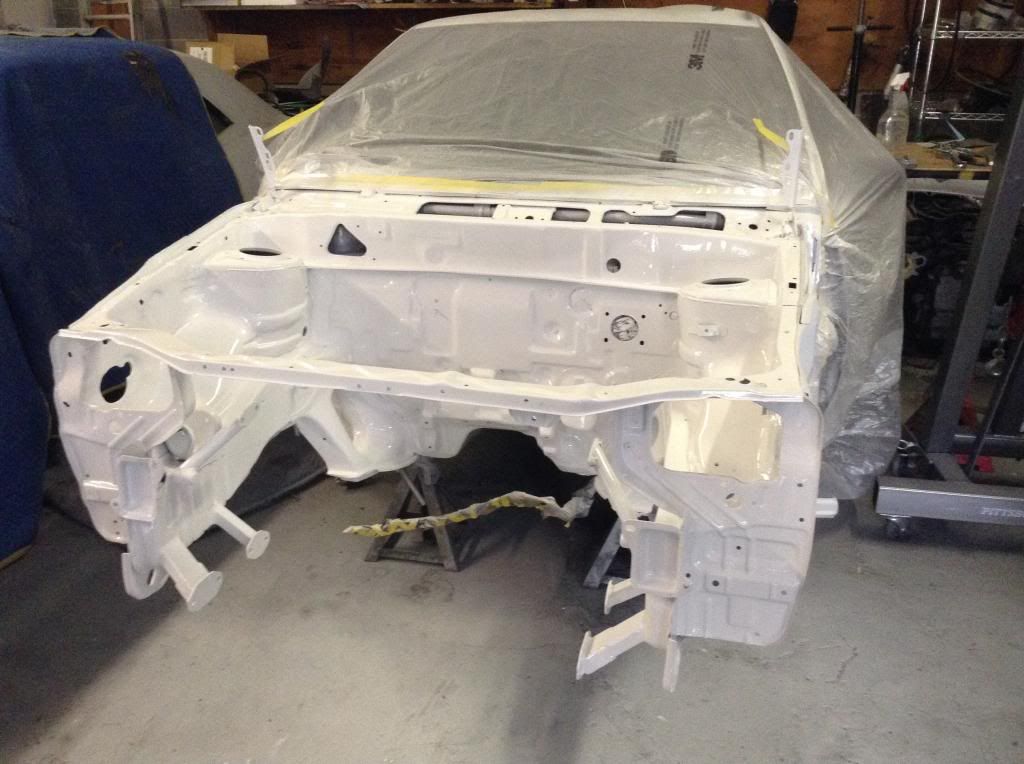
I don't like to mask things off, so I always remove everything and do it right.
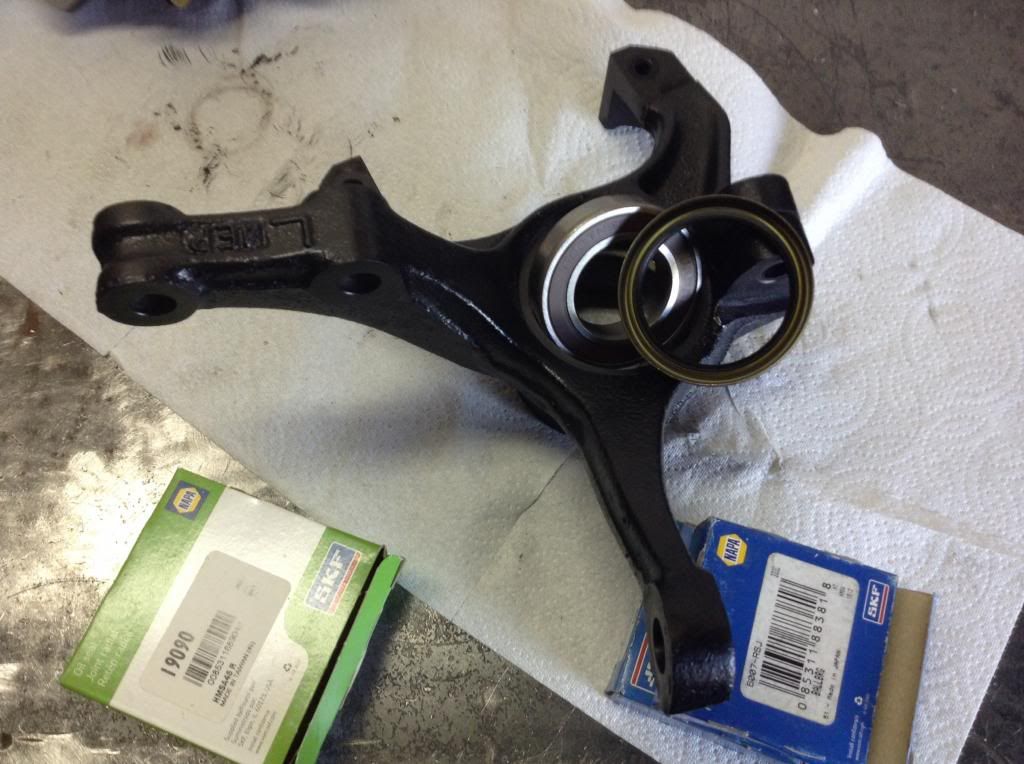
The suspension is completely removed, so I like to rebuild all that as I reassemble the car. New wheel bearings and seals are a must.
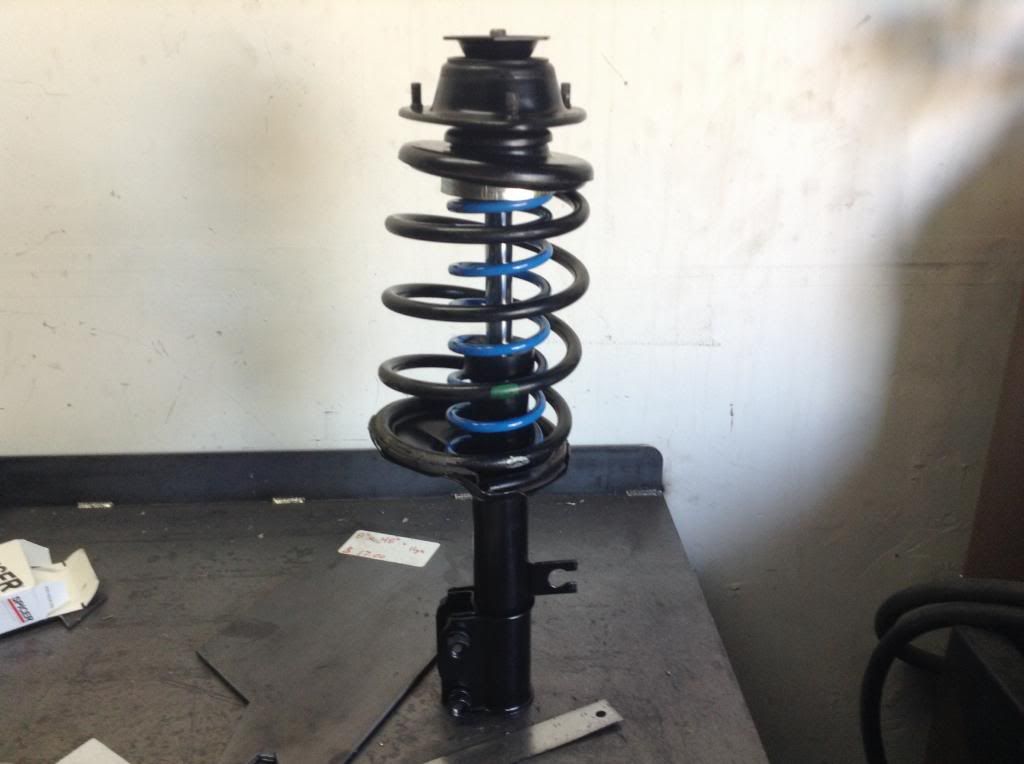
New struts, plus I like to add a little extra spring on the inside of the big coil to get the correct spring rate for my extra weight. I kinda like a stiff suspension, but not super low, so I have a system where I trim the outer and my custom inner coil to certain lengths.
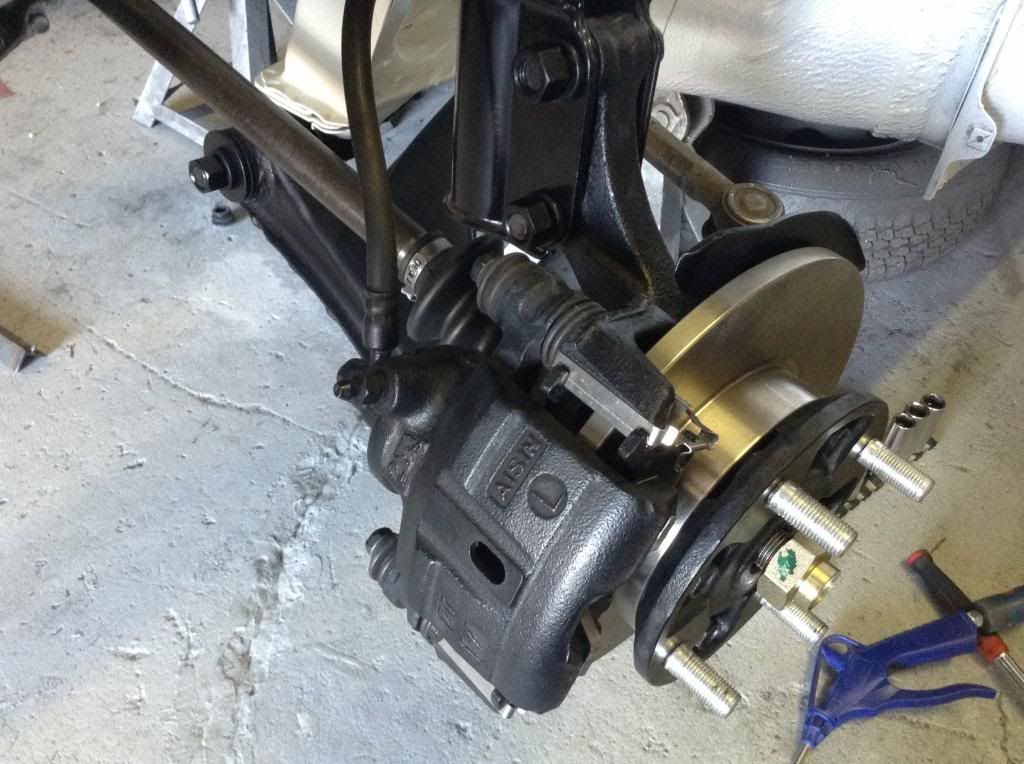
Here is the fron suspension all rebuilt. The wheel lugs are upgraded from 10mm to 12mm, new bearings, seals, and axles, new rotors and pads.
Last edited by EVmetro; 02-28-2015 at 01:08 AM..
|
|
|

|
|
The Following User Says Thank You to EVmetro For This Useful Post:
|
|
 02-27-2015, 02:30 PM
|
#4 (permalink)
|
|
EcoModding Apprentice
Join Date: Feb 2015
Location: Sacramento
Posts: 202
Thanks: 3
Thanked 225 Times in 91 Posts
|
Quote:
Originally Posted by Daox

I keep seeing you using these white cells. Who makes them?
|
These are Tornado lithium iron phosphate.
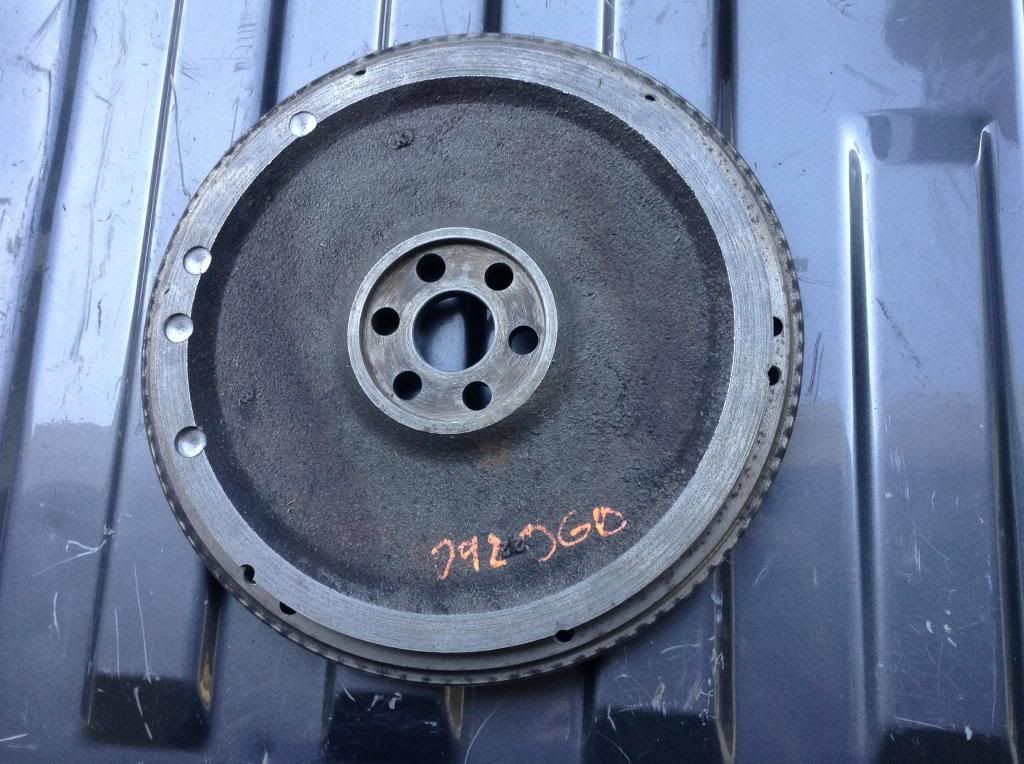
Next, I need to couple the motor to the transmission, and hang it in the car. I start with a flywheel from a four cylinder metro, since the 3 cylinder flywheel is meant for a 6.5" clutch, and the four cylinder holds a 7.5" clutch. The 6.5" clutch will not hold the torque. I remove the starter ring teeth, and then it gets milled a little for some weight savings, and then surfaced and balanced.
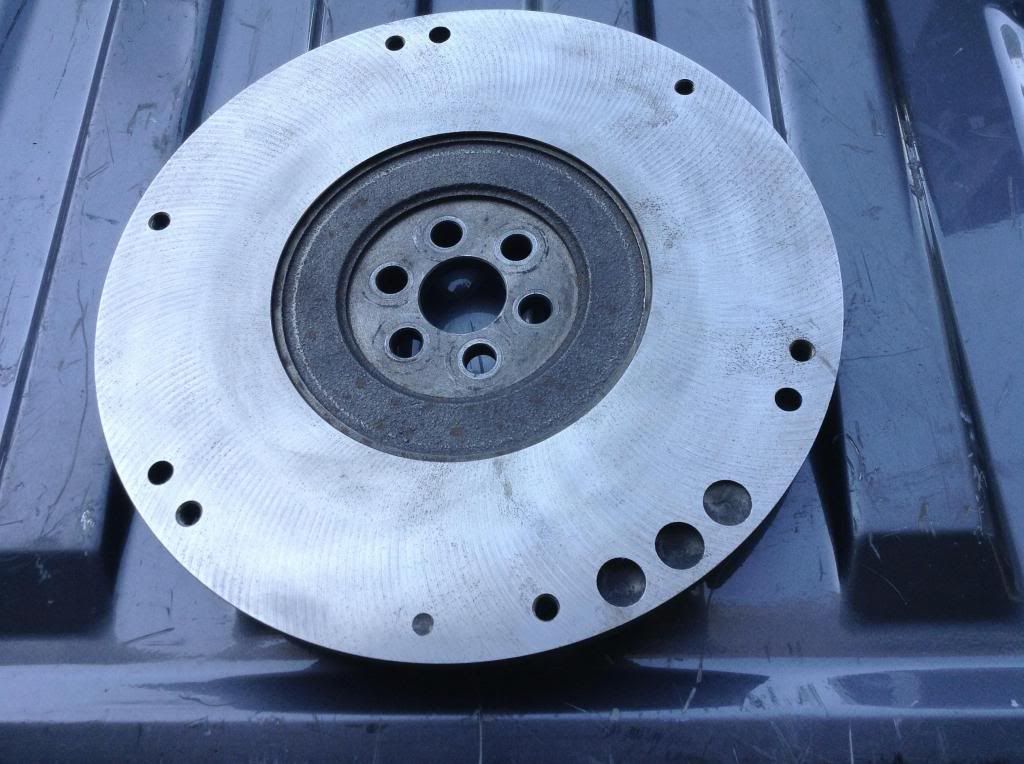
The outer lip on the backside gets milled down before balancing, as you can see where the balancing holes have been drilled onto the milled lip.
I had a machine shop make to my specs my one piece billet aluminum motor to transmission adapter plate. The more of them get made, the cheaper the cost per unit, so I have a stack of these. I also had them make my matching flywheel hubs. The alignment of the motor shaft to the transmission shaft is critical, so I make sure that they are perfect.
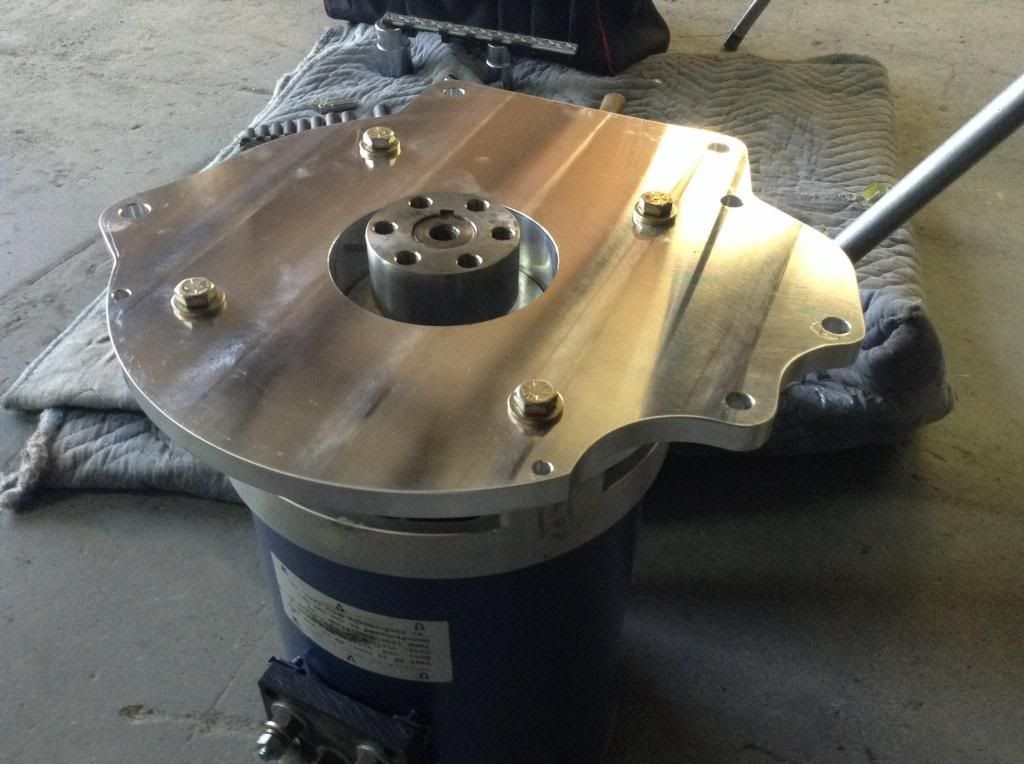
Flywheel bolted up.
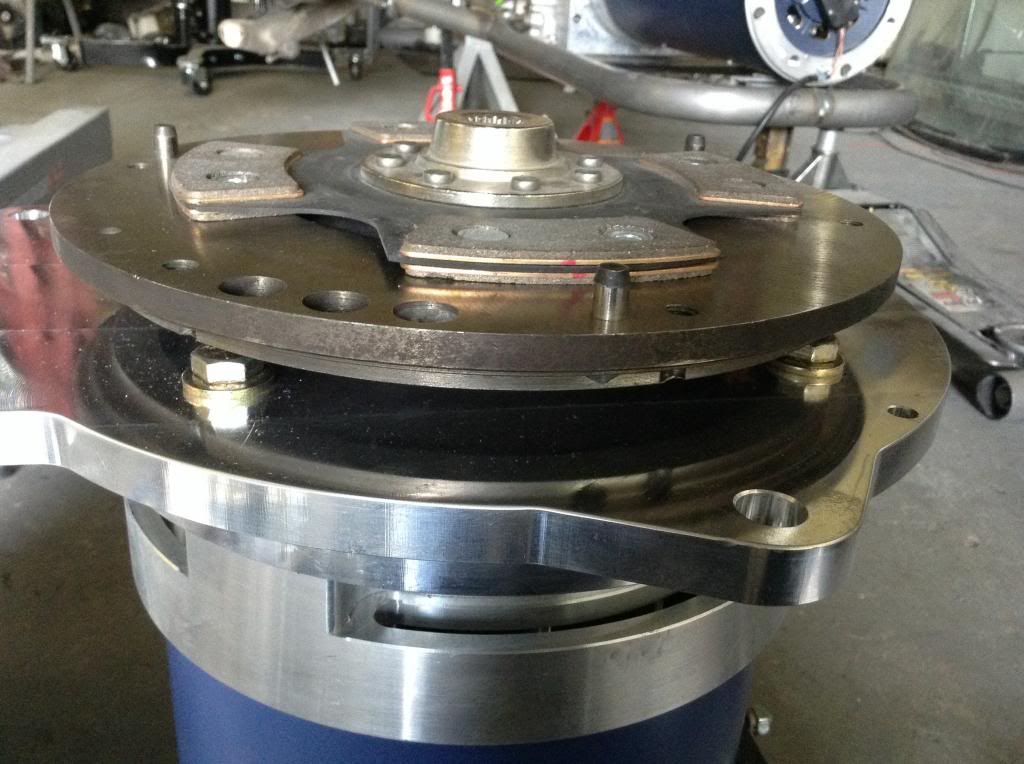
and clutch
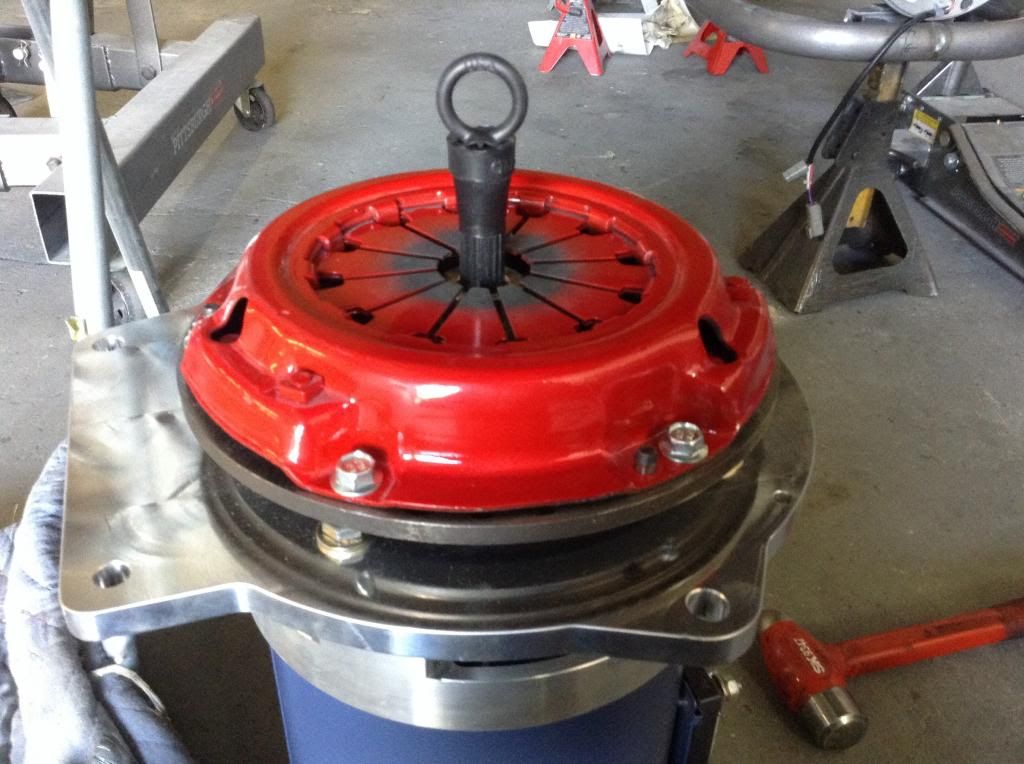
and now it is hung in the car
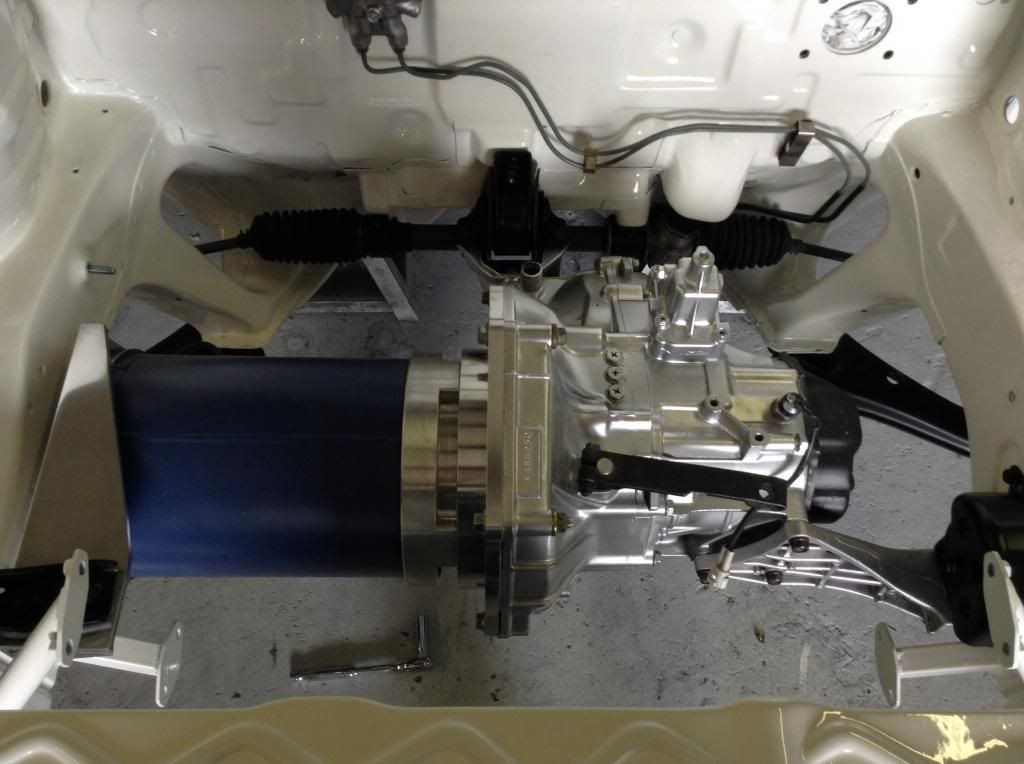
|
|
|

|
|
The Following 3 Users Say Thank You to EVmetro For This Useful Post:
|
|
 02-27-2015, 02:43 PM
|
#5 (permalink)
|
|
EcoModding Apprentice
Join Date: Feb 2015
Location: Sacramento
Posts: 202
Thanks: 3
Thanked 225 Times in 91 Posts
|
Almost forgot, here is the rear suspension all reworked too.
The usual new bearings, seals, shocks, wheel studs upgraded from the stock 10mm to 12mm, and custom inner coils trimmed for my desired spring rate.
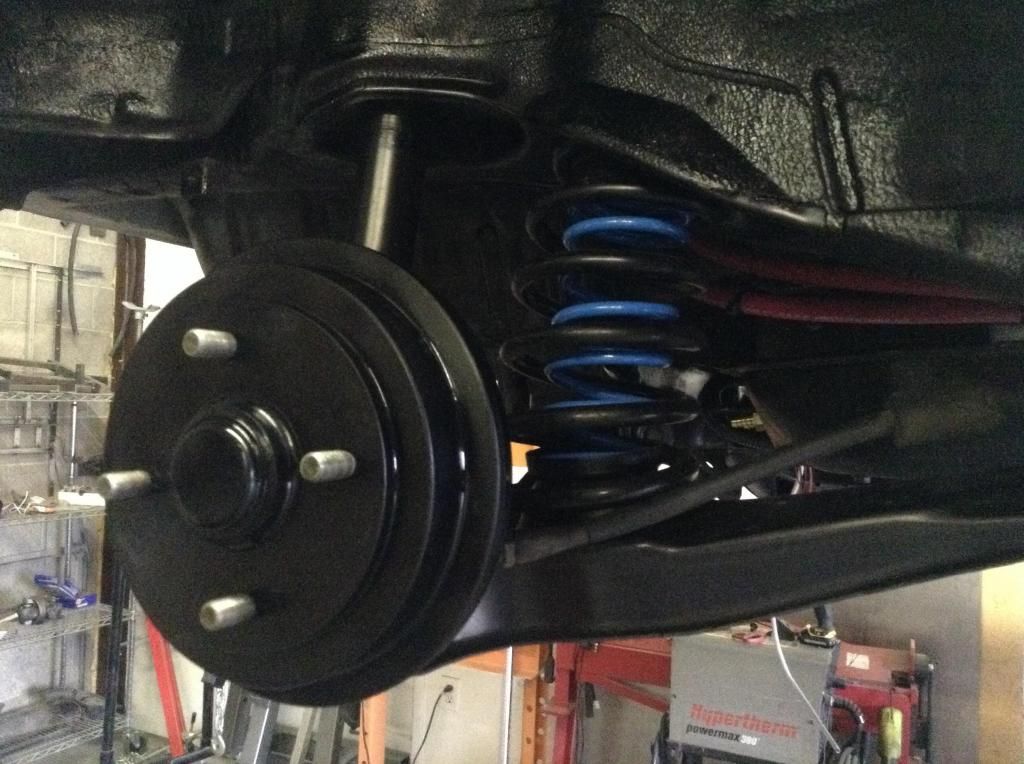
New brakes too
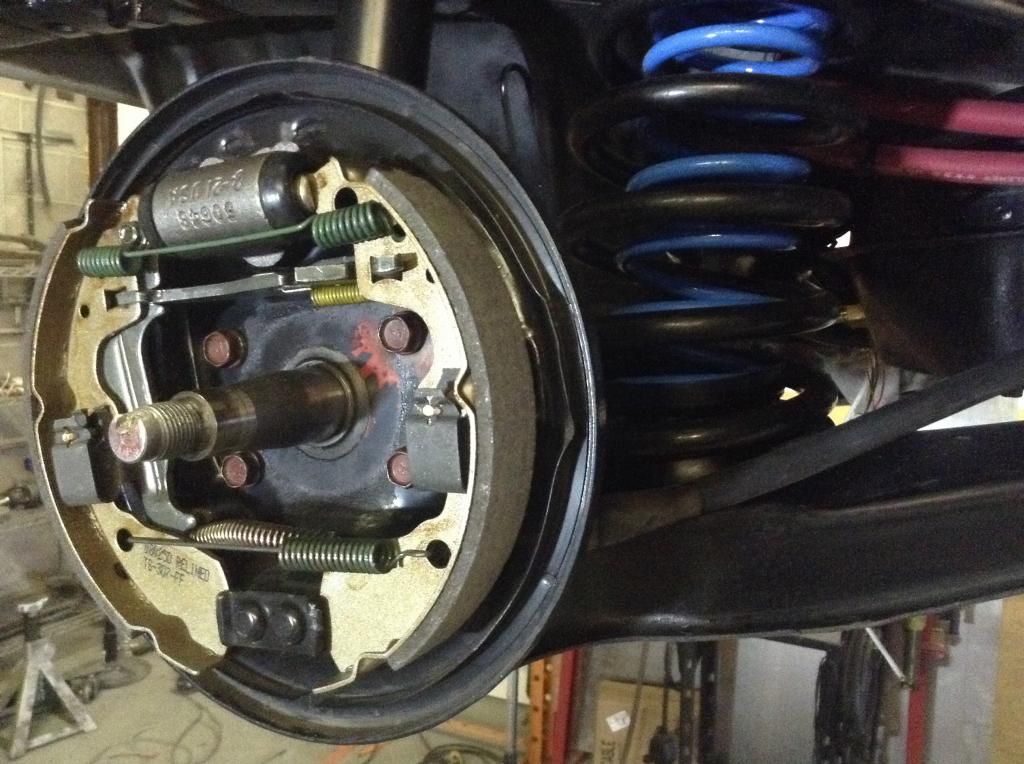
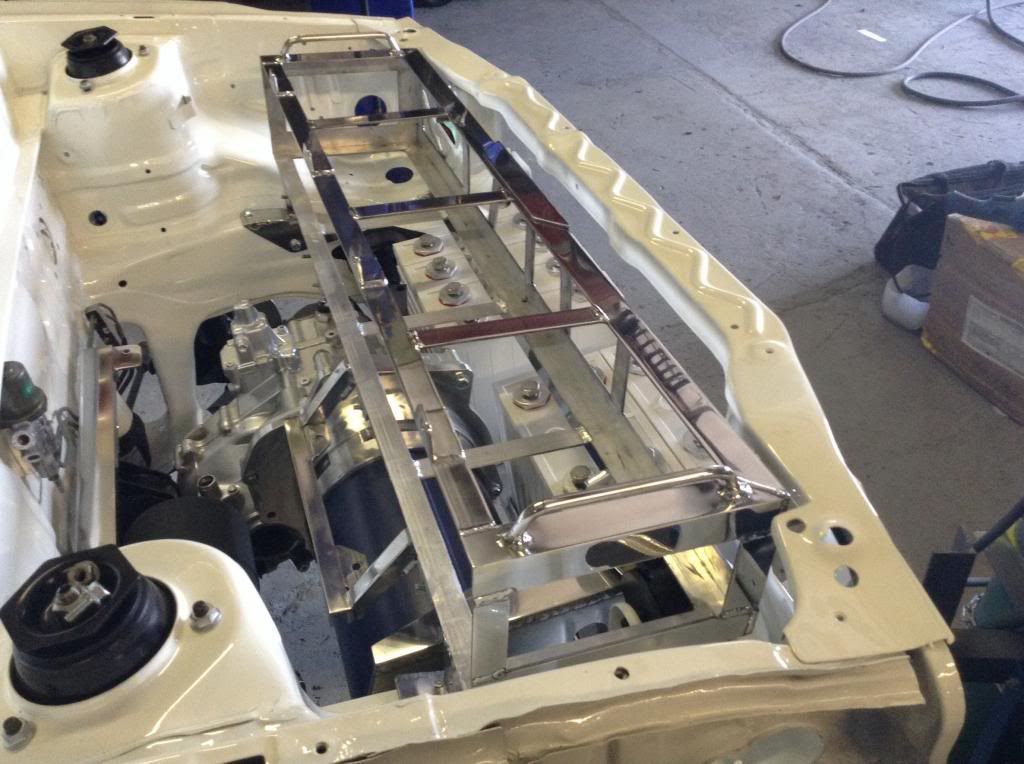
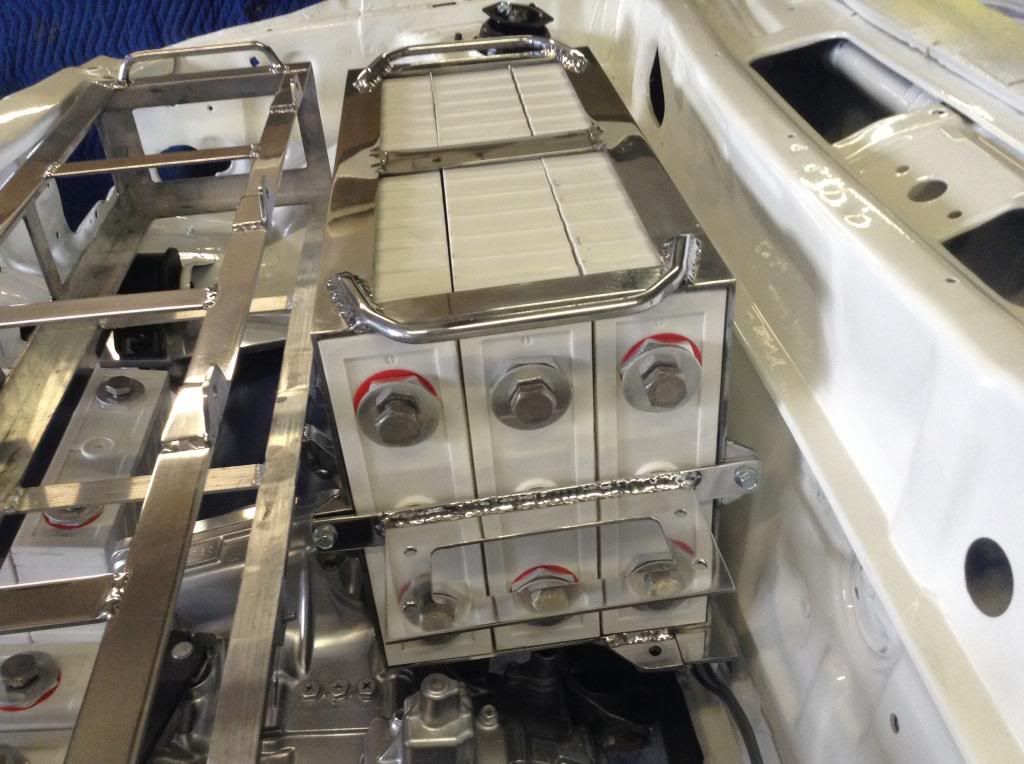
Now the batteries get loaded in
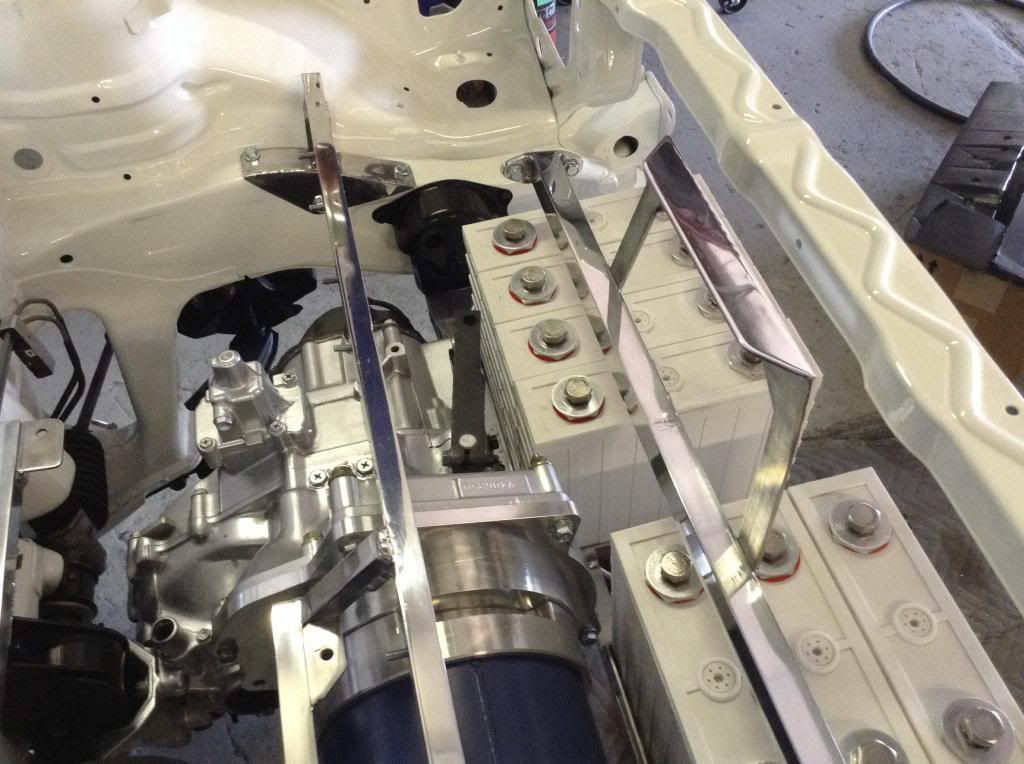
This upper beam supports the upper battery box
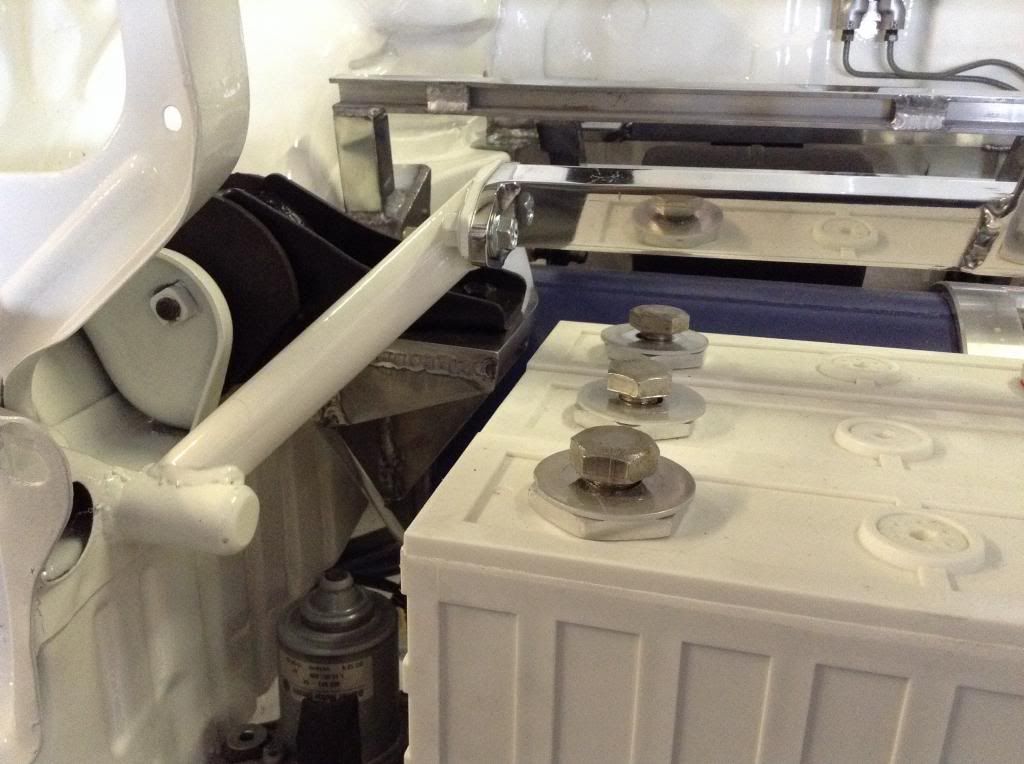
Here is the upper battery box
Upper rear battery box
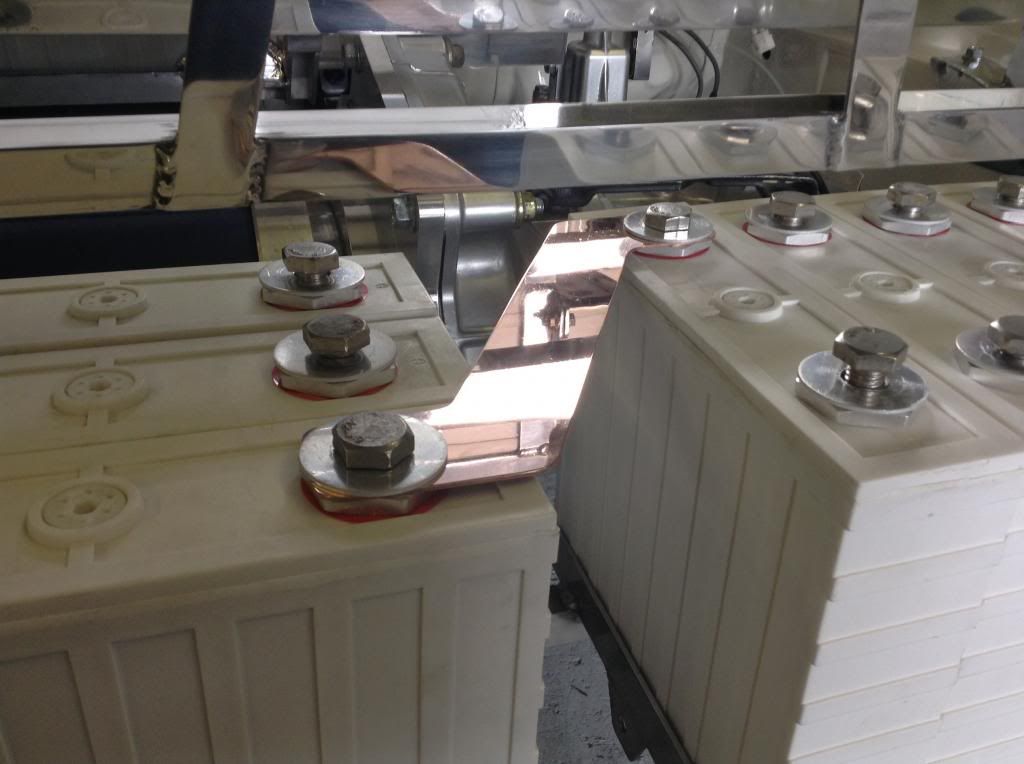
Needed a special bus bar to connect these two battery banks
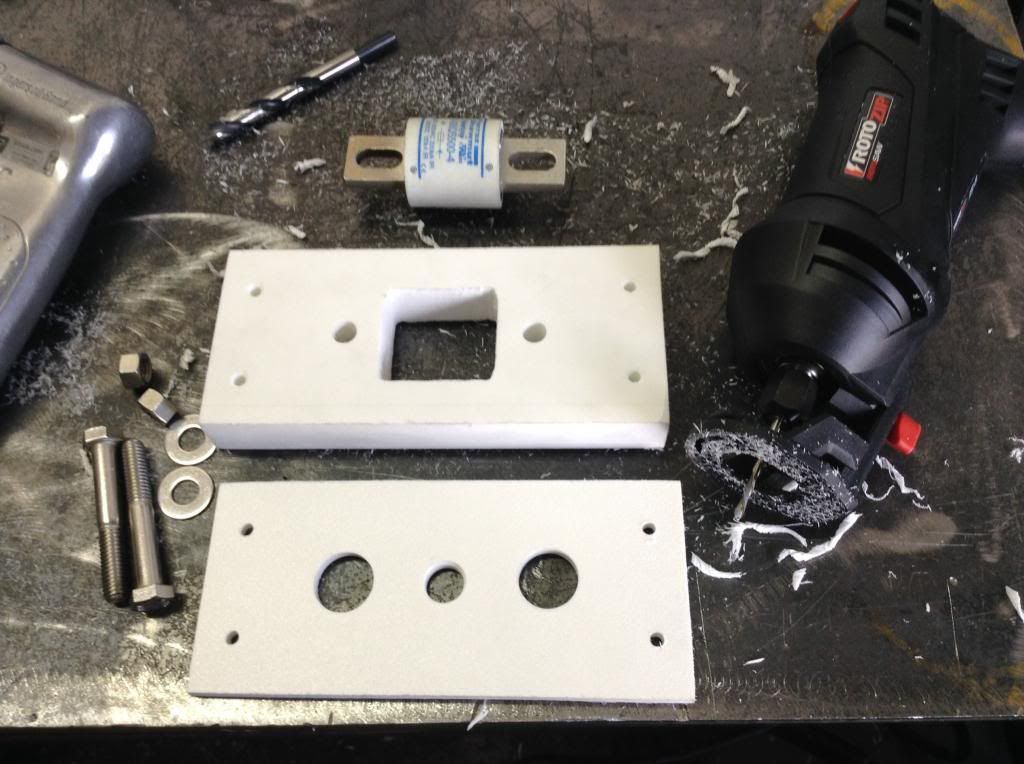
Found some scrap plastic to make the main fuse holder
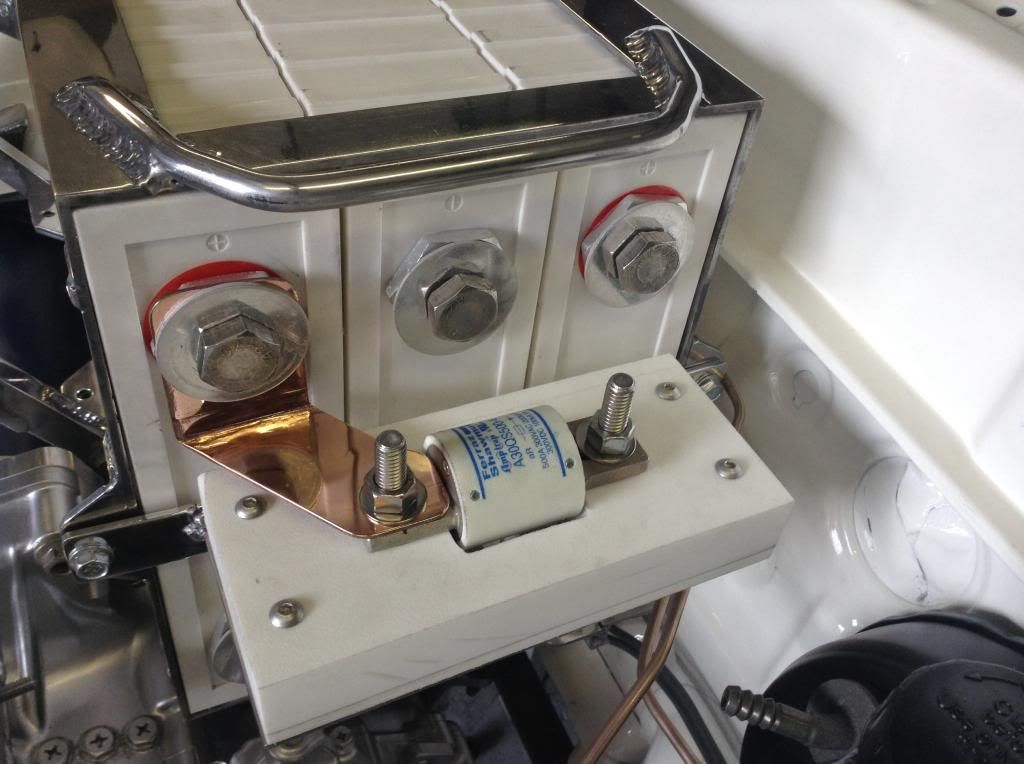
Here it is installed
Last edited by EVmetro; 02-27-2015 at 03:42 PM..
|
|
|

|
|
The Following 3 Users Say Thank You to EVmetro For This Useful Post:
|
|
 02-27-2015, 03:56 PM
|
#6 (permalink)
|
|
EcoModding Apprentice
Join Date: Feb 2015
Location: Sacramento
Posts: 202
Thanks: 3
Thanked 225 Times in 91 Posts
|
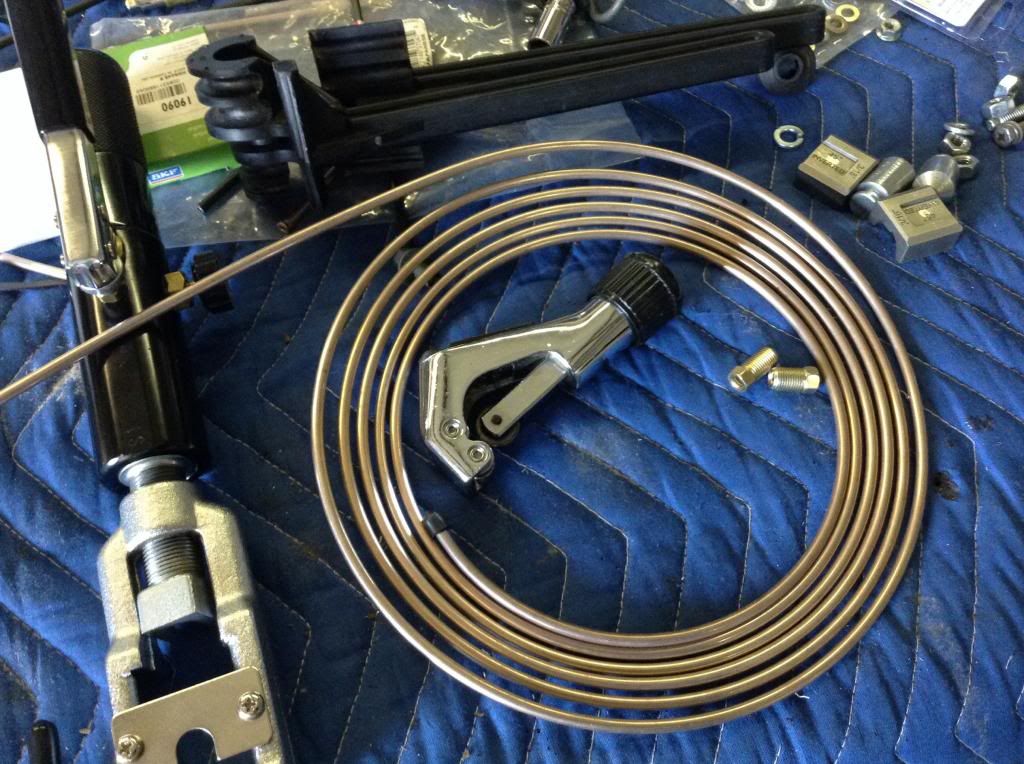
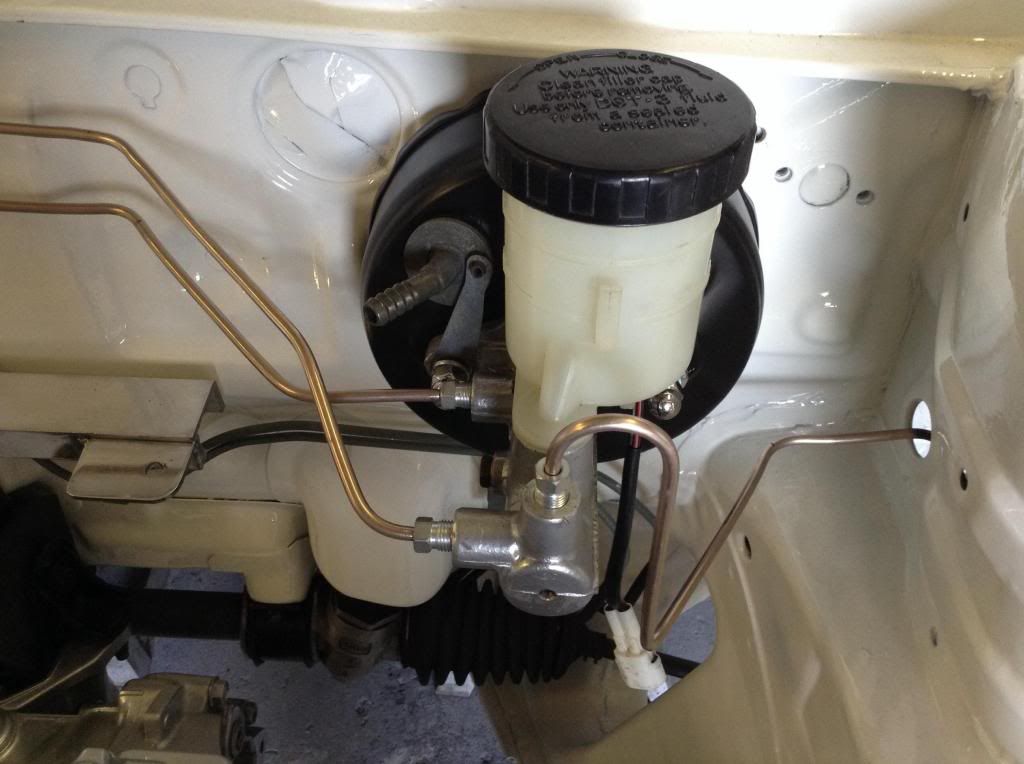
Napa had some of this copper nickel brake tubing, so now there are fresh brake lines
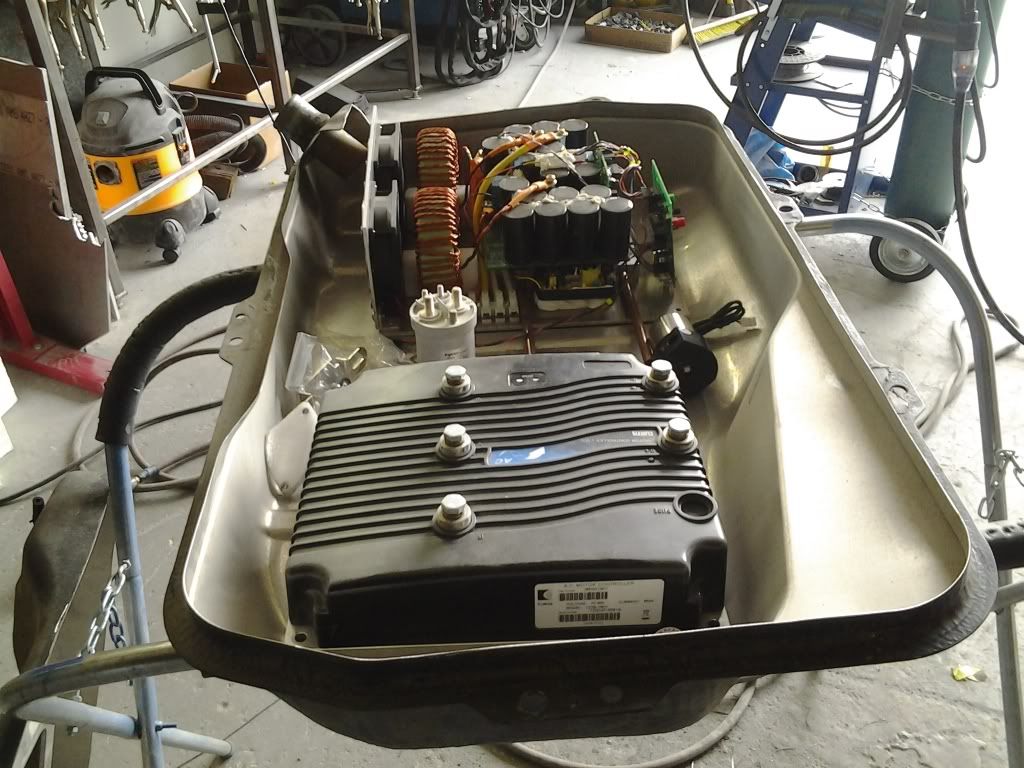
No sense throwing out the gas tank, since there is room to put stuff inside, and it already fits the car. Here it has been zipped open and is ready to recieve electronics.

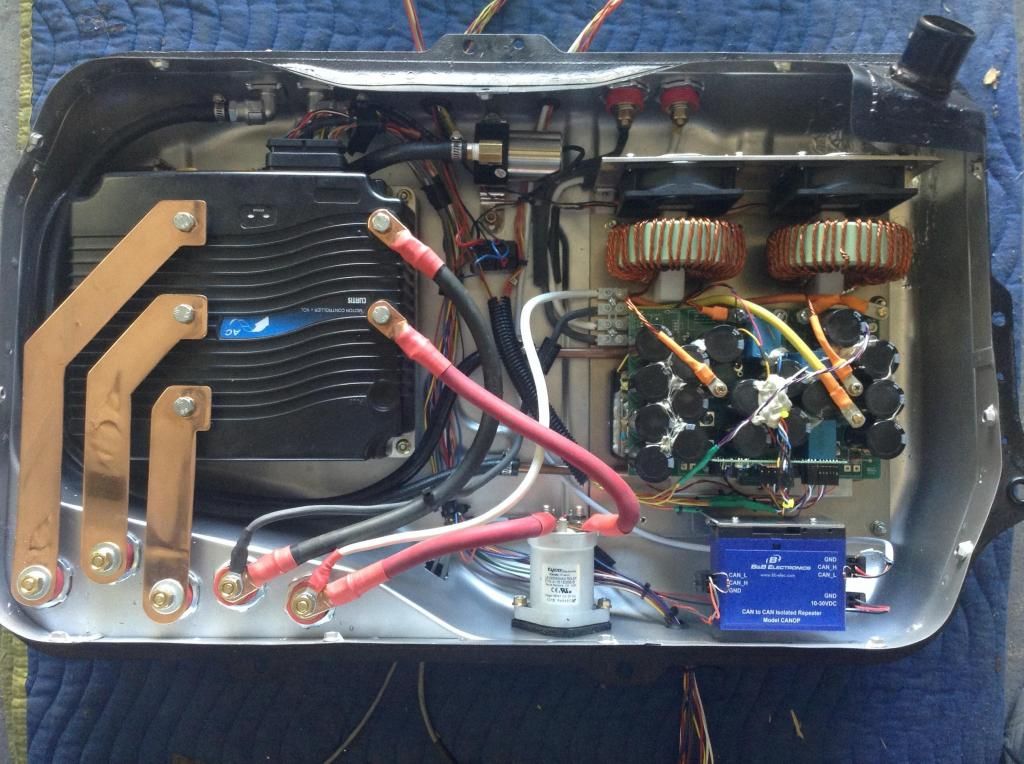
This space will hold the Curtis 1238 7601 motor controller with my custom made water chill plate, the water pump, the water cooled EMW 12000 battery charger, and the contactor.
Here it is all ready to close up into a normal looking gas tank. The blue box in there is the CANBUS optical isolator, since I run an Orion BMS that links to the controller. The two components have different power supplies and need to be isolated from each other, so the CANBUS data gets translated to optical in this box, and then the other optical translates it back to CANBUS. You can see my waterpump at the top middle of this pic. My "gas" tank has hose barbs on the outside of it so I can run the coolant in and out of it to a heat exchanger.
 |
|
|

|
|
The Following 3 Users Say Thank You to EVmetro For This Useful Post:
|
|
 02-27-2015, 04:15 PM
|
#7 (permalink)
|
|
EcoModding Apprentice
Join Date: Feb 2015
Location: Sacramento
Posts: 202
Thanks: 3
Thanked 225 Times in 91 Posts
|
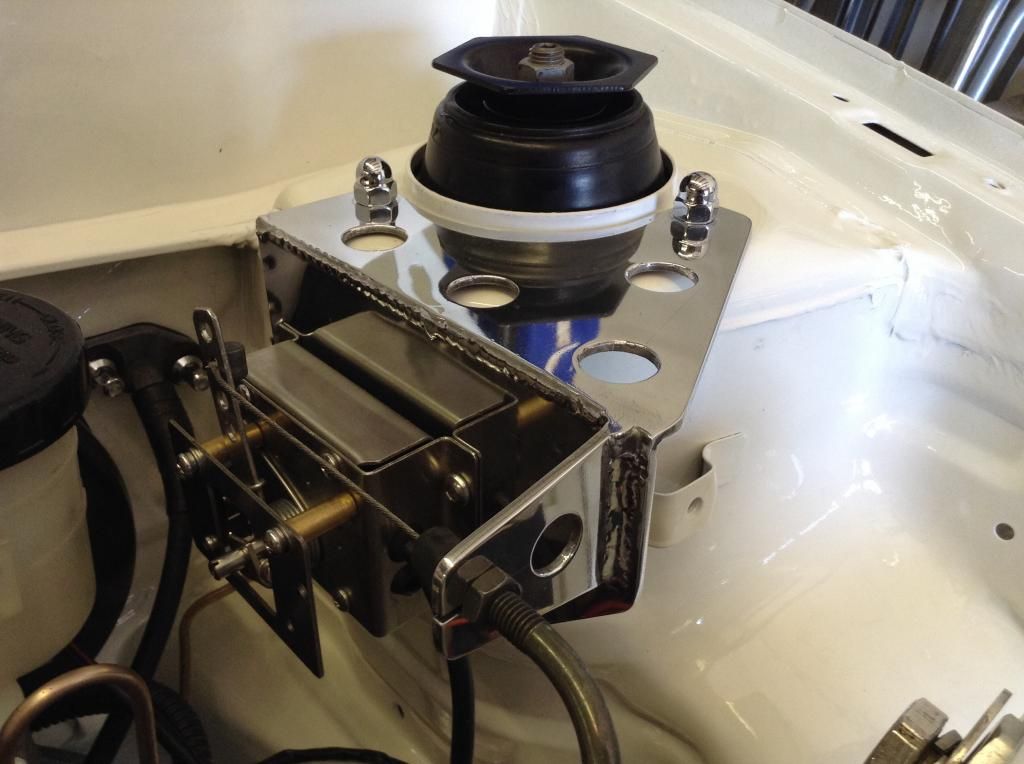
The last detail for the engine bay is a throttle. This is just 1/8" aluminum plate cut to fit on the strut tower, and then a Chinese pot box, PB6 style is screwed onto my custom aluminum. I got set up with polishing stuff over at Harbor Freight, so I am enjoying polishing the aluminum work on this rig. This uses the factory throttle cable.
So, the engine compartment is set up, so now the body needs rework.
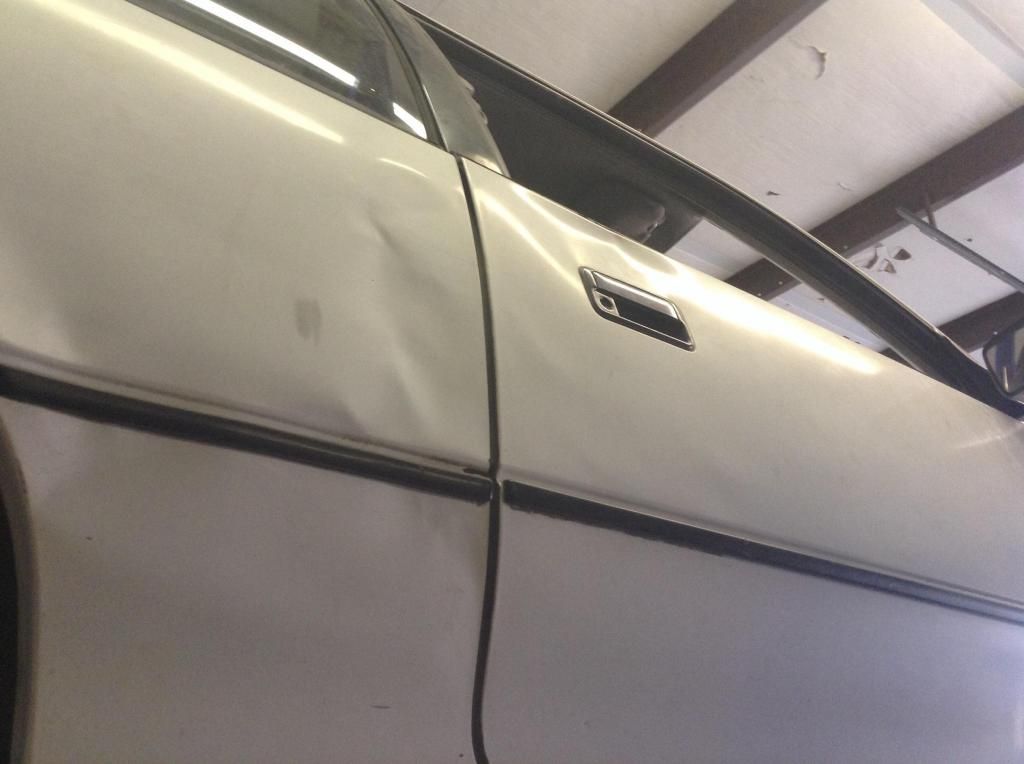
The body is pretty hammered, dents all over every surface.
so I fixed all that kind of stuff.
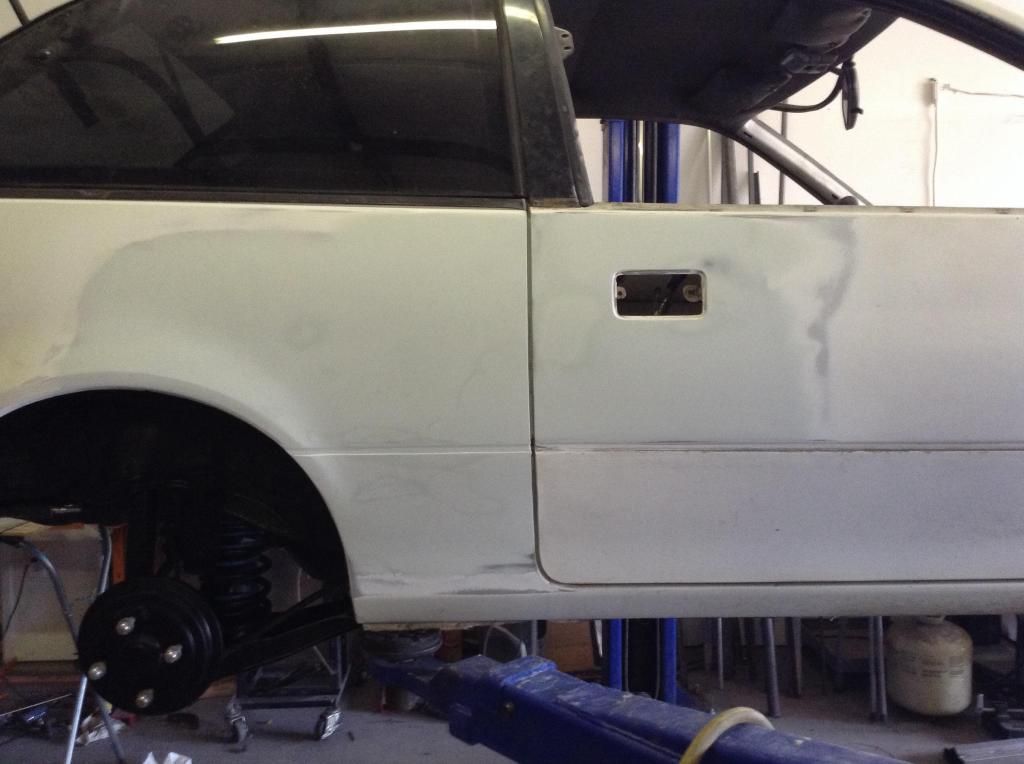
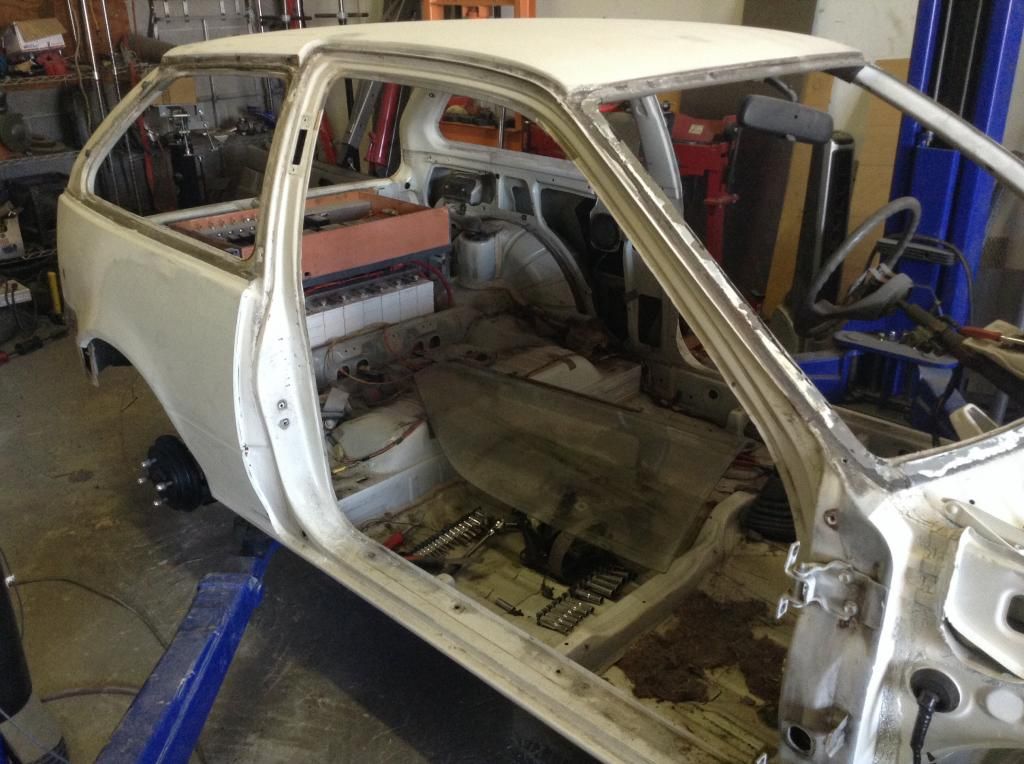
Had to tear it down pretty good
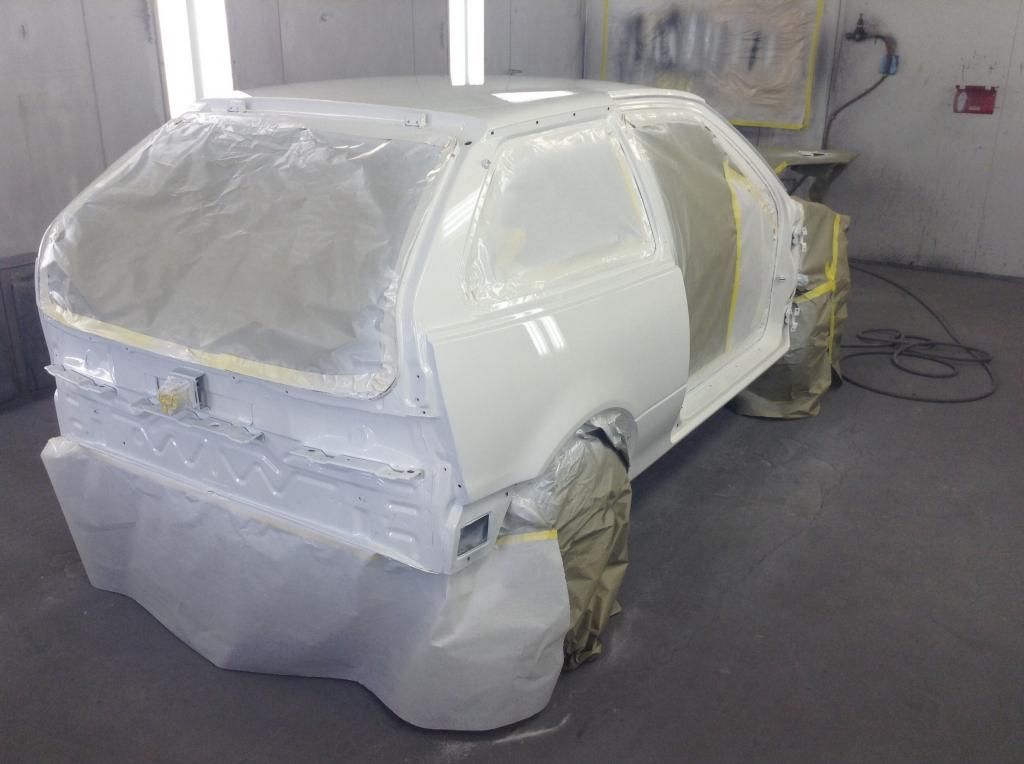
Primer
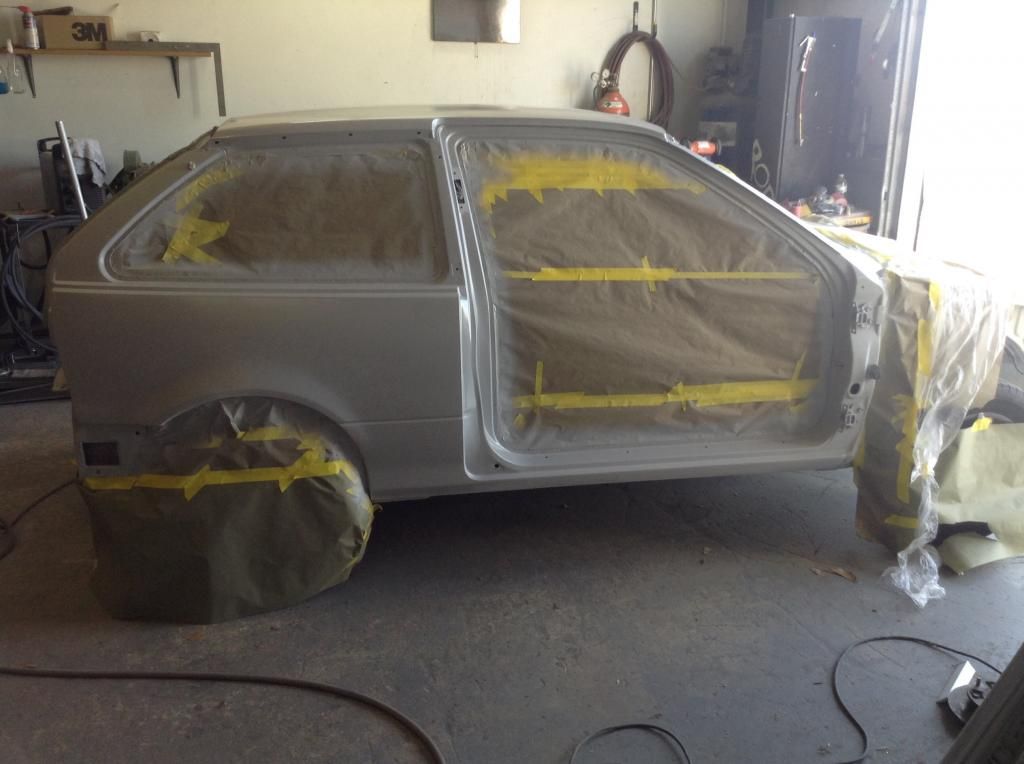
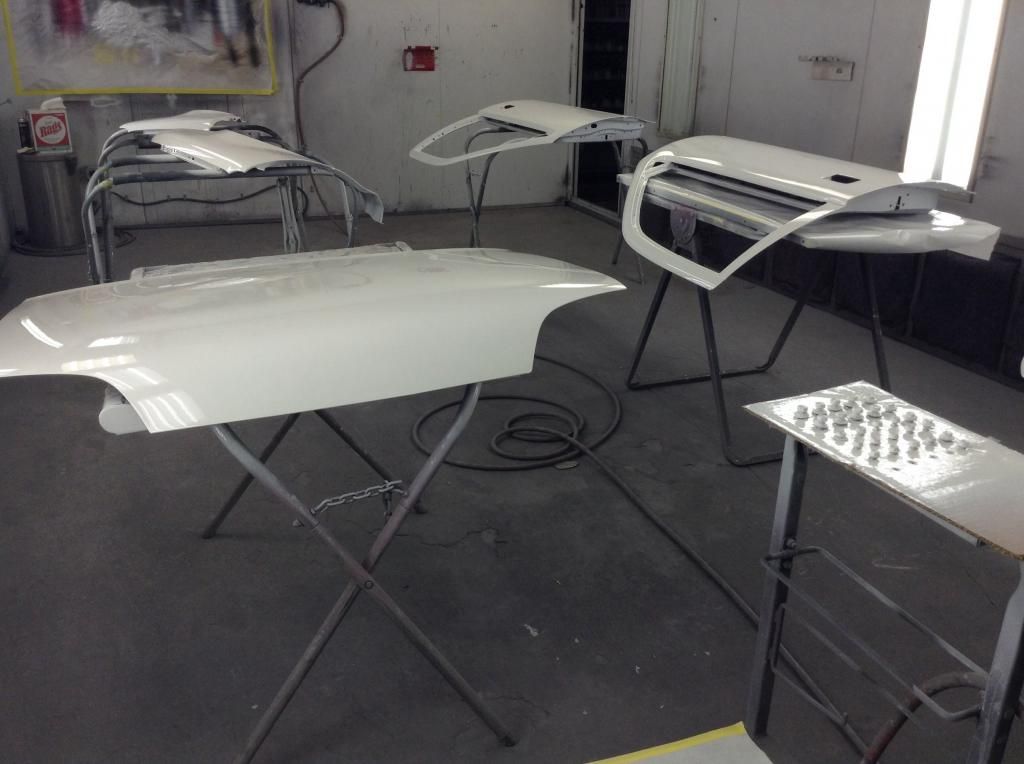
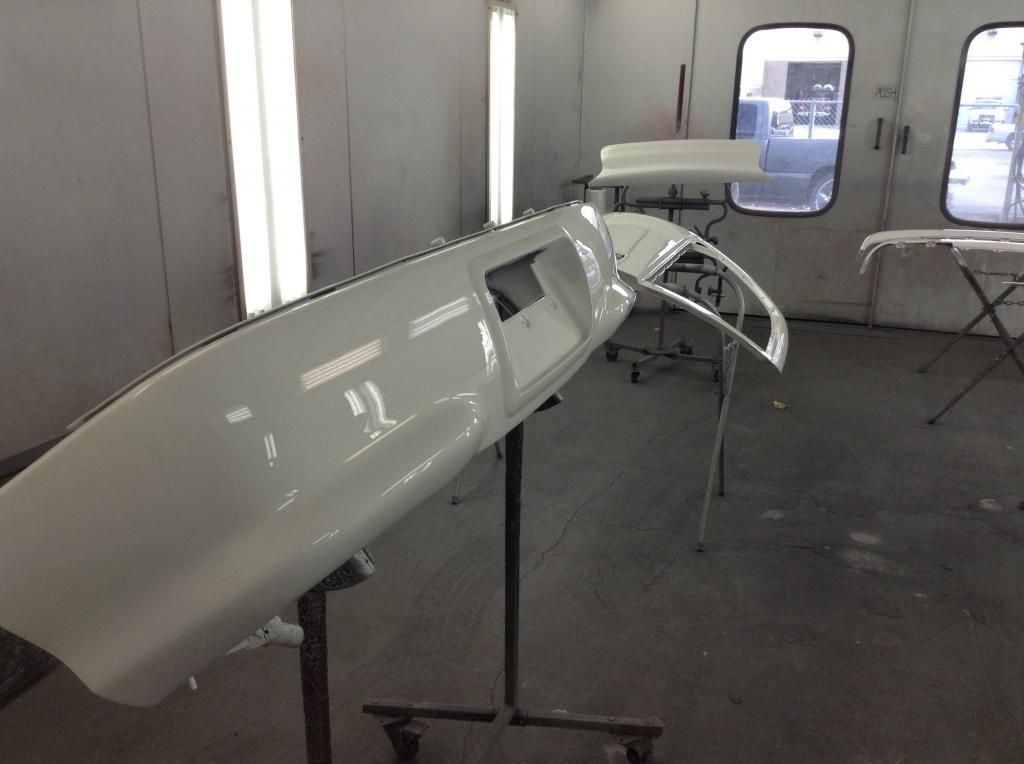
Paint
 |
|
|

|
|
The Following 3 Users Say Thank You to EVmetro For This Useful Post:
|
|
 02-27-2015, 04:38 PM
|
#8 (permalink)
|
|
EcoModding Apprentice
Join Date: Feb 2015
Location: Sacramento
Posts: 202
Thanks: 3
Thanked 225 Times in 91 Posts
|
Here is the grill block for this rig
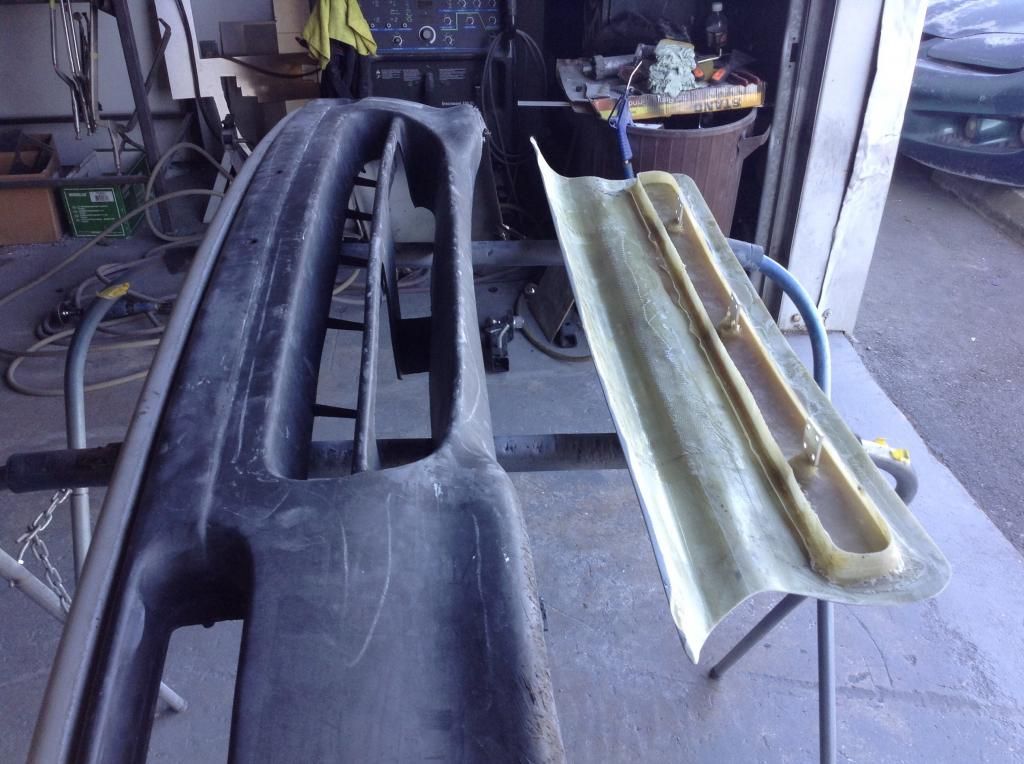
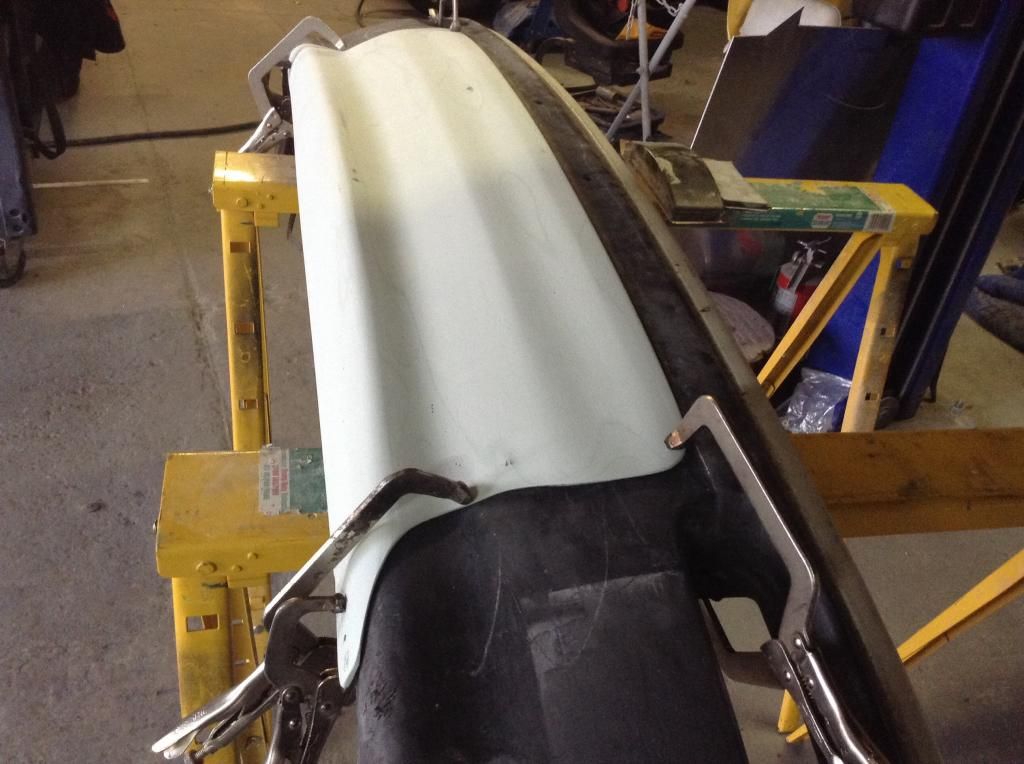
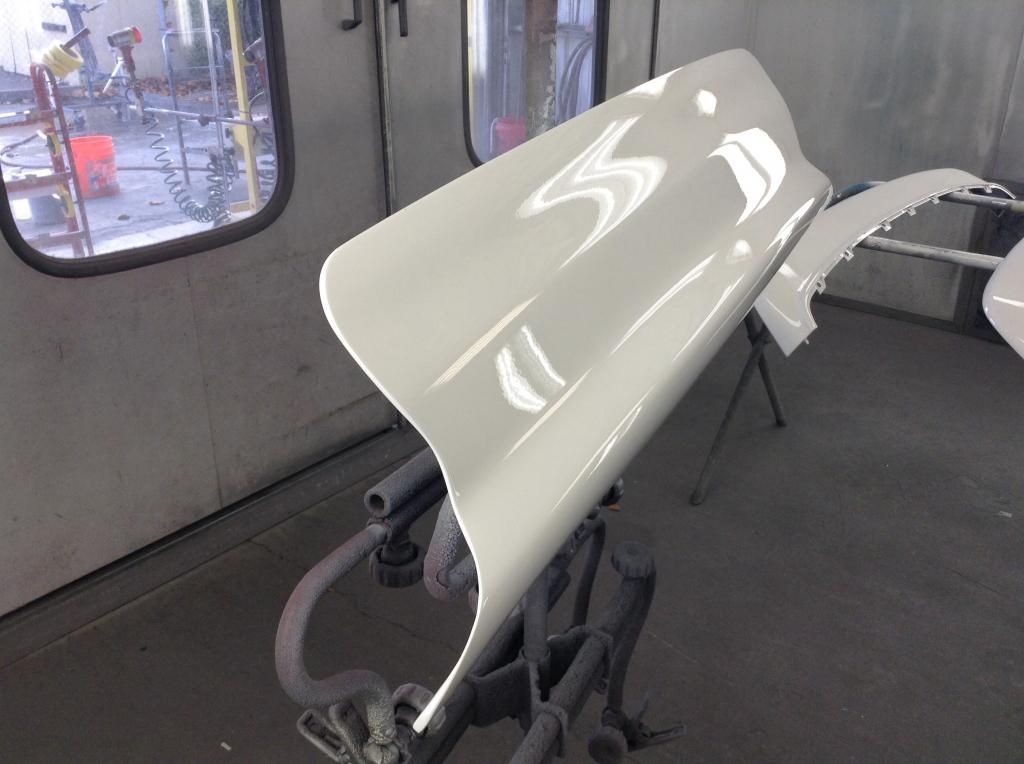
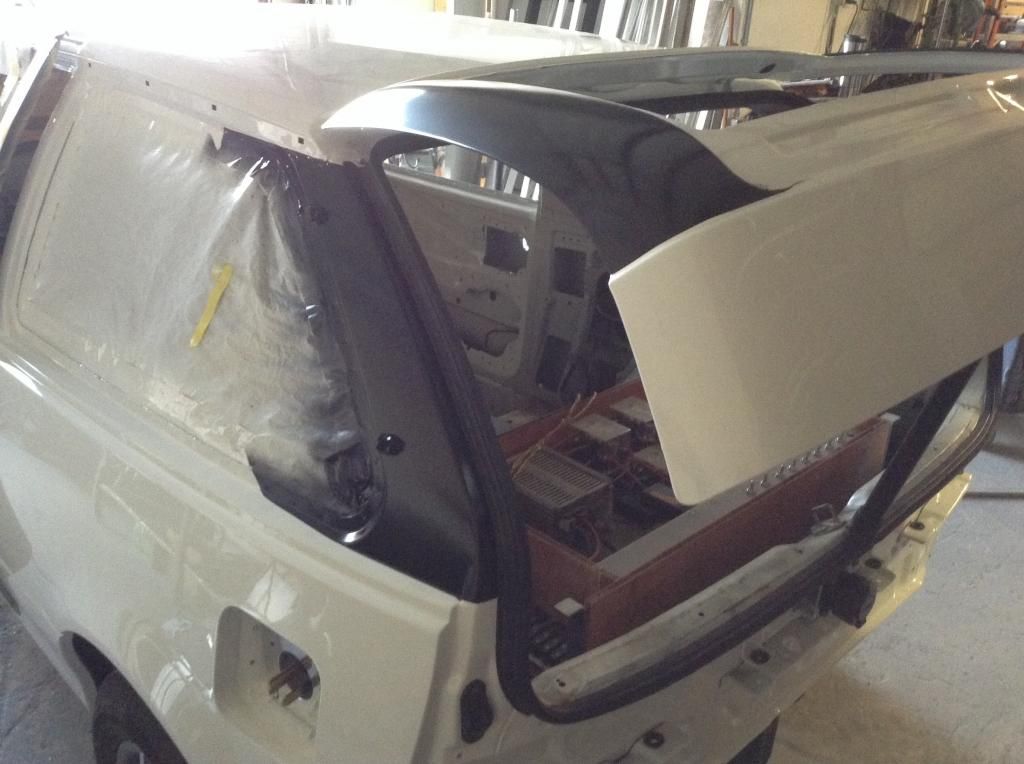
Next I put all the panels and windows back on the car, so it looks normal again.
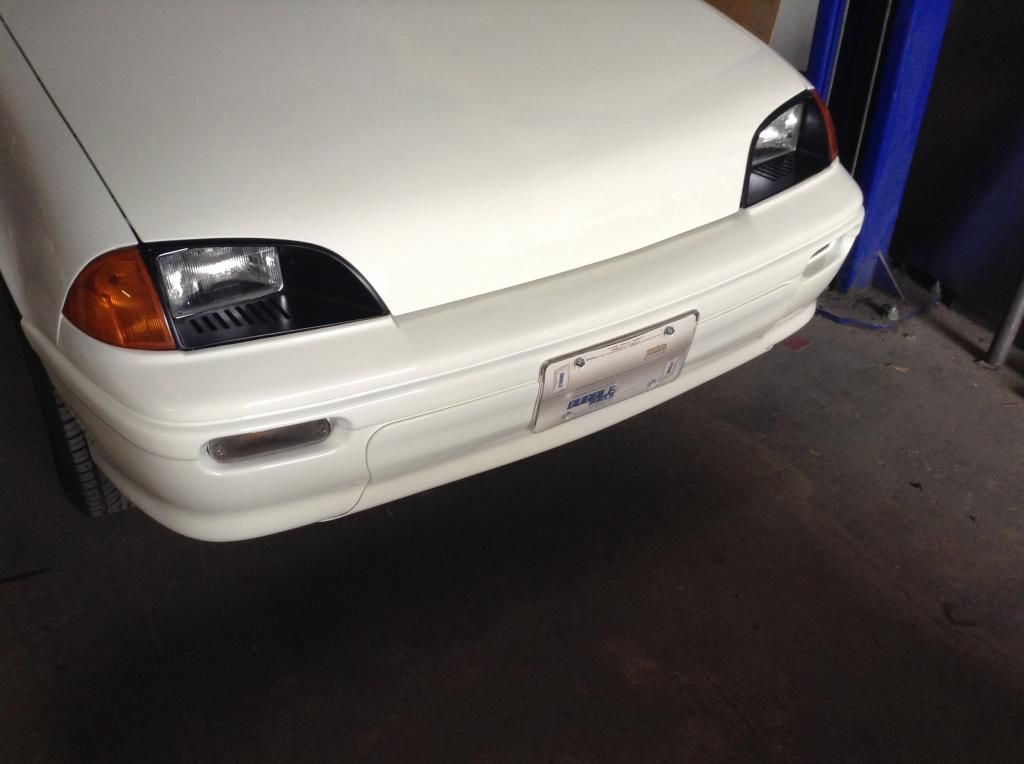
Black out area between the windows, since the back three windows will be limo tint.
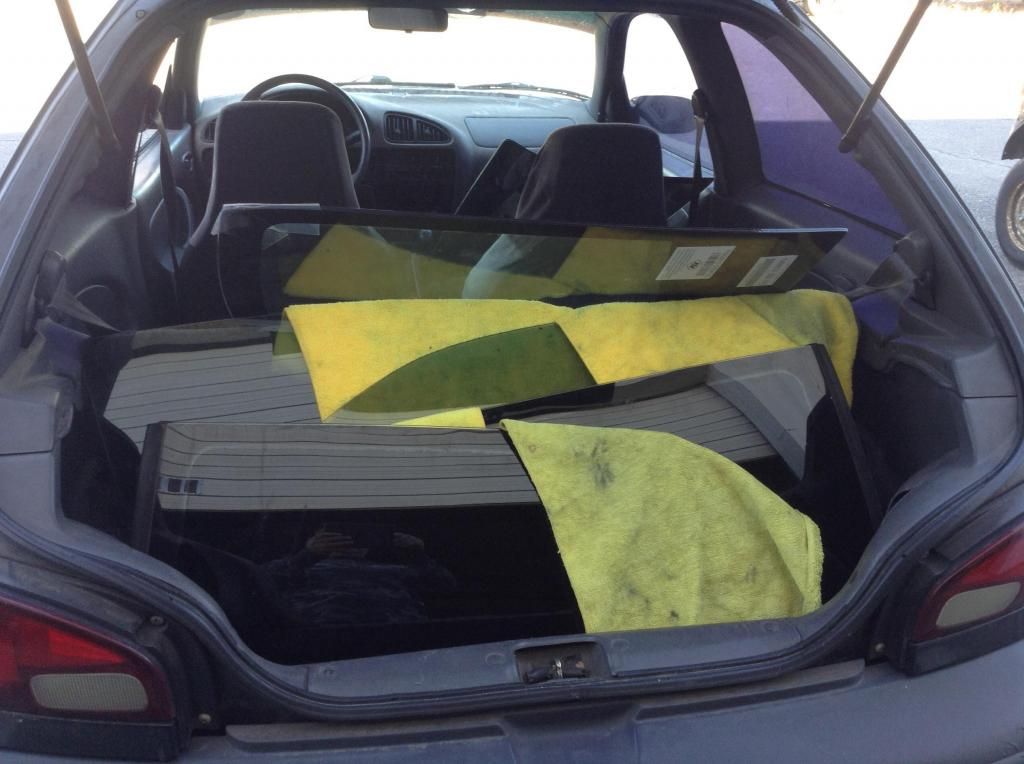
Here are all my windows that I had dropped off at my local glass shop for window tint. Hard to believe that they all fit in one of my Metros...
I put this strip of limo tint at the top of the windshields of all my builds.
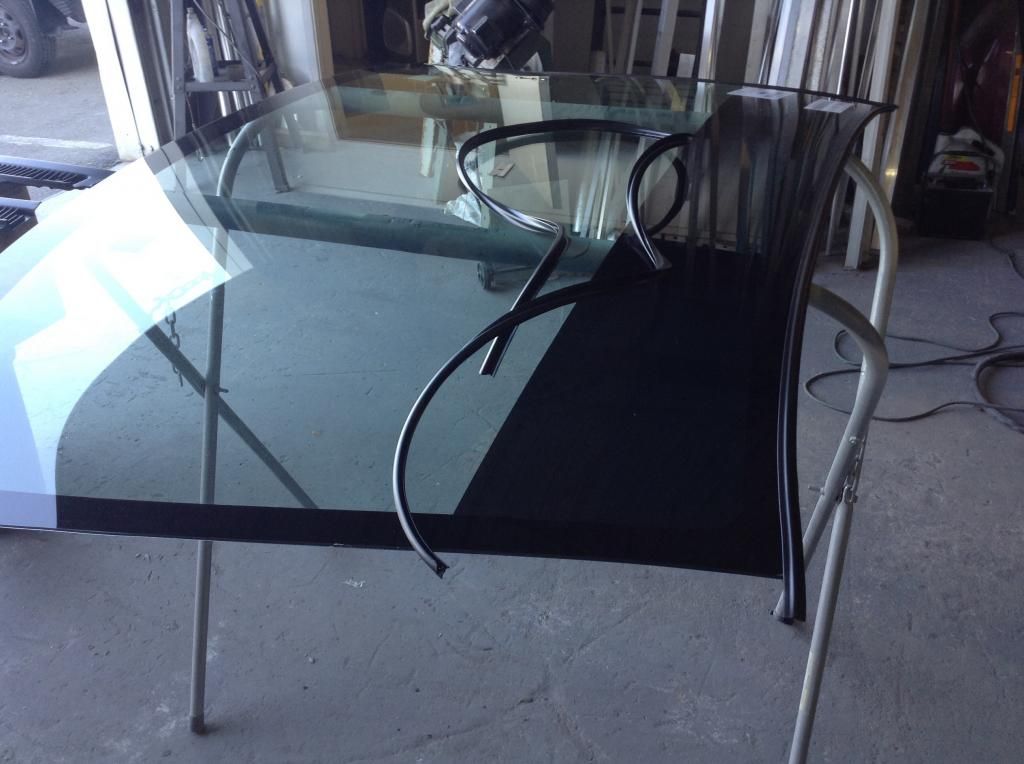 |
|
|

|
|
The Following 6 Users Say Thank You to EVmetro For This Useful Post:
|
|
 02-27-2015, 04:39 PM
|
#9 (permalink)
|
|
Karmann Eclectric
Join Date: Feb 2010
Location: Graham, WA
Posts: 165
Thanks: 9
Thanked 90 Times in 51 Posts
|
Simply Stupendous
Not many folks would give a Metro that much love. I'm impressed by your fabrication and layout, and the phenomenal attention to detail- can't wait to see numbers on the final result!
__________________
2012 Mitsubishi i-MiEV, 112 MPGe
2000 Honda Odyssey
1987 F250 Diesel, 6.9L IDI, goes on anything greasy
1983 Grumman Kurbwatt, 170 kW "Gone Postal" twin
1983 Mazda RX-7 electric, 48 kW car show cruiser
1971 VW Karmann Ghia electric, 300 kW tire-smoker
1965 VW Karmann Ghia cabriolet, 1600cc
Have driven over 100,000 all-electric miles!
|
|
|

|
 02-27-2015, 05:25 PM
|
#10 (permalink)
|
|
Master Novice
Join Date: Jan 2008
Location: SE USA - East Tennessee
Posts: 2,314
Thanks: 427
Thanked 616 Times in 450 Posts
|
Glorious. That is straight-up beautiful. The engine bay comes out so...clean.
__________________


Lead or follow. Either is fine.
|
|
|

|
|