This was a day's work. I got started right after breakfast, took about 3 hours off for lunch and a few other things. It was just about dark when I quit. I got the front section done, though it does need some tweaks still.
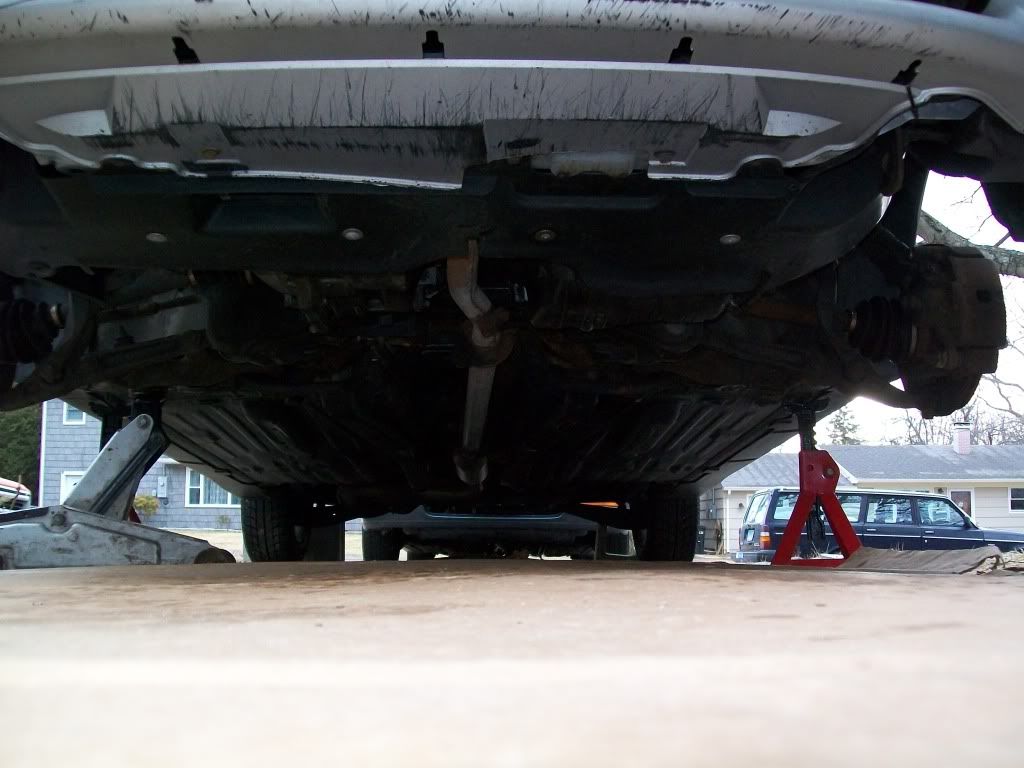
Here's a shot towards the rear. You can see the exhaust running down the middle. It takes a jog over to passenger side about a foot forward of the rear wheel well.
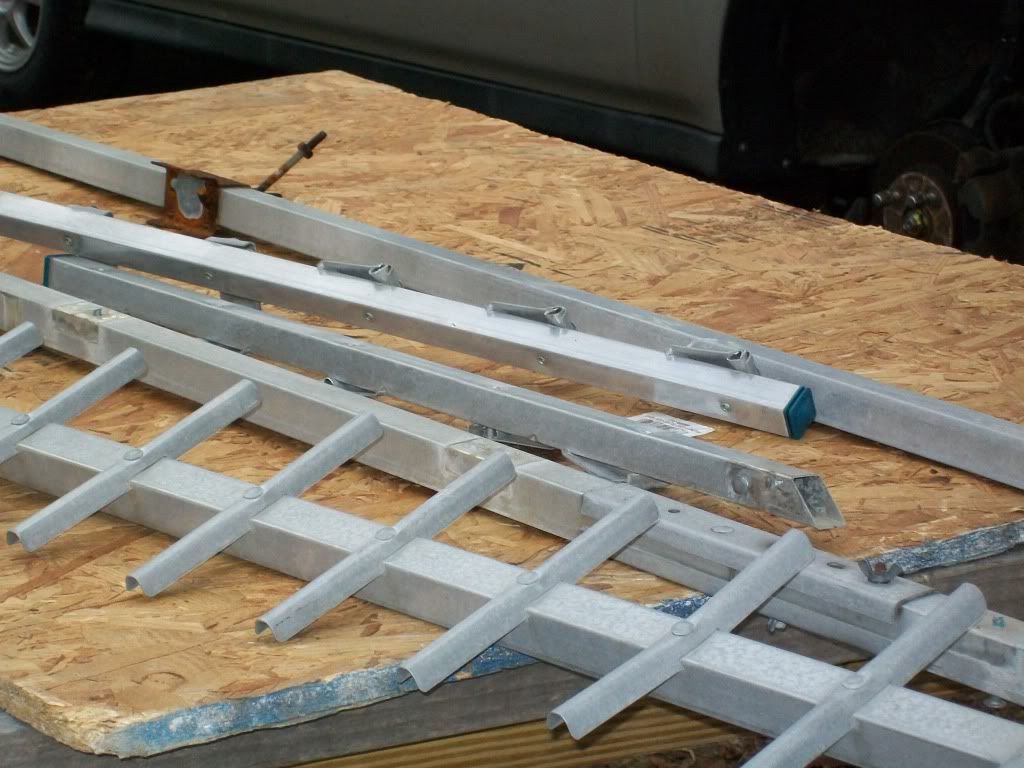
Rooftop antenna blew down a few weeks ago - so if I need some 1"x1" aluminum stock I'm all set.
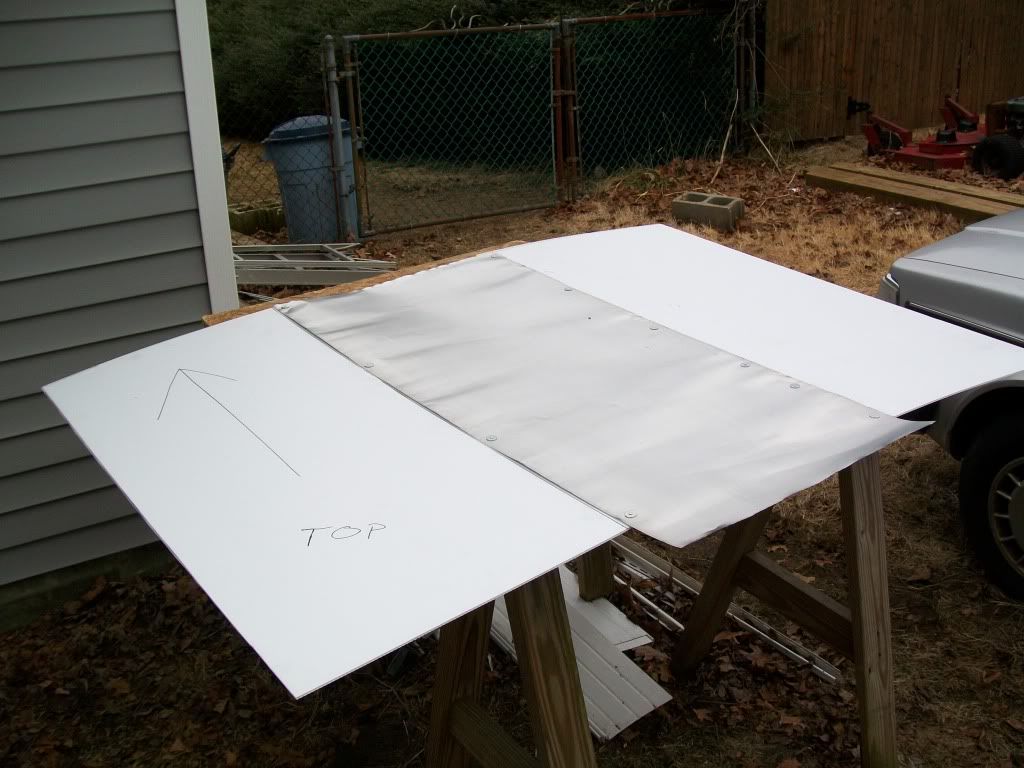
Here's the forward panel, riveted together. The overlap is just under 2". Calculated to give me the width I need from the 48" wide coro stock + 24" flashing. Measured to go from front bumper lip to rear of front wheel wells, and screw to underside of forward end of rocker panels. Is cut several inches larger in each direction because I know I'll need adjustments.
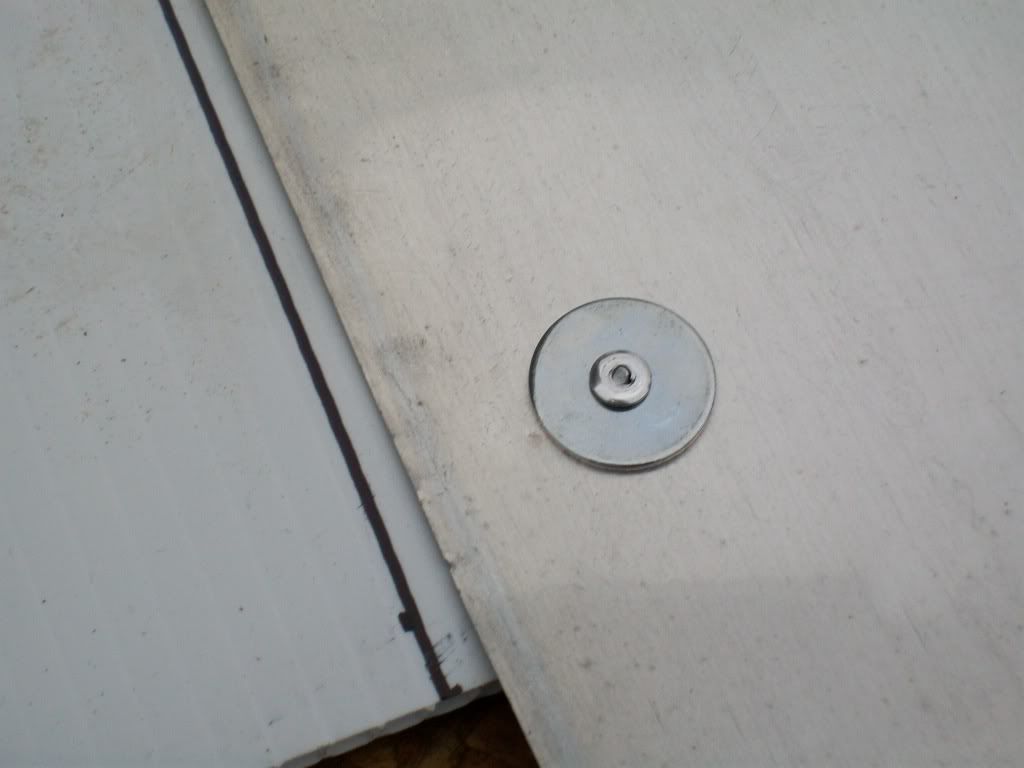
Closeup of aluminum pop rivet with fender washer. Coroplast is on left, 24" wide flashing on right. Under a gray sky, they look almost the same color.
I fastened these rivets from the top down but later found that some rivets let go. Better to attach from the bottom up but I can't say why. The rivets are 1/8" diam, with thickness range of up to 1/2". The next smaller size is only 1/4" capacity which is not enough to handle the coroplast + 2 washers + aluminum flashing. Coroplast = 4 mm. = about 0.15" thick, between 1/8 and 1/4" if you're not digitally inclined.
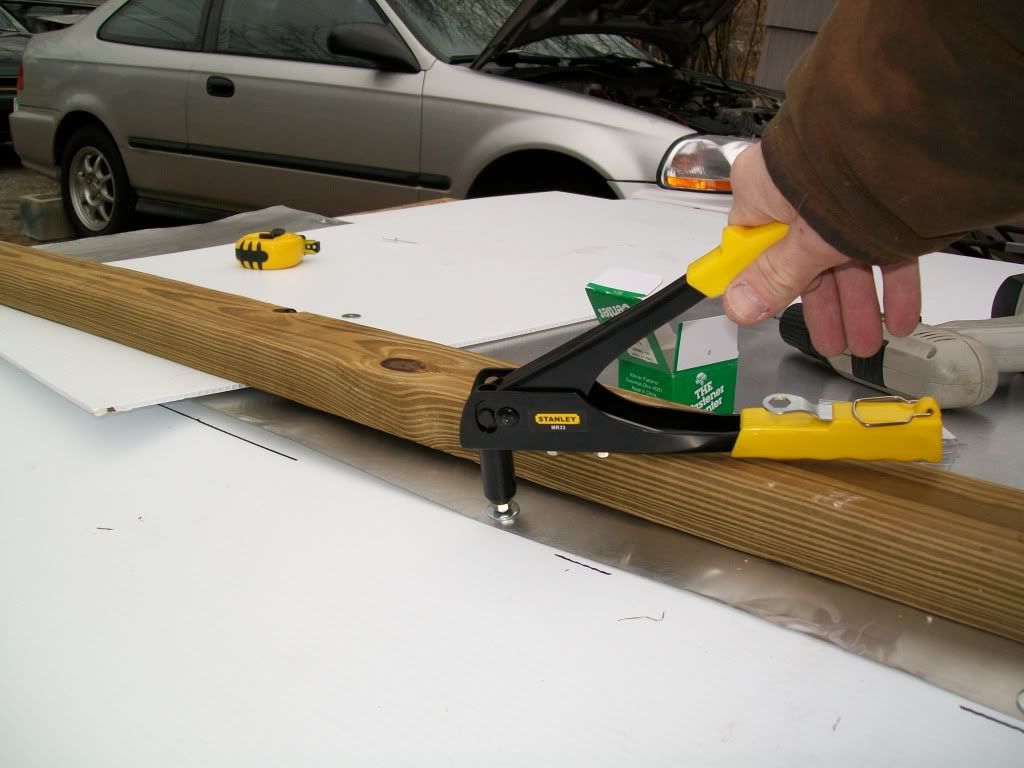
One-handed riveting technique. Without the 2x stud, the handle opens too far to grab and squeeze. I used my other hand to hold the washer in place on the underside. Needs to be held until the rivet pops, or it will drop off.
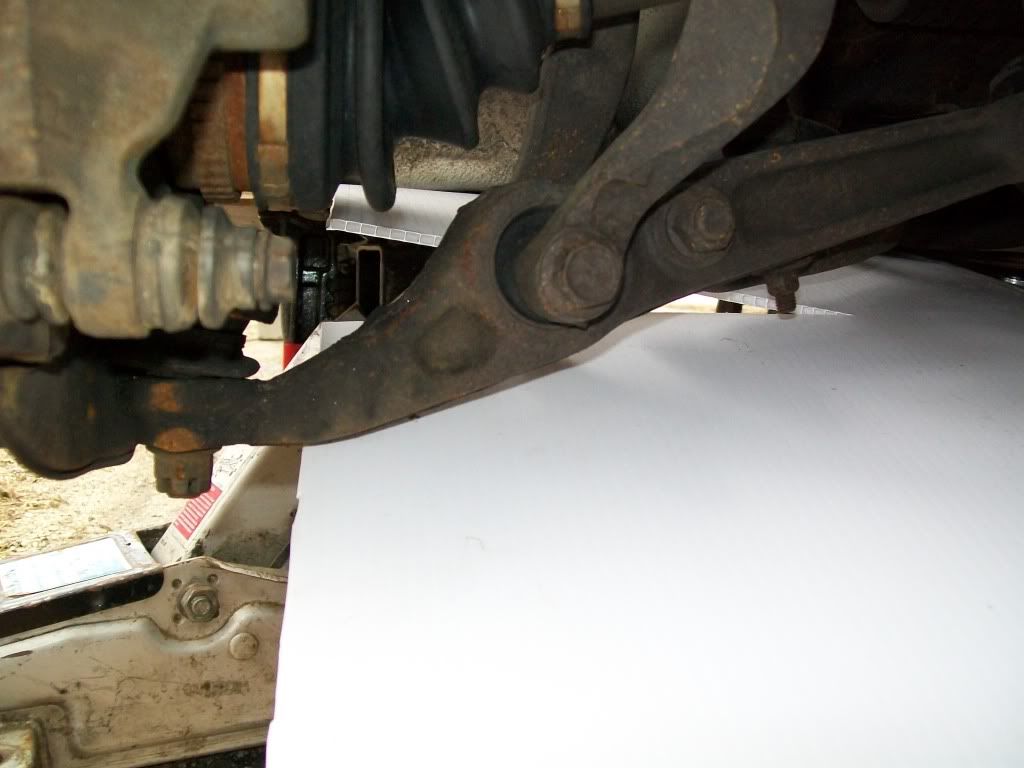
View of right front control arm, looking rearward. See cut into coroplast. Idea is, the coroplast should flex downward when the arm swings down. Rear part of coroplast behind the cut will stay where it is. That's the idea, anyway. Later, I might add an extension to the rear section, so they overlap under the control arm, and move together. Maybe.
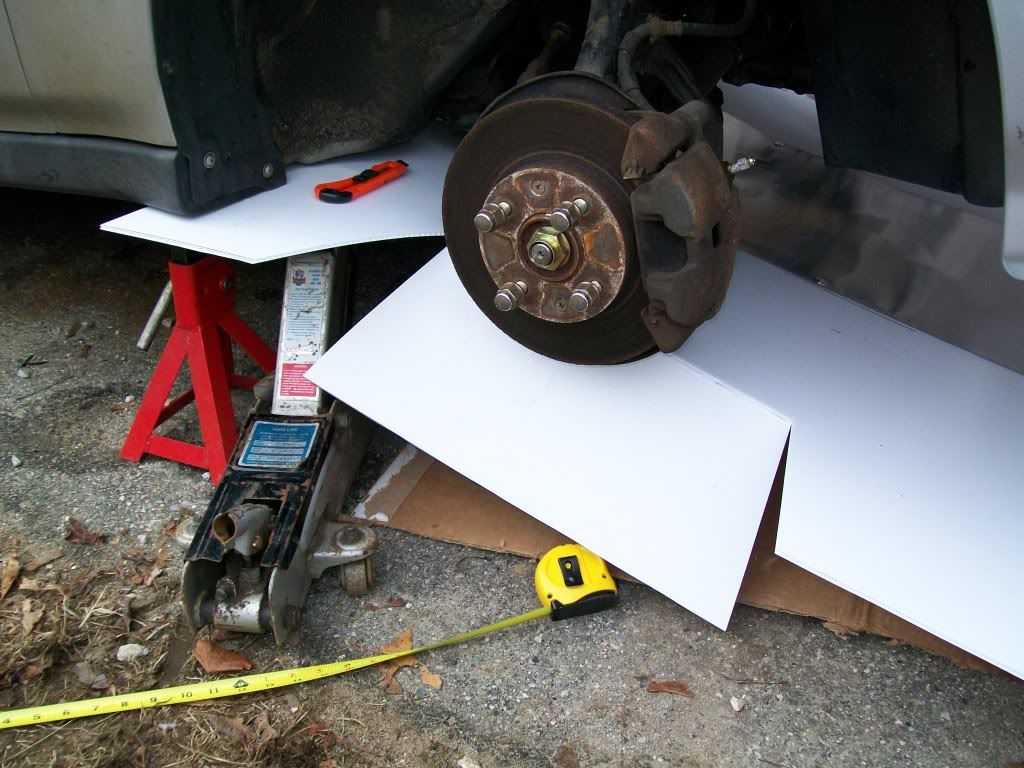
Right front wheel. Cutting away material for clearance. Working bit by bit. This shot is early in the sequence - there's not enough clearance yet to mount the wheel. Once it's on, I cut and test, turn wheel a few more degrees, cut and test, etc. etc. With both corners off the ground a one-hand tug will turn the steering.
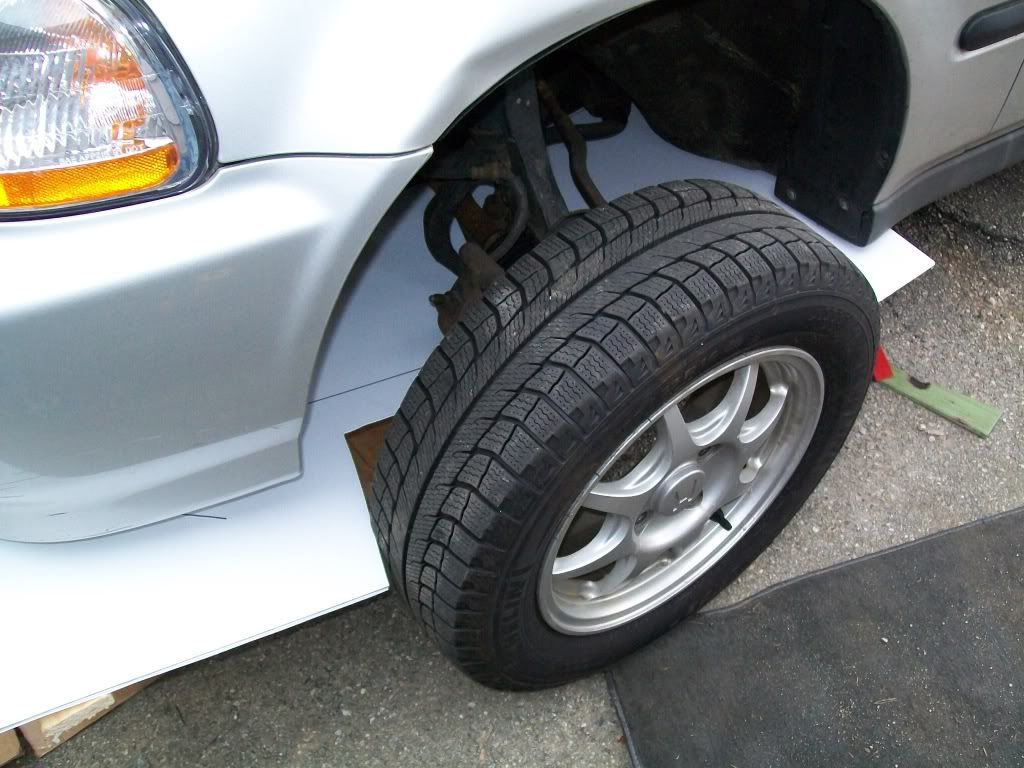
Further along in trimming for the wheel. Left front this time.
I taped the edges of the oil change access cutout. But the tape didn't hold even 50 miles. FYI to save you the same grief.
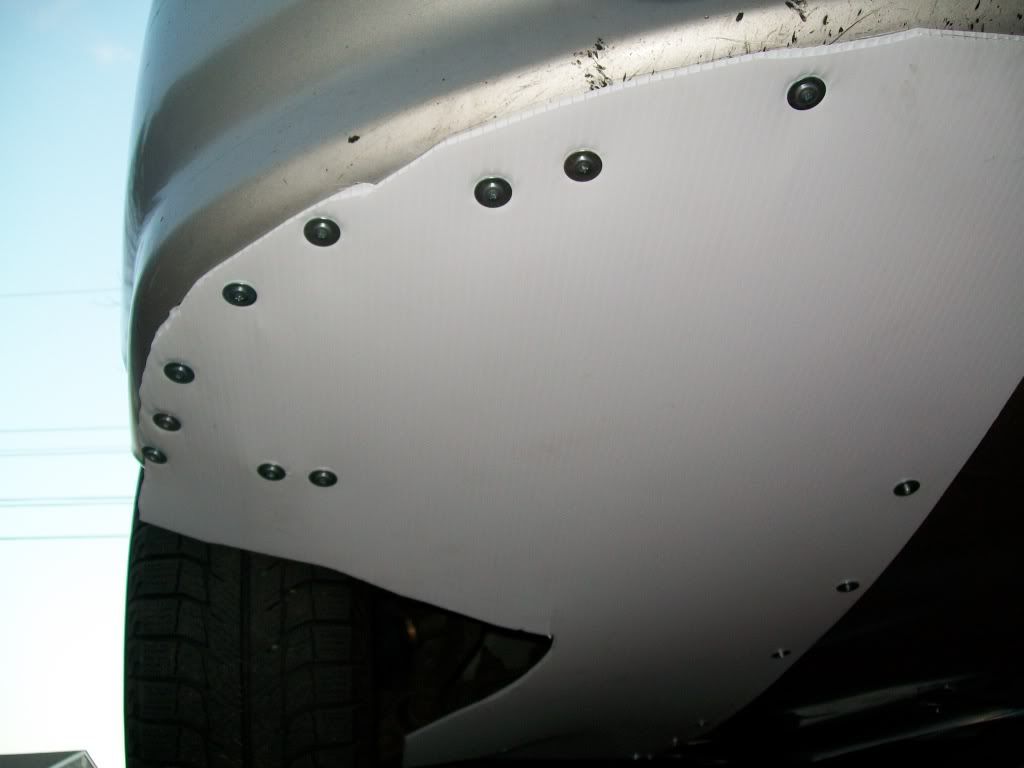
Right front wheel well, looking forward at the bumper's rear edge. Note the upward slope of underside. I forced the coroplast to follow that slope.
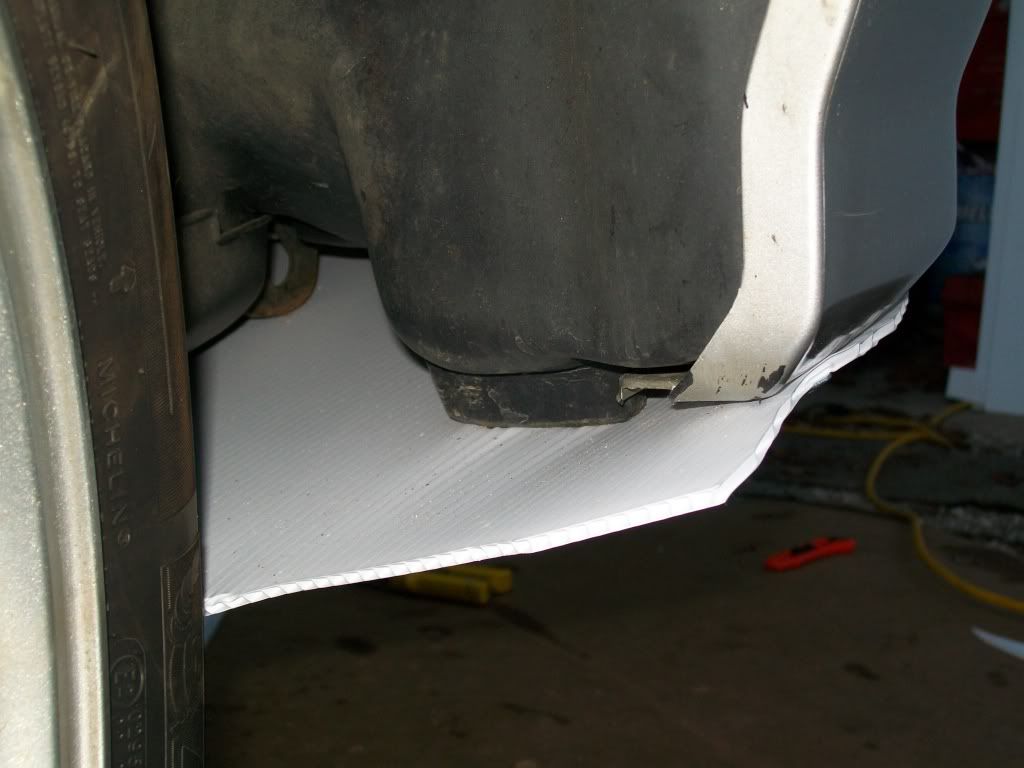
Underside of bumper lip. I put plenty screws here to hold the coroplast to that upward slope visible in previous shot. Same deal on the other side of the car.
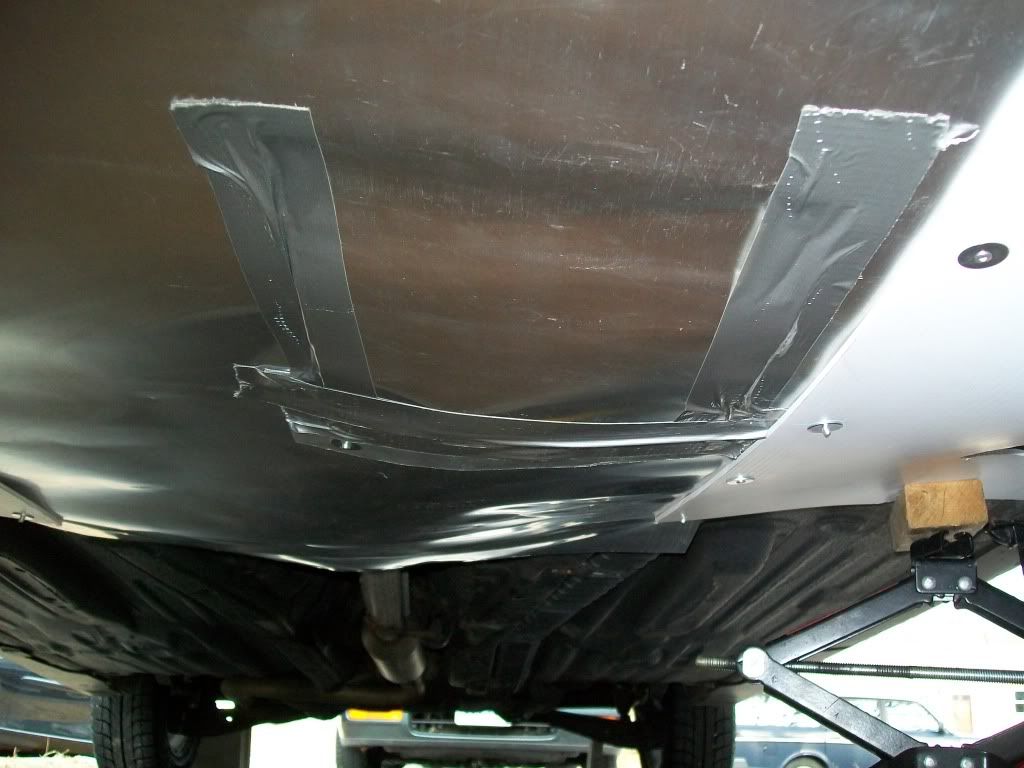
Rear half of engine bay, viewing towards rear. Aluminum is screwed on at either side of the exhaust tunnel, with extra material so it bows down to leave a gap. You can see the duct taped access panel on right side - the tape let go within 50 miles so I put in a couple screws.
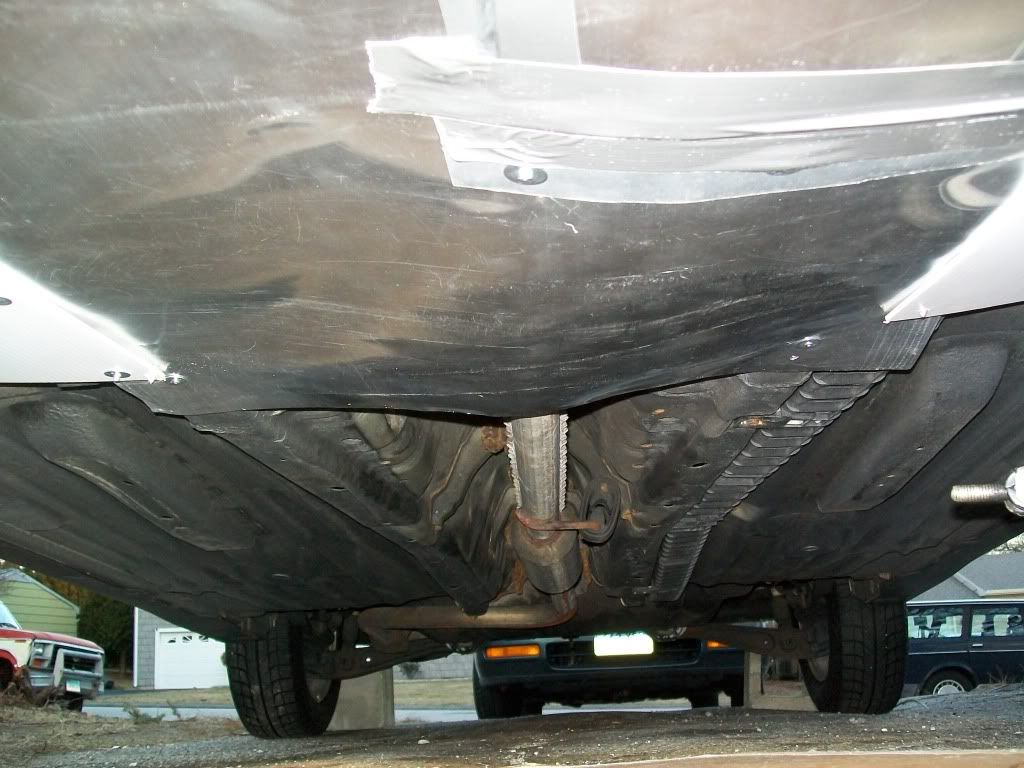
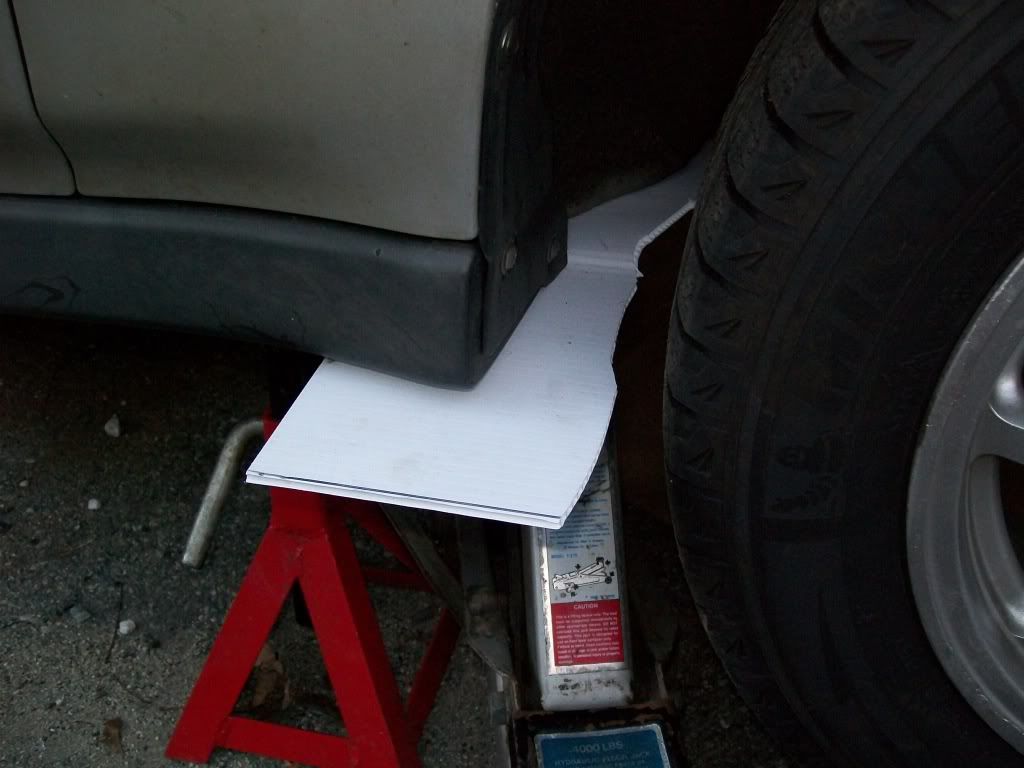
Floor jack holds coroplast panel in place against underside of car. Jack stand holds up car. Same deal on the other side of car, except it's a scissors screw type jack. Just enough pressure to keep it in place while working. Wood block between jacks and coro so it doesn't get completely mutilated by pressure.
I really want to put in a shot showing the cuts in coroplast to allow steering. But I'd have to pull the wheel off again to get the shot...