 04-21-2015, 06:40 PM
|
#111 (permalink)
|
|
Experienced UAW Mechanic
Join Date: Sep 2014
Location: Bear Lake
Posts: 363
Thanks: 7
Thanked 73 Times in 63 Posts
|
I realize my progress isn't pretty yet, but very little is finalized, either. Anyway,...
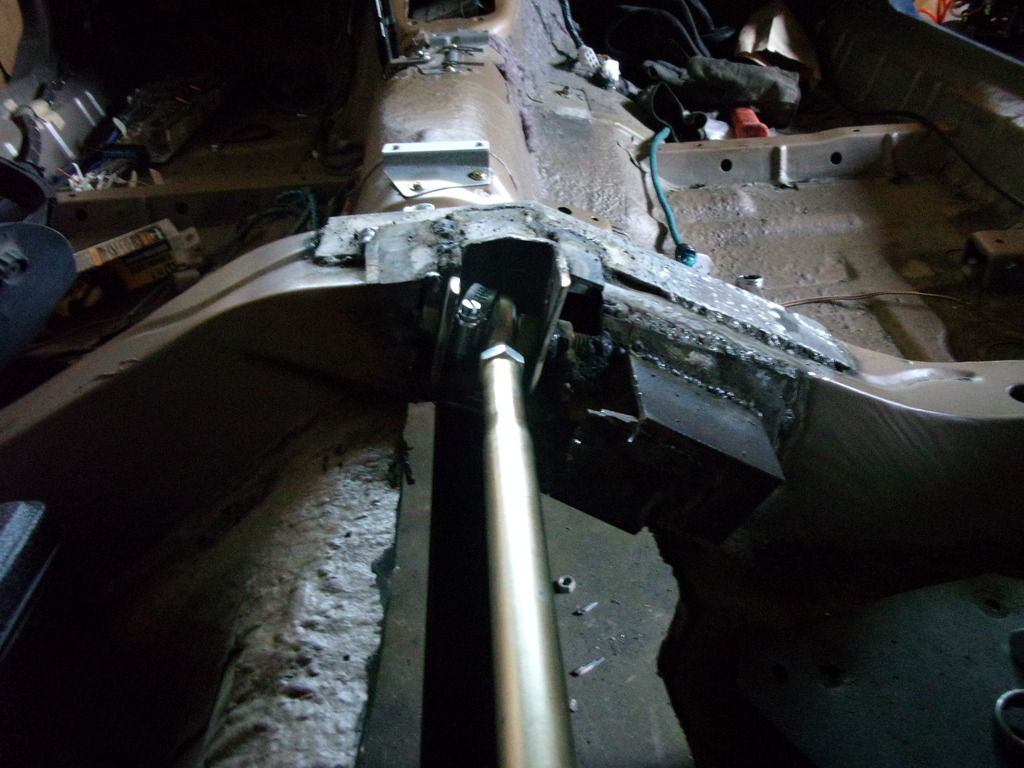
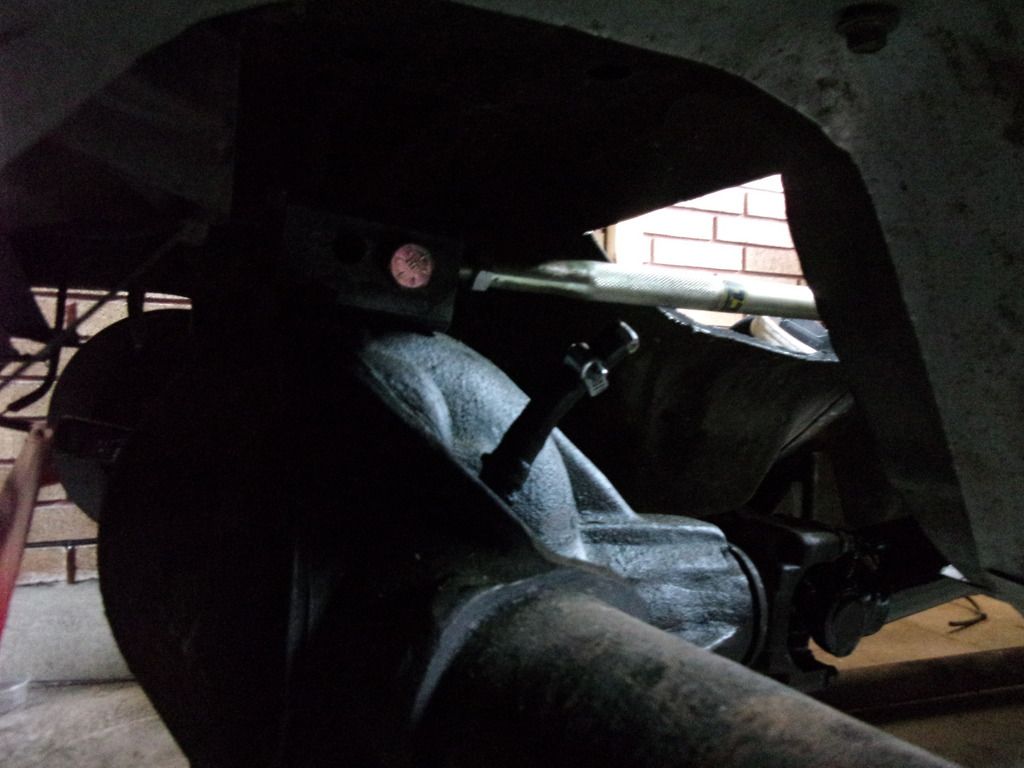
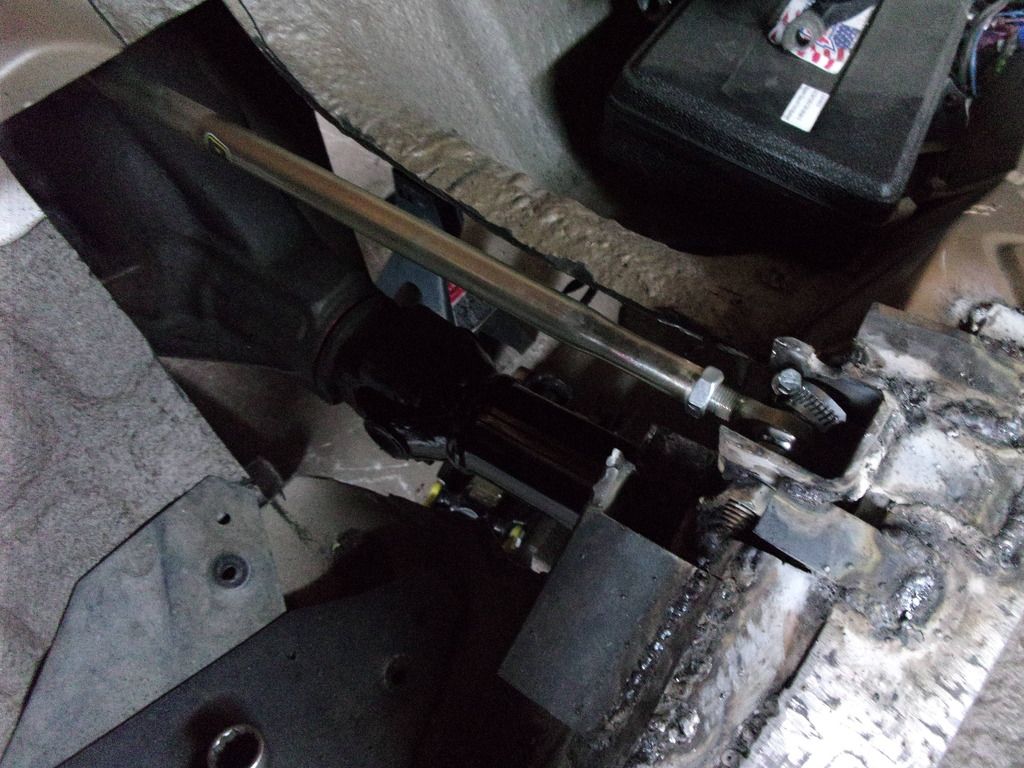
Sorry the flash isn't working, and that's an '86 Camaro driveshaft shortened 5.25 inches and re-balanced.
|
|
|

|
|
The Following User Says Thank You to cosmick For This Useful Post:
|
|
 Today Today
|
|
|
|
 Other popular topics in this forum...
|
|
|
|
 04-22-2015, 02:30 PM
|
#112 (permalink)
|
|
Master EcoModder
Join Date: Feb 2012
Location: Ontario, Canada
Posts: 596
Thanks: 133
Thanked 89 Times in 66 Posts
|
This looks like a really cool build. I love the idea and I think that it should be an exciting car to drive. As long as you can keep the revs up this should not only provide great mpg but even do quite well on an autocross (until classing comes in to play). I haven't been active here in a while so I missed this thread until now, but I can't wait to see it finalized. Looks great.
My only question is about the mounting for your torque arm/ 3rd link mount at the diff. I can't say for sure but I am instinctively worried about the bracket bolted through the cast diff housing. Despite there being plenty of material there, the nature of cast iron leaves it quite brittle and prone to cracking under stress, shear forces or shock. I really hope that I'm over thinking it but I'm picturing the possibility of the lateral forces transferred across it could lead to a crack between the 2 bolts. Which in turn could have some disastrous results. I've broken a couple of iron castings and often there is zero signs of weakness or cracking, until instant and complete failure.
I hope that this doesn't come out as sounding like I'm bashing you, just trying to point out something to consider.
__________________


|
|
|

|
|
The Following User Says Thank You to 2000neon For This Useful Post:
|
|
 04-22-2015, 03:19 PM
|
#113 (permalink)
|
|
Experienced UAW Mechanic
Join Date: Sep 2014
Location: Bear Lake
Posts: 363
Thanks: 7
Thanked 73 Times in 63 Posts
|
There's a lot about this car that's new and never before tried. I am trying for excellent handling, even though the car's owner will never do any competition of any sort, at any time. The owner is a widow in her late 60s, doesn't really enjoy cornering, and is no risk of high rpm clutch dump launches nor powershifting. If she can break it, then lesson learned.
Because of your post, I will add some sort of rotation limiter in case the casting fails. I think that's a great new challenge, thanks!
I did design the third link bracket atop the diff to be attachable if I end up needing to fabricate a thicker steel diff cover, whether for this, or for the Watt's link. Or both.
I haven't even tried it yet, and already I can't stop wondering about bolting the Watt's to the cast aluminum cover I just ordered yesterday. The idea is proven, but it is mostly the Ford 8.8-inch, and some of those covers are cast specifically for Watt's mounting, instead of or in addition to preloading the carrier caps, depending on brand.
What I'm trying now forces the rear roll center to be at the same height as the exact center of the axle assembly. Fabricating a thicker steel cover would let me move it down at least 3 inches.
But I gotta start somewhere, right?
I seriously considered a single through bolt for that top bracket. I decided I didn't dare try it.
|
|
|

|
|
The Following User Says Thank You to cosmick For This Useful Post:
|
|
 04-22-2015, 06:01 PM
|
#114 (permalink)
|
|
Master EcoModder
Join Date: Feb 2012
Location: Ontario, Canada
Posts: 596
Thanks: 133
Thanked 89 Times in 66 Posts
|
Cool! I do love the design and think it should work quite well, especially having the adjustable 3rd link. Keep it up!
__________________


|
|
|

|
|
The Following User Says Thank You to 2000neon For This Useful Post:
|
|
 04-22-2015, 08:17 PM
|
#115 (permalink)
|
|
Experienced UAW Mechanic
Join Date: Sep 2014
Location: Bear Lake
Posts: 363
Thanks: 7
Thanked 73 Times in 63 Posts
|
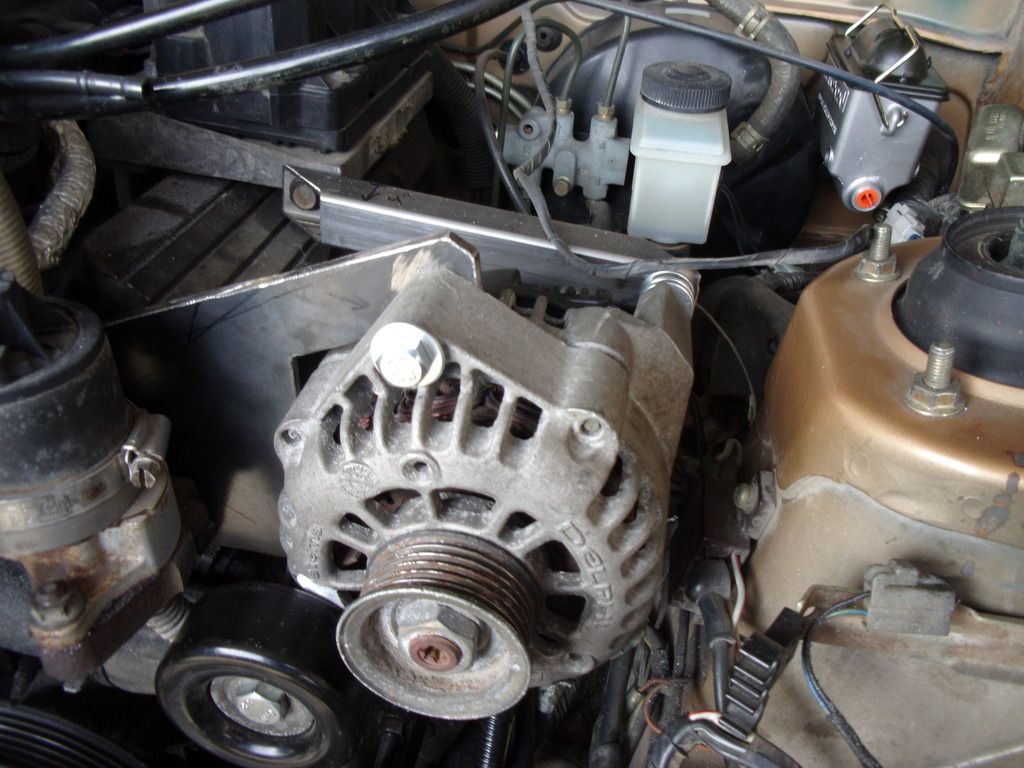
The third link lost it's adjustability once I had everything mocked up. In this build, there's only one way it can go, and even that isn't ideal. But at least it isn't compromised, so I'm not bothered. Anyway, the 3 things I did accomplish today all fit in one pic:
 |
|
|

|
 04-23-2015, 08:20 PM
|
#116 (permalink)
|
|
Experienced UAW Mechanic
Join Date: Sep 2014
Location: Bear Lake
Posts: 363
Thanks: 7
Thanked 73 Times in 63 Posts
|
Did some research, don't like what I'm reading about lowering the rear roll center on these cars, noone's tried raising it. If the aluminum cover doesn't last, then I'll try raising it.
|
|
|

|
 04-25-2015, 10:43 AM
|
#117 (permalink)
|
|
Experienced UAW Mechanic
Join Date: Sep 2014
Location: Bear Lake
Posts: 363
Thanks: 7
Thanked 73 Times in 63 Posts
|
Ordered a Summit radiator, 2 row, 2.5" thick, 19" x 27". It's all I think I can fit, and probably overkill. Now to mount it and adapt the hoses.
Also trying to splice the GM single-outlet p/s hose to Mazda's dual-inlet p/s rack. I'm using a y-block, all -6 AN, with 2 different adapter fittings, and 3 identical 13-inch lengths of PTFE-lined braided stainless steel hose.
For anyone who may ever try this with any GM engine that uses a metric pump, and an FC steering rack, you need a -6 AN / 16 mm x 1.5 o-ring style male adapter, for the GM pump, and a pair of -6 AN / 16 mm x 1.5 inverted flare style male adapters, for the Mazda rack. I used a Fragola brand 491963, and 2 Fragola 460616s. I'll report back if I ordered anything that proves to not work. So if you try to copy this part, keep reading to see if I later correct myself.
|
|
|

|
 04-25-2015, 10:45 AM
|
#118 (permalink)
|
|
Experienced UAW Mechanic
Join Date: Sep 2014
Location: Bear Lake
Posts: 363
Thanks: 7
Thanked 73 Times in 63 Posts
|
Also, now the alternator is relocated and mounted, I had to find a belt. I used the Napa website to search by length and number of rows, the first thing I tried fits great! I'm putting an identical spare in the car, just in case.
|
|
|

|
 04-25-2015, 06:01 PM
|
#119 (permalink)
|
|
Experienced UAW Mechanic
Join Date: Sep 2014
Location: Bear Lake
Posts: 363
Thanks: 7
Thanked 73 Times in 63 Posts
|
|
|
|

|
 04-28-2015, 05:32 PM
|
#120 (permalink)
|
|
Experienced UAW Mechanic
Join Date: Sep 2014
Location: Bear Lake
Posts: 363
Thanks: 7
Thanked 73 Times in 63 Posts
|
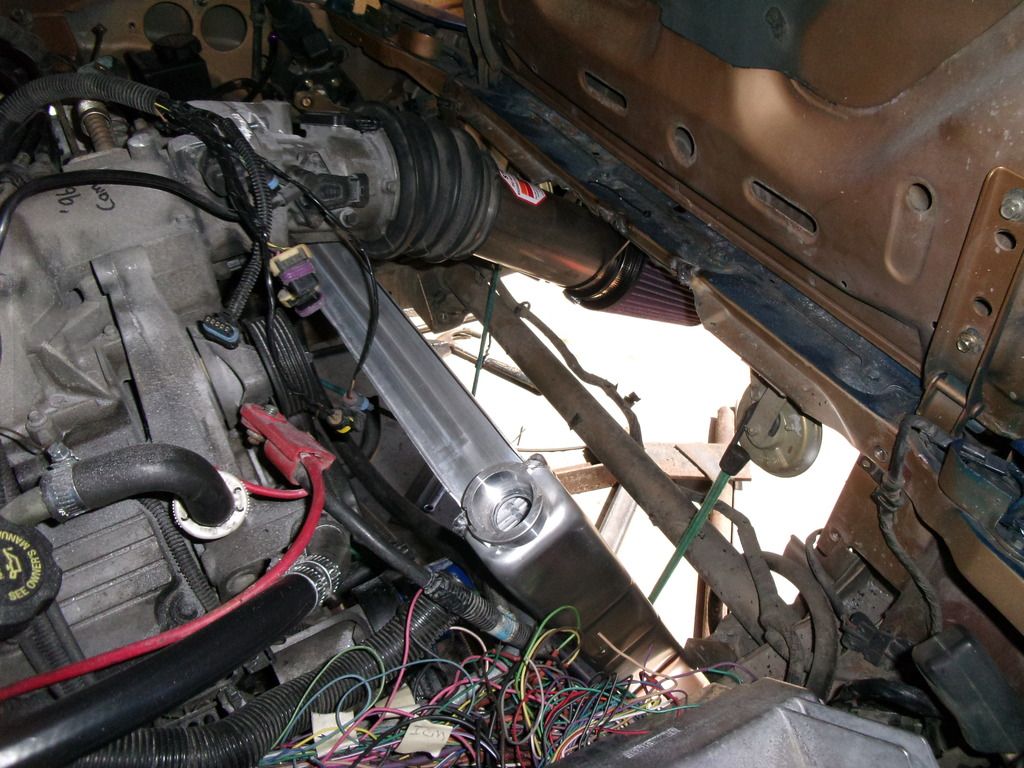
just a general mockup there
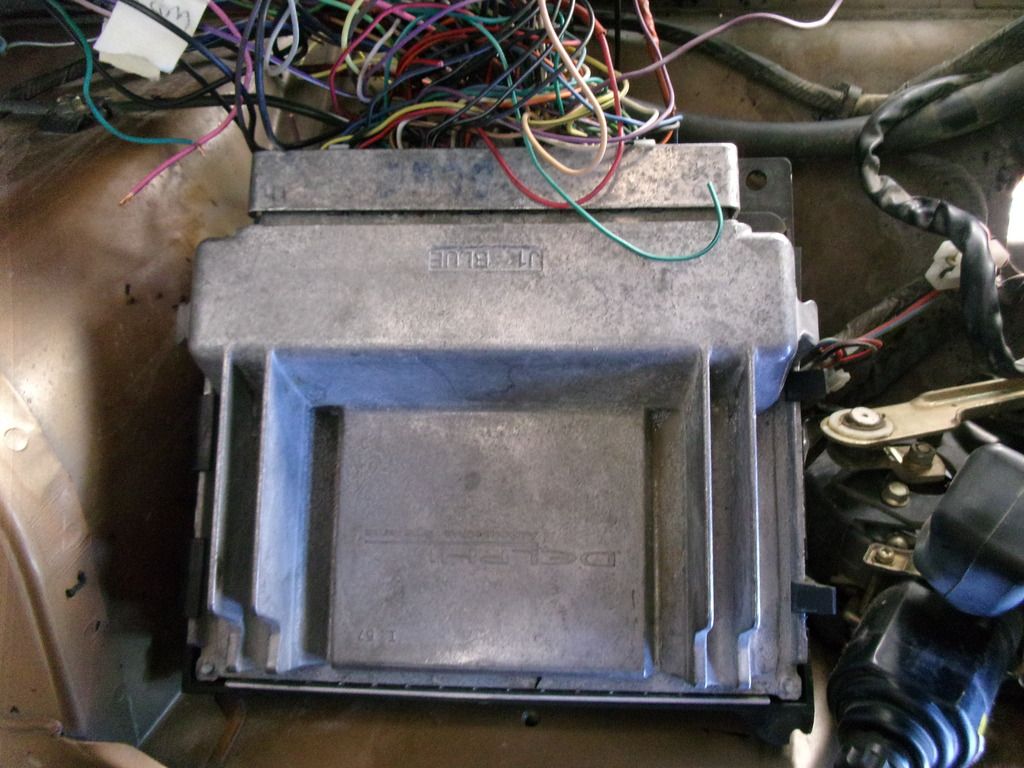
PCM mounted
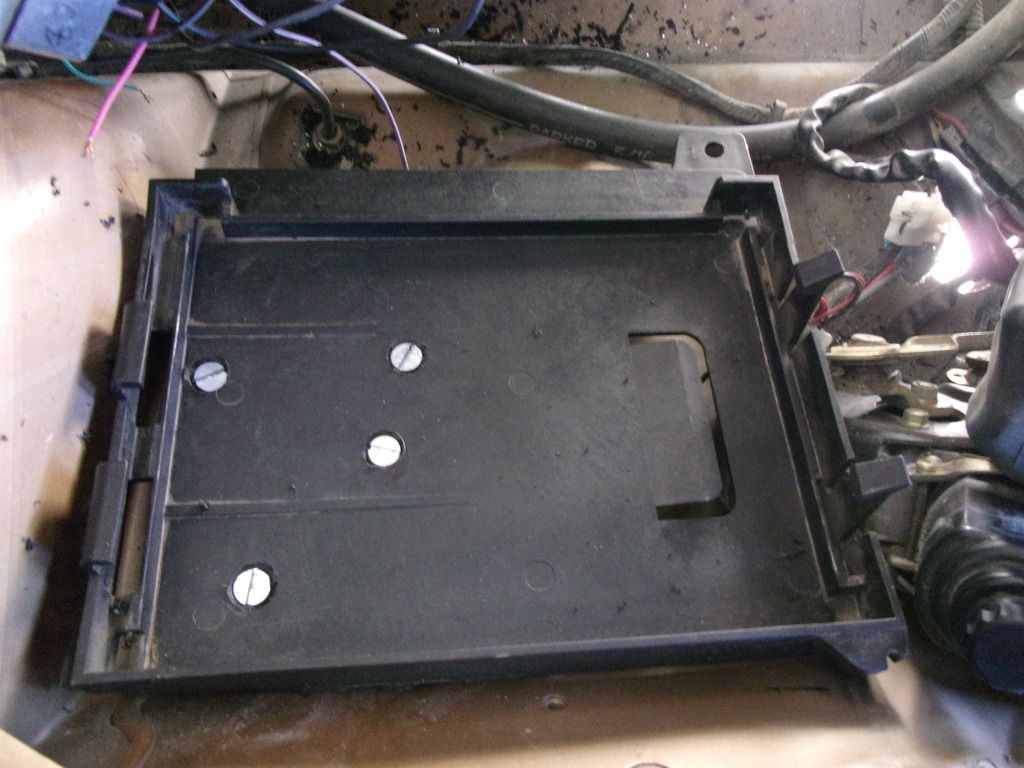
How I did it, with 1/4-inch panhead bolts, lockwashers, and double nuts.
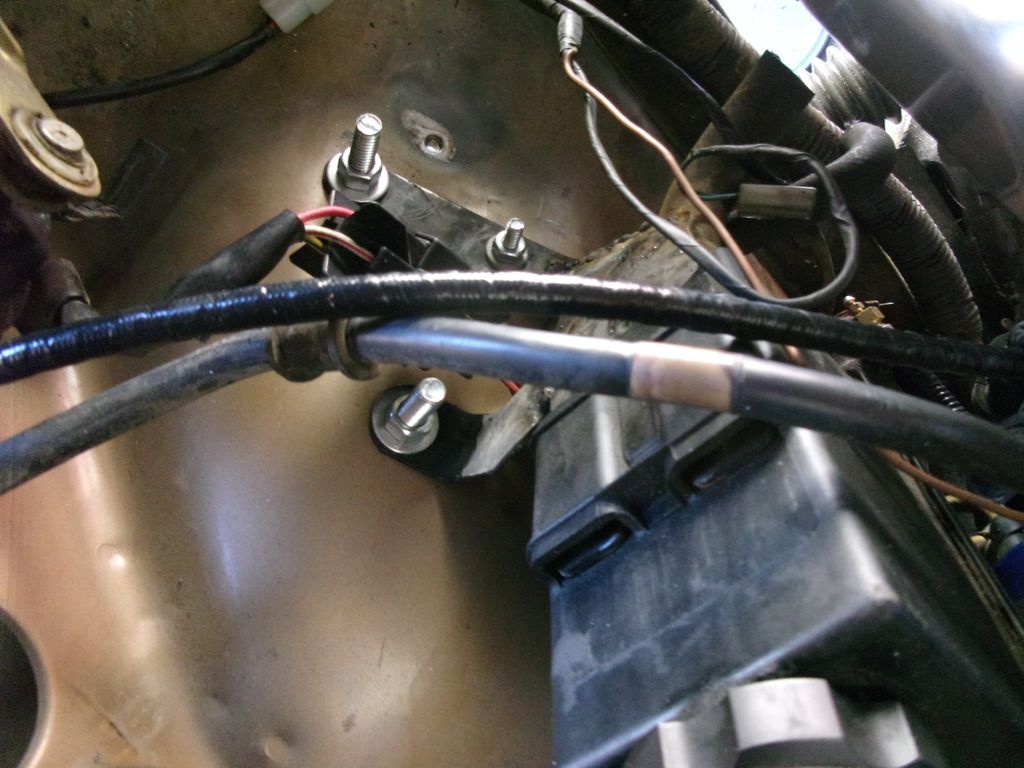
Made the p/s bracket by cutting and welding what it had, then drilling the car.
|
|
|

|
|