Update 10/10/2014: Custom MPGuino Housing- Part 3
Since I was out of bondo, and I knew I was down to my last layer or two, I opted to go for the “Gold” Bondo. Good stuff! Seems to sand the same, but the mixing and application processes were much easier/smoother. The product also took longer to set, giving me more time to work it into shape. That was, particularly, helpful with this obscure shape I had to work with.
I had to dremel in a little “notch” inside for the plastic tab on the LCD board just next to the screen.
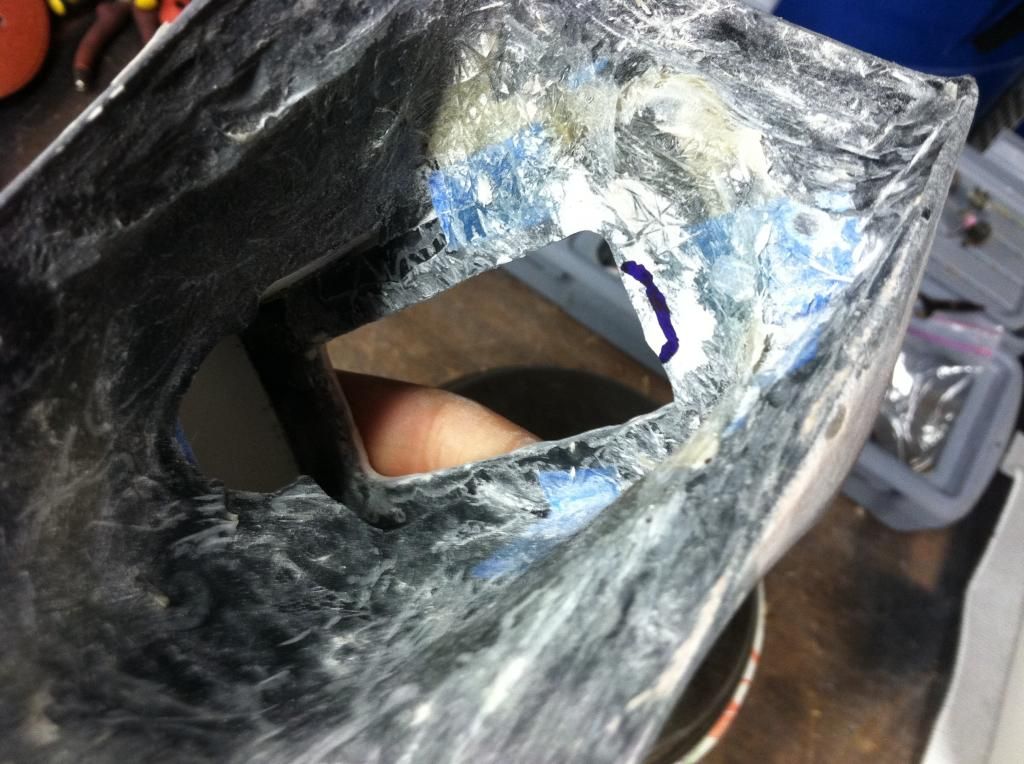
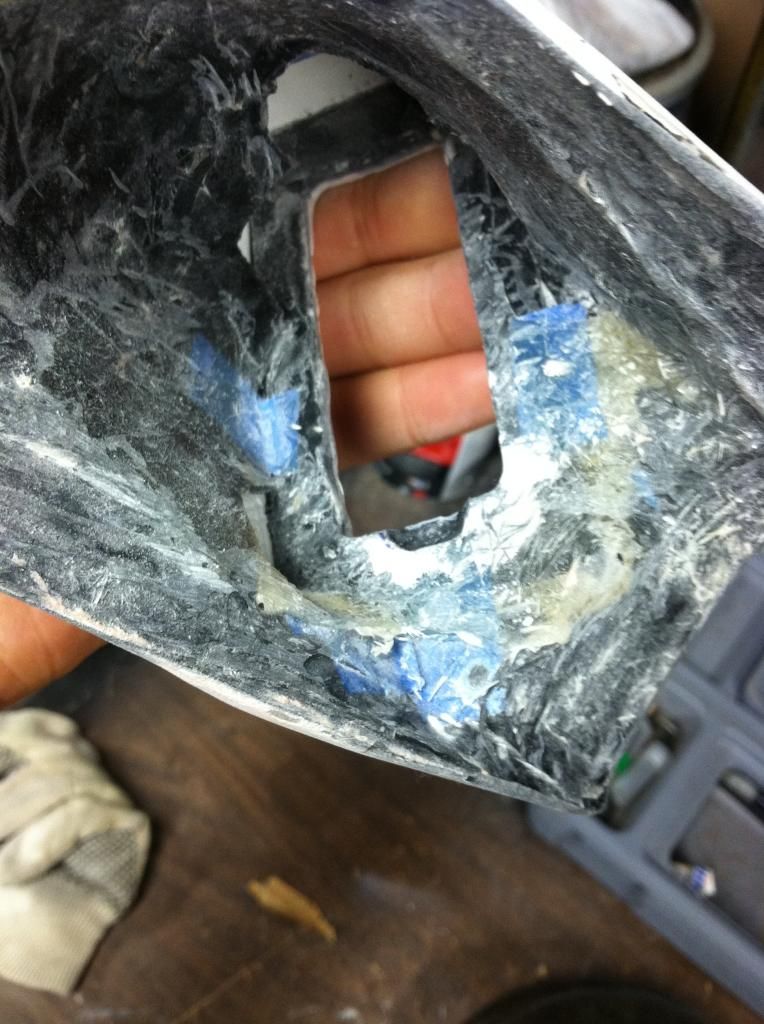
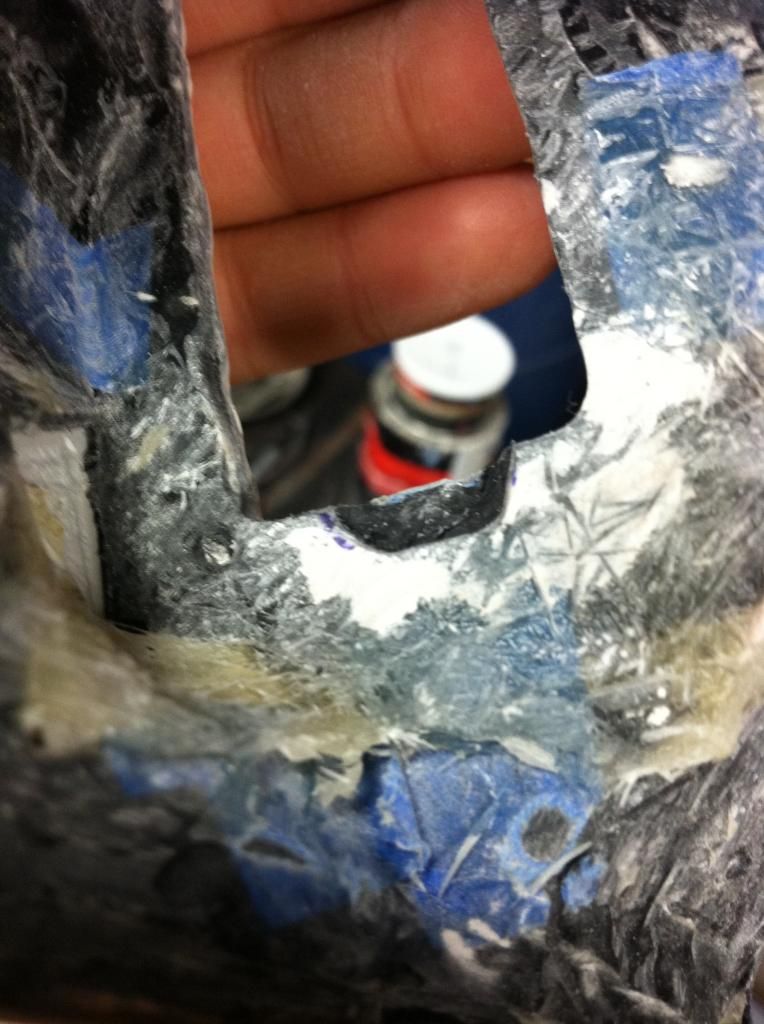
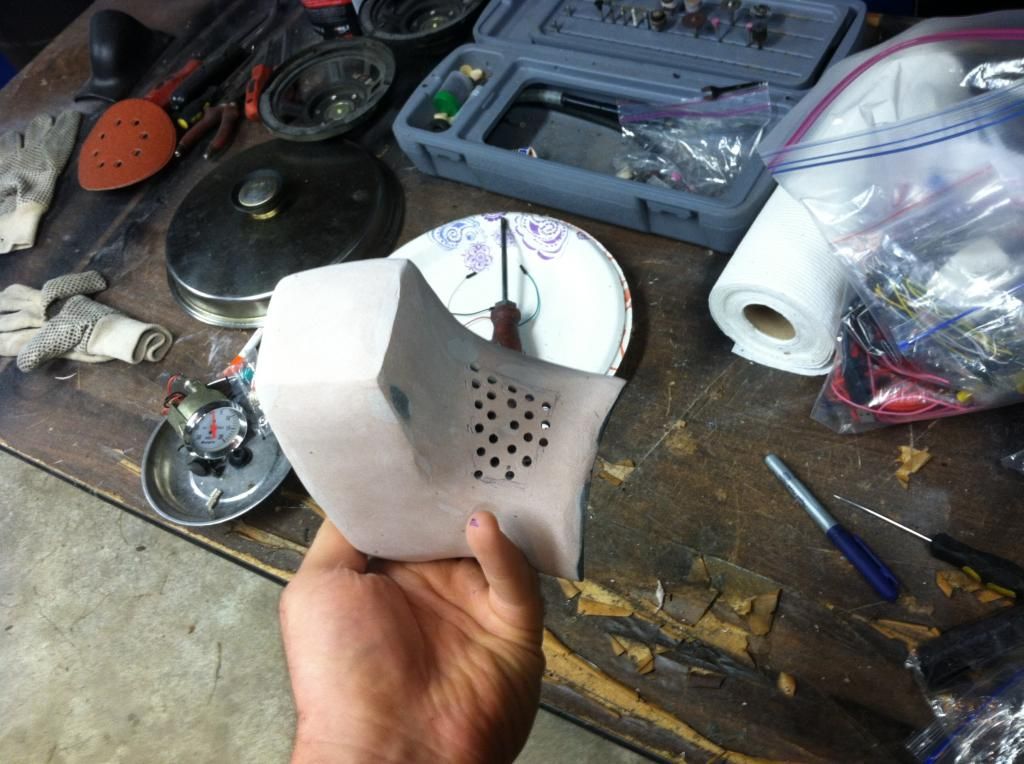
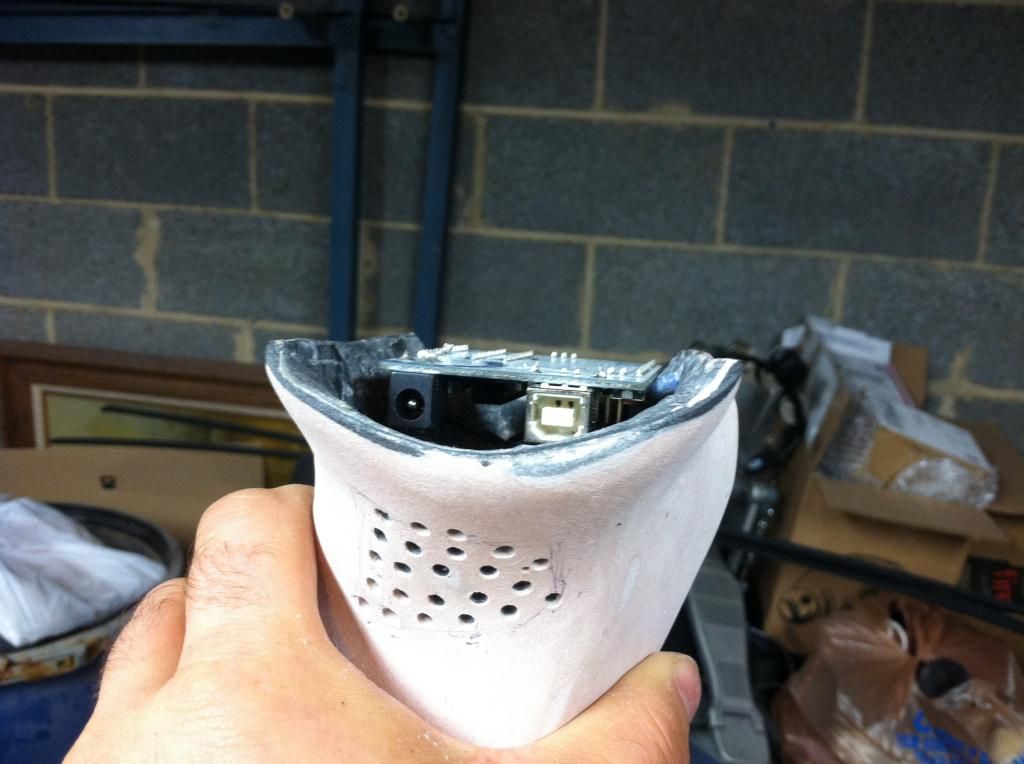
I then put my focus into drilling some holes. I made a grid-type design on the underside to help with heat dissipation. It is my understanding that the Arduino boards do run a bit hot. I hope that this will help some.
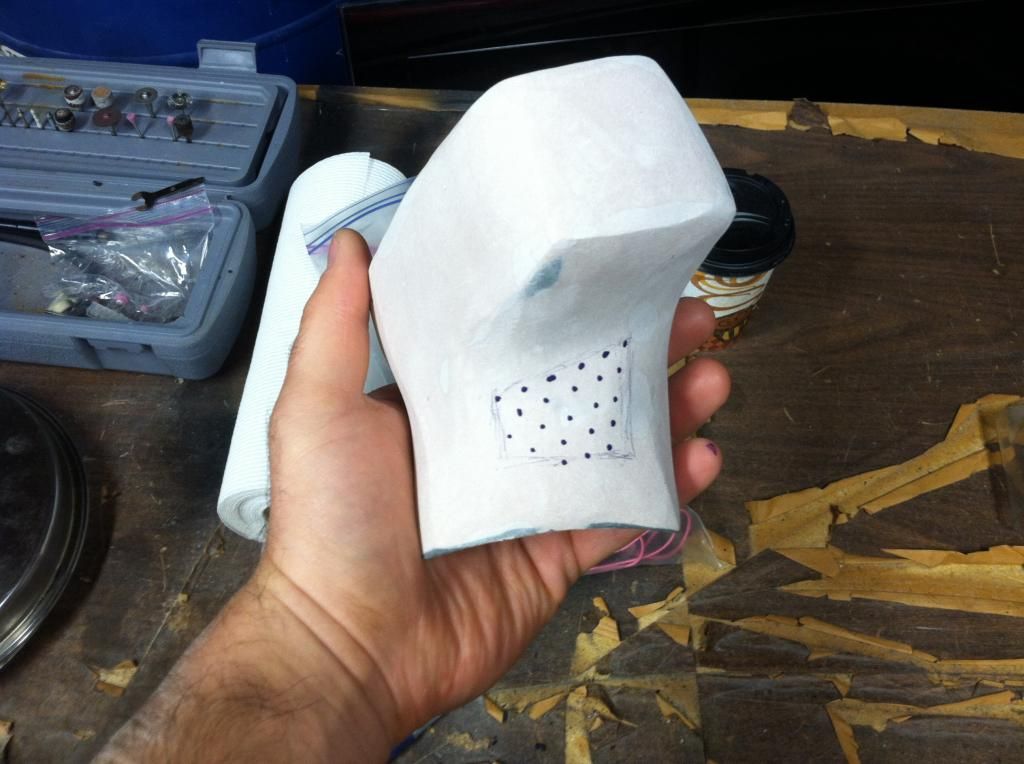
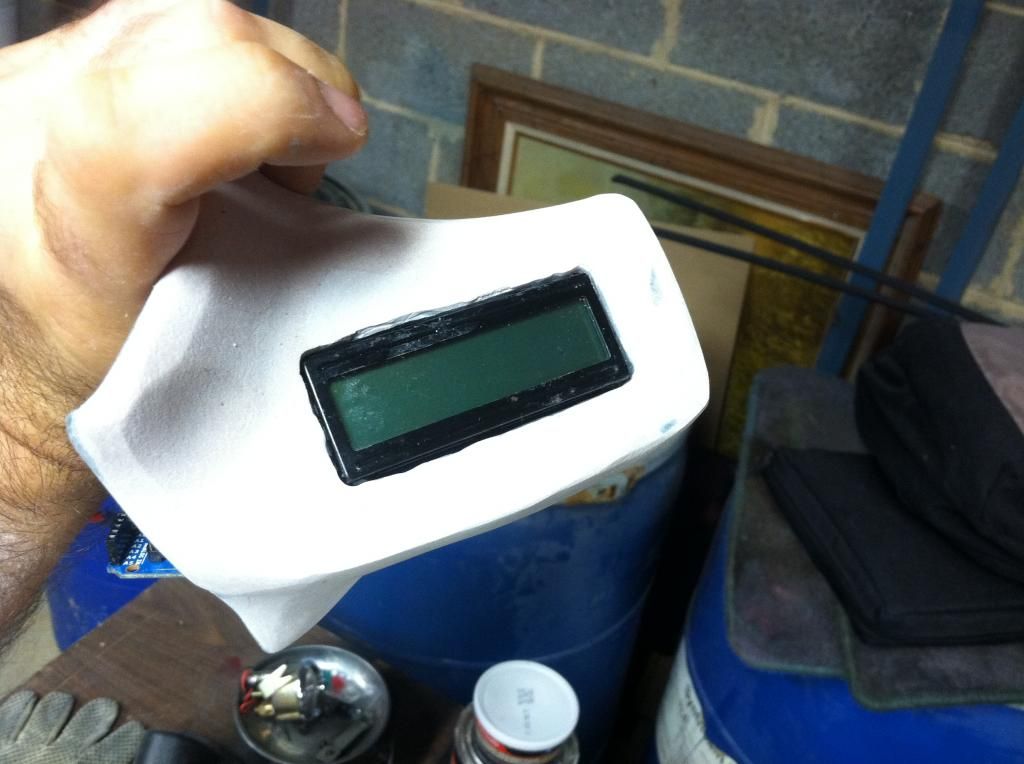
Drilling the holes for the front proved a bit tricky, but I slowly worked the holes with a drill bit until everything fit correctly. The screen now fits snugly and flush. (final hand sanding will cure the wavy-gravey's around the outline of the screen).
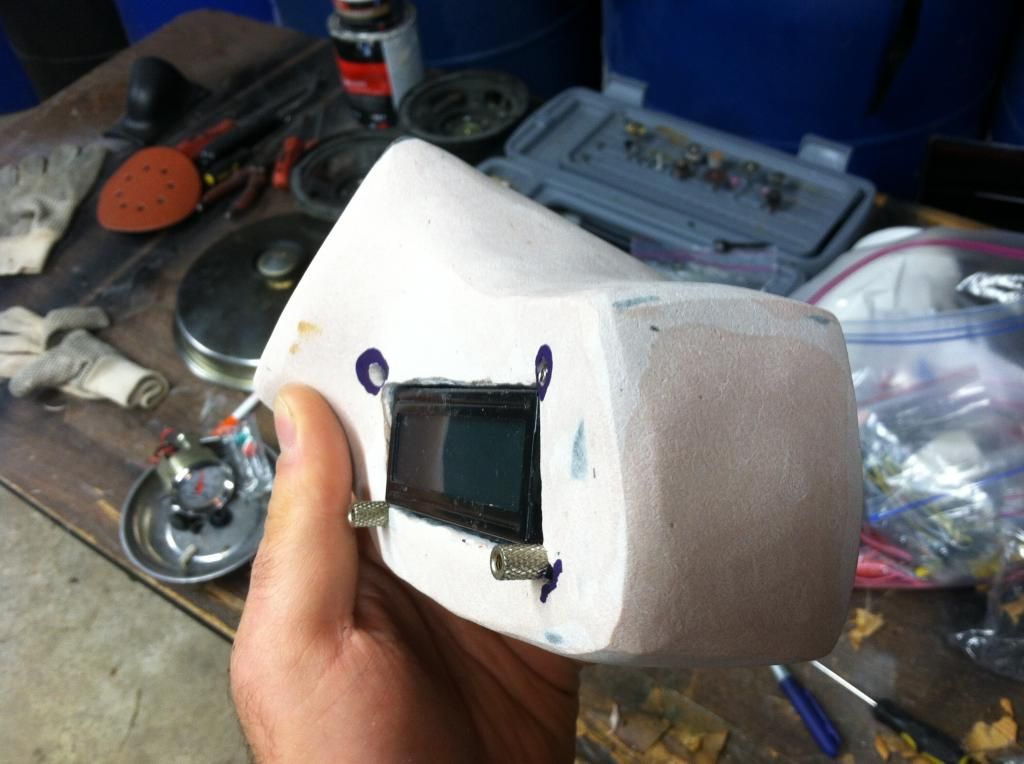
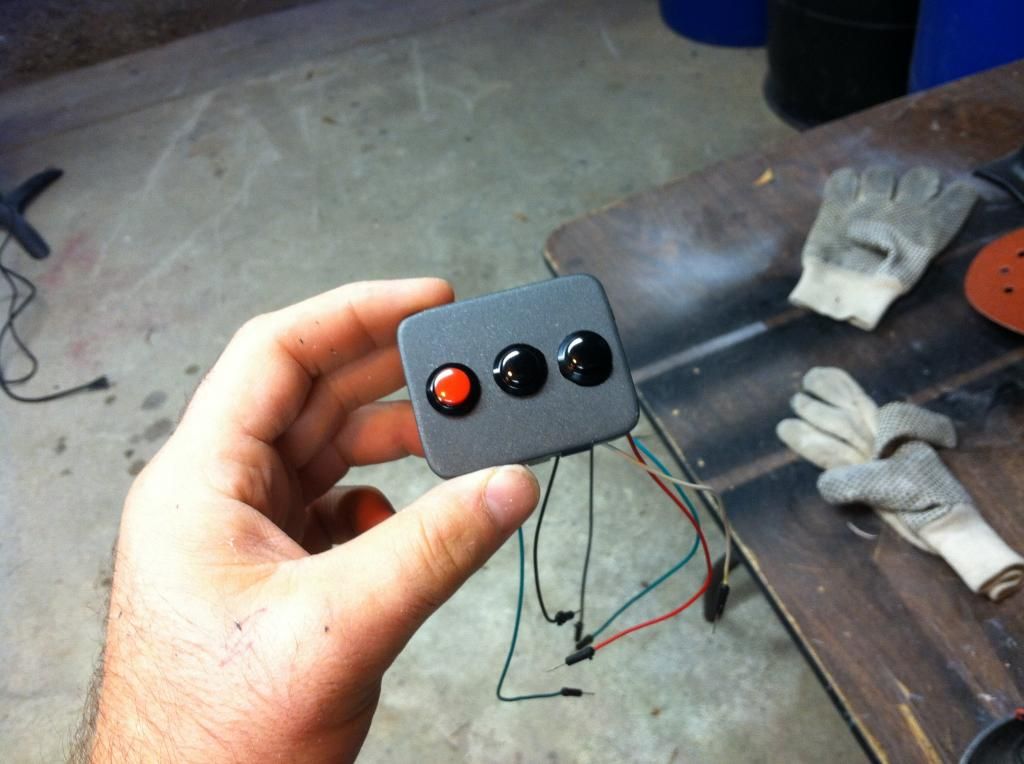
The housing for the buttons (formerly the power mirror delete-panel from the dash) is now drilled and they are mounted. Some bondo work and paint is needed, however. I got a bit over-zealous with my dremel while enlarging the holes. I’ll also straighten out the buttons, as they are not all yet perfectly linear either.
More to come. Thanks for
eco-tuning in.