 06-27-2011, 09:36 PM
|
#121 (permalink)
|
|
Master EcoModder
Join Date: Jan 2008
Location: Arkansas
Posts: 279
Thanks: 90
Thanked 241 Times in 90 Posts
|
t vago, you're aerocap is looking way excellent. Very nice work! That foam is great to work with and it is strong too.
Bondo 
|
|
|

|
|
The Following User Says Thank You to bondo For This Useful Post:
|
|
 Today Today
|
|
|
|
 Other popular topics in this forum...
|
|
|
|
 06-28-2011, 12:31 PM
|
#122 (permalink)
|
|
Master EcoModder
Join Date: May 2008
Location: Maynard, MA Eaarth
Posts: 7,908
Thanks: 3,475
Thanked 2,953 Times in 1,846 Posts
|
Looks great! Will you be able to do so tuft tests?
|
|
|

|
|
The Following User Says Thank You to NeilBlanchard For This Useful Post:
|
|
 06-28-2011, 11:39 PM
|
#123 (permalink)
|
|
MPGuino Supporter
Join Date: Oct 2010
Location: Hungary
Posts: 1,808
iNXS - '10 Opel Zafira 111 Anniversary Suzi - '02 Suzuki Swift GL
Thanks: 831
Thanked 710 Times in 458 Posts
|
Quote:
Originally Posted by NeilBlanchard

Looks great! Will you be able to do so tuft tests?
|
Not at first. I am going to coat the thing with some sort of epoxy-based coating, and then coat that with fiberglass.
Here are pictures of the finished aerocap. The first three are of me installing the 6 bolts securing the cap to the truck bed.
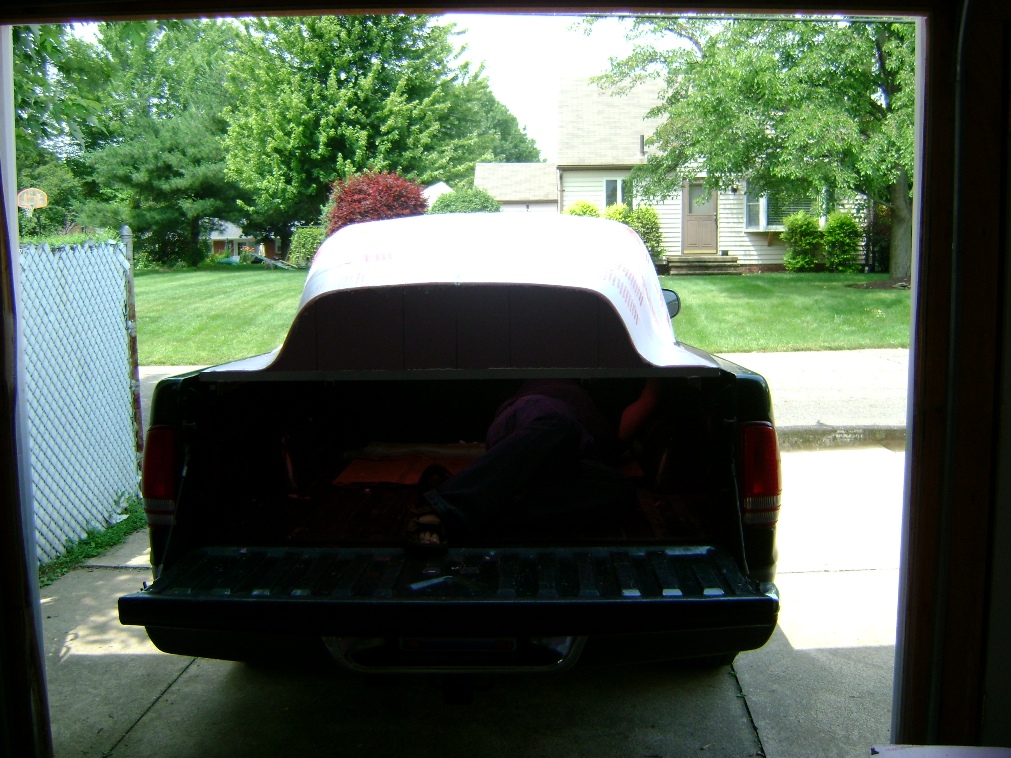
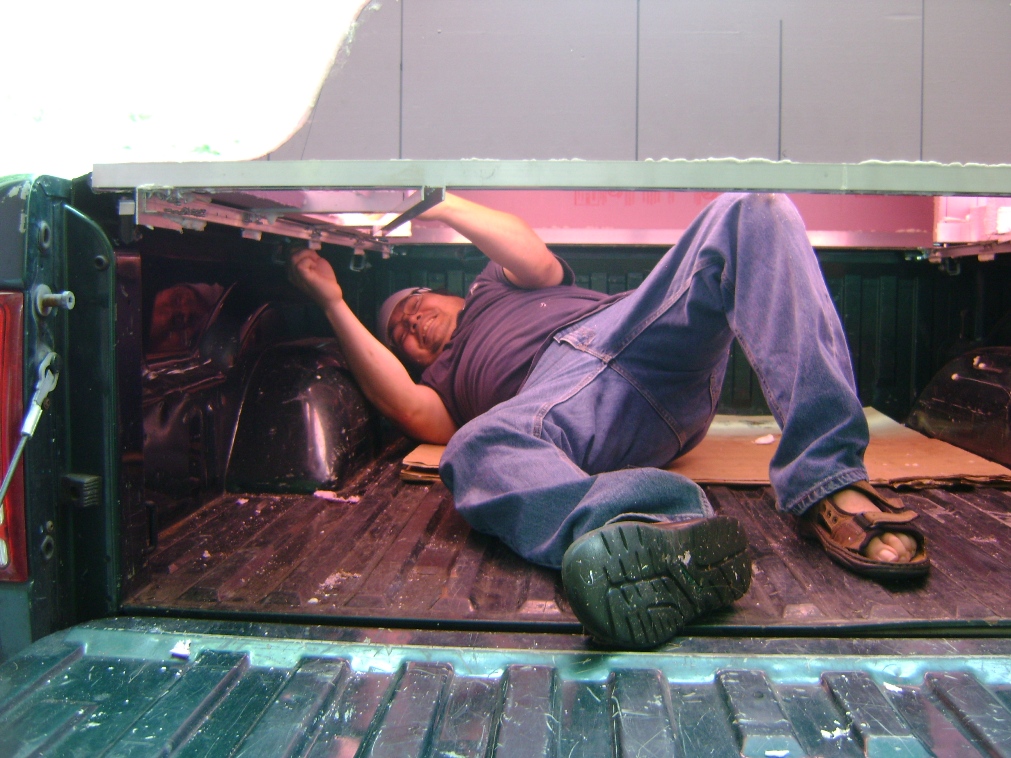
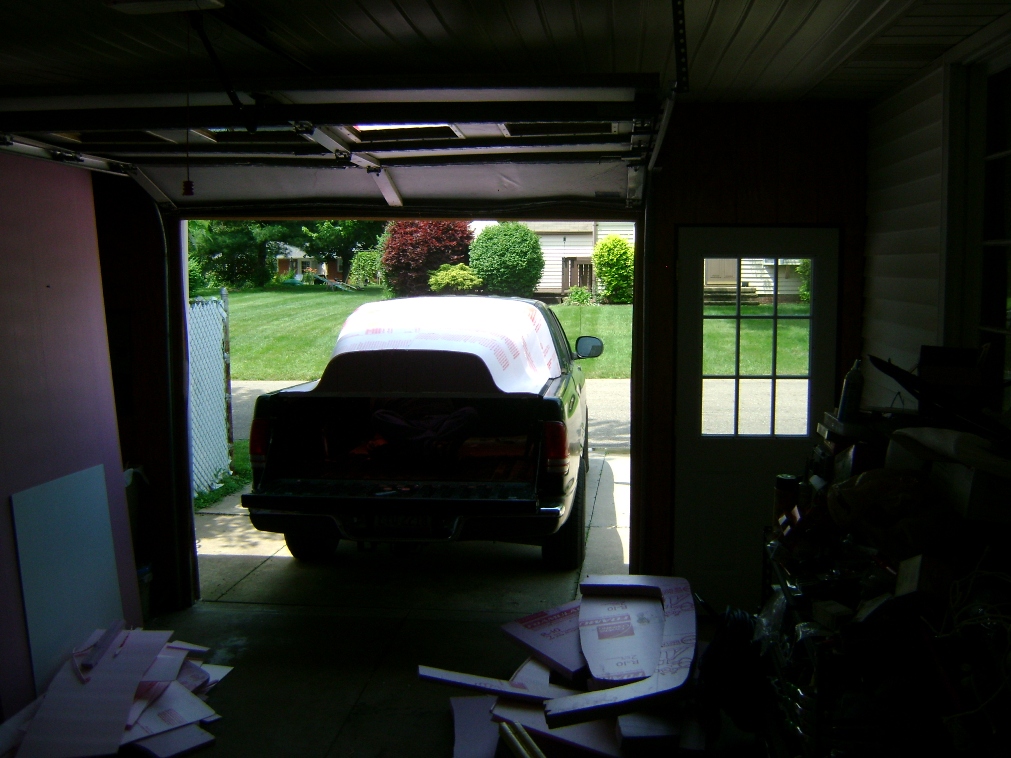
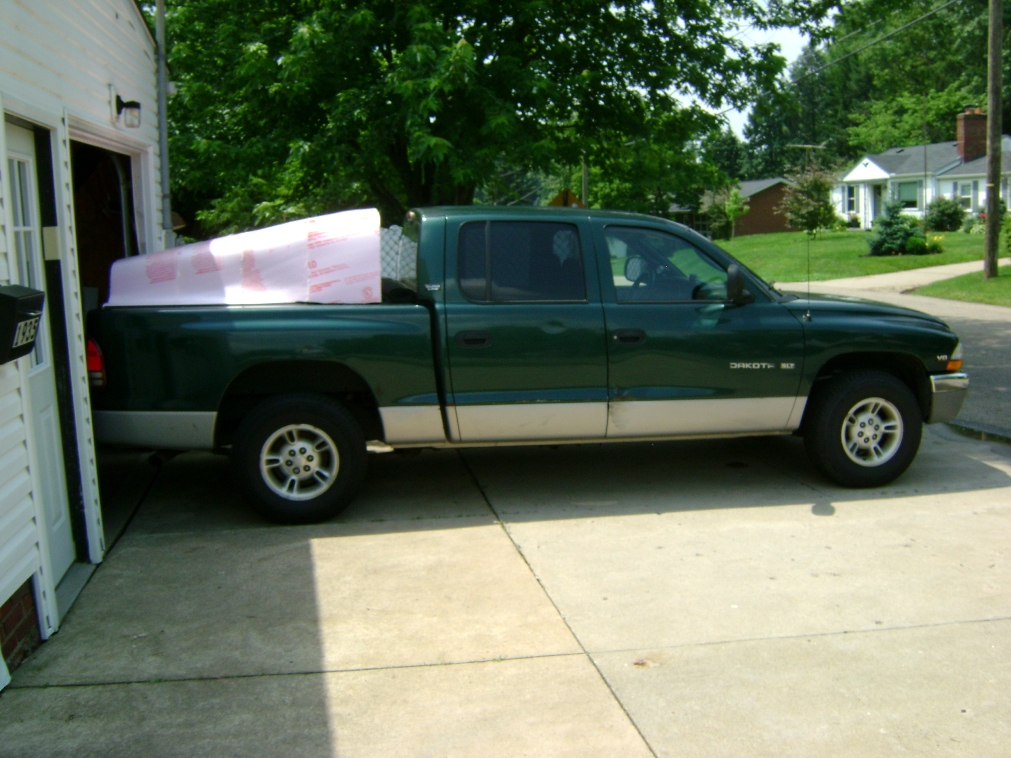
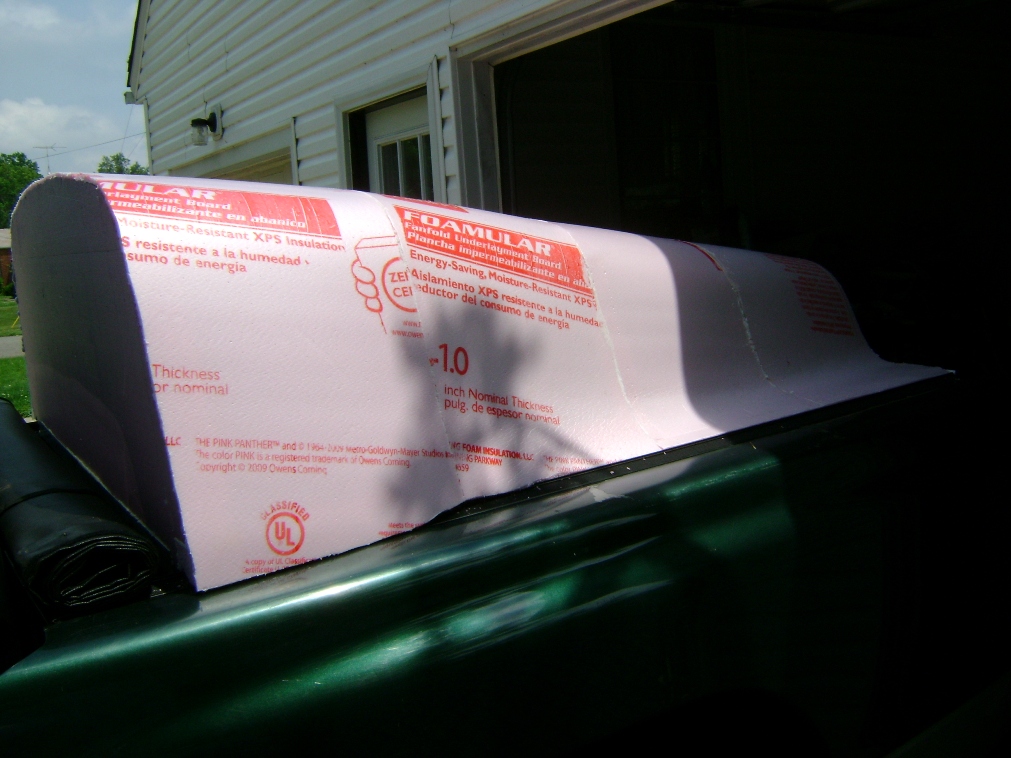

Yes, the pictures show a huge (~8 inch) gap between the aerocap and the cab. That is slowly being filled in. I expect that fuel economy will rise a little bit once the gap is filled in.
|
|
|

|
|
The Following 7 Users Say Thank You to t vago For This Useful Post:
|
|
 06-29-2011, 11:07 AM
|
#124 (permalink)
|
|
Do more with less
Join Date: Jul 2010
Location: North Eastern Missouri
Posts: 931
Thanks: 66
Thanked 177 Times in 112 Posts
|
Vago
I would strongly suggest that you do a trial of putting on your composite onto a small scrap before you commit to doing the entire shell.
I would use some super 77 and spray glue on your pink board to stick the fiberglass to it. Don't try and lay it up in one piece rather do it in a 3 sections or more. paint on the epoxy US composites is a good choice. then before it cures lay on smooth strips of either rip stop nylon or polyester cloth.
Once cured you can peal off the cloth and have a nice finish which you can add another layer if you think you need it. I would use 3 layers of 6oz if it were mine.
__________________
“The further a society drifts from the truth, the more it will hate those that speak it.” George Orwell
“Before a standing army can rule, the people must be disarmed; as they are in almost every kingdom in Europe.
The supreme power in America cannot enforce unjust laws by the sword; because the whole body of the people are armed.”
– Noah Webster, 1787
Last edited by Varn; 06-30-2011 at 08:38 AM..
Reason: ambiguity
|
|
|

|
|
The Following User Says Thank You to Varn For This Useful Post:
|
|
 06-29-2011, 11:40 AM
|
#125 (permalink)
|
|
Do more with less
Join Date: Jul 2010
Location: North Eastern Missouri
Posts: 931
Thanks: 66
Thanked 177 Times in 112 Posts
|
Oh I would also sand any offsets before your cover.
__________________
“The further a society drifts from the truth, the more it will hate those that speak it.” George Orwell
“Before a standing army can rule, the people must be disarmed; as they are in almost every kingdom in Europe.
The supreme power in America cannot enforce unjust laws by the sword; because the whole body of the people are armed.”
– Noah Webster, 1787
|
|
|

|
 06-29-2011, 09:40 PM
|
#126 (permalink)
|
|
Master EcoModder
Join Date: Oct 2008
Location: Mid-Atlantic
Posts: 491
Thanks: 170
Thanked 69 Times in 44 Posts
|
Very nice work. The 1/4 inch foam looks to be very easy to work with.
I have been traveling so had not discovered the thread. A question - several have spoken of compound curves using this technique, but from the pictures it appears that you are formings single dimensional curvatures in short sections to give an overall compound curvature. Am I correct, or have you found a way to put compound curvature into the thin foam?
Anyway, I'm impressed. This looks like a good technique to get to some quick tuft testing, which is a missing step in some approaches, IMO. Thanks for sharing the pictures. Look forward to some tuft testing.
|
|
|

|
|
The Following User Says Thank You to jime57 For This Useful Post:
|
|
 06-29-2011, 10:40 PM
|
#127 (permalink)
|
|
Do more with less
Join Date: Jul 2010
Location: North Eastern Missouri
Posts: 931
Thanks: 66
Thanked 177 Times in 112 Posts
|
It actually not that hard to get a 3d shape using 1/4" panels. Just cut in a pie wedge and just pull the ends together with duct tape then glue the edges together with some 2 part polyester foam available from most any place that sells composite supplies.
Here was a fairing I made for a trike using 1/4" pinkboard just about like your tailbox on your truck. it has a single layer of carbon on it.

__________________
“The further a society drifts from the truth, the more it will hate those that speak it.” George Orwell
“Before a standing army can rule, the people must be disarmed; as they are in almost every kingdom in Europe.
The supreme power in America cannot enforce unjust laws by the sword; because the whole body of the people are armed.”
– Noah Webster, 1787
Last edited by Varn; 06-29-2011 at 11:03 PM..
|
|
|

|
|
The Following 3 Users Say Thank You to Varn For This Useful Post:
|
|
 06-30-2011, 12:09 AM
|
#128 (permalink)
|
|
MPGuino Supporter
Join Date: Oct 2010
Location: Hungary
Posts: 1,808
iNXS - '10 Opel Zafira 111 Anniversary Suzi - '02 Suzuki Swift GL
Thanks: 831
Thanked 710 Times in 458 Posts
|
The compound curve aspect does come from forming one-dimensional curves over a total of 5 sections. This method was the only way of forming curves that did not involve cutting the 1/4 inch sheets in the fashion that Varn described (that's a nice boattail shape).
Once I get the skin coated (I have two cans of Styropoxy coming), I can use Bondo to fashion true compound curves, then coat the resultant mess with fiberglass.
Last edited by t vago; 06-30-2011 at 12:20 AM..
Reason: corrected reference - oops
|
|
|

|
|
The Following User Says Thank You to t vago For This Useful Post:
|
|
 06-30-2011, 06:09 AM
|
#129 (permalink)
|
|
Master EcoModder
Join Date: Jan 2008
Location: Arkansas
Posts: 279
Thanks: 90
Thanked 241 Times in 90 Posts
|
Quote:
Originally Posted by t vago

The compound curve aspect does come from forming one-dimensional curves over a total of 5 sections. This method was the only way of forming curves that did not involve cutting the 1/4 inch sheets in the fashion that Varn described (that's a nice boattail shape).
Once I get the skin coated (I have two cans of Styropoxy coming), I can use Bondo to fashion true compound curves, then coat the resultant mess with fiberglass.
|
I hate being used! No, seriously, the foam you are using is an extruded polystyrene foam. Fiberglass will dissolve the foam into a sticky muck due to the styrene chemical in the fiberglass resin. You will never be able to get a bond between the foam and the fiberglass. I just wanted to caution you as to prevent a very disappointing catastrophy, a true resultant mess indeed.
At this point, what I would do, is finish you aerocap in the foam to where it fits the truck bed perfectly and all gaps are filled. Then remove the foam model and set it upon something flat and stable. Then go buy yourself some industrial grade aluminum foil, comes in a big roll and restuarant supply companies carry it. Then go get yourself some 3M 77 spray adhesive and with a sqeegy (sic) cover the foam surface entirely with the aluminum foil. Cover all the foam leaving not a speck uncovered. If you don't the resin will attack it and even a small exposed portion uncovered will dissolve into a gapeing hole.
Then wax the aluminum foil. Three of four coats of wax is best and try to use a wax formulated for Fiberglass use. Then lay up three layers of one and one-half ounce fiberglass mat over the foam shape covered by the aluminum foil. Let it cure and then remove the fiberglas part. You have no need for the foam model anymore. You will now have a light strong fiberglass aerocap. Now develop your compound curves and finish the surface of the fiberglass part with bondo and sand smooth. Then devise a stong mounting system to mount you new cap to your truck bed (camper shell mounting clamps work great) and you are good to go.
Hope this helps,
Bondo |
|
|

|
|
The Following 6 Users Say Thank You to bondo For This Useful Post:
|
|
 06-30-2011, 07:40 AM
|
#130 (permalink)
|
|
Recreation Engineer
Join Date: Dec 2009
Location: Somewhere USA
Posts: 525
Thanks: 333
Thanked 138 Times in 103 Posts
|
+1 on the foil. Before my aerocap project was shelved (indefinitely at this point) my last plan was to laminated the foam with foil to reflect away solar energy as well. Fiberglass the foil, thicken only if needed, then finish to desired color and surface quality. Rock on!
|
|
|

|
|
The Following User Says Thank You to KamperBob For This Useful Post:
|
|
|