Go Back   EcoModder Forum > EcoModding > Aerodynamics
Register Now
 Register Now
 

Reply  Post New Thread
 
Submit Tools LinkBack Thread Tools
Old 01-10-2011, 10:55 AM   #121 (permalink)
Wiki Mod
 
Weather Spotter's Avatar
 
Join Date: Nov 2009
Location: Midland MI, USA
Posts: 2,042

Max - '14 Ford C-Max SEL
Thanks: 228
Thanked 304 Times in 210 Posts
I like the idea of the spring compressing, then it is easier to mount and the spring can be hidden internal to the tire spat.

__________________
  Reply With Quote
Alt Today
Popular topics

Other popular topics in this forum...

   
Old 01-10-2011, 06:38 PM   #122 (permalink)
Wiki Mod
 
Weather Spotter's Avatar
 
Join Date: Nov 2009
Location: Midland MI, USA
Posts: 2,042

Max - '14 Ford C-Max SEL
Thanks: 228
Thanked 304 Times in 210 Posts
Well I started to work on the tire to tail transition today. I quickly decided that I needed to get a belly pan on before I could make a good transition.


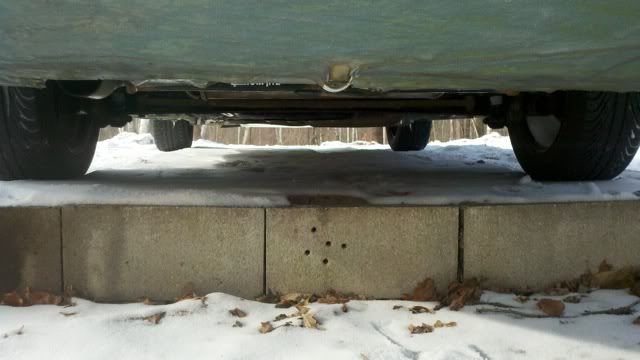
I had looked under the car and had decided that I do not need a full belly pan. I need one from the front bumper to just past the front tires (have already). I also need one from the back axle to the boat tail.

I also had seen that to mount a belly pan I would need to use my back axle as the forward mount point and now I have the tail to attach the back to. Total length is only 42". width is 5'.

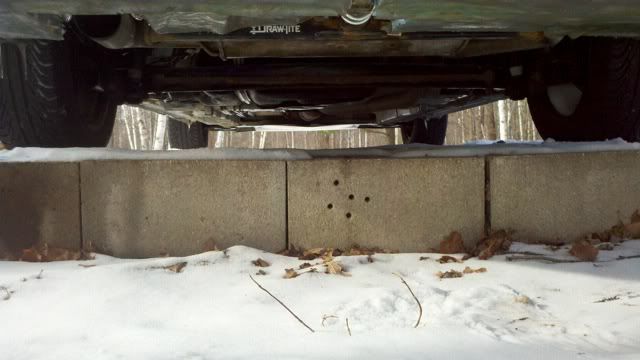
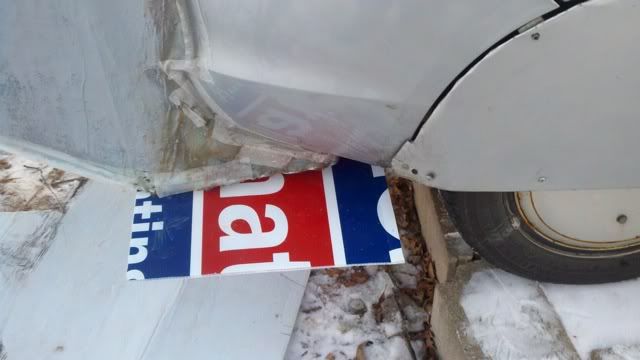
I also had seen that this section of the belly pan needed to be heat resistant. I called up the metal shop and got a quote of $57 for a piece the size I needed. This was more then I wanted to spend. I had a 4x8' used election sign but it was chloroplast and not good for prolonged contact with exhaust.

Here is where I got some inspiration, use the plastic and just added metal in the areas that need heat protection:


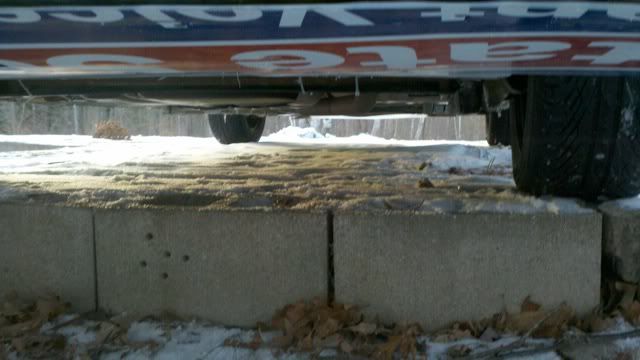
After marking and cutting out the areas that needed metal I used some small pieces of galvanized sheet steel I had (same as my wheel skirts) and screwed them in to the plastic.

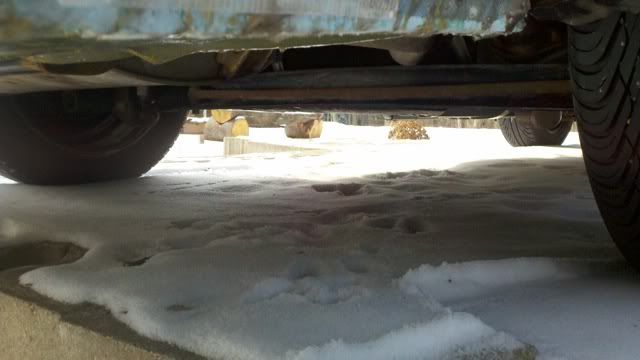
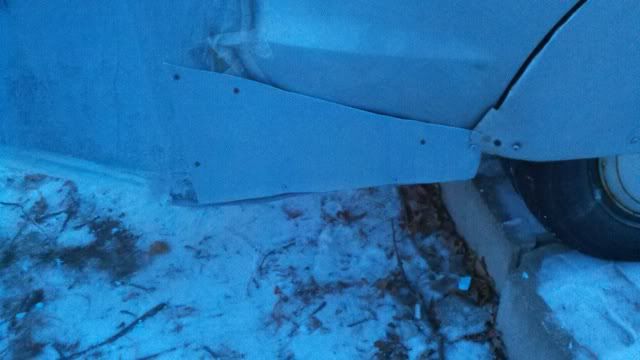
Installed I used zip ties to hold the front end around the axle. they are not needed all the time (it fits in the slot) but they are to keep it from sliding out:


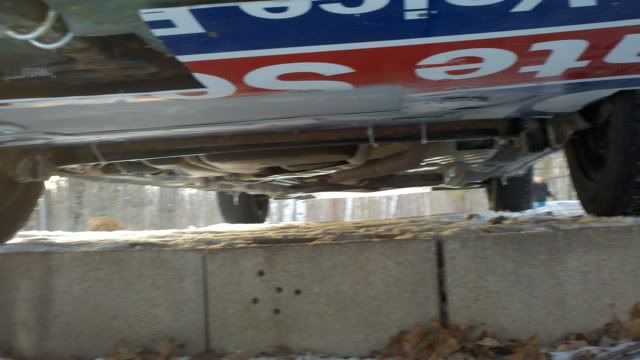
Cut wider then I needed so I can make the transition to the tires better:
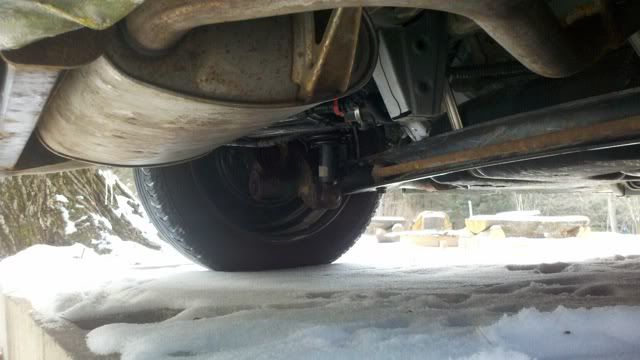
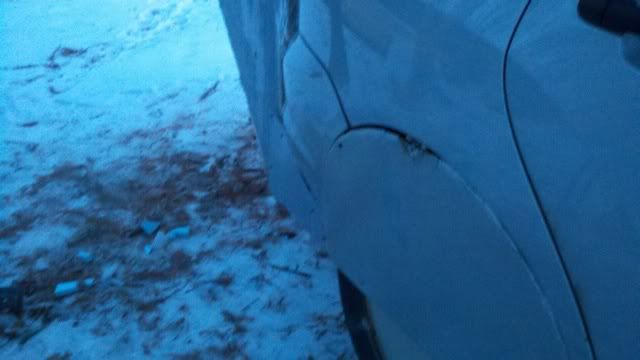

Done:


__________________
  Reply With Quote
Old 01-10-2011, 07:17 PM   #123 (permalink)
Master EcoModder
 
redneck's Avatar
 
Join Date: Jun 2009
Location: SC Lowcountry
Posts: 1,795

Geo XL1 - '94 Geo Metro
Team Metro
Boat tails and more mods
90 day: 72.22 mpg (US)

Big, Bad & Flat - '01 Dodge Ram 3500 SLT
Team Cummins
90 day: 21.13 mpg (US)
Thanks: 226
Thanked 1,353 Times in 711 Posts
You are definitely a man on a mission...

>
  Reply With Quote
Old 01-10-2011, 07:45 PM   #124 (permalink)
Wiki Mod
 
Weather Spotter's Avatar
 
Join Date: Nov 2009
Location: Midland MI, USA
Posts: 2,042

Max - '14 Ford C-Max SEL
Thanks: 228
Thanked 304 Times in 210 Posts
A mission to get better MPG
__________________
  Reply With Quote
Old 01-11-2011, 07:50 AM   #125 (permalink)
Master EcoModder
 
JasonG's Avatar
 
Join Date: May 2009
Location: Charlotte NC / York SC
Posts: 728

05 DMax - '05 Chevrolet 2500HD
90 day: 18.48 mpg (US)
Thanks: 120
Thanked 56 Times in 52 Posts
Nice work WS !

How did you fix the tail to car gaps ?
I was going to suggest placing painters plastic on the car and using can foam. If it was done before fiberglassing it would bond better but should stick to the fiberglass well enough.
__________________


I can't understand why my MPG's are so low..........
21,000lb, 41' Toy Haulers are rough on FE!
  Reply With Quote
Old 01-11-2011, 09:03 AM   #126 (permalink)
Master EcoModder
 
NeilBlanchard's Avatar
 
Join Date: May 2008
Location: Maynard, MA Eaarth
Posts: 7,907

Mica Blue - '05 Scion xA RS 2.0
Team Toyota
90 day: 42.48 mpg (US)

Forest - '15 Nissan Leaf S
Team Nissan
90 day: 156.46 mpg (US)

Number 7 - '15 VW e-Golf SEL
TEAM VW AUDI Group
90 day: 155.81 mpg (US)
Thanks: 3,475
Thanked 2,950 Times in 1,844 Posts
My rear belly pan was tucked into the rear beam axle, just like yours is. It ended up getting pushed *down*, because (I think) it was acting like a parachute. I would highly recommend continuing the panel forward of the axle beam, or something to keep air from getting above it.

My rear wheel strakes are ~14" front to back, they are about 6 1/2" above the ground, and a bit more than 1" away from the tire tread -- I continued the right one into an inner fender of sorts. Hucho mentions the space around the tires as a minor factor contributing to drag, in the 2nd Edition. The 4th edition seems to have had this edited out.

The main change I made on the right wheels strake when I reinstalled it (after it got whacked by a stick I ran over), was to narrow it. It was too wide by about 1" and this was a bad thing. If anything, you should err to be narrower than tire.
__________________
Sincerely, Neil

http://neilblanchard.blogspot.com/
  Reply With Quote
Old 01-11-2011, 10:01 AM   #127 (permalink)
Aero Wannabe
 
COcyclist's Avatar
 
Join Date: Dec 2007
Location: NW Colo
Posts: 738

TDi - '04 VW Golf
TEAM VW AUDI Group
90 day: 53.2 mpg (US)
Thanks: 705
Thanked 218 Times in 169 Posts
Seeing the "before" photos of your underside makes me think the belly pan will help with some of the turbulence on the lower part of the car. I agree with Neil on the idea of extending it ahead of the axle. Mine is in two parts too but the forward edge of the back belly pan tapers up toward the floor and is tight to the floor so a minimum of air (or snow mound) gets pushed in there.

Looking forward to the next snowy day video.
__________________
60 mpg hwy highest, 50+mpg lifetime
TDi=fast frugal fun
https://ecomodder.com/forum/showthre...tml#post621801


Quote:
Originally Posted by freebeard View Post
The power needed to push an object through a fluid increases as the cube of the velocity. Mechanical friction increases as the square, so increasing speed requires progressively more power.
  Reply With Quote
Old 01-11-2011, 11:34 AM   #128 (permalink)
EcoModding Lurker
 
Join Date: Aug 2010
Location: Wisconsin
Posts: 45

Slowpoke - '00 Hyundai Sonata GLS
90 day: 32.82 mpg (US)
Thanks: 25
Thanked 0 Times in 0 Posts
Looks wicked! Can't wait to see what effect the mods have.
__________________


Slowly modding my 2000 sonata to what it should be... one project at a time.
  Reply With Quote
Old 01-11-2011, 12:35 PM   #129 (permalink)
Wiki Mod
 
Weather Spotter's Avatar
 
Join Date: Nov 2009
Location: Midland MI, USA
Posts: 2,042

Max - '14 Ford C-Max SEL
Thanks: 228
Thanked 304 Times in 210 Posts
Quote:
Originally Posted by JasonG View Post
Nice work WS !

How did you fix the tail to car gaps ?
I was going to suggest placing painters plastic on the car and using can foam. If it was done before fiberglassing it would bond better but should stick to the fiberglass well enough.
For now I used tape. I might fill in the gapes with foam puddy or bondo next time I take off the tail. I would rather not take it off if I can help it. I thought of using a spray foam but I think that it will keep expanding longer than I want. I might use it though to make the shape, then fiberglass it. For now the tape works. When it warms up I will work on it more.
__________________
  Reply With Quote
Old 01-11-2011, 12:42 PM   #130 (permalink)
Wiki Mod
 
Weather Spotter's Avatar
 
Join Date: Nov 2009
Location: Midland MI, USA
Posts: 2,042

Max - '14 Ford C-Max SEL
Thanks: 228
Thanked 304 Times in 210 Posts
Quote:
Originally Posted by COcyclist View Post
Seeing the "before" photos of your underside makes me think the belly pan will help with some of the turbulence on the lower part of the car. I agree with Neil on the idea of extending it ahead of the axle. Mine is in two parts too but the forward edge of the back belly pan tapers up toward the floor and is tight to the floor so a minimum of air (or snow mound) gets pushed in there.

Looking forward to the next snowy day video.
I agree that the OEM back section is not the best for aero. From what I see the axle beam is higher then the forward car underside. There is also no good attachment points from the axle up the the relatively smooth section of the car (2' forward of axle to just aft of front axle).

I could have made the pan duck under the axle but then I would need to make it have a lot of slack so the car could take bumps. For my car the whole axle can move up and down.

I will see what pics I can get of the underside and maybe we can analysis them together.

I want to take another video, and it is snowing right now, I just need a second driver.

Want to come over?

__________________
  Reply With Quote
Reply  Post New Thread


Similar Threads
Thread Thread Starter Forum Replies Last Post
BOAT TAIL Drag Reduction Estimates aerohead Aerodynamics 12 01-30-2016 04:08 PM
Vibe Kammback / Boat tail trikkonceptz Aerodynamics 9 01-19-2014 09:59 AM
Project: Geo Metro boat tail prototype - 15% MPG improvement @ 90 kph / 56 mph MetroMPG Aerodynamics 500 05-10-2012 10:30 PM
collapsible curved folding 10mm coroplast boat tail miket Aerodynamics 5 08-12-2010 01:58 PM
Subaru Outback Prototype Boat Tail Test Results brucey Aerodynamics 10 10-02-2009 05:03 PM


Powered by vBulletin® Version 3.8.11
Copyright ©2000 - 2024, vBulletin Solutions Inc.
Content Relevant URLs by vBSEO 3.5.2
All content copyright EcoModder.com