03-08-2010, 05:30 PM
|
#3121 (permalink)
|
|
EcoModding Lurker
Join Date: Dec 2009
Location: Long Beach Ca.
Posts: 50
E-car - '84 Toyota Corolla LE
Thanks: 3
Thanked 7 Times in 6 Posts
|
Paul, Adam, I think I found the problem. I am using the schematic to finish my connections and according to Rev "2C" J1 connections 1-5 is the way I connected the wires. Looking at the Pictures in the assembly sheets the connections are the other way around. In the assembly instructions the J1 connections are not documented other than in the pictures. I will try and connect 12v and see what happens.
Mike
|
|
|

|
 Today Today
|
|
|
|
 Other popular topics in this forum...
|
|
|
|
|
03-08-2010, 05:33 PM
|
#3122 (permalink)
|
|
EcoModding Lurker
Join Date: Dec 2009
Location: Long Beach Ca.
Posts: 50
E-car - '84 Toyota Corolla LE
Thanks: 3
Thanked 7 Times in 6 Posts
|
Yeah baby, it works, the happy lights are on!!!
TTL,
Mike
|
|
|
|
|
03-08-2010, 06:02 PM
|
#3123 (permalink)
|
|
EcoModding Apprentice
Join Date: Feb 2010
Location: Northern Wisconsin
Posts: 137
Thanks: 32
Thanked 39 Times in 23 Posts
|
Quote:
Originally Posted by jackbauer

On a different note the igbt controller got a workout today. We arranged a transporter truck to move the car to a different location. Its one of these tilt bed setups. Long story short i ended up climbing a 45 degree tilted bed pulling 320 battery amps , foot to the floor and both rear wheels burning rubber. Heatsink went from 5C to 15C. Tow truck guys jaw hit the ground!
also had a chance to compare the ev with a stock bmw e36 and its sitting WAY higher on the suspension. Really good news.
|
simply  
__________________
Dave  ...
|
|
|
|
|
03-08-2010, 06:06 PM
|
#3124 (permalink)
|
|
EcoModding Apprentice
Join Date: Feb 2010
Location: Northern Wisconsin
Posts: 137
Thanks: 32
Thanked 39 Times in 23 Posts
|
Quote:
Originally Posted by Flatmann100
Yeah baby, it works, the happy lights are on!!!
TTL,
Mike
|
It always is something like that that is why it is DIY.... Glad to hear this...!
__________________
Dave ...
|
|
|
|
|
03-09-2010, 03:03 AM
|
#3125 (permalink)
|
|
PaulH
Join Date: Feb 2008
Location: Maricopa, AZ (sort of. Actually outside of town)
Posts: 3,832
Thanks: 1,362
Thanked 1,202 Times in 765 Posts
|
Hi Flatmann! I'll add some labels to the next version of the help file, so people actually know which wires are which. Sorry about that!
Hey, I priced type 3 anodizing for the 1"x2"x10" aluminum block that I bought today. It costs $3 to anodize! hahaha. Isnt' that funny? I thought it would be more like $50 or something. Of course, the bad news is there is a $150 minimum.. hehe. So, that means I should do 50 heat spreaders! That's a lot...
I milled one of the faces of it so it's almost mirror smooth. I'll do the other faces tomorrow (just 2 more that matter). I think this is going to work really really well for taking the heat away from the mosfets. They can dissipate 1600 watts each for crying out loud! Isn't that ridiculous? The legs are good to 160amp.
|
|
|
|
|
03-09-2010, 03:27 AM
|
#3126 (permalink)
|
|
EcoModding Lurker
Join Date: Aug 2009
Location: New York City, USA
Posts: 23
Thanks: 0
Thanked 7 Times in 4 Posts
|
Quote:
Originally Posted by MPaulHolmes
Hi Flatmann! I'll add some labels to the next version of the help file, so people actually know which wires are which. Sorry about that!
Hey, I priced type 3 anodizing for the 1"x2"x10" aluminum block that I bought today. It costs $3 to anodize! hahaha. Isnt' that funny? I thought it would be more like $50 or something. Of course, the bad news is there is a $150 minimum.. hehe. So, that means I should do 50 heat spreaders! That's a lot...
I milled one of the faces of it so it's almost mirror smooth. I'll do the other faces tomorrow (just 2 more that matter). I think this is going to work really really well for taking the heat away from the mosfets. They can dissipate 1600 watts each for crying out loud! Isn't that ridiculous? The legs are good to 160amp.
|
Great pricing on the anodizing! Can't wait to see the pictures.
Watch out for MOSFET power and current ratings, they get tricky. That 1670W is only valid if the case of the MOSFET is held at 25-degrees C. That's almost impossible at over a few watts with anything less than really silly-expensive immersed liquid or spray cooling. With really good heat-sinking, you could do about 100W-150W continuously with each MOSFET.
Other limits and specs are covered in the data sheet but particularly important ones are the Thermal Resistance, Gate Charge, Foward-Bias Safe Operating Area (to see if they can handle the heat generated when being turned on and off, i.e., when they're passing through the high-resistance "linear" operating region of the MOSFET) and the Maximum Transient Thermal Impedance. Some of the calculations for these can get pretty ugly, pretty darn quick. Sometimes it's just better to hook the suckers up, watch for smoke, and take some measurements (if said smoke doesn't appear).
__________________
John M.
Owner
CamLight Systems
|
|
|
|
|
The Following User Says Thank You to CamLight For This Useful Post:
|
|
|
03-10-2010, 03:11 PM
|
#3127 (permalink)
|
|
EcoModding Lurker
Join Date: Nov 2008
Location: Georgia
Posts: 19
Thanks: 1
Thanked 4 Times in 3 Posts
|
I'll keep this short this time. My last post timed out.
Would anyone have an objection to a new first principles post about now? I finally have my stuff together:
3x 1200V x 400A IGBT
4x 100V x 200A schottky diodes
1 500A kilovac contactor
4x 9A IGBT drivers
a double handful of PIC chips.
Advanced DC 8" motor.
All going into a '92 Geo metro.
I plan to build/program my own board and have a bolt together power section.
I'd be happy to write up and post my understanding. I'm still trying to wrap my head around ESR and ripple current for the capacitor bank.
Thoughts?
ga2500ev
|
|
|
|
|
The Following User Says Thank You to ga2500ev For This Useful Post:
|
|
|
03-10-2010, 10:09 PM
|
#3128 (permalink)
|
|
Master EcoModder
Join Date: Apr 2009
Location: Charlton MA, USA
Posts: 463
Thanks: 31
Thanked 183 Times in 94 Posts
|
|
|
|
|
|
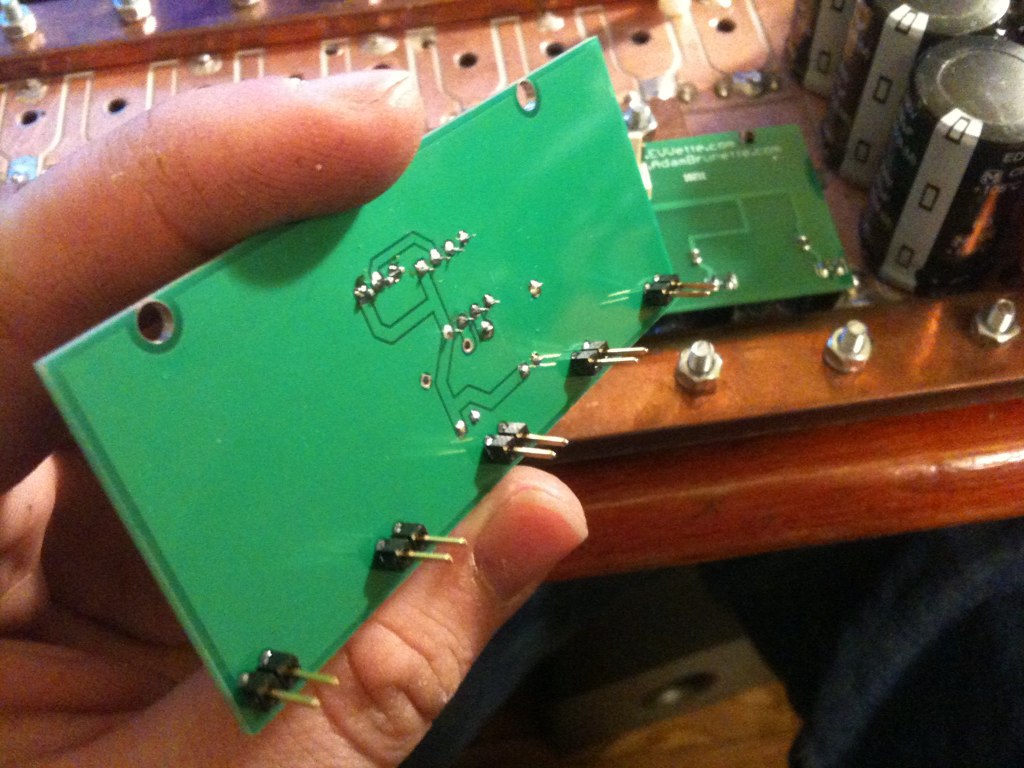
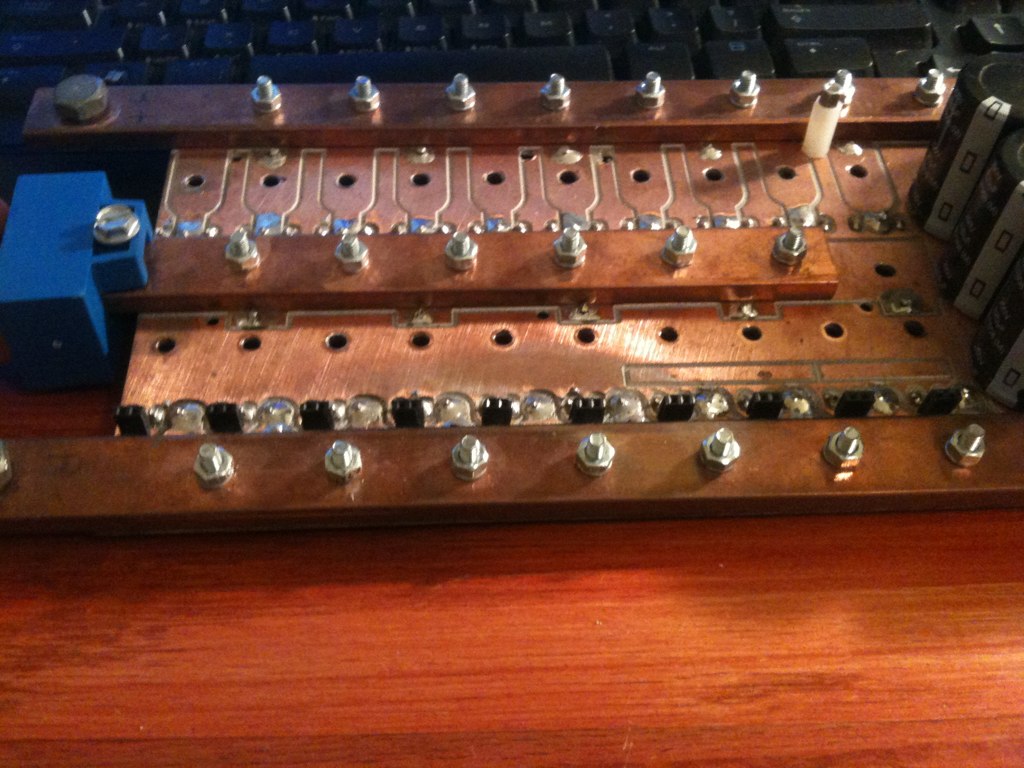
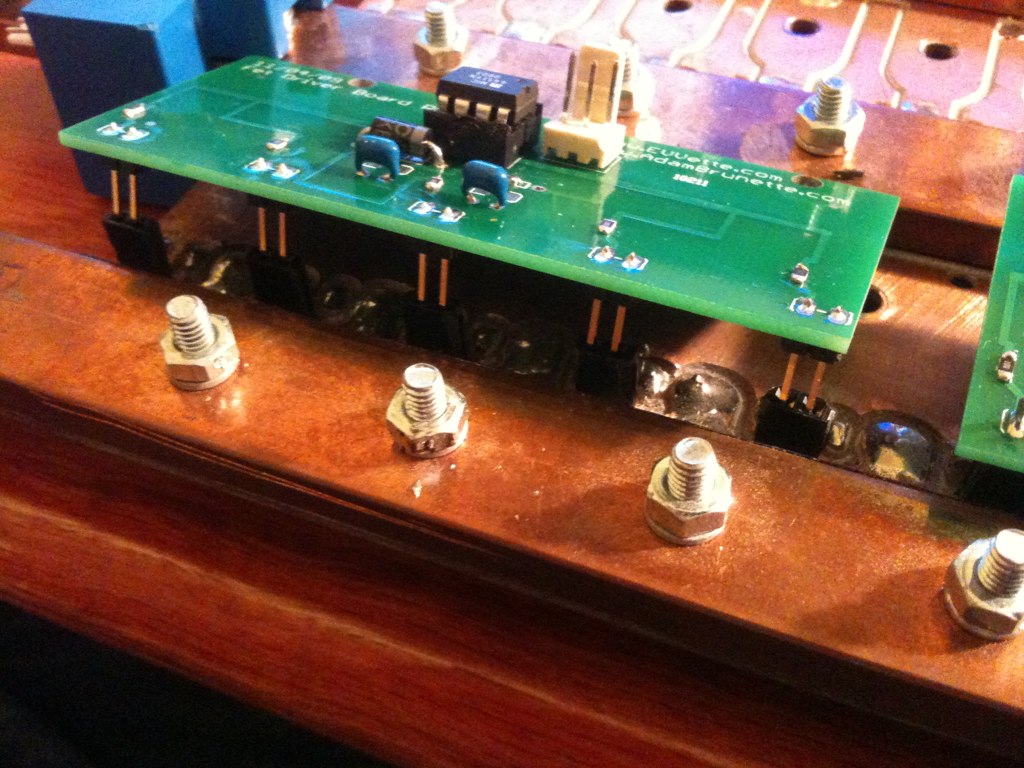
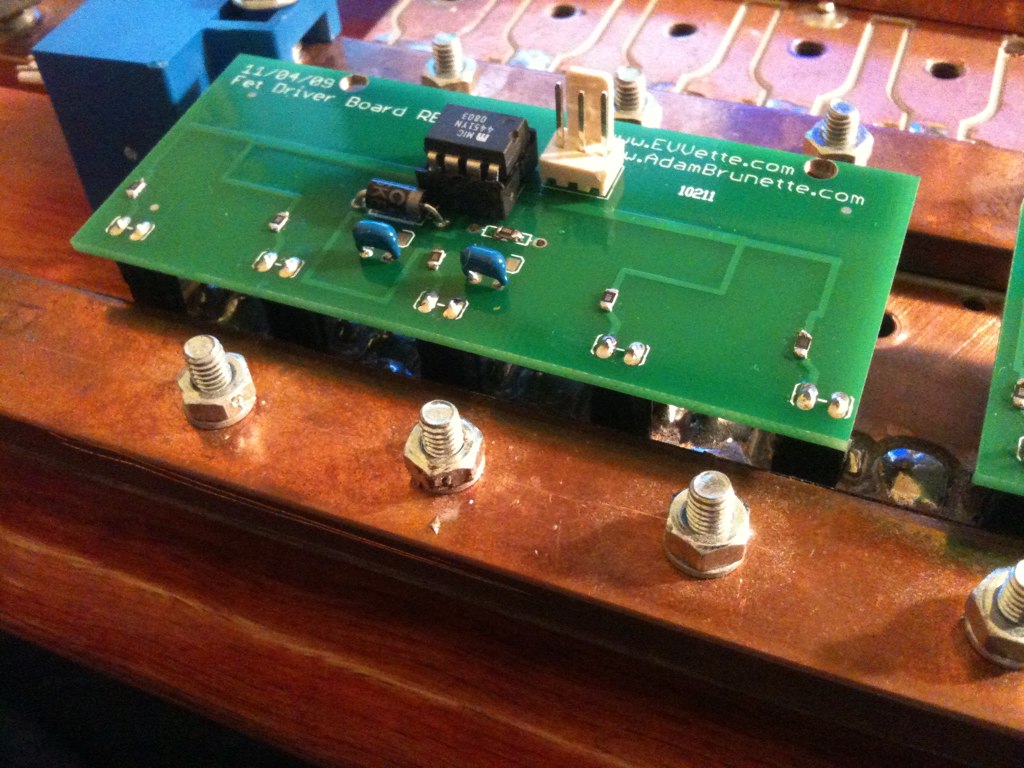
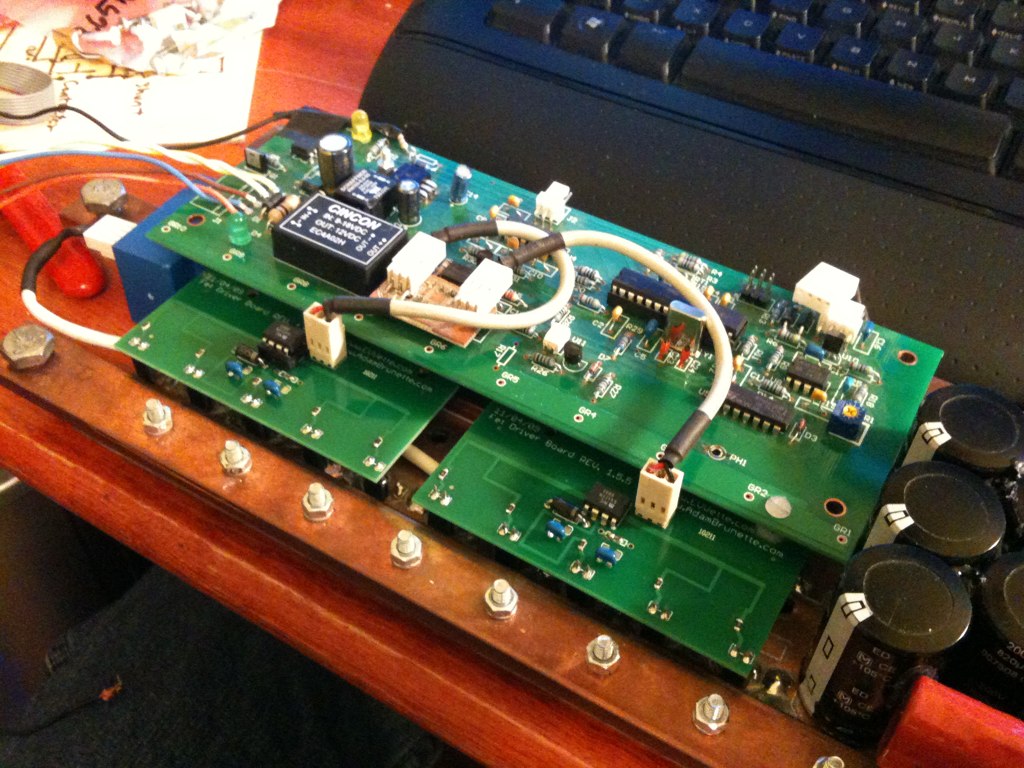
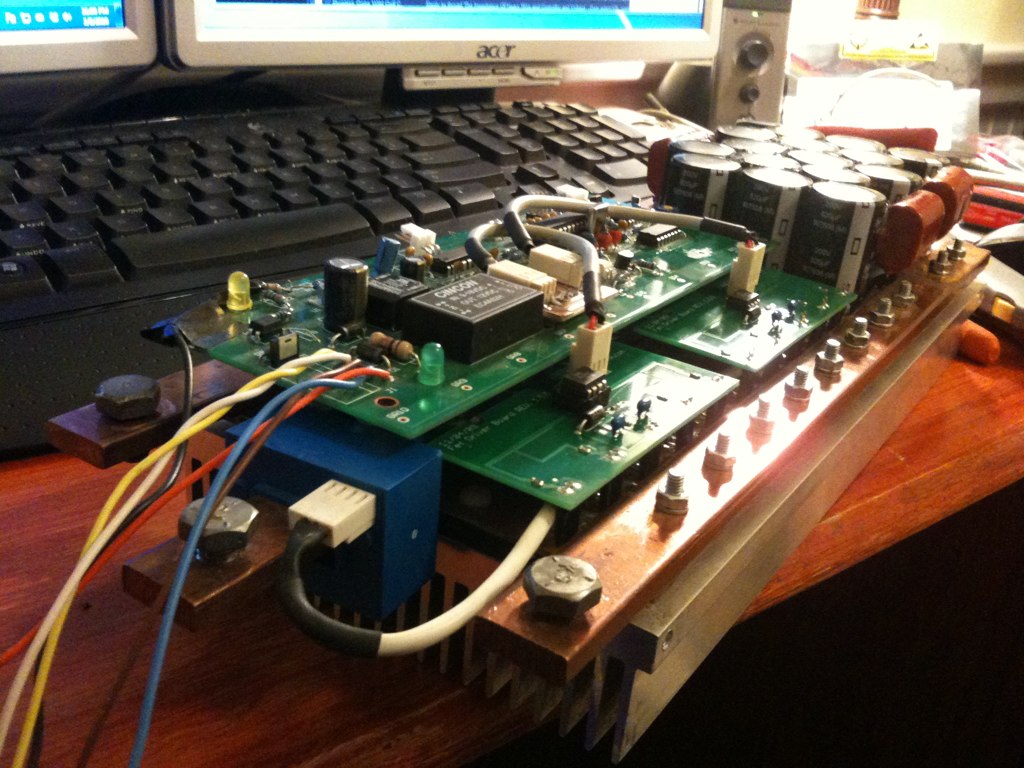
The Following 2 Users Say Thank You to adamj12b For This Useful Post:
|
|
|
03-11-2010, 01:04 AM
|
#3129 (permalink)
|
|
EcoModding Apprentice
Join Date: Feb 2010
Location: Northern Wisconsin
Posts: 137
Thanks: 32
Thanked 39 Times in 23 Posts
|
Nice Adam
And don't you just relish that sit up all night feeling - when you dive into a project with an obsession ")
I'm lurking -----
__________________
Dave ...
|
|
|
|
|
03-11-2010, 02:13 AM
|
#3130 (permalink)
|
|
PaulH
Join Date: Feb 2008
Location: Maricopa, AZ (sort of. Actually outside of town)
Posts: 3,832
Thanks: 1,362
Thanked 1,202 Times in 765 Posts
|
Super fancy, Adam!
I relish the "stay up all night feeling because my son won't go to sleep until 3am!"
(that's true by the way, the 3am part, but not the relish part)
|
|
|
|
|