 04-01-2010, 08:16 PM
|
#3291 (permalink)
|
|
PaulH
Join Date: Feb 2008
Location: Maricopa, AZ (sort of. Actually outside of town)
Posts: 3,832
Thanks: 1,362
Thanked 1,202 Times in 765 Posts
|
So it was a B+ B- issue? I need to make that much clearer. You aren't the only one that was confused by the directions on that. Maybe I'll write it directly onto the etched power boards. Thank you! Good work! ya! Did you have any trouble with soldering to the ground plane? Any helpful suggestions for people trying to do that?
|
|
|

|
 Today Today
|
|
|
|
 Other popular topics in this forum...
|
|
|
|
 04-01-2010, 09:55 PM
|
#3292 (permalink)
|
|
EcoModding Lurker
Join Date: Dec 2009
Location: Long Beach Ca.
Posts: 50
E-car - '84 Toyota Corolla LE
Thanks: 3
Thanked 7 Times in 6 Posts
|
I think if you simply say that PH1, and PH2 are attached to the B- side of the board adjacent to the isolated gate resistor islands will help.
You know just writing this here will let the builders know. When they get to the bus bar part of the assembly instructions they will label the B- and B+ on the copper at that time like I did.
In any case a low volt system check is a good idea as a 1st test, otherwise like you said: its way scary to think about throwing full pack voltage to system. I wear gloves, long sleeve cotton shirt, and face shield, for making up connections and testing after any alterations of the cables. Plasma is best kept in the movies.
I have 4 solder irons from 12 to 230 Watts, all with nice tips. Too much heat at the tip can ruin your whole day. I checked each solder point as I attached the parts. Then looked carefully at each with a good magnifying glass. I used a heat sink to protect the components.
I know I'll do a better job on the next one I build.... hehe
|
|
|

|
|
The Following User Says Thank You to Flatmann100 For This Useful Post:
|
|
 04-01-2010, 10:07 PM
|
#3293 (permalink)
|
|
PaulH
Join Date: Feb 2008
Location: Maricopa, AZ (sort of. Actually outside of town)
Posts: 3,832
Thanks: 1,362
Thanked 1,202 Times in 765 Posts
|
I'll do that! Man, 4 soldering irons. This guy wasn't messing around! ya!
|
|
|

|
 04-02-2010, 03:05 PM
|
#3294 (permalink)
|
|
EcoModding Lurker
Join Date: Sep 2009
Location: Western NY
Posts: 27
Thanks: 5
Thanked 1 Time in 1 Post
|
"I followed your instructions to the letter. I think they say when your finished attaching the copper bars the B+ is the one on top. That's fine but after doing that you flip the assembly over to finish the build on the power section."
Gee! That sounds familiar. 
Good job Flatmann |
|
|

|
 04-02-2010, 04:11 PM
|
#3295 (permalink)
|
|
EcoModding Lurker
Join Date: Dec 2009
Location: Long Beach Ca.
Posts: 50
E-car - '84 Toyota Corolla LE
Thanks: 3
Thanked 7 Times in 6 Posts
|
You too eh, they can't fault us for following the instructions.... Paul is the teacher and we is grasshopper.
Started using my car again. It has better takeoff and 0-25 acceleration than before. But I kinda expected that.
|
|
|

|
 04-02-2010, 06:41 PM
|
#3296 (permalink)
|
|
EcoModding Apprentice
Join Date: May 2009
Location: Australia
Posts: 109
Thanks: 0
Thanked 2 Times in 2 Posts
|
Quote:
Originally Posted by MPaulHolmes

I'll do that! Man, 4 soldering irons. This guy wasn't messing around! ya!
|
The trick with soldering is to think of thermal mass. If you are trying to heat up something that is going to suck up a lot of heat your soldering iron needs to have mass, not a matter of being hotter but having more stored energy. Otherwise the target sucks out all the heat from the iron before it is hot enough to solder.
Also with circuit boards you want this all to happen relatively quickly, having to much heat in the PCB for too long will weaken the structure. You will see this with fine track work, the tracks will start to lift from the board. |
|
|

|
 04-02-2010, 07:58 PM
|
#3297 (permalink)
|
|
EcoModding Apprentice
Join Date: Feb 2010
Location: Northern Wisconsin
Posts: 137
Thanks: 32
Thanked 39 Times in 23 Posts
|
Quote:
Originally Posted by squiggles

The trick with soldering is to think of thermal mass. If you are trying to heat up something that is going to suck up a lot of heat your soldering iron needs to have mass, not a matter of being hotter but having more stored energy. Otherwise the target sucks out all the heat from the iron before it is hot enough to solder.
Also with circuit boards you want this all to happen relatively quickly, having to much heat in the PCB for too long will weaken the structure. You will see this with fine track work, the tracks will start to lift from the board.
|
Most defiantly!! I use my Weller 800 degree cranked up to max with a fine, long point and solder boards QUICK, LOL! But big buss bars really suck away the heat as you say.. I think on boards it is getting used to moving fast with the higher heat - would not recommend it for people just starting out... I have been doing it for a LONG time.. small pads - move fast - large ground planes move slower - it gets to be like welding 
__________________
Dave  ...
|
|
|

|
 04-03-2010, 03:08 AM
|
#3298 (permalink)
|
|
PaulH
Join Date: Feb 2008
Location: Maricopa, AZ (sort of. Actually outside of town)
Posts: 3,832
Thanks: 1,362
Thanked 1,202 Times in 765 Posts
|
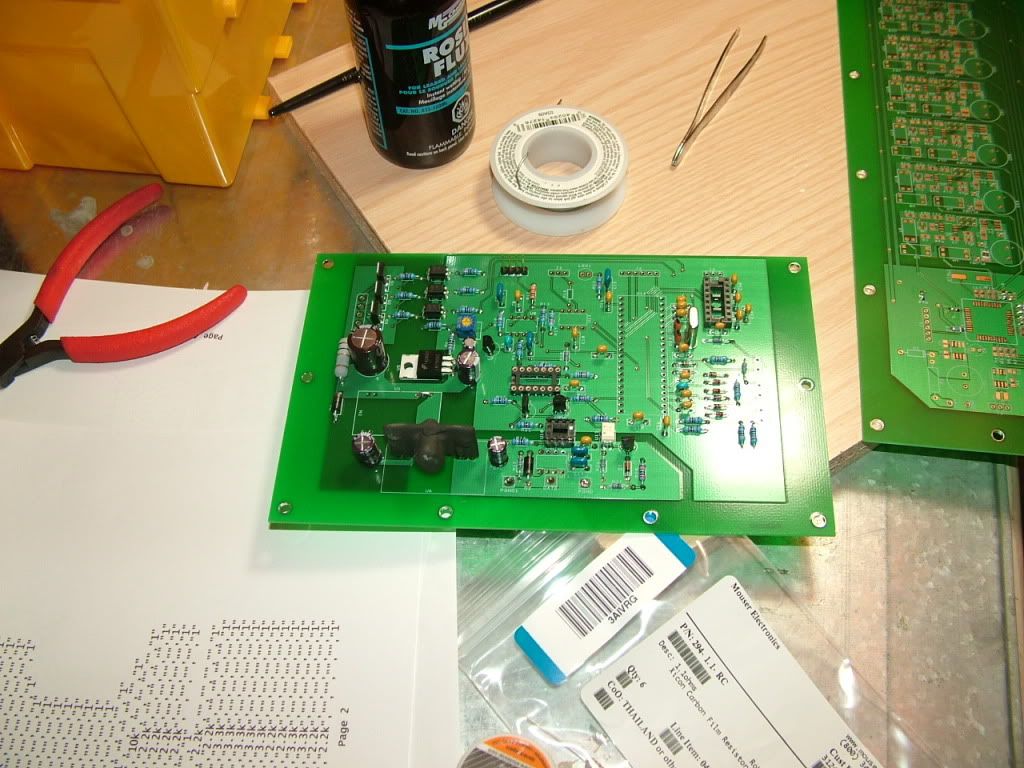
6kW charger control board:

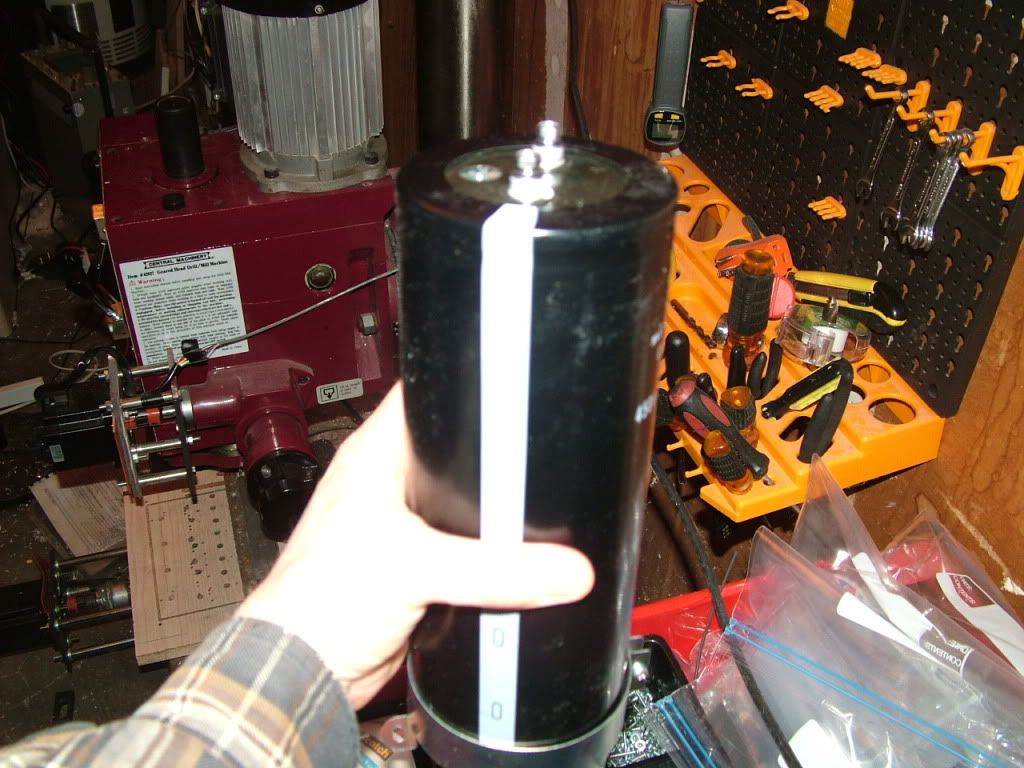
Big dang capacitor for power section of charger! ya!

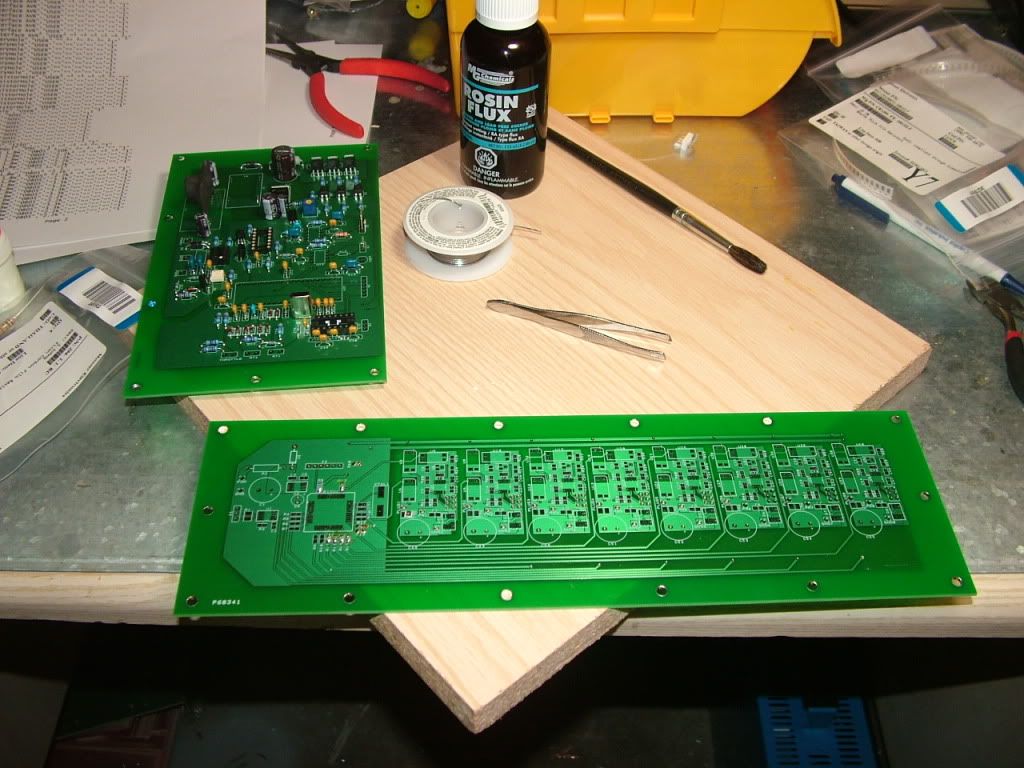
BMS for 8 batteries:

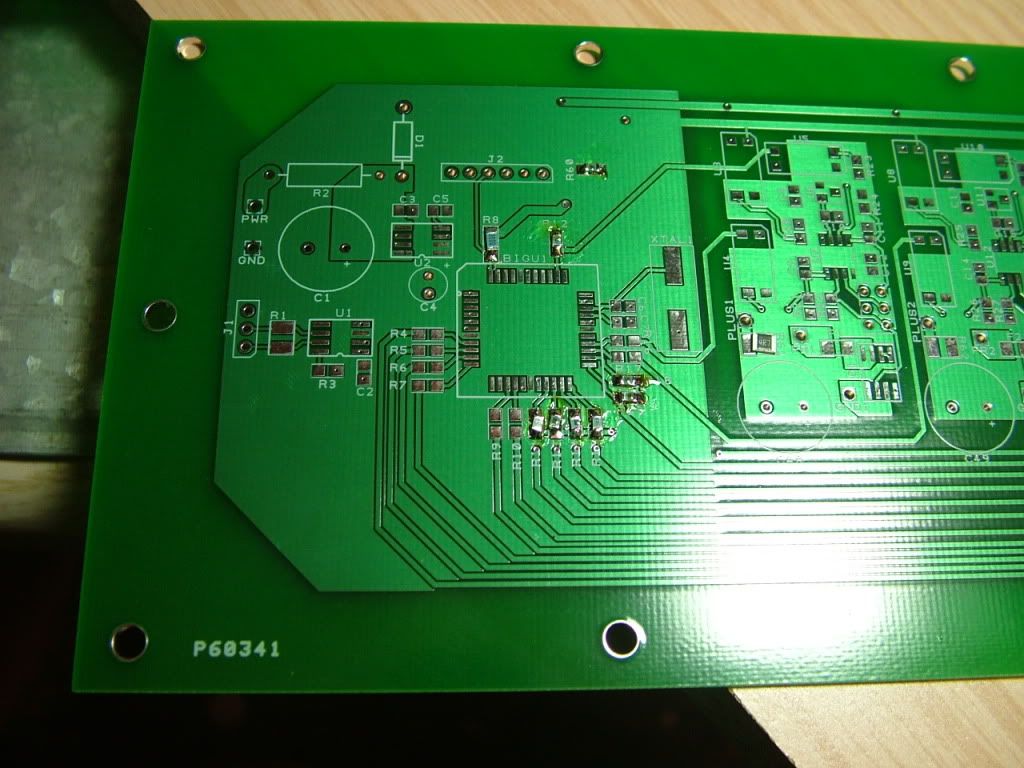
super tiny surface mount!

It took several tries, but now I have a good way to solder surface mount! holy crap! ya! |
|
|

|
 04-03-2010, 07:42 AM
|
#3299 (permalink)
|
|
Master EcoModder
Join Date: Sep 2009
Location: Ireland
Posts: 734
Thanks: 26
Thanked 304 Times in 171 Posts
|
We're going to need a bigger heatsink!
__________________
Now, Cole, when you shift the gear and that little needle on the ammeter goes into the red and reads 2000 Amps, that's bad.
www.evbmw.com
|
|
|

|
 04-03-2010, 07:47 AM
|
#3300 (permalink)
|
|
EcoModding Lurker
Join Date: Nov 2009
Location: Melbourne Australia
Posts: 23
Thanks: 4
Thanked 2 Times in 1 Post
|
how are you guys calculating the capacitance required?
Jack that is IGBT porn. Don't tell me they're all 1200a IGBTs?
|
|
|

|
|